Hong-Kong style egg tarts, or dan tat in Cantonese, are probably my favorite pastry. Period. And the best part is, you can make them at home!
Note: This recipe was first published in July 2014. We have since extensively re-tested the recipe, re-photographed it with more step-by-step photos, added clearer instructions, included metric measurements, and an instructional video. Enjoy!
What Are Hong Kong Egg Tarts?
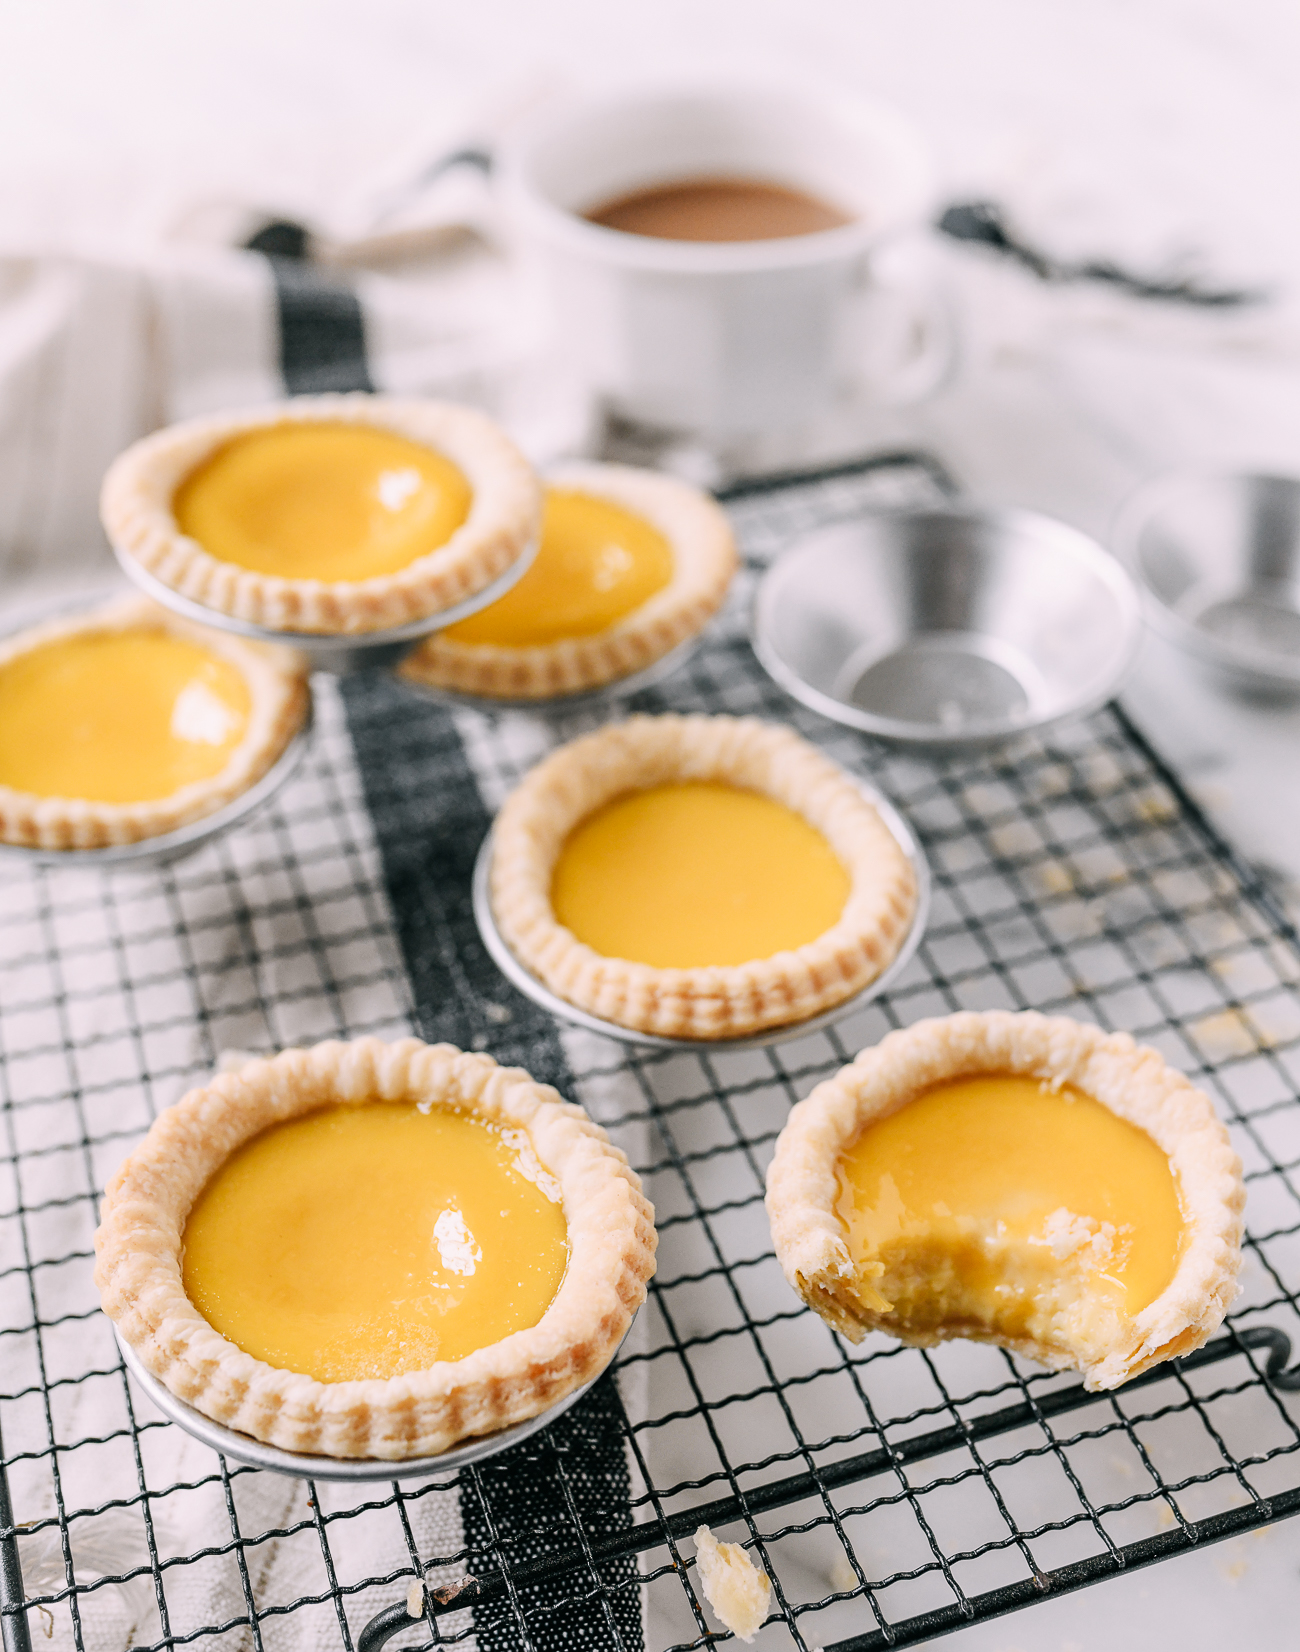
Hong Kong egg tarts are small (usually about 3 inches in diameter) circular tarts of flaky pastry, filled with a smooth, lightly sweetened egg custard. They are often served at dim sum restaurants, as well as Chinese bakeries.
You’ll find these Chinese egg tarts in Hong Kong, Macau, China, and Chinatowns around the world.
Fresh Dan Tat Are a Game Changer
I’ve grown up eating them all my life, but it wasn’t until I moved to Beijing that I tasted one fresh out of the oven.
Suffice it to say, it was incredible. You might be lucky enough to get a fresh one at a bakery or dim sum restaurant, but they are so rarely freshly made to order.
After that experience, I knew I had to figure out a recipe—just to get that warm from the oven experience again!
Besides, here in the U.S., we don’t all have dim sum restaurants within reasonable traveling distance to get these, so it’s time to learn to make them from scratch like the best of ’em.
Hong Kong vs. Macau Egg Tarts
A quick distinction to make! The Hong Kong and Macau versions of egg tarts are pretty different.
Macau’s version was brought over by Portuguese colonizers, and they have more of a scorched, caramelized exterior, and a crispier rough puff pastry dough. (Check out our separate recipe for Portuguese Custard Tarts, or pasteis de nata.)
The Hong Kong version was influenced by British custard tarts, which are more glassy and smooth, with a more delicately laminated flaky pastry.
Re-Tested and Perfected!
Back in 2014, just a year into this blogging project, I nailed down a pretty good recipe. However, as I mentioned in the note at the top of this post, I have been re-testing it over the last couple months and have since made some significant improvements.
The filling has not changed. It has just five ingredients—all of which you probably already have in your pantry—and the resulting custard is as silky, glassy, and delicious as ever.
However, the old recipe yielded mixed results when it came to the pastry. Some readers found that it would crumble and fall apart after baking.
This was an issue with the butter to flour ratio, but also lack of specificity in my original instructions.
Not to worry, though. I’ve learned a thing or two in the 6 years since I first posted this recipe. This new and improved version is much more foolproof, yielding flaky, laminated layers of buttery pastry that melt in your mouth.
So gather round, padawans—a whole lot of awesome is about to come your way.

Important Note On Measurements!
I highly suggest weighing the ingredients for this recipe. Flour measurements can vary widely, depending on whether you scoop your flour or spoon it into the measuring cup, whether you tap the cup to get rid of air pockets, and also the set of measuring cups you have.
We find that 1 cup of flour is usually somewhere between 135-140g in our kitchen. That said, when you fluff your flour and spoon it into your measuring cup, as we call for in this recipe, you get about 125g per cup. (You need 2 cups measured this way here, or 250g).
This is all to say that for the most accurate results, use a digital kitchen scale to follow the weight measurements in this recipe (Use the toggle below the ingredients in the recipe card to switch to “Metric.”)
Ok, on to the recipe!
Hong Kong Egg Tarts: Recipe Instructions
In a bowl, combine the flour and salt, and leave your butter out at room temperature until just softened.
The butter should be just soft enough that it gives when you press it, but not so soft that it collapses.
(Basically, you want it to be soft enough to break up with your fingers, but it shouldn’t immediately form a paste with the flour.)
Cut the butter into 1/2 inch cubes, and add to the flour/salt mixture.
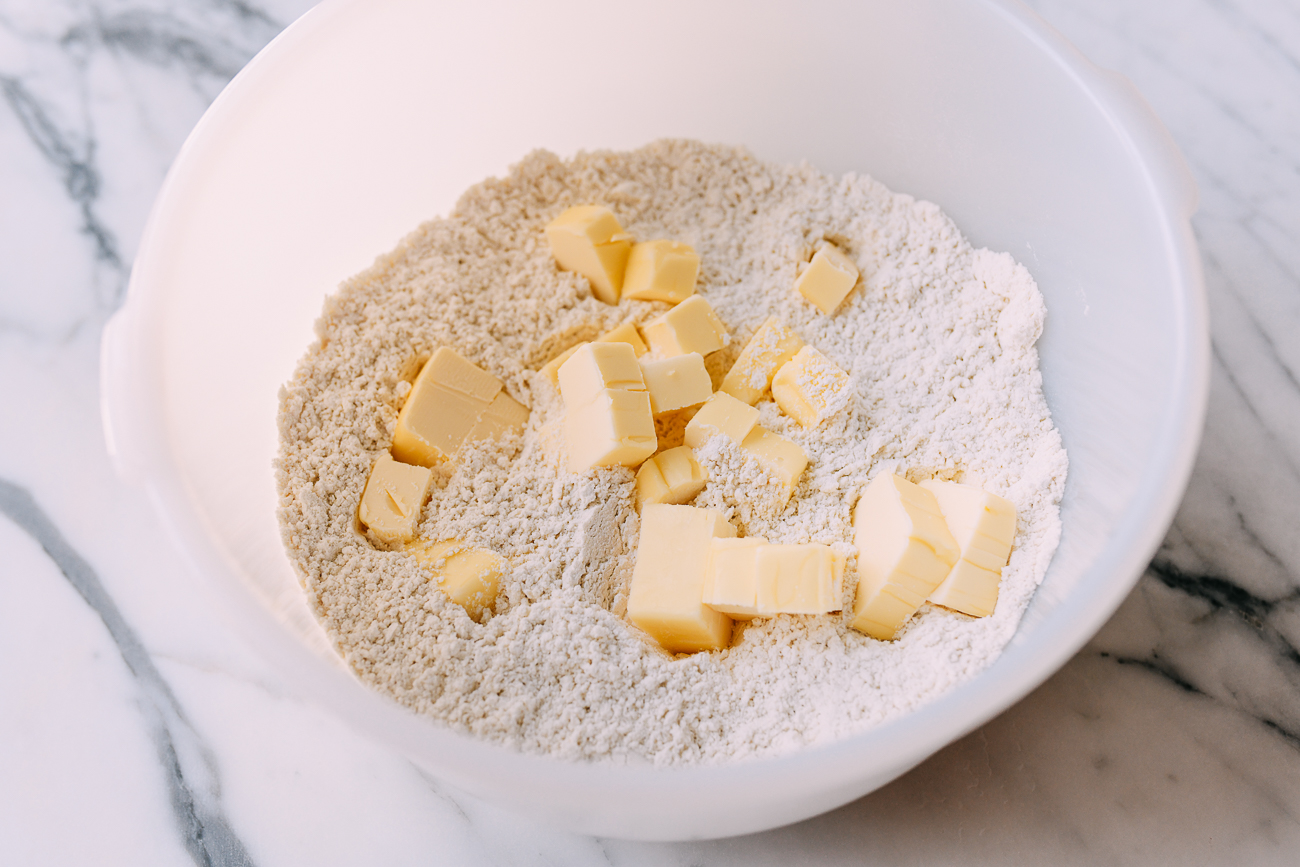
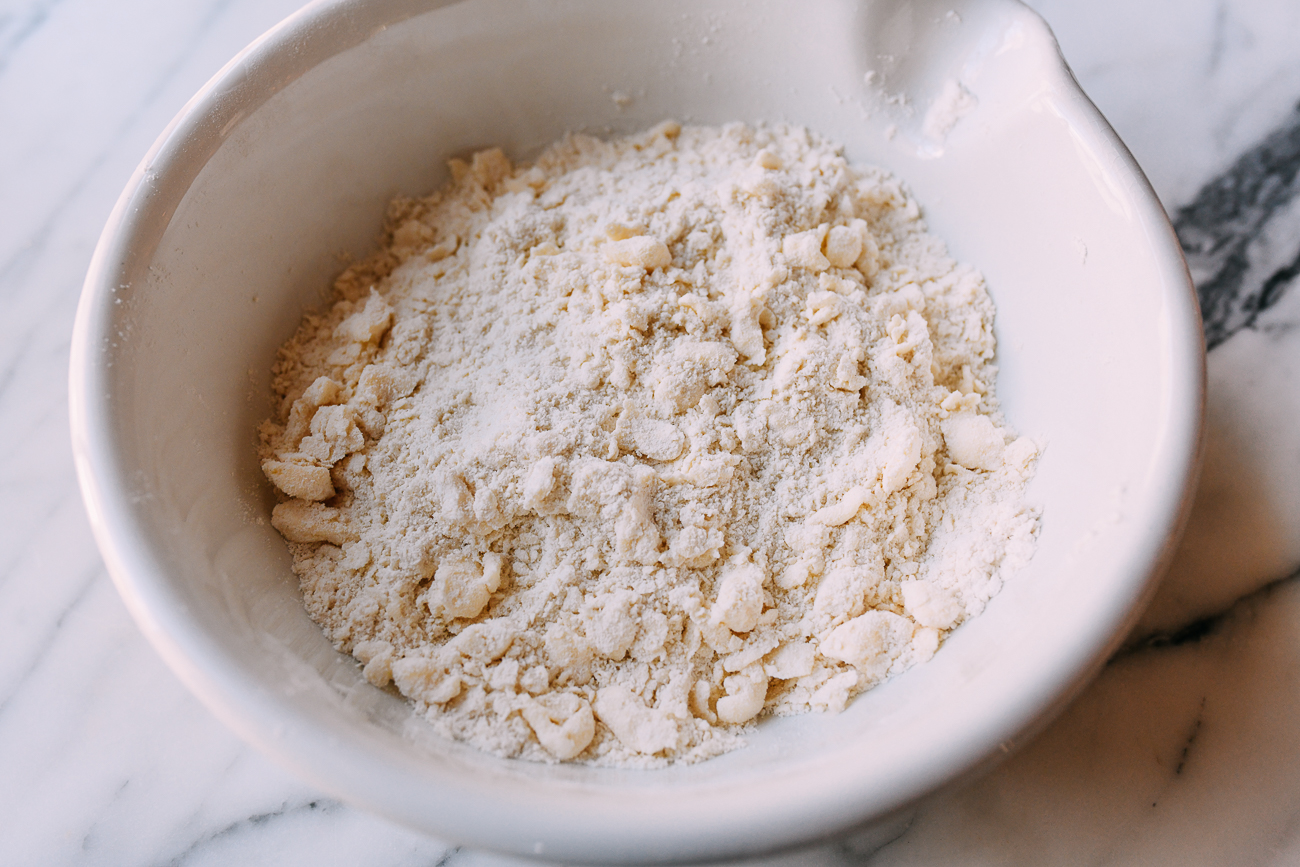
Working quickly, break it up roughly with your fingers…
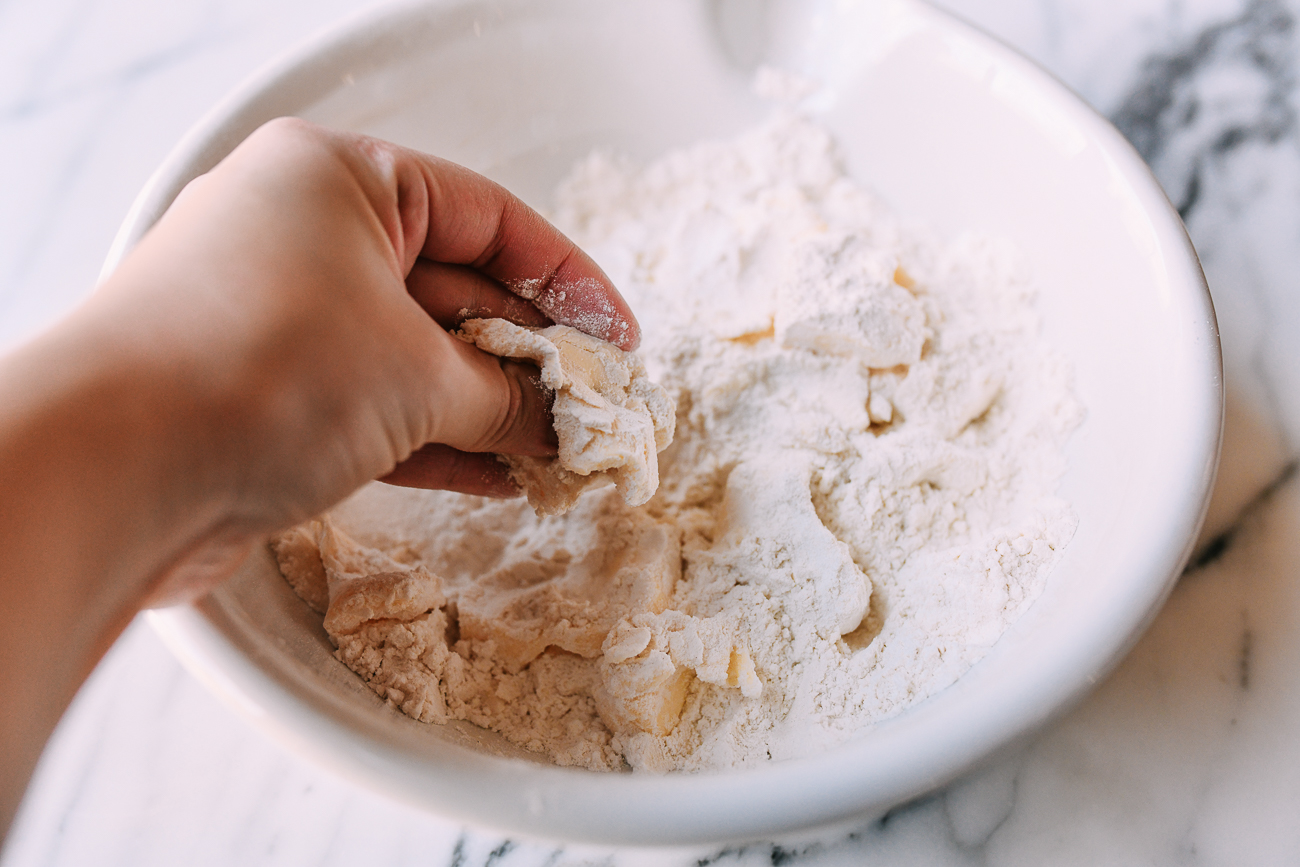
…Until it resembles coarse crumbs with some pea-sized chunks of butter still in the mixture.
Add 2 tablespoons of cold water, and bring the dough together with your hands. Add a little more water if necessary (start with 1/2 teaspoon), no more than 3 teaspoons.
At this point, the dough will be scraggly and dry. As you can see in the photo below, it’s not fully holding together:

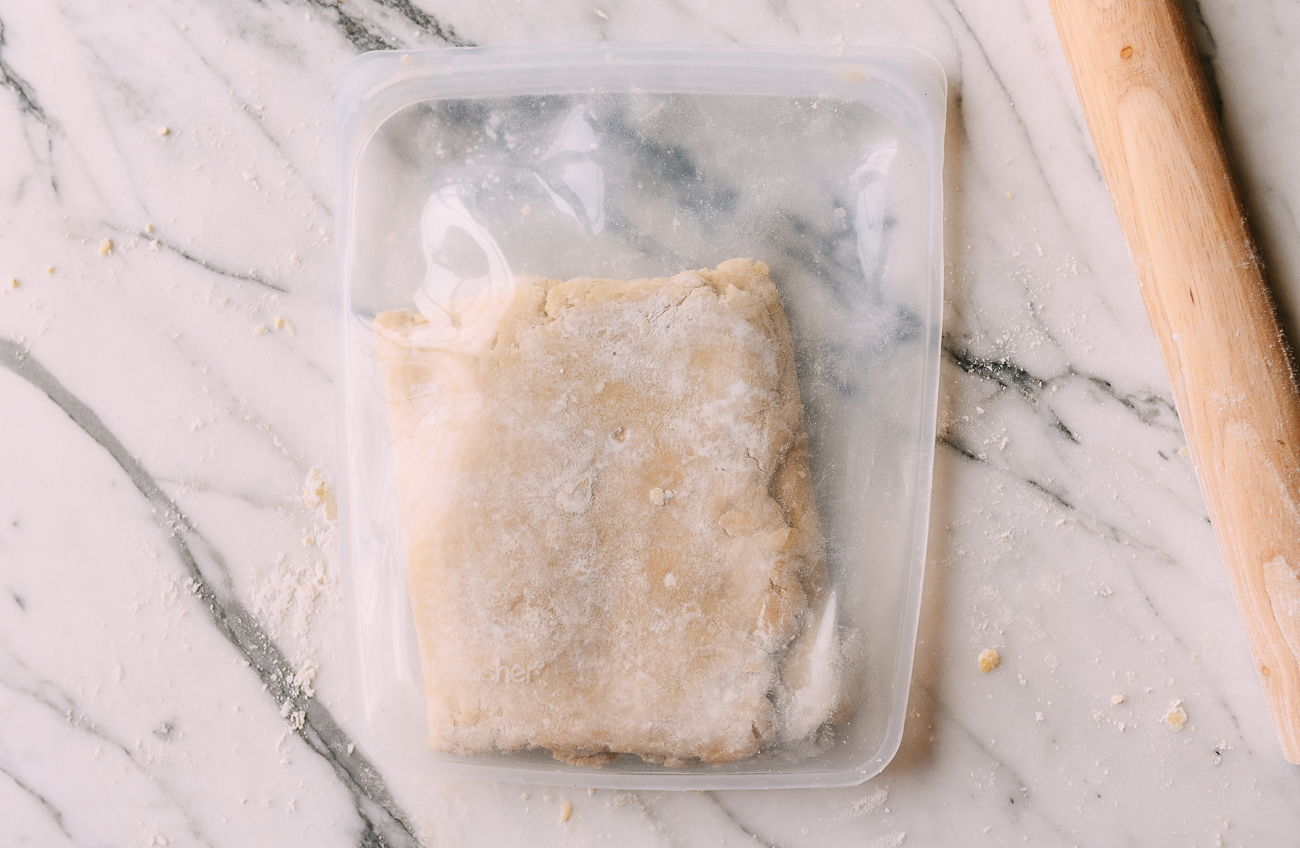
You need to rest the dough in the refrigerator to allow the flour in the dough to continue to absorb moisture.
Wrap the dough tightly in plastic or a reusable bag (we like Stashers), and refrigerate for 20 minutes.
On a lightly floured surface, roll the dough into a roughly 6×15 inch rectangle. Work quickly to avoid overworking it.
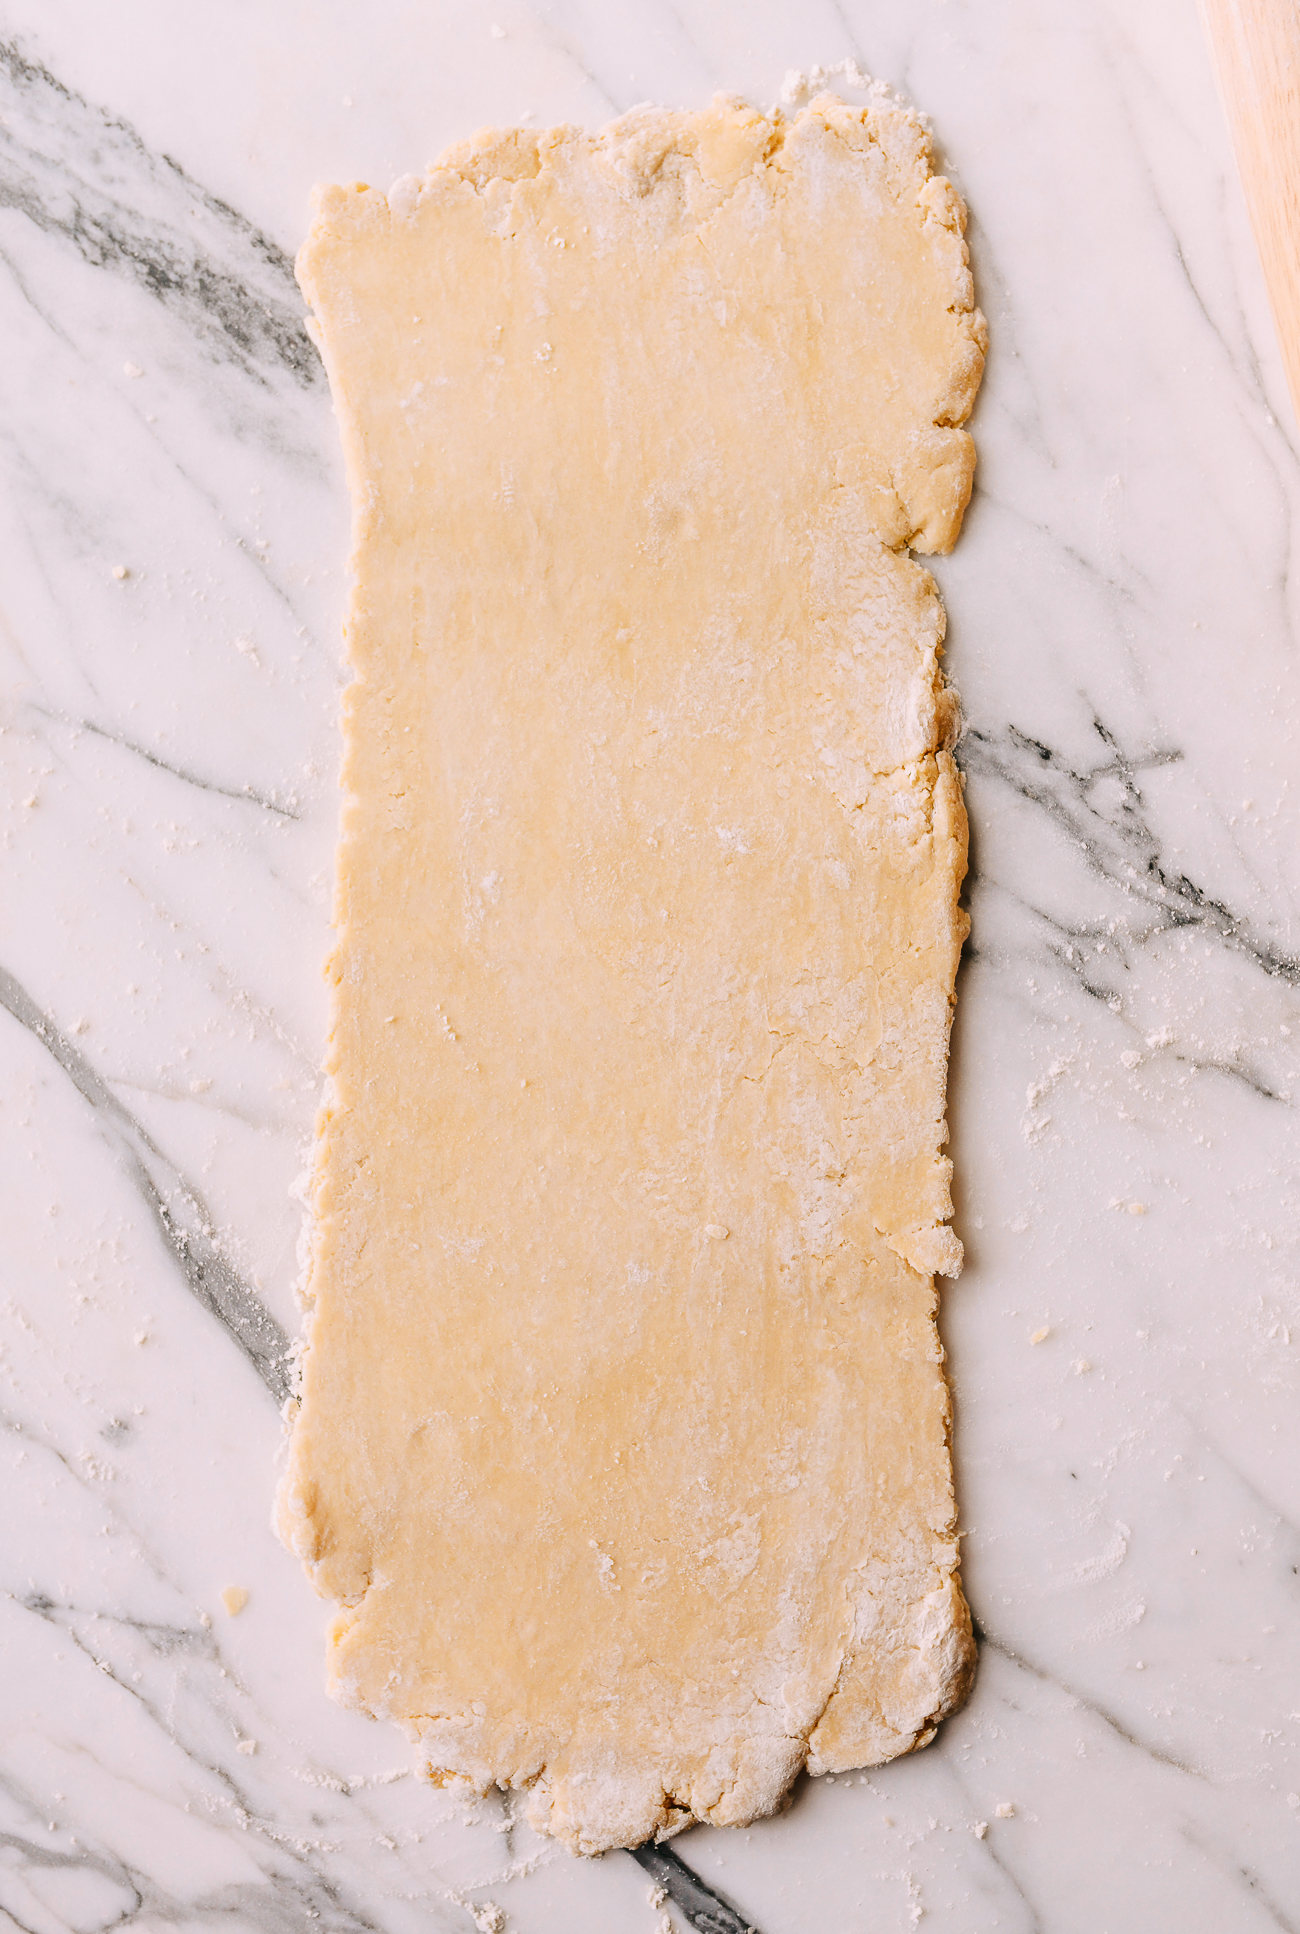
Fold the top third of the dough down to the center, then the bottom third up and over that. Give the dough a quarter turn (left or right).
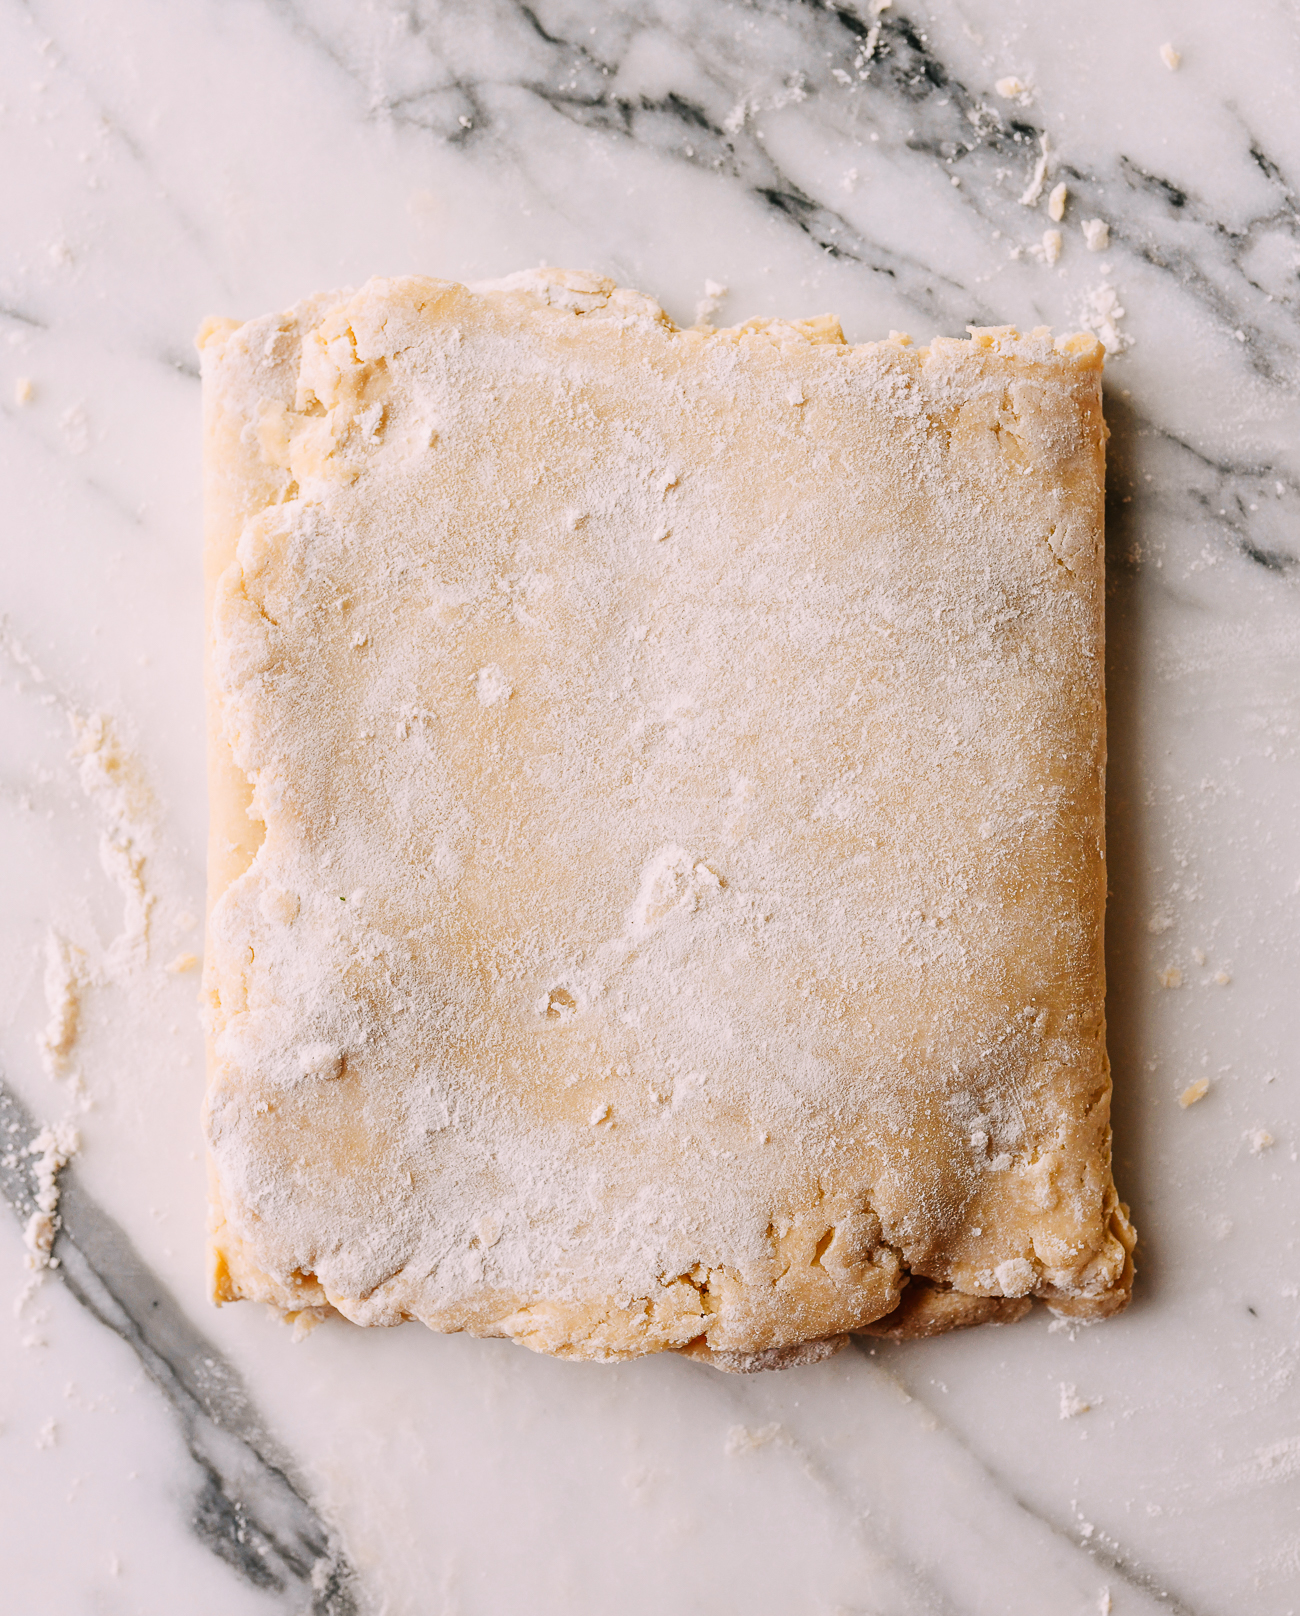
Roll this rectangle of dough out again to a 6×15 inch rectangle. Fold the same way as before, cover, and chill for 1 hour.
Make-Ahead Tip!
Note, if making these ahead, you can refrigerate the dough overnight and continue with the recipe the next day.
While the dough is resting, make the filling. Dissolve the sugar into 1 cup of hot water, and allow the mixture to cool to room temperature. Whisk evaporated milk, eggs, and vanilla together, and then thoroughly whisk in the sugar water.
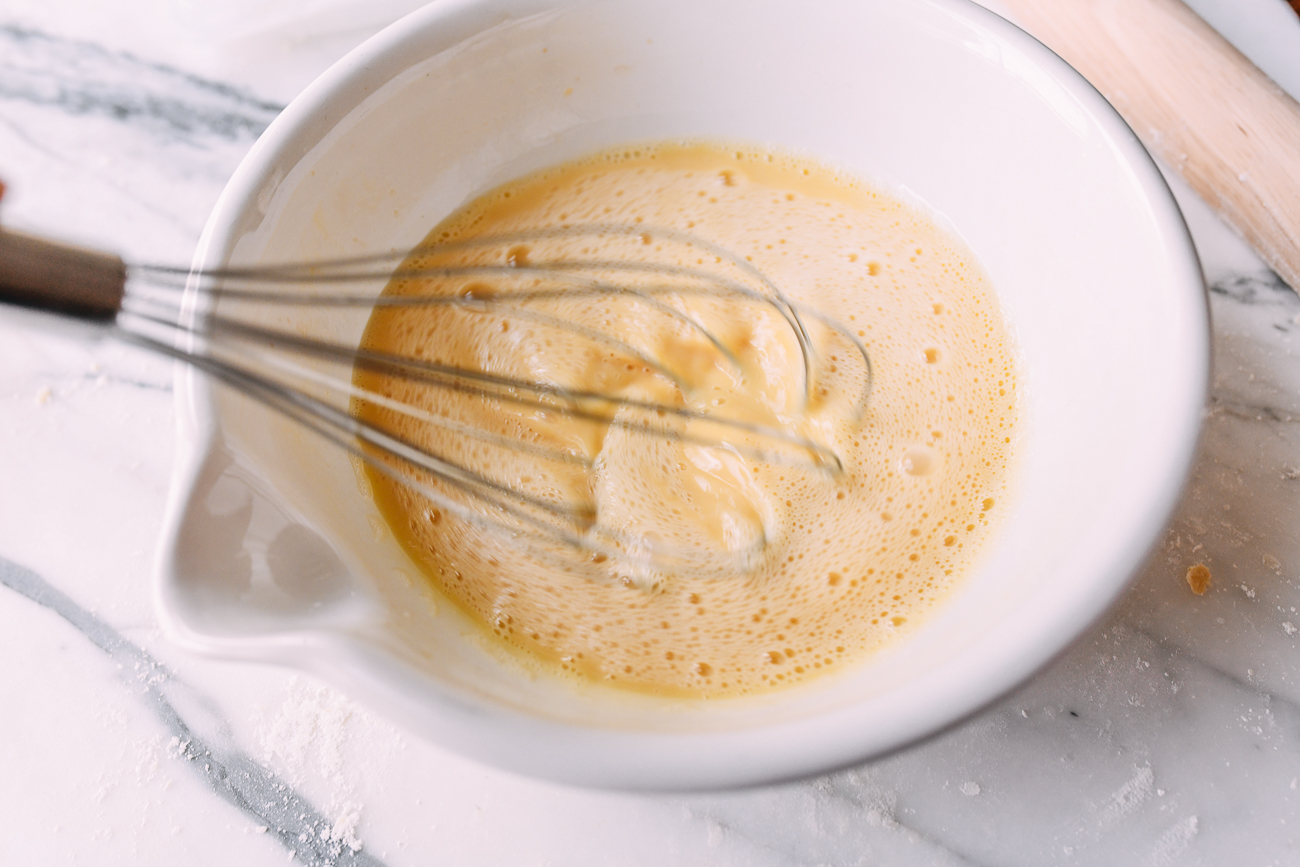
Ok, so see those bubbles that inevitably formed from your very lively, energetic whisking? Not good.
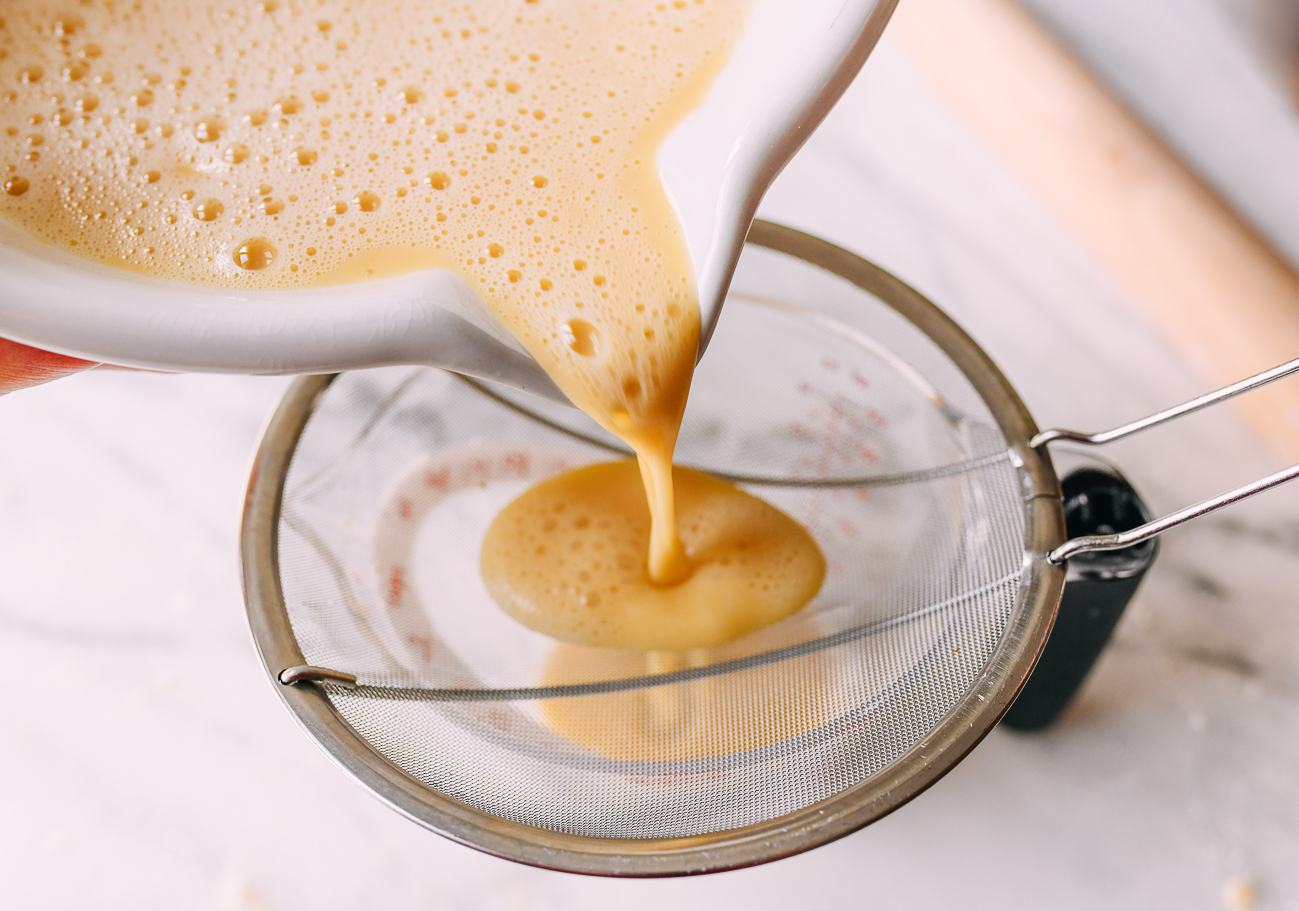
Strain the custard through a fine meshed strainer into a large measuring cup or pitcher (something with a pour spout) to get rid of those bubbles.
This step is important to getting a smooth, glassy egg tart.
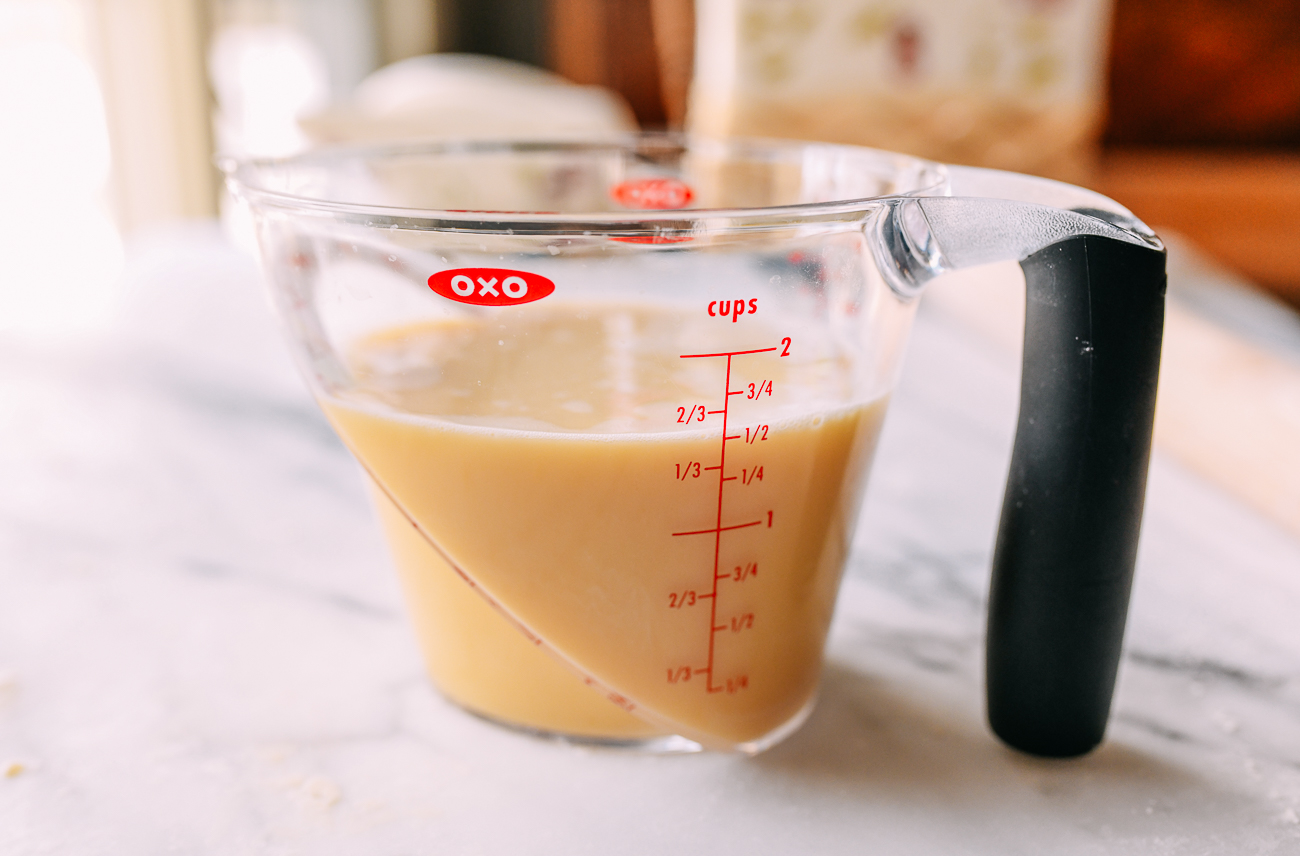
While this measuring cup in the photo below wasn’t big enough to hold all the custard, you should have about 2 to 2 1/4 cups total.
Preheat the oven to 375° F/190°C, and position a rack in the lower third of your oven.
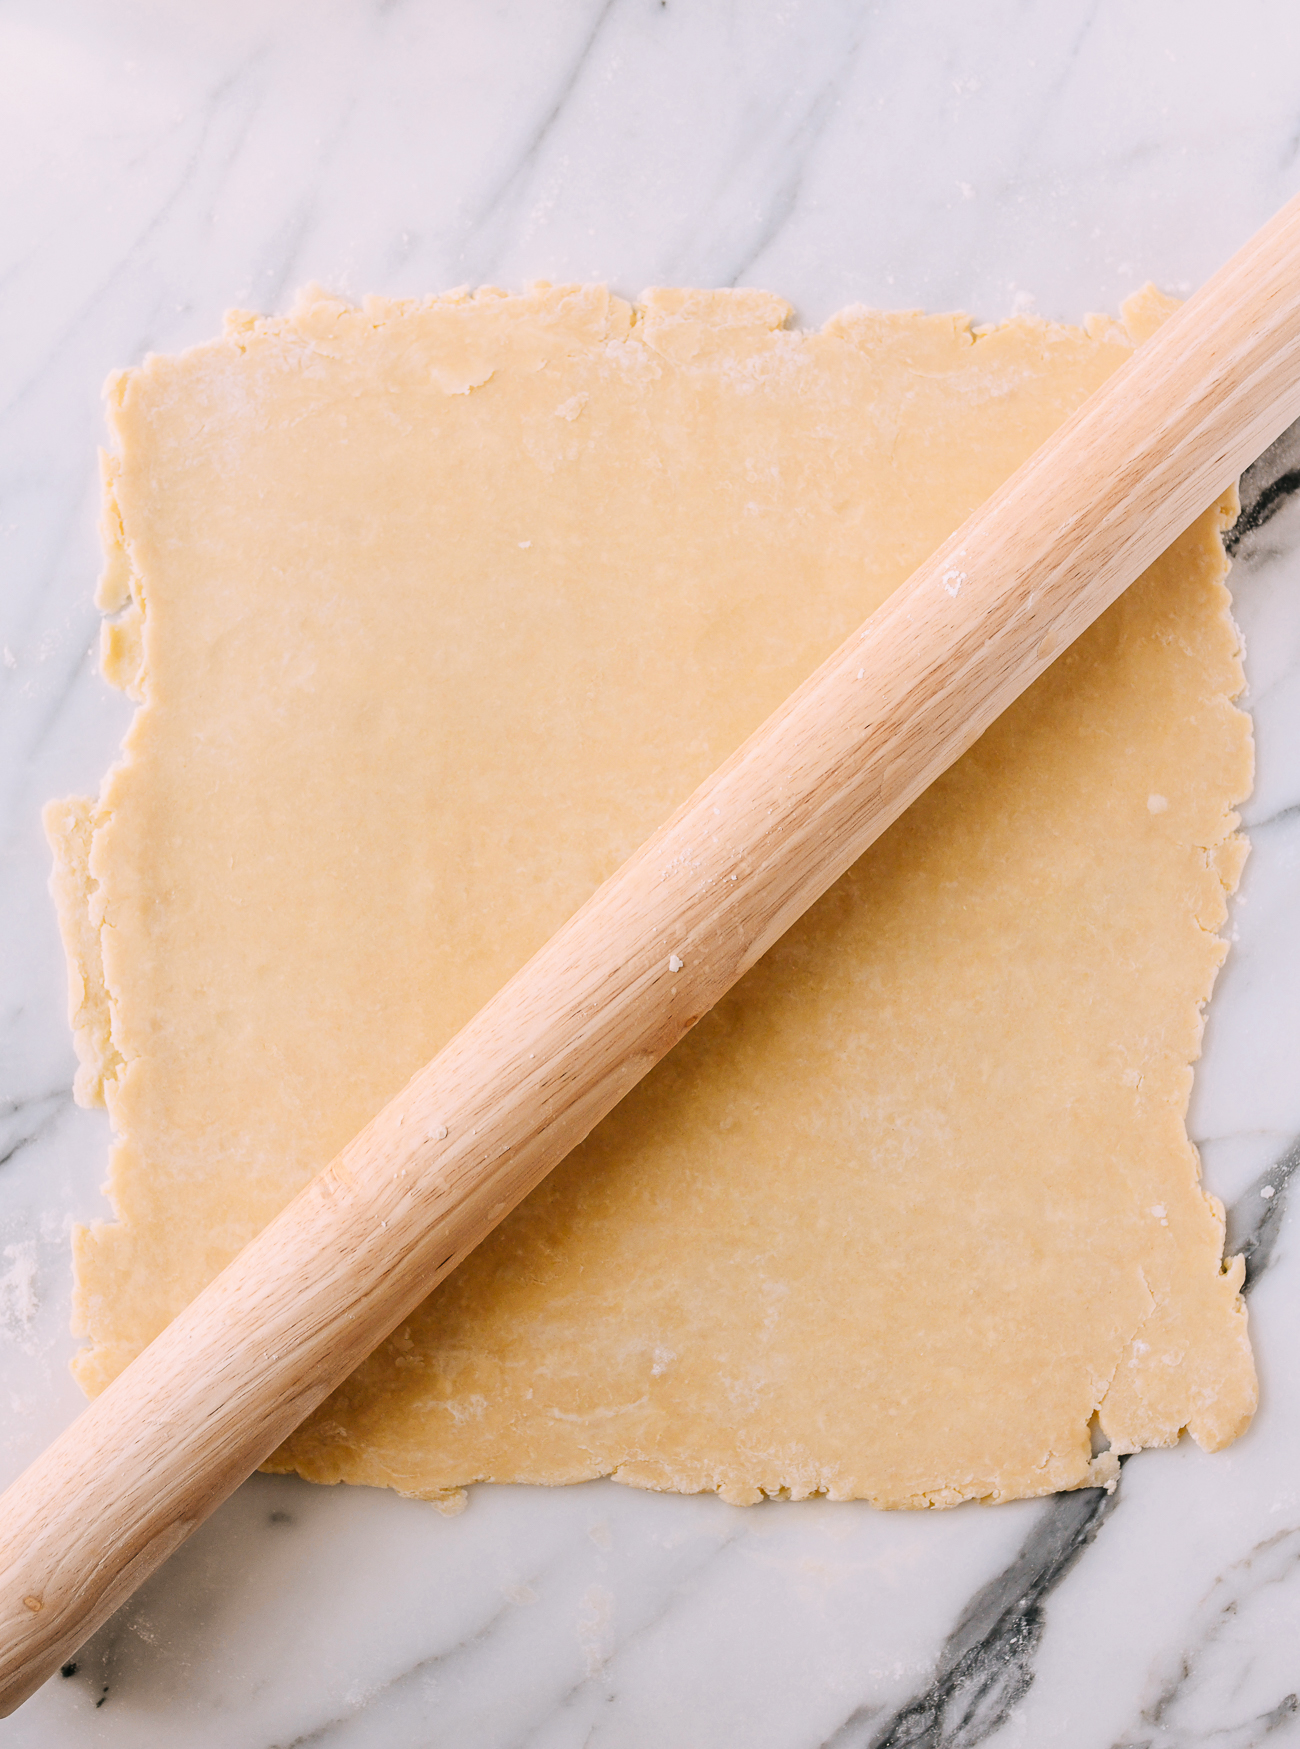
Roll out the dough 0.2 inch/5mm thick.
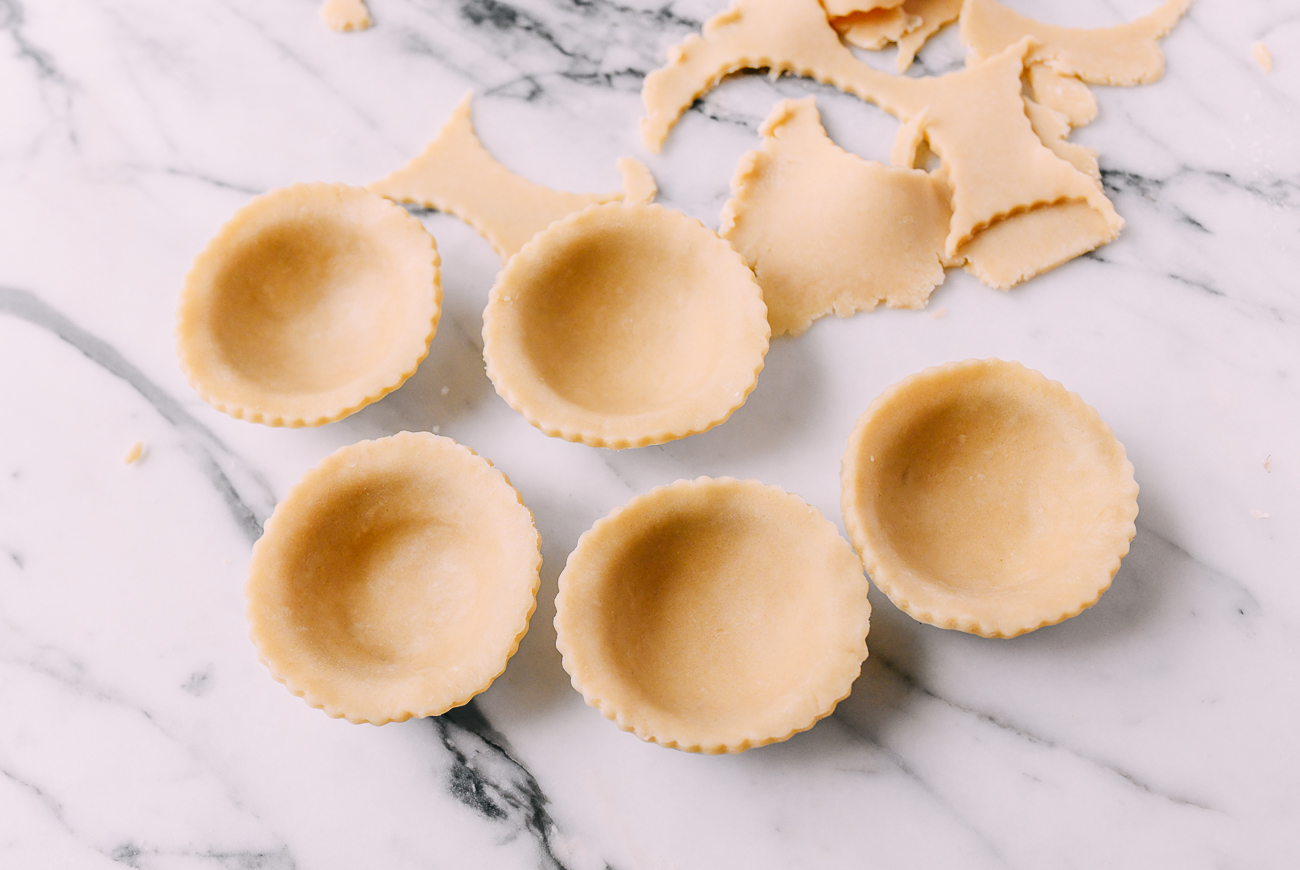
Cut into 4-inch circles. I used a fluted cutter, so my final tarts would have a fluted pattern.
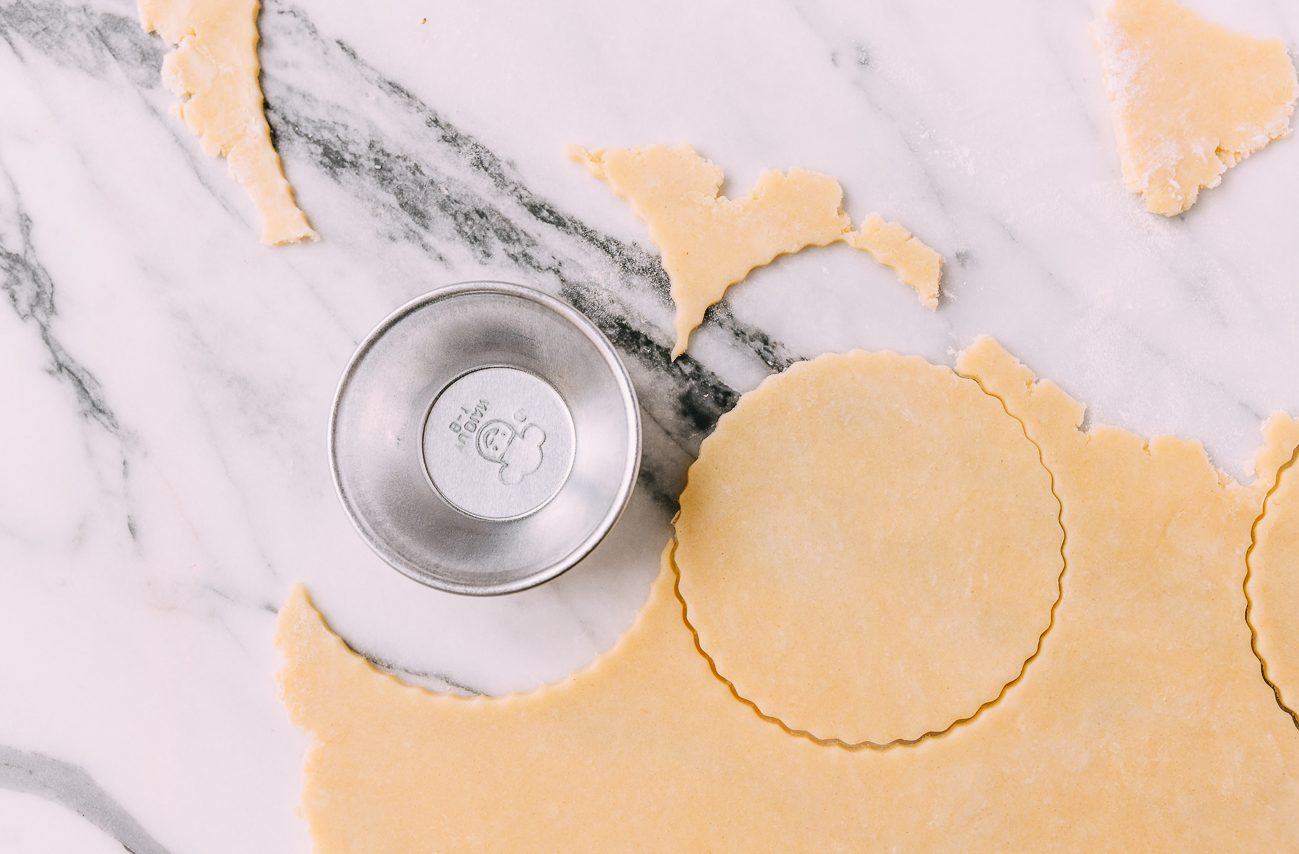
If you don’t have a fluted cutter, you can use the tip of a chopstick or fork to make a crimped edge around the rim of the dough. Totally optional.
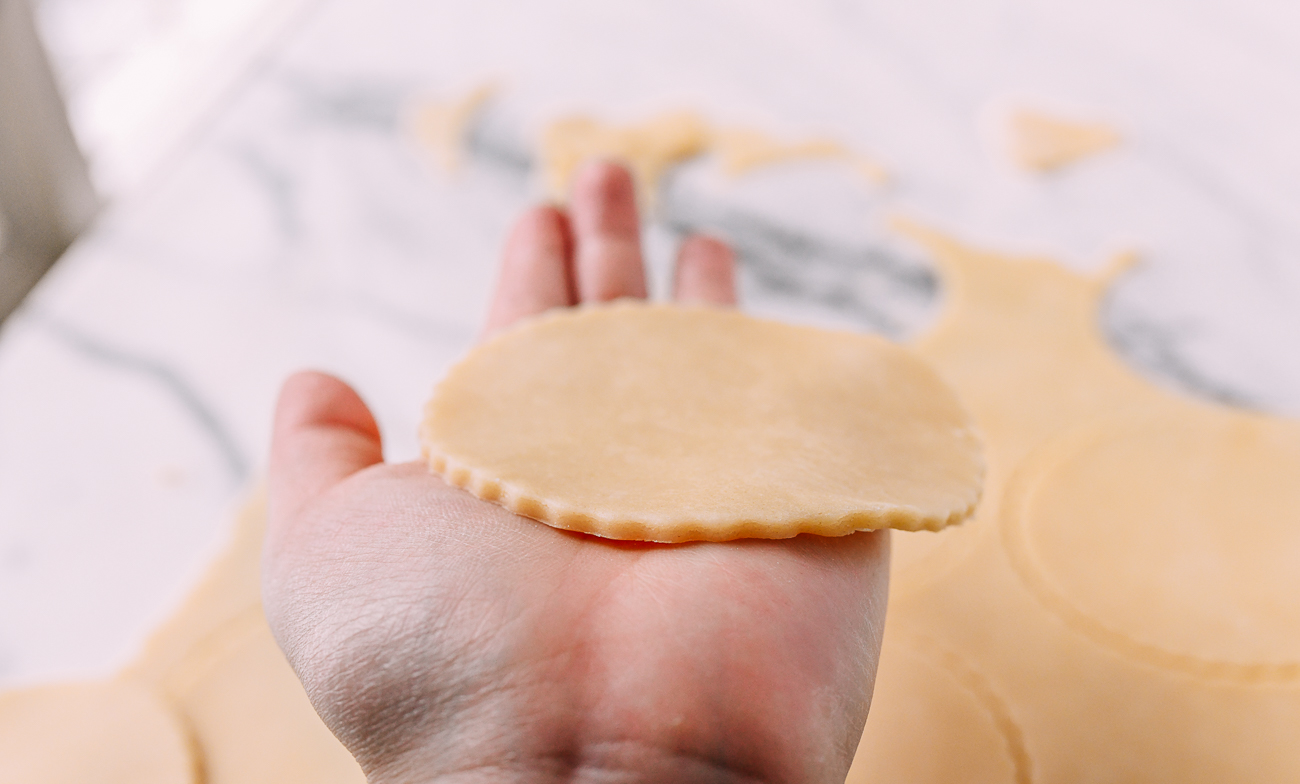
If you use the chopstick method, it will look something like this:
The dough should be very thin—it will expand as it bakes.
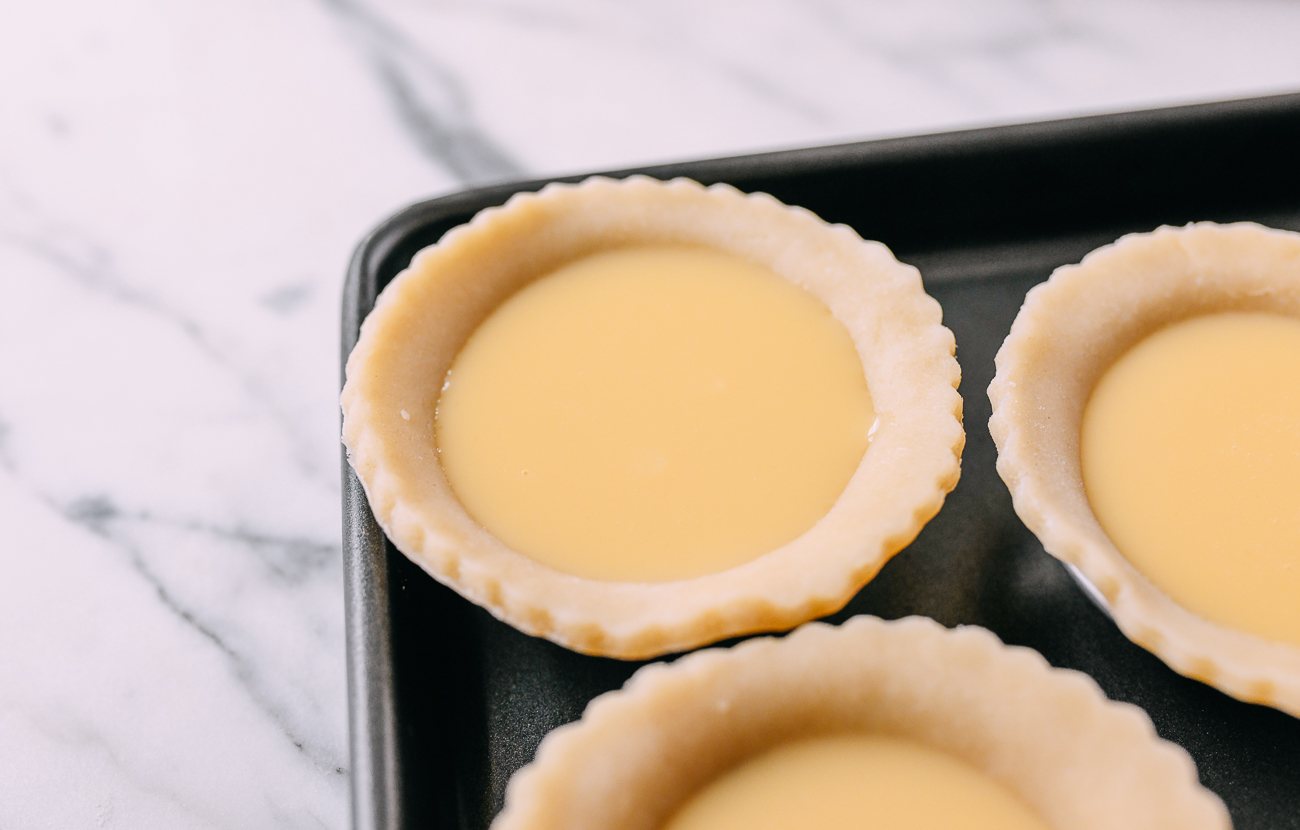
Press the dough circles into either mini tart tins, leaving a lip going over the top of the tin. (The tart shells will shrink as they bake, so you want ample clearance).
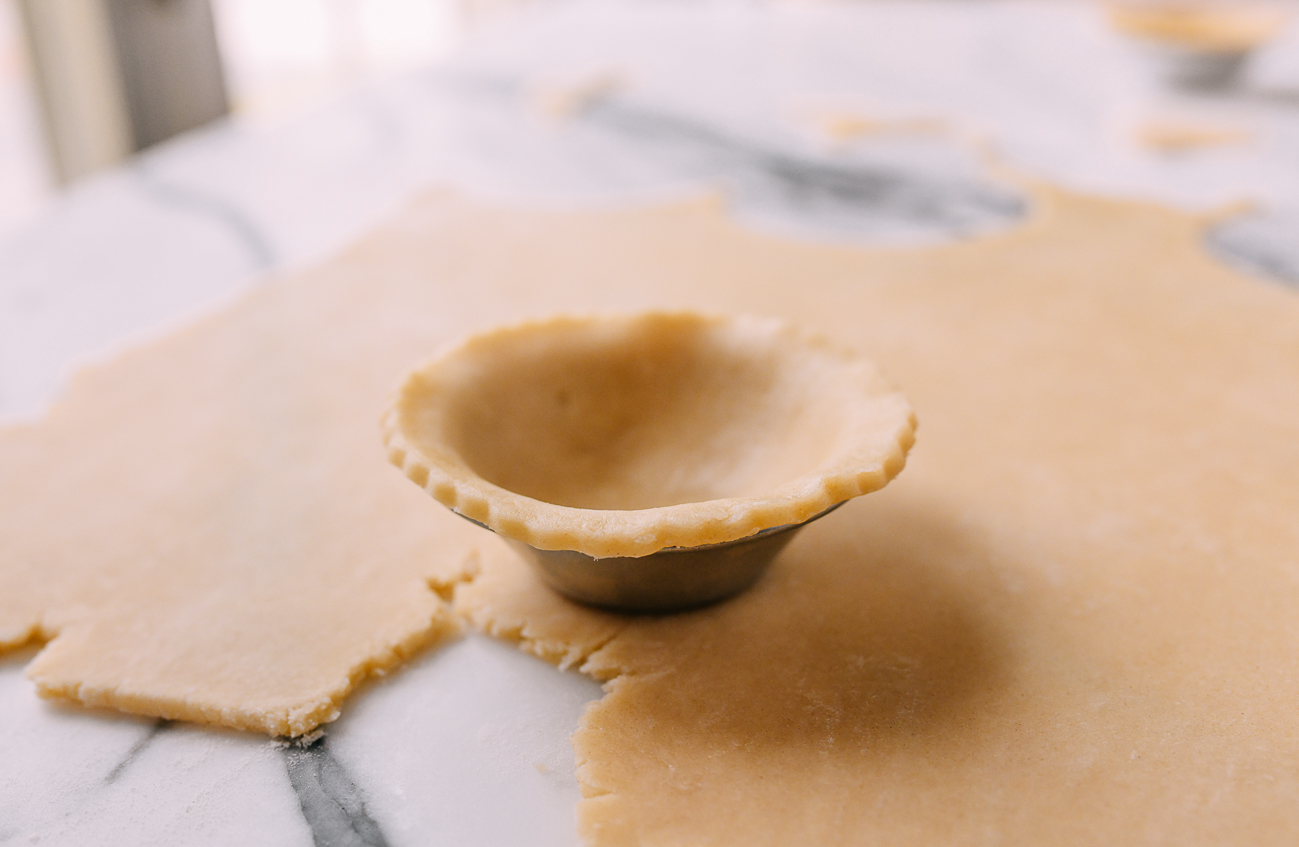
If you don’t have mini tart tins, you can also use a non-stick standard muffin pan, but be sure to leave enough clearance for the tart shell to shrink.
Take the excess dough, re-roll it, and cut more circles until you have around 16 of them.
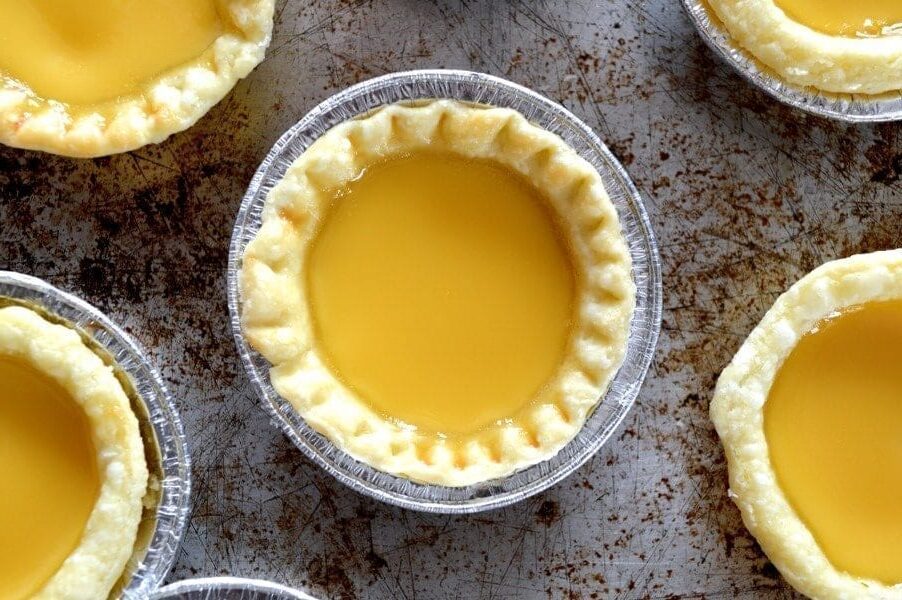
Evenly fill the tart shells about three quarters full. If you have an ample lip of dough at the top, you can fill it just until you reach the part where the dough curves outward.
Once filled, immediately (but very slowly and carefully) transfer the pan to the oven. Immediately reduce the heat to 350°F/180°C, and bake for 26-29 minutes, until filling is just set (if a toothpick can stand up in it, it’s done).
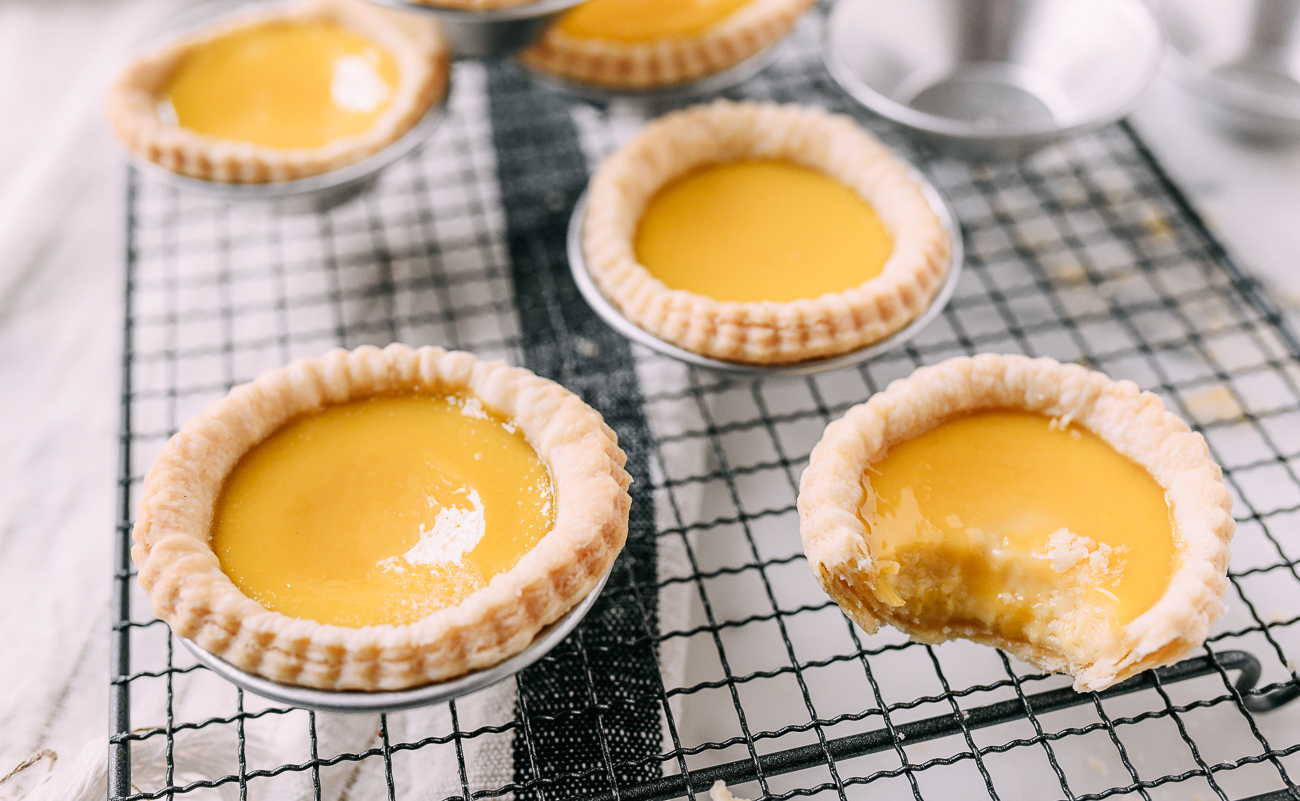
Allow the tarts to cool for at least 10 minutes before enjoying.
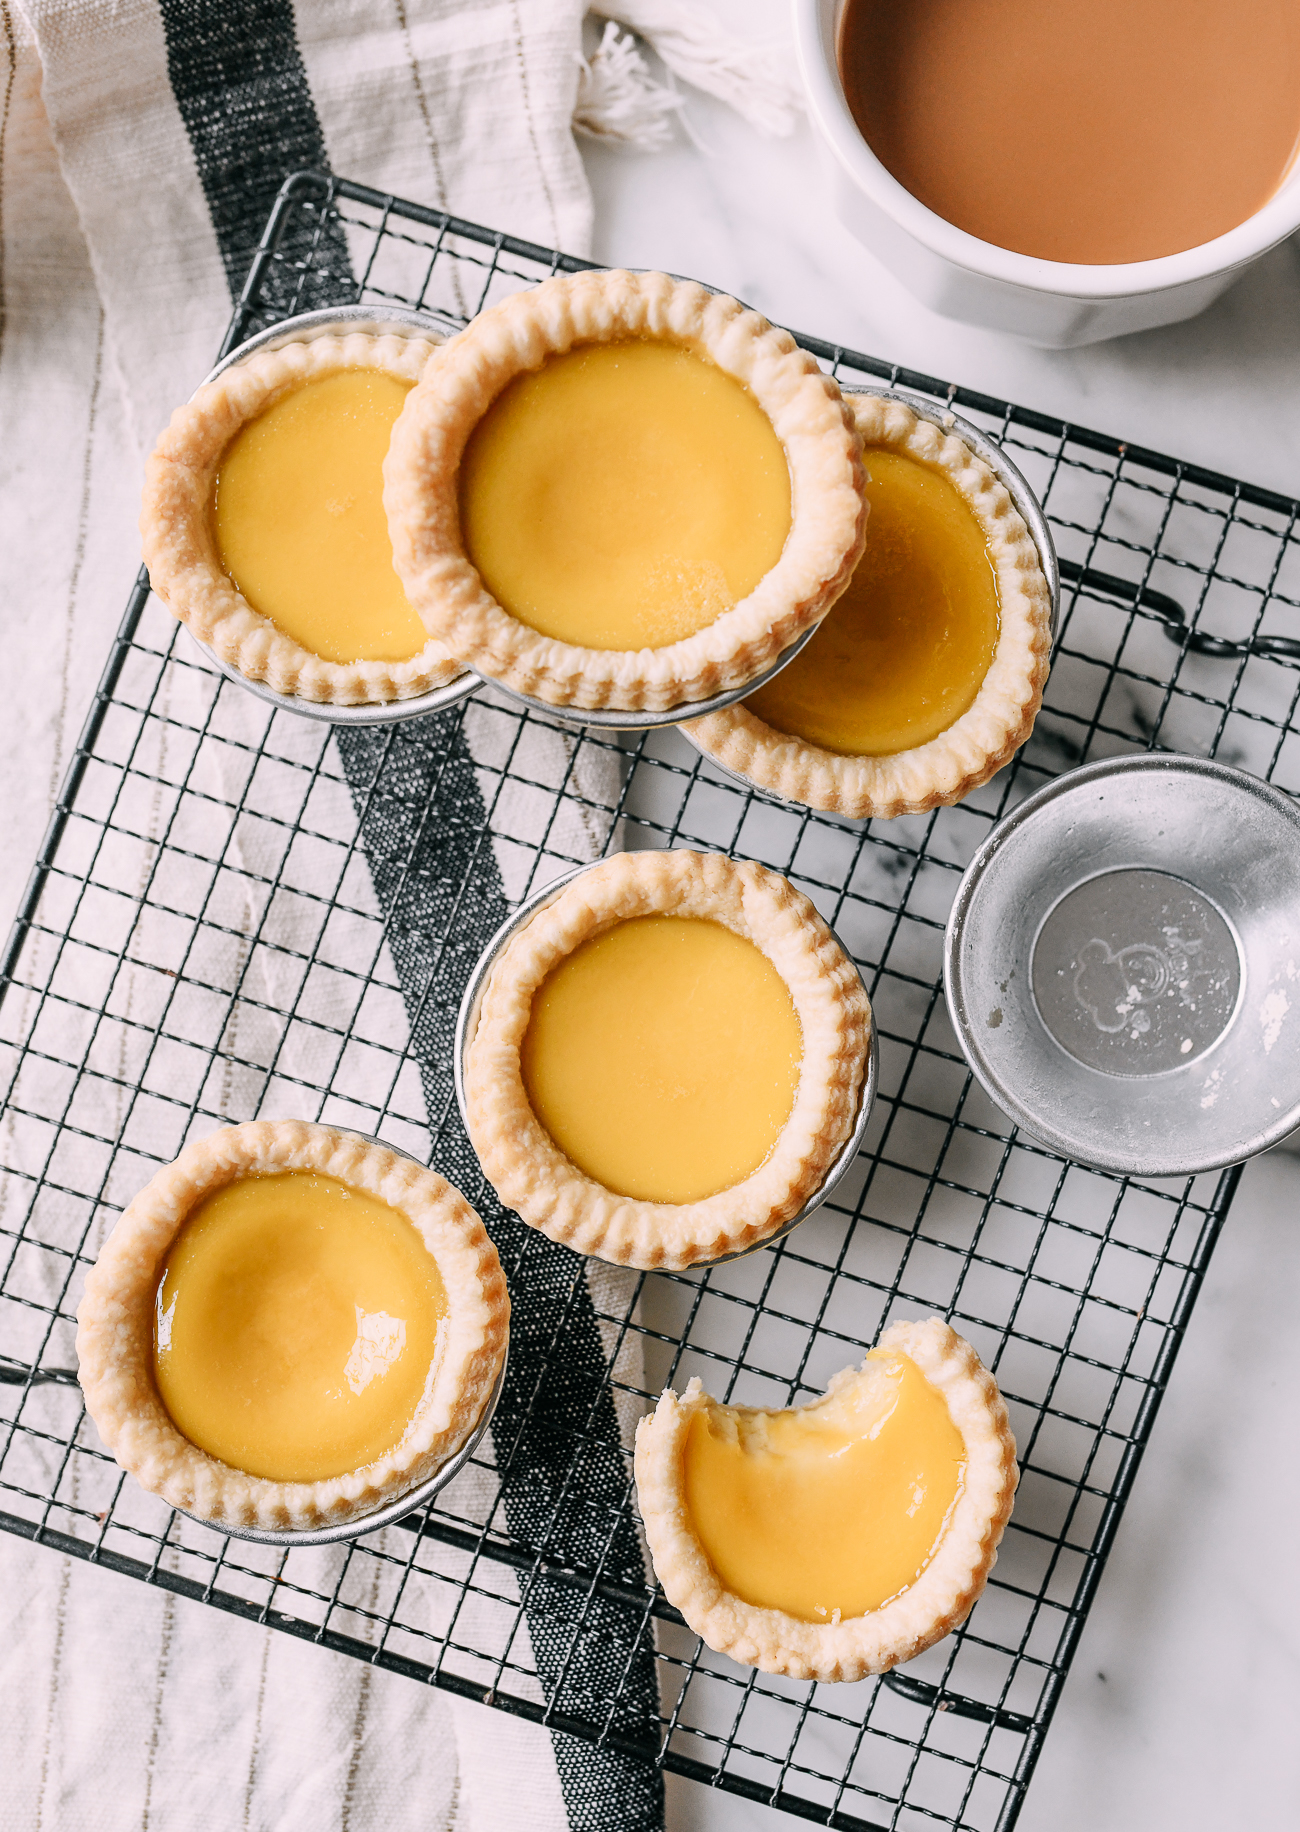
And that’s it! You are now an egg tart Jedi.

For the best results and mind blowing texture and taste, eat these Hong Kong egg tarts while they are still warm! We like them with a cup of Hong Kong milk tea.
***
Watch: Step-by-Step Instructional Video

Here’s the full printable Hong Kong Egg Tarts Recipe! For more treats, also check out our collection of Dim Sum recipes and Chinese Bakery recipes.
Looking for more authentic recipes? Subscribe to our email list and be sure to follow us on Pinterest, Facebook, Instagram, and Youtube!
Recipe

Hong Kong Egg Tarts
Ingredients
- 2 cups all purpose flour (fluffed and spooned into measuring cup)
- 1/8 teaspoon salt
- 12 tablespoons unsalted butter (slightly softened)
- 2 tablespoons cold water
- ½ cup granulated sugar
- 1 cup hot water
- 1/2 cup evaporated milk (at room temperature)
- 3 large eggs (at room temperature)
- 1 teaspoon vanilla extract
Instructions
- In a bowl, combine the flour and salt. The butter should be just soft enough that it gives when you press it, but not so soft that it collapses. Basically, you want it to be soft enough to break up with your fingers, but it shouldn’t immediately form a paste with the flour.
- Cut the butter into small cubes, and add it to the flour and salt. Working quickly, break it up roughly with your fingers until it resembles coarse crumbs with some pea-sized chunks of butter still in the mixture.
- Add 2 tablespoons of cold water, and bring the dough together with your hands. Add a little more water if necessary (start with 1/2 teaspoon), no more than 3 teaspoons. At this point, the dough will be scraggly and dry. You need to rest the dough in the refrigerator to allow the flour in the dough to continue to absorb moisture. Wrap the dough tightly in plastic or a reusable bag, and refrigerate for 20 minutes.
- On a lightly floured surface, roll the dough into a roughly 6×15 inch rectangle. Work quickly to avoid overworking it.
- Fold the top third of the dough down to the center, then the bottom third up and over that. Give the dough a quarter turn (left or right) and roll out again to a 6×15 inch rectangle. Fold the same way as before, cover, and chill for 1 hour.
- While the dough is resting, make the filling. Dissolve the sugar into 1 cup of hot water, and allow the mixture to cool to room temperature. Whisk evaporated milk, eggs, and vanilla together, and then thoroughly whisk in the sugar water. Strain through a fine meshed strainer into a large measuring cup or pitcher (something with a pour spout). You should have about 2 to 2 1/4 cups of custard.
- Preheat the oven to 375° F/190°C, and position a rack in the lower third of your oven.
- Roll out the dough 0.2 inch/5mm thick, and cut into 4-inch circles to fit either mini tart tins or a shallow non-stick standard muffin pan, leaving a lip going over the top of the cup (the tart shells will shrink as they bake, so you want ample clearance). Take the excess dough, re-roll it, and cut more circles until you have around 16 of them.
- Evenly fill the tart shells about three quarters full. If you have an ample lip of dough at the top, you can fill it just until you reach the part where the dough curves outward.
- Once filled, immediately (but very slowly and carefully) transfer the pan to the oven. Immediately reduce the heat to 350°F/180°C, and bake for 26-29 minutes, until filling is just set (if a toothpick can stand up in it, it’s done).
- Allow the tarts to cool for at least 10 minutes before enjoying.


