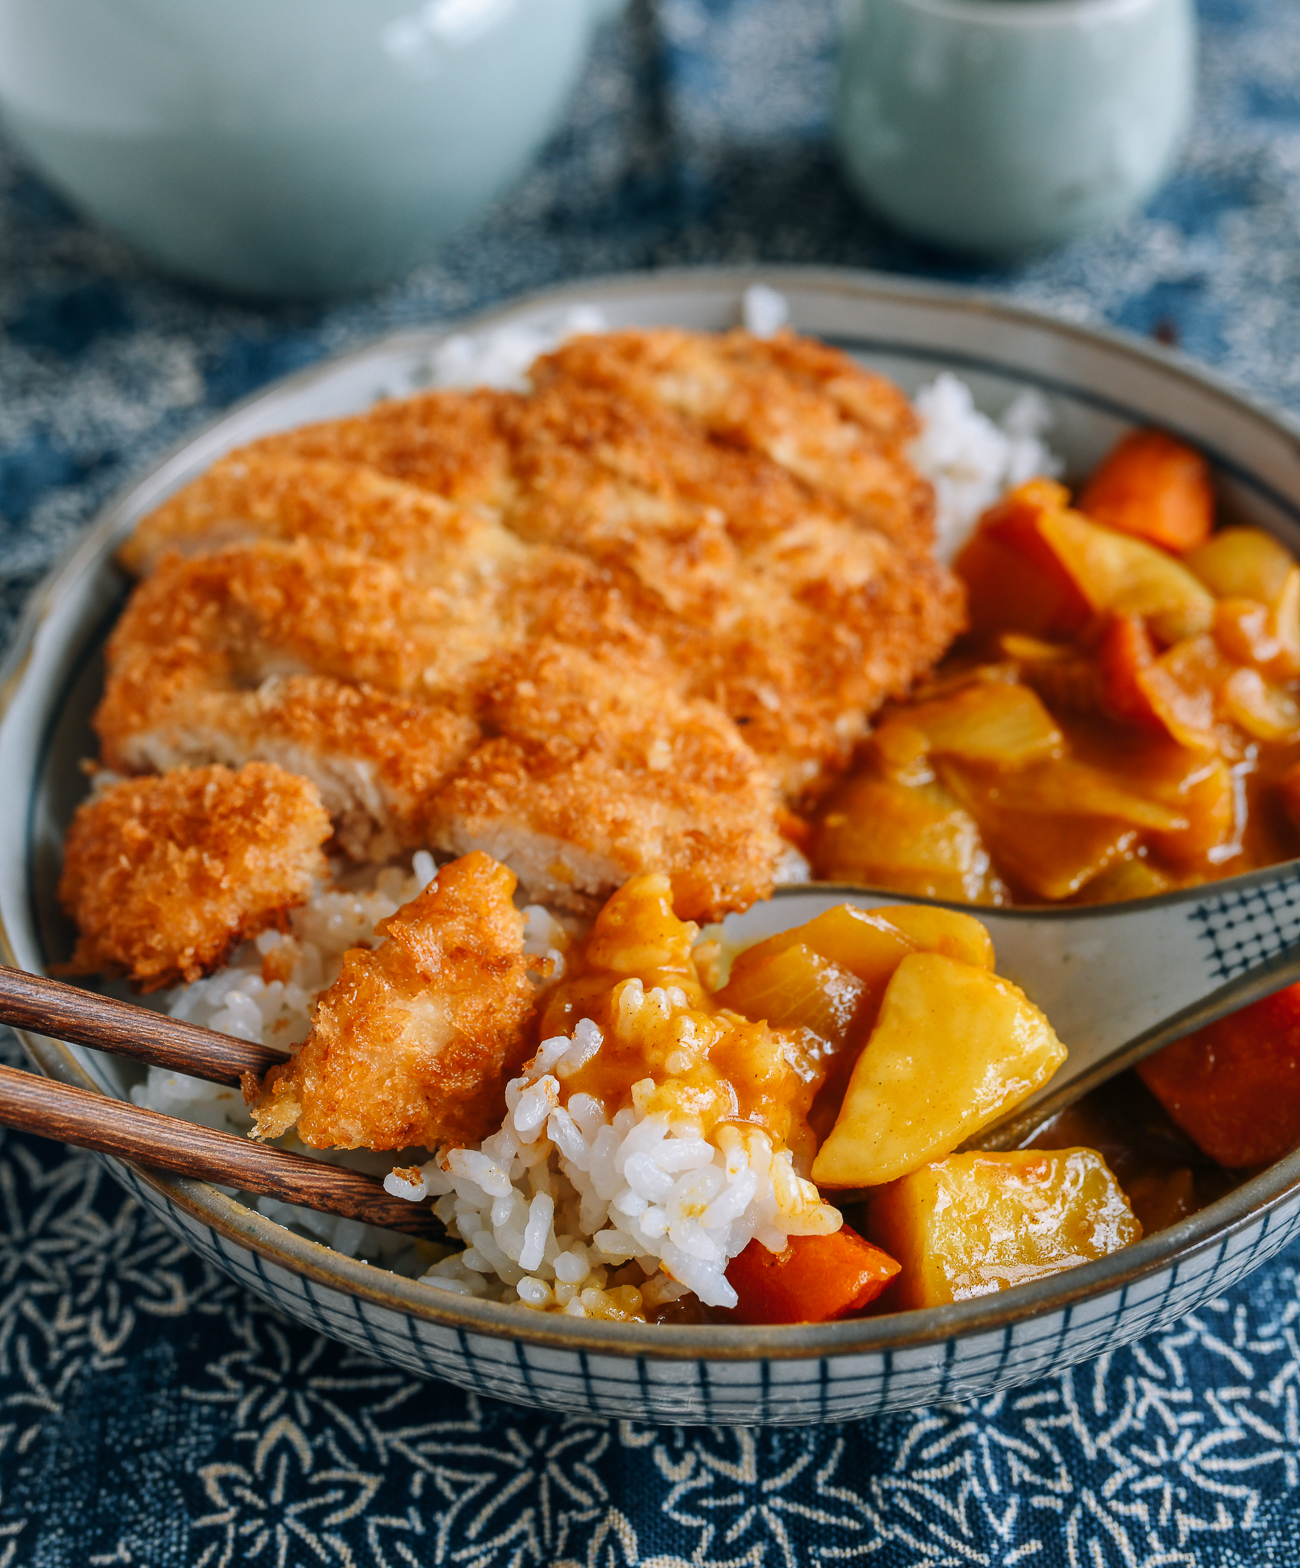
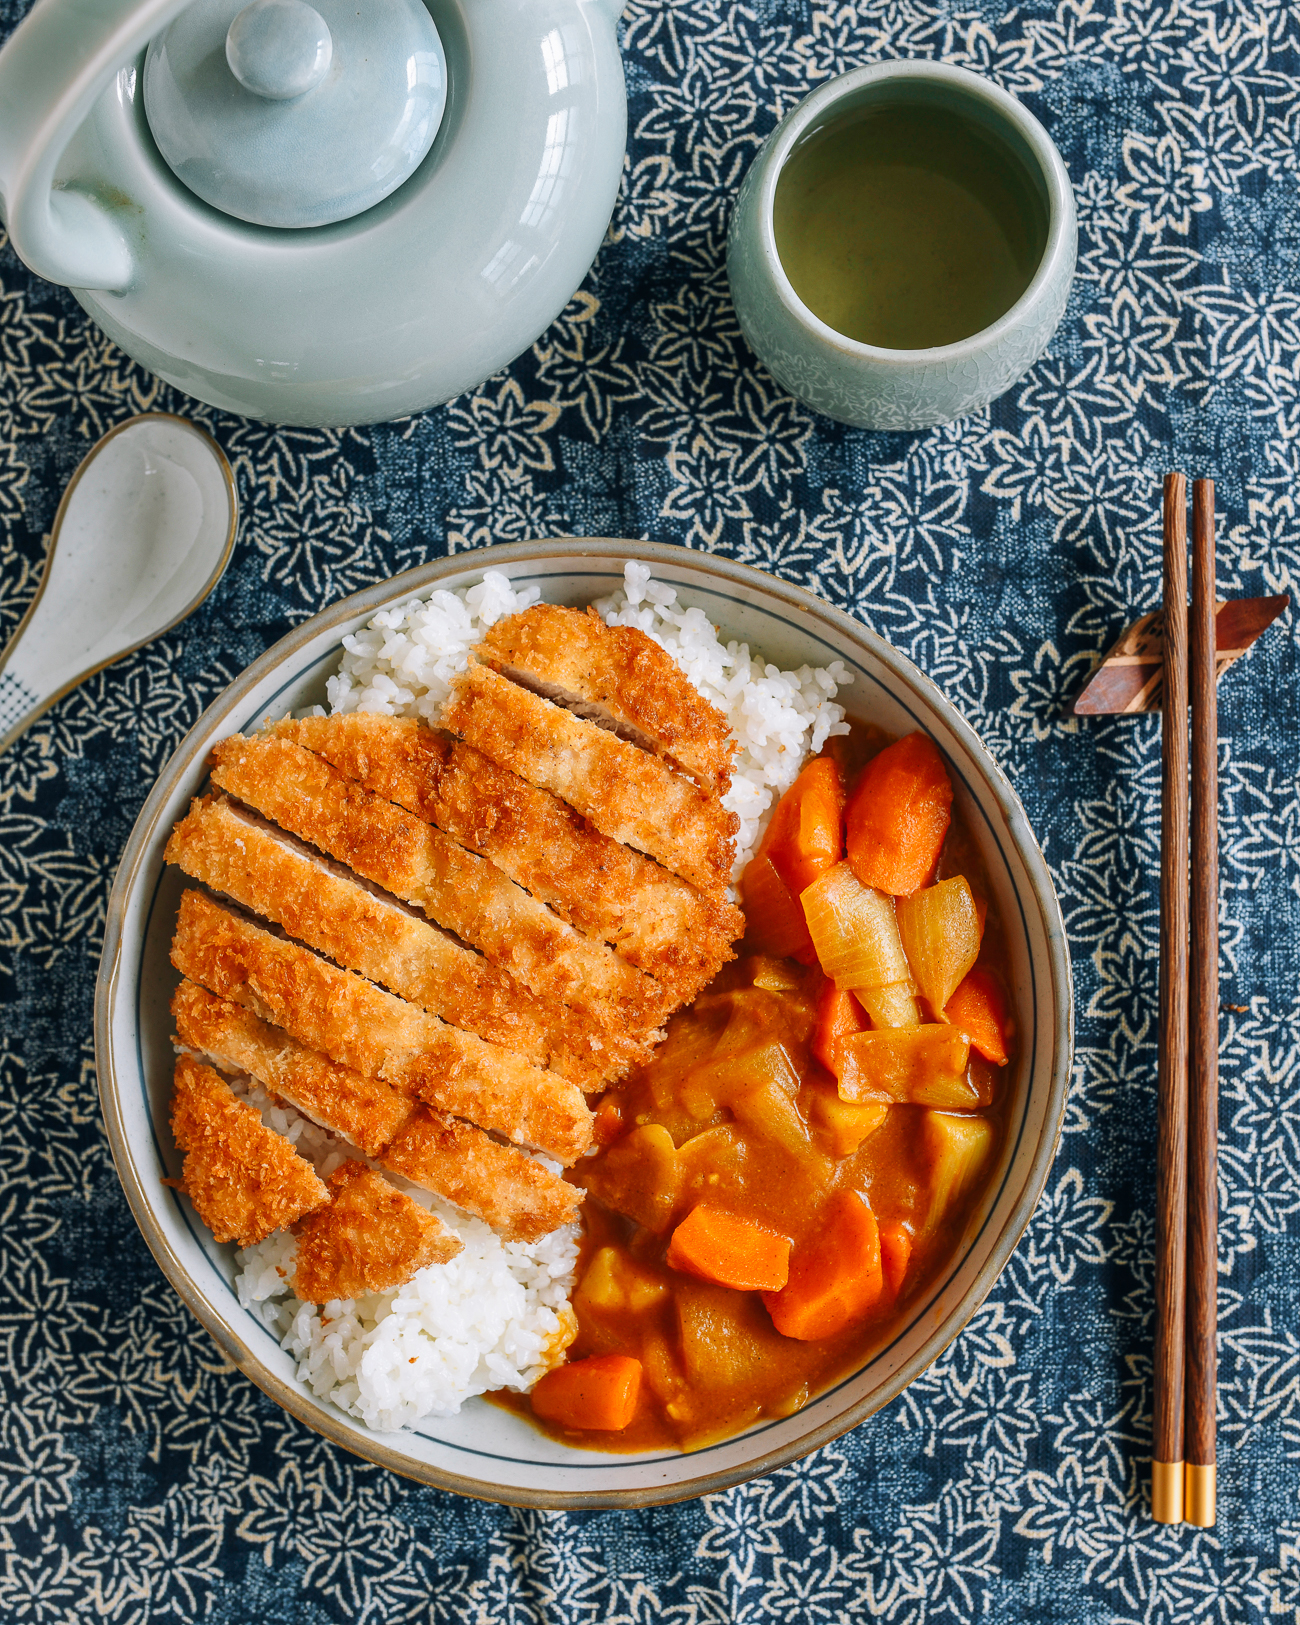
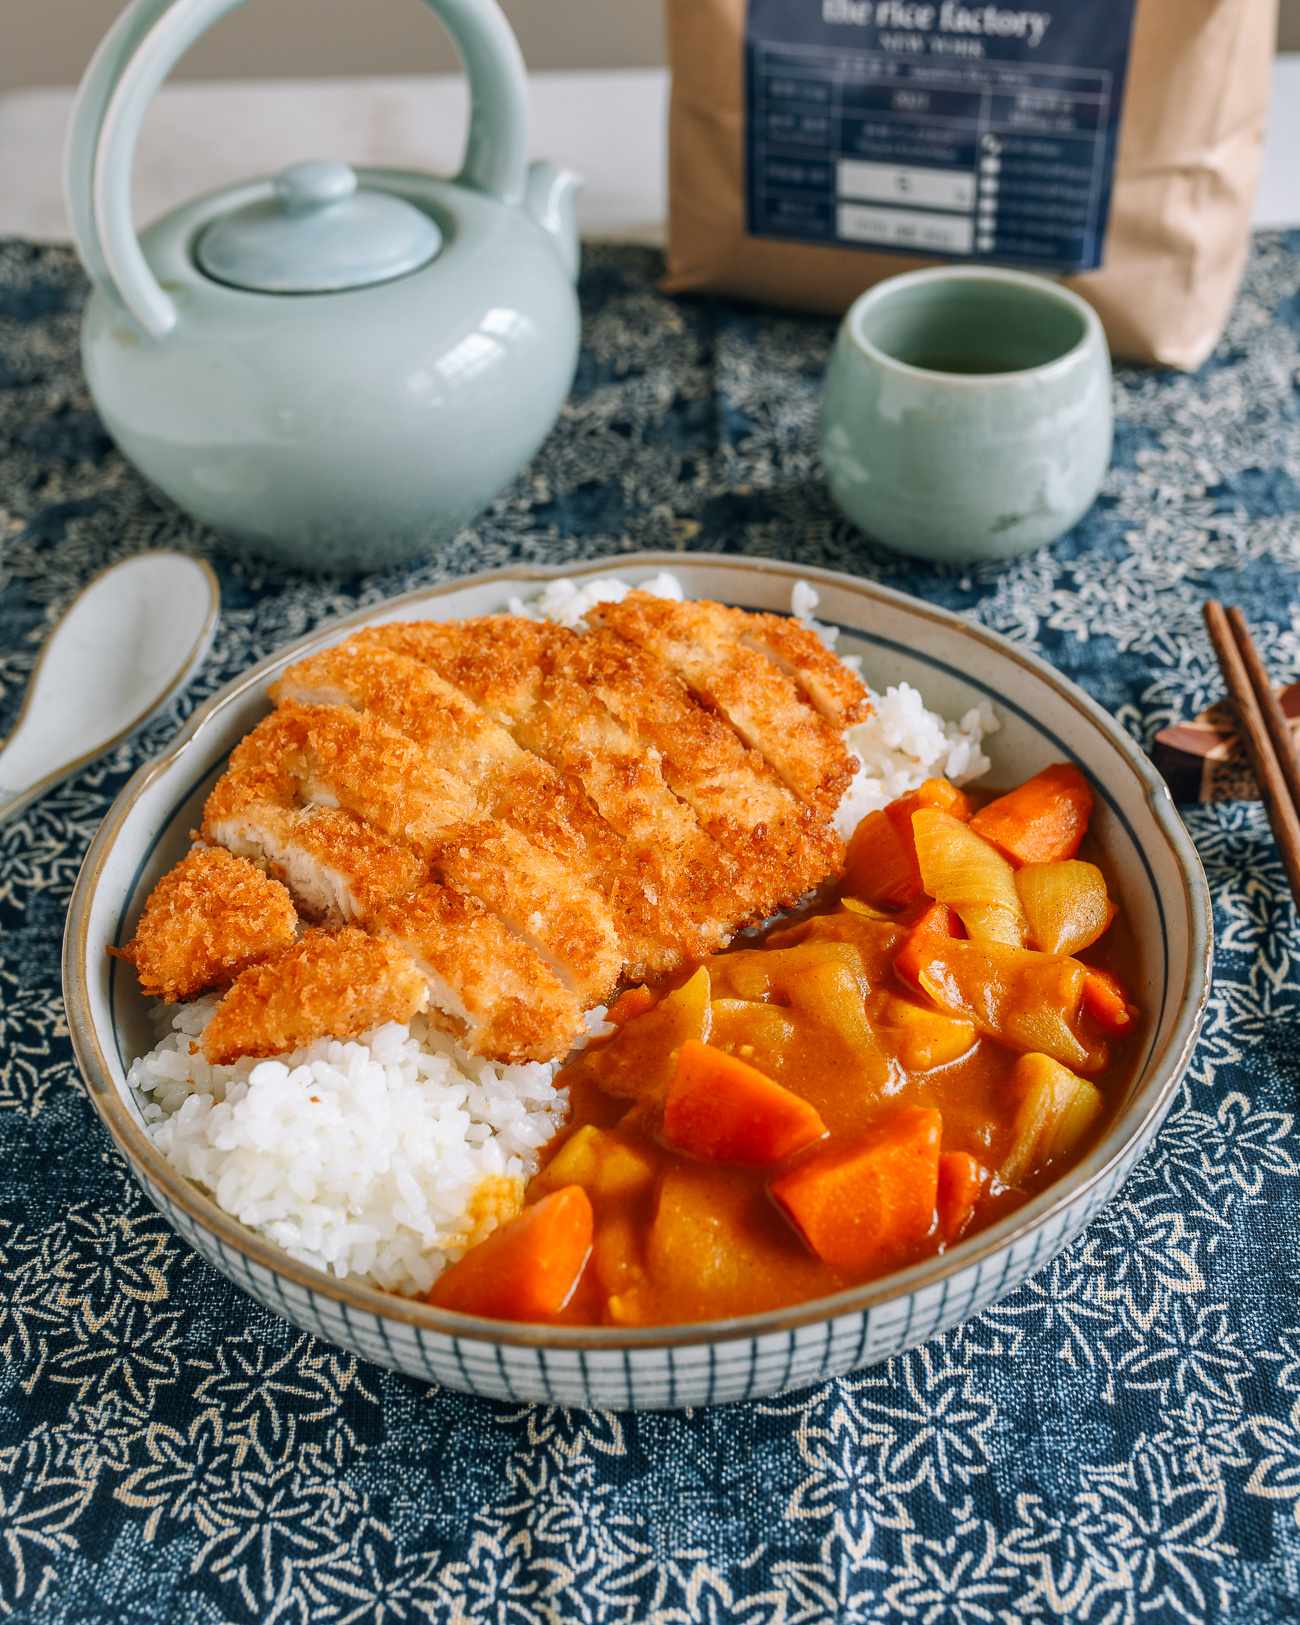
This Japanese Chicken Katsu Curry Rice is our new favorite recipe of the moment! It’s a symphony of textures—crispy panko-breaded chicken cutlet, creamy curry sauce, and slightly sticky, beautifully translucent Japanese rice. What more could you ask from a meal?
We partnered with the rice factory NEW YORK to bring you this Chicken Katsu Curry Rice recipe. As always on The Woks of Life, all opinions are our own. Enjoy!
Going Back to Katsu
So many of you have been enjoying my other Katsu recipe lately—Katsudon (involving a breaded pork cutlet with egg, also over rice).
All of your happy comments have inspired some major katsu cravings, and I decided to make my other favorite katsu dish—katsu curry rice. This time with chicken!
The crispy cutlet, rich curry, and sticky short-grain Japanese rice soaking it all up really is such a great combination.
Japanese Curry from Scratch
Many Japanese people (including friends I had in college) make their curry using a boxed curry roux. This is basically a block of curry sauce that you add to liquid, meat and vegetables to create an “instant” curry sauce.
I did my research on Japanese curry roux brands and tried out a few. They are definitely delicious, but I decided to make this Japanese curry from scratch, for those of you who may not have access to these brands. Curry powder is a lot easier to find at the grocery store than boxed curry roux!
Don’t worry, though. It’s really easy to make. If you’ve ever made my 15-Minute Takeout-style Curry Chicken Stir-fry, you know how simple it is to whip up a quick curry sauce.
Get the Right Rice!
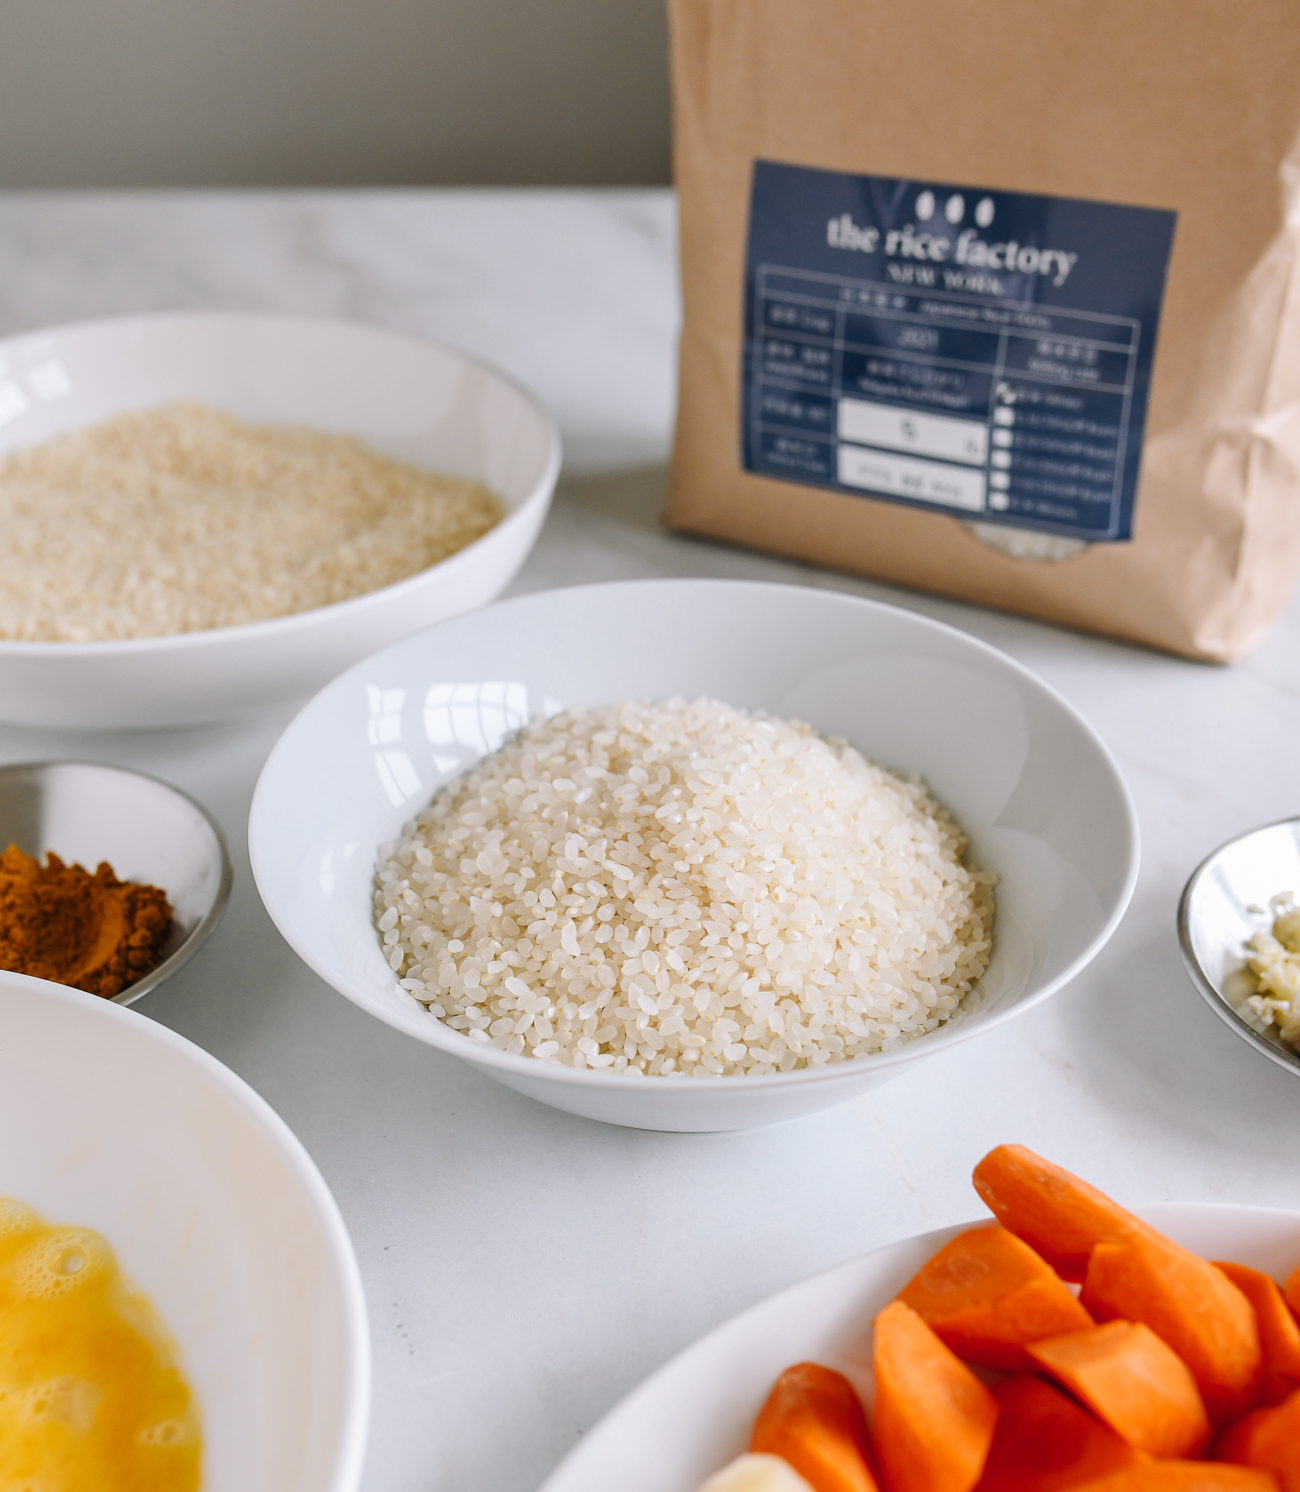
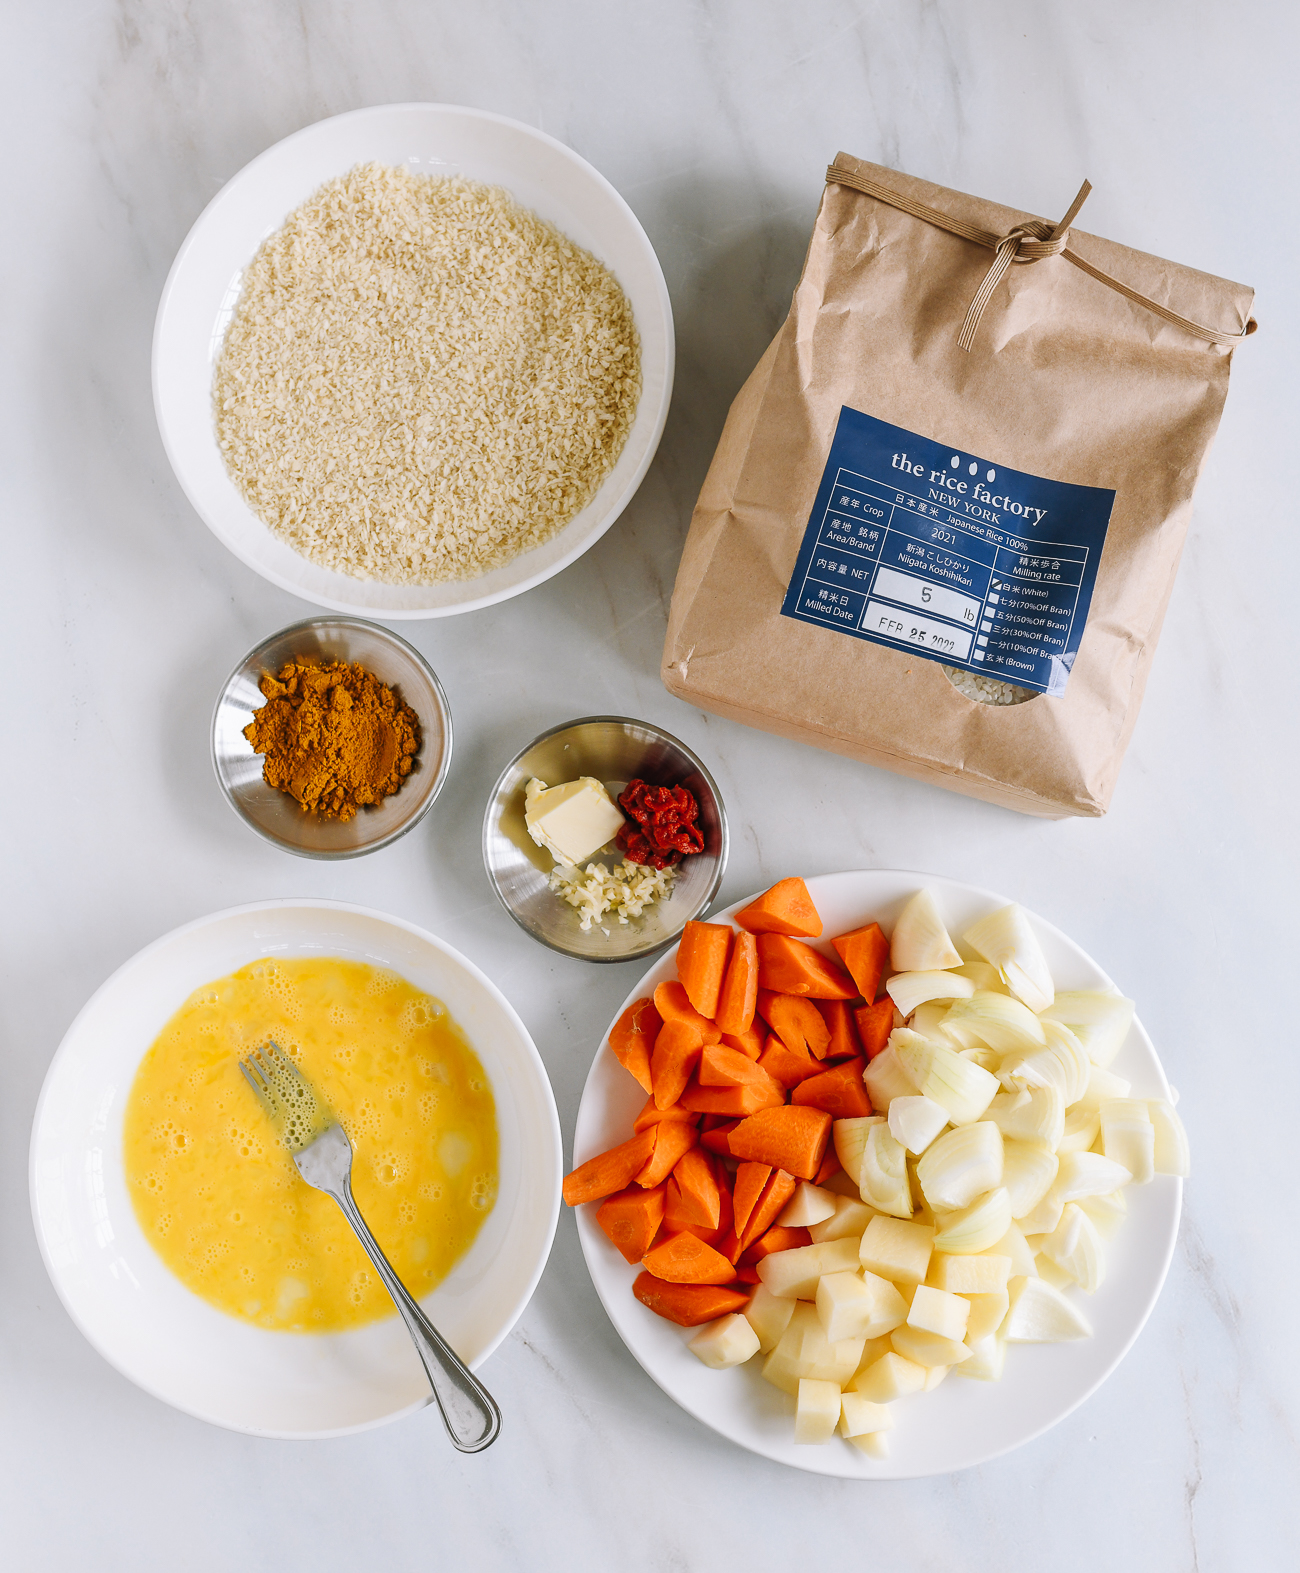
The rice you serve this recipe with is very important! You’re looking for high-quality Japanese short-grain rice, which is the perfect accompaniment to this dish.
We’re using rice from the rice factory NEW YORK, a NY-based company that specializes in providing the highest quality Japanese rice to customers outside of Japan. They sent us their koshihikari, a cultivar of Japonica rice.
This company treats rice like fine wine. I know that the rice I used was produced in Shibata-city, Niigata, and the package is labeled with the year the rice was harvested!
They provide a curated selection of products from the highest quality producers in Japan, and seek to maintain the rice’s quality from transport through milling. (The rice is actually milled here in the U.S., because quality and taste begin to deteriorate after the rice has been milled.)
Check out their artisanal products on the rice factory NEW YORK website.


Tip!
Before cooking the rice in your rice cooker or using our stovetop method, rinse the rice a couple times, and pour off the starchy water.
This washes away excess surface starch, which gives the rice a slightly less sticky texture. The individual grains should be distinct, yet they should be just sticky enough to cling together.
If that sounds a little fussy…well, it is! But as you can probably tell, rice is very important across Asia, as is preparing it well!
This recipe serves 4, so we suggest making 2 cups of rice, which will yield 6 cups of cooked rice, or about 1½ cups per person.
Ok, on to the recipe!
Chicken Katsu Curry Rice: Recipe Instructions
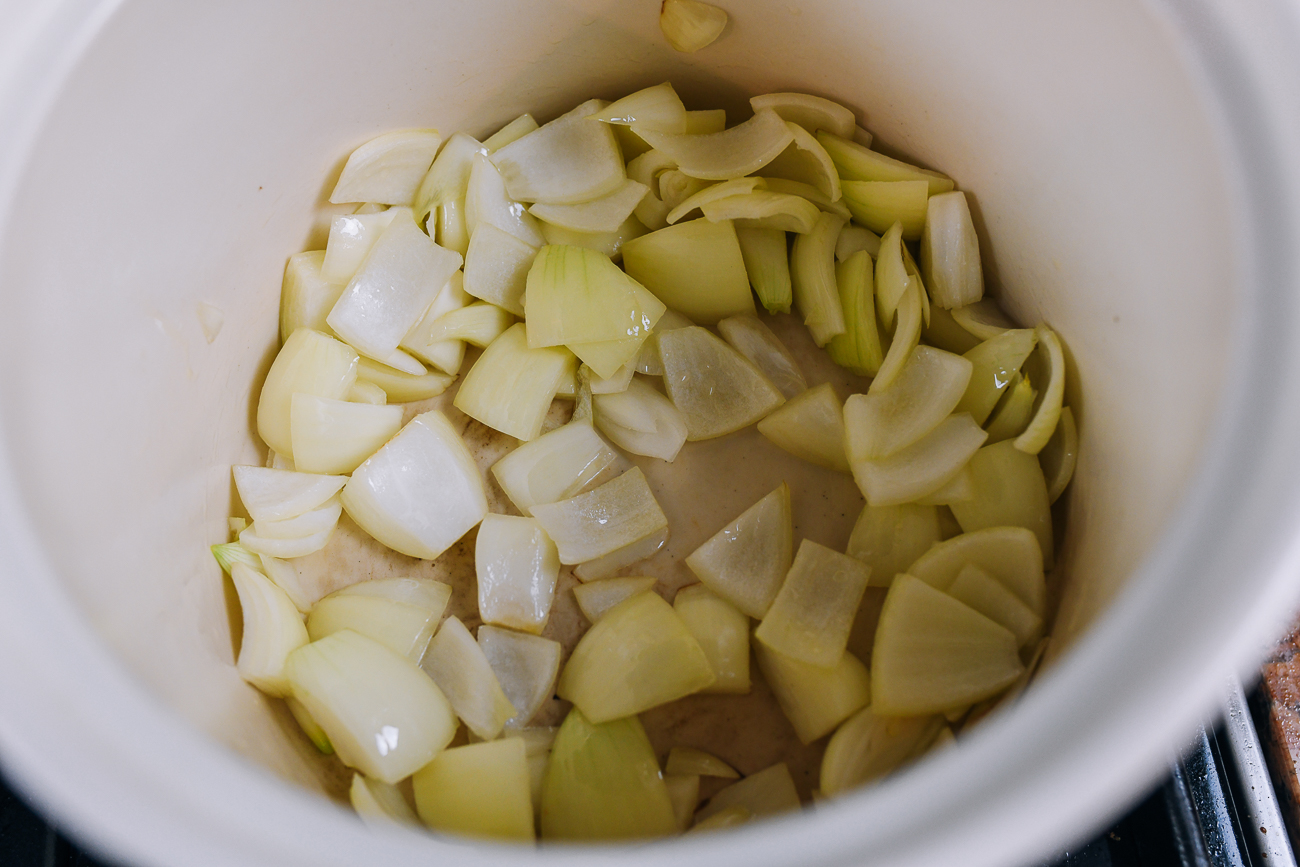
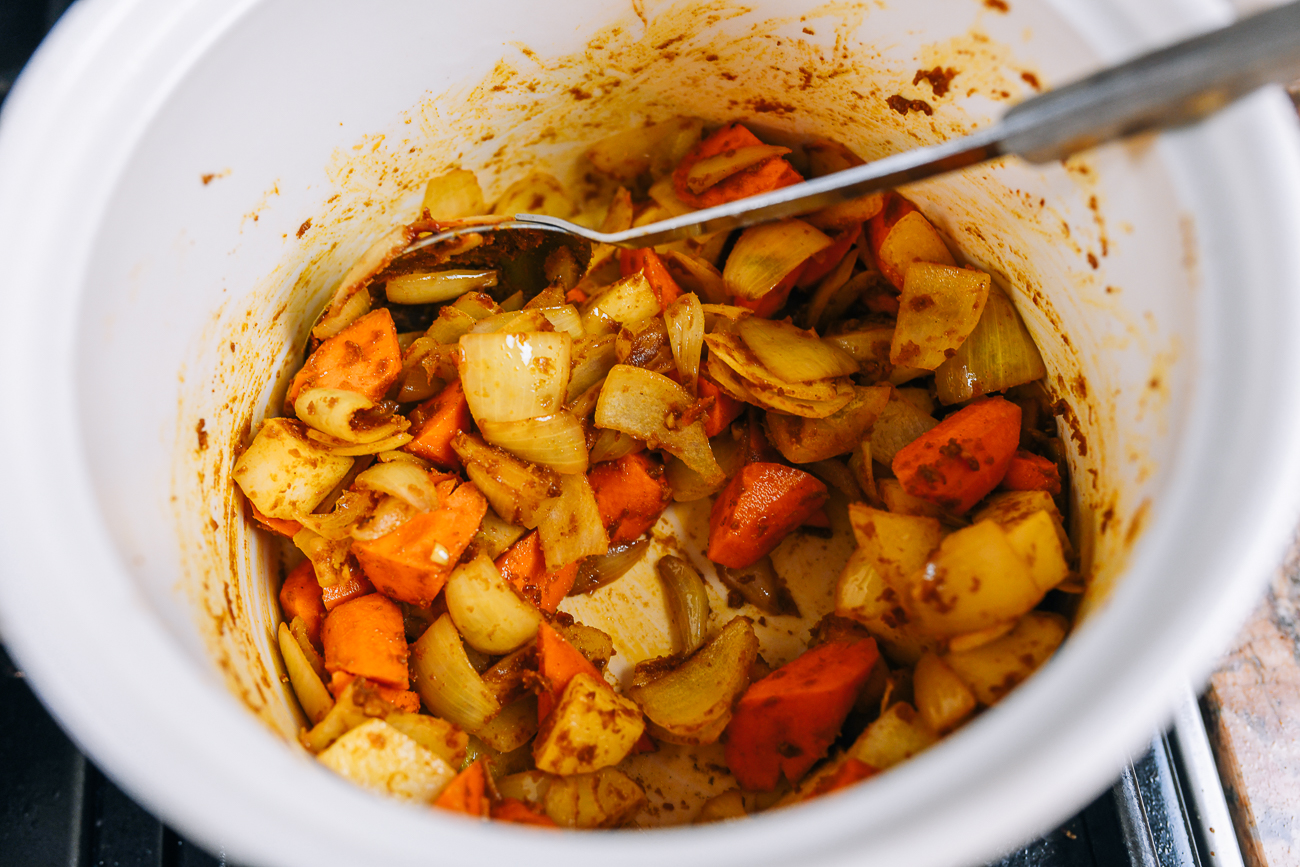
Heat a Dutch oven or other medium to large pot over medium heat. Add the 1 tablespoon oil and the onion, and cook until the onions begin to turn translucent and the edges begin to brown, about 2-3 minutes.
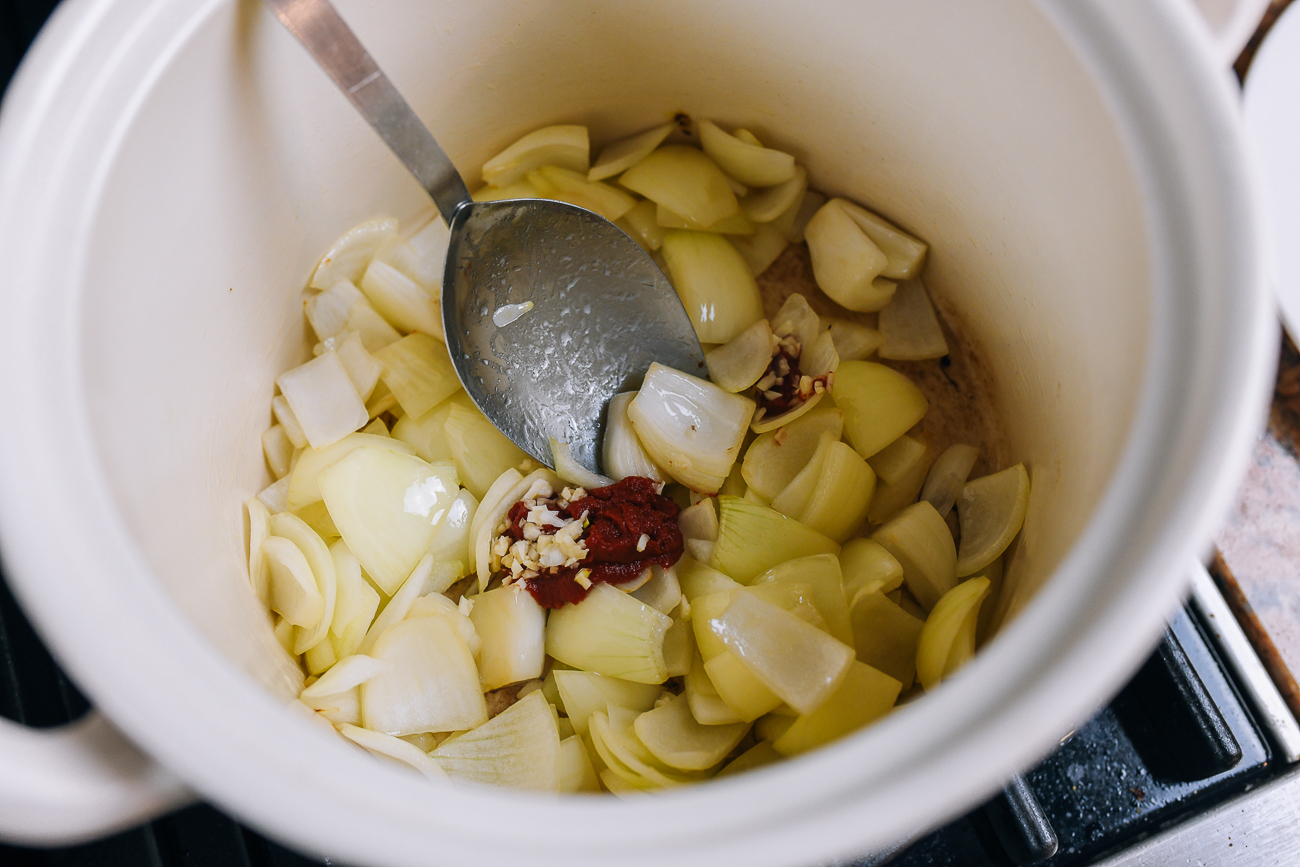
Add the garlic, tomato paste, and Worcestershire sauce (if using), and cook until fragrant, 1 minute.
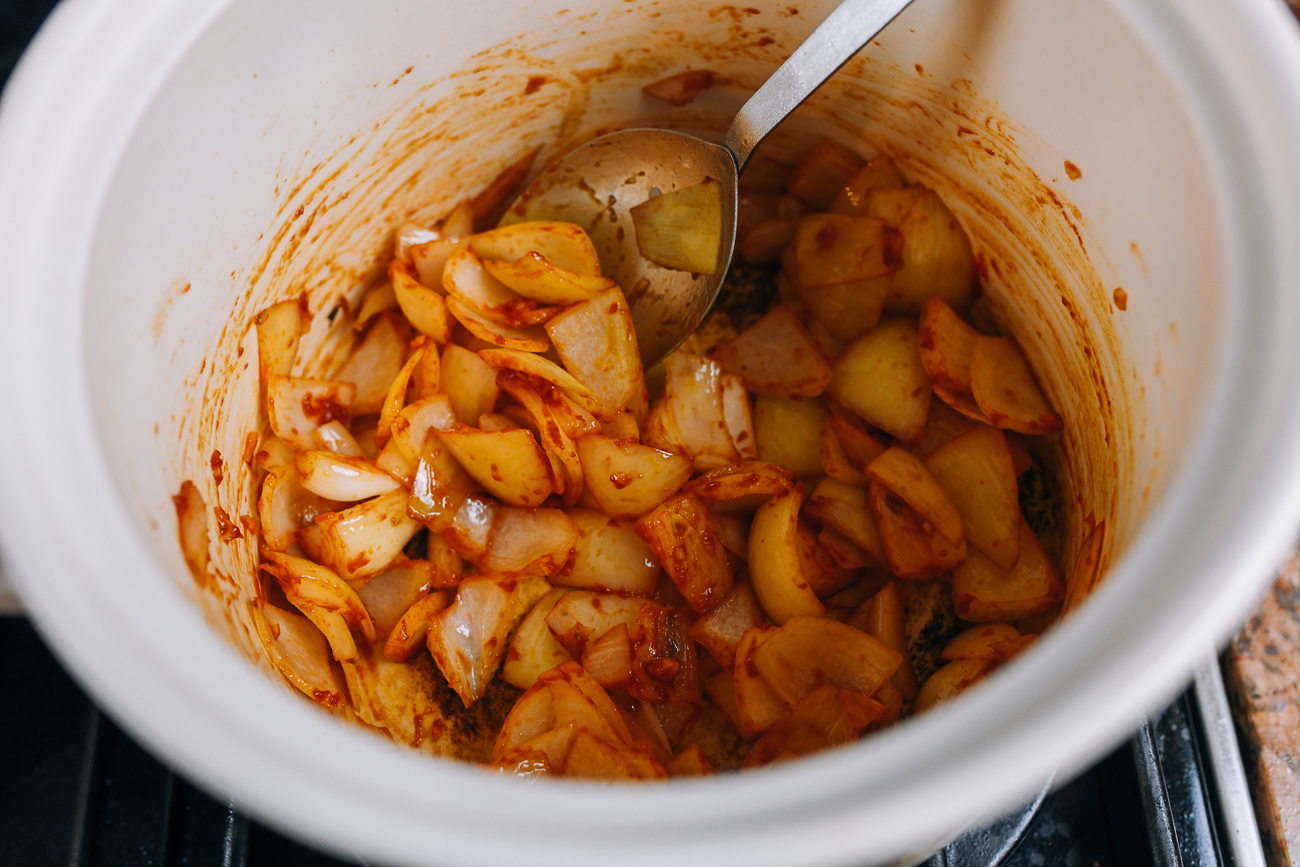
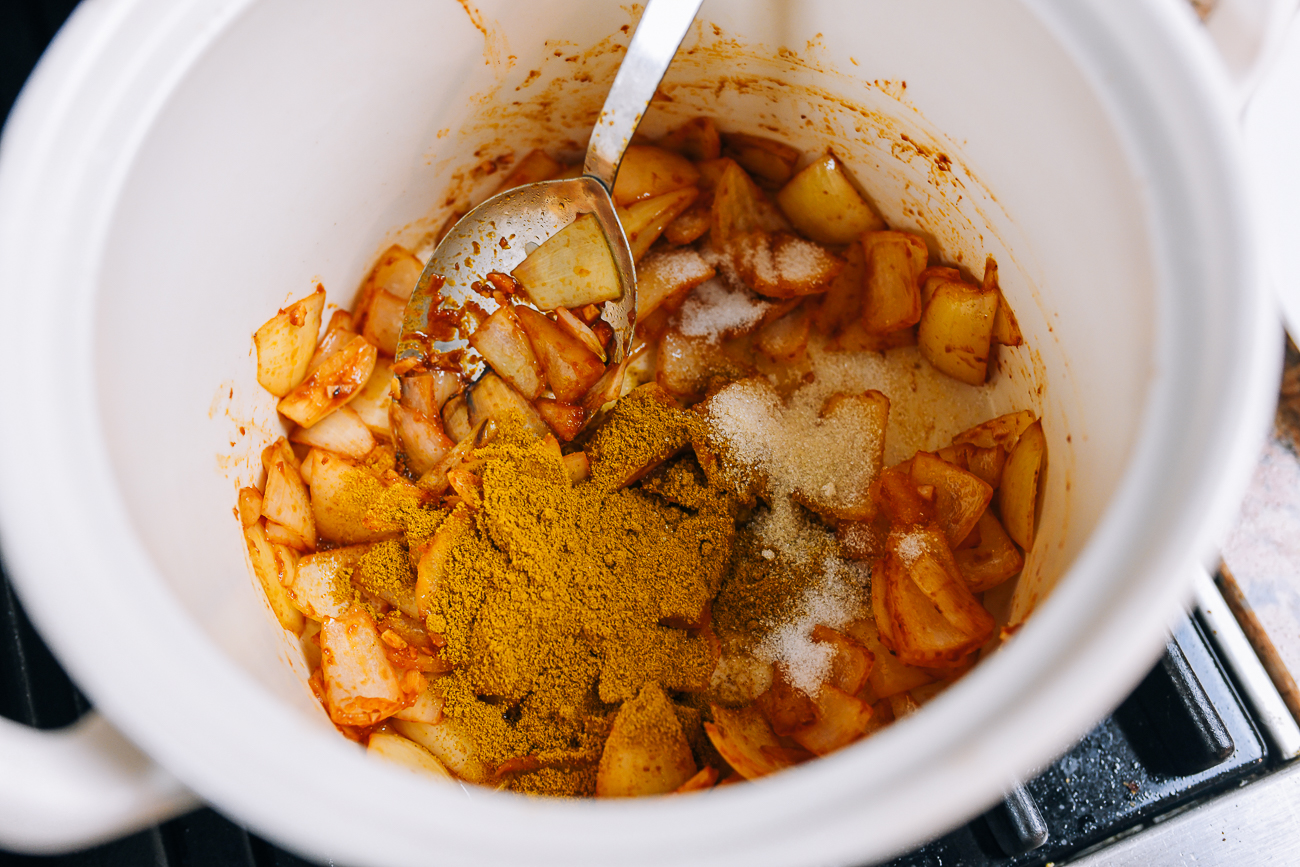
Then stir in the curry powder, salt, and sugar, and cook for 1 minute.
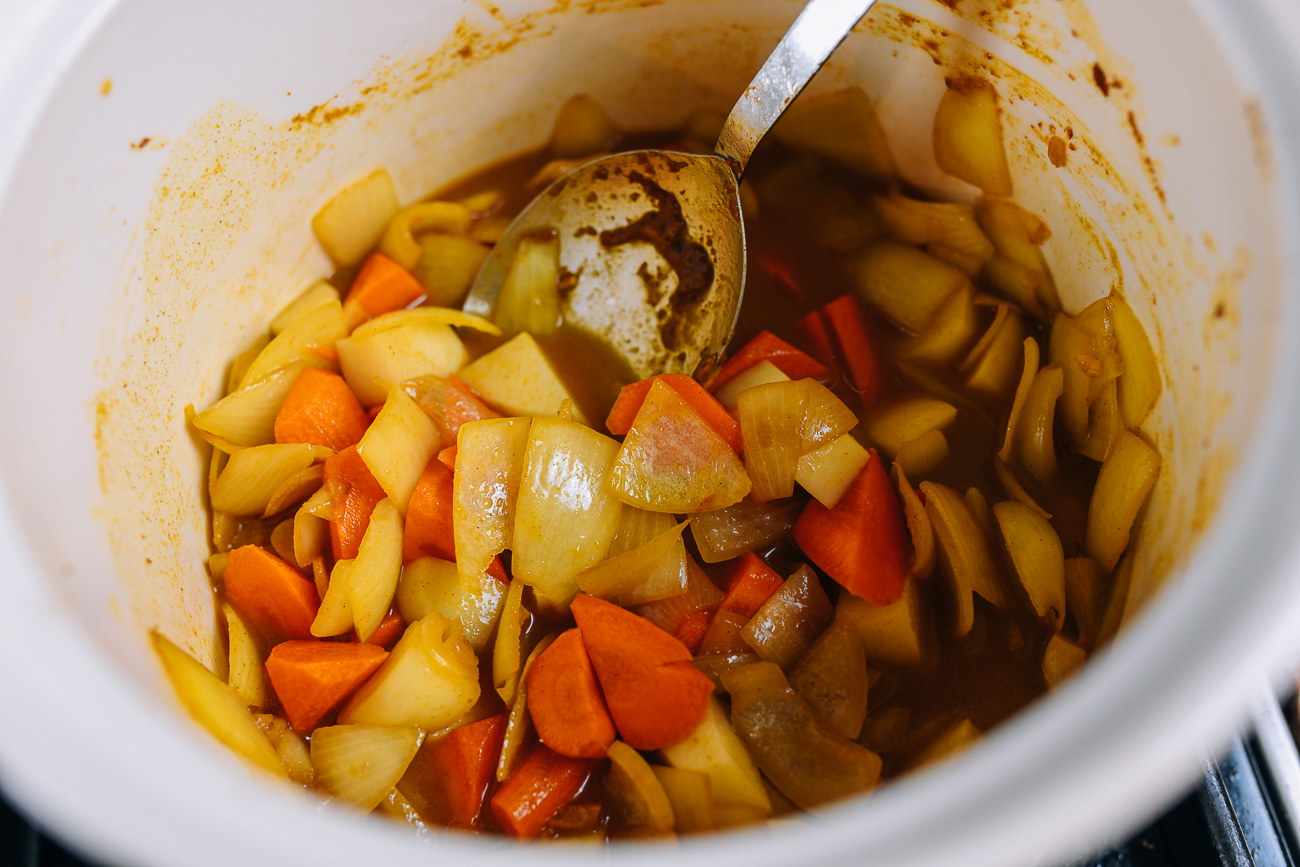
Stir in the potatoes, carrots, and chicken stock. Bring to a simmer, cover, and cook until the potatoes and carrots are tender, about 20-25 minutes.
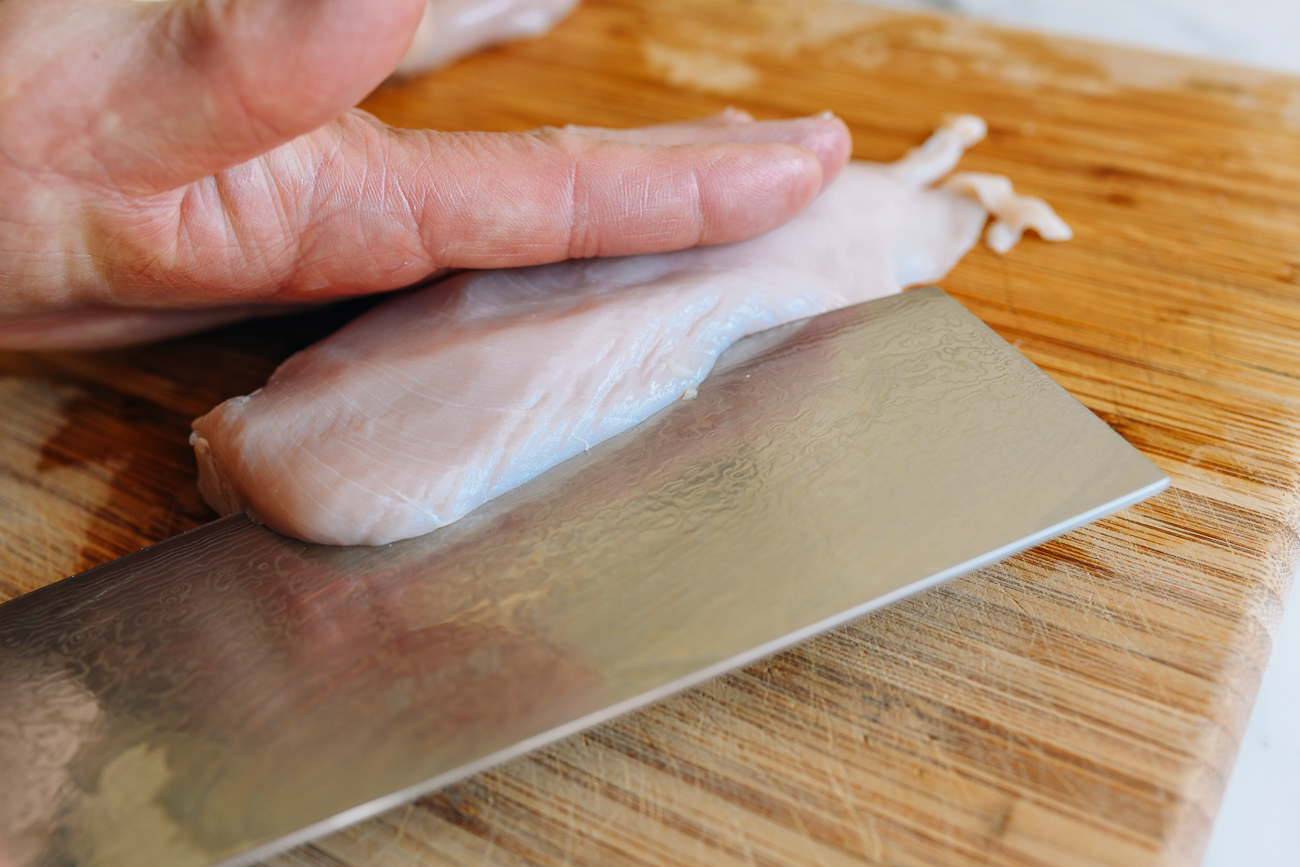
Meanwhile, butterfly the chicken breast so they’re thin and even.
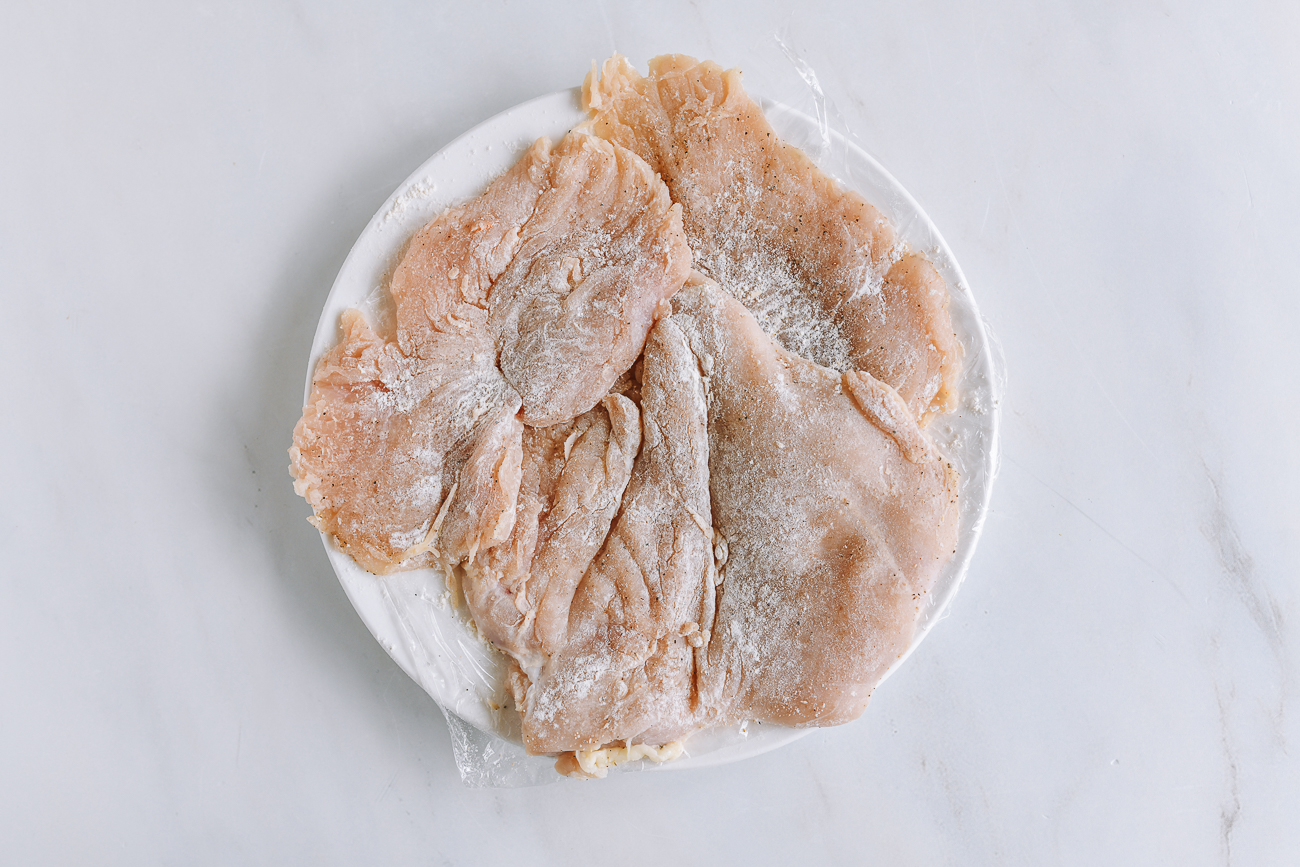
If the chicken is uneven, you can pound it to an even thickness. Pat the chicken dry with a paper towel. Season both sides of the chicken pieces with salt and pepper, and dust with a light, even coating of flour.
In one shallow bowl, beat the egg. Put the panko breadcrumbs into another shallow bowl.
Add a thin, even layer of oil to a cast iron pan or nonstick skillet over medium heat. The oil is ready when you throw a panko breadcrumb into the oil and it sizzles. Dip the chicken into the egg to coat. Transfer to the panko and press it evenly into the chicken to get a good coating.
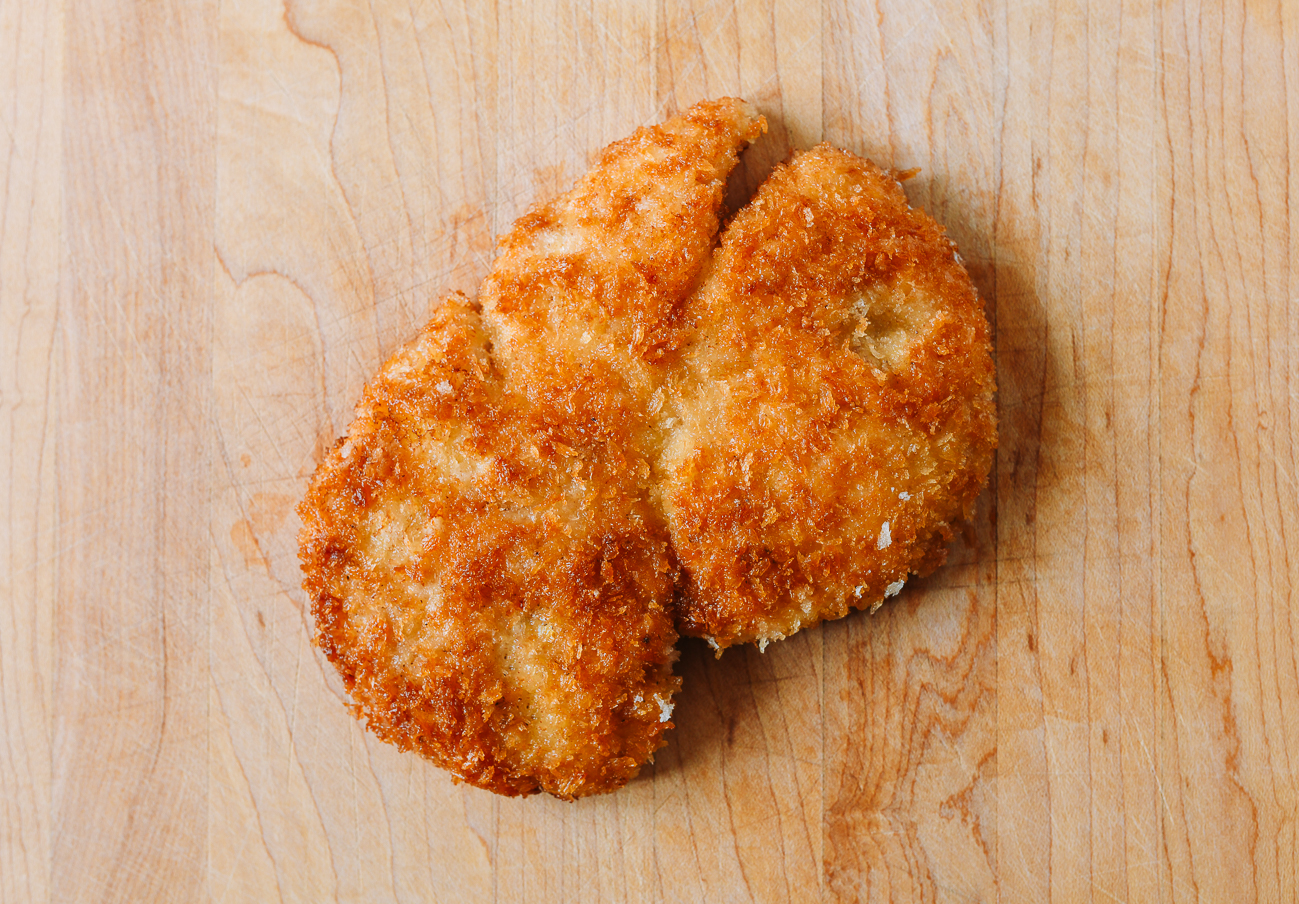
You’ll need to cook the chicken in a couple batches. Carefully lay the chicken in the hot oil and cook for 6 minutes on one side, until golden brown.
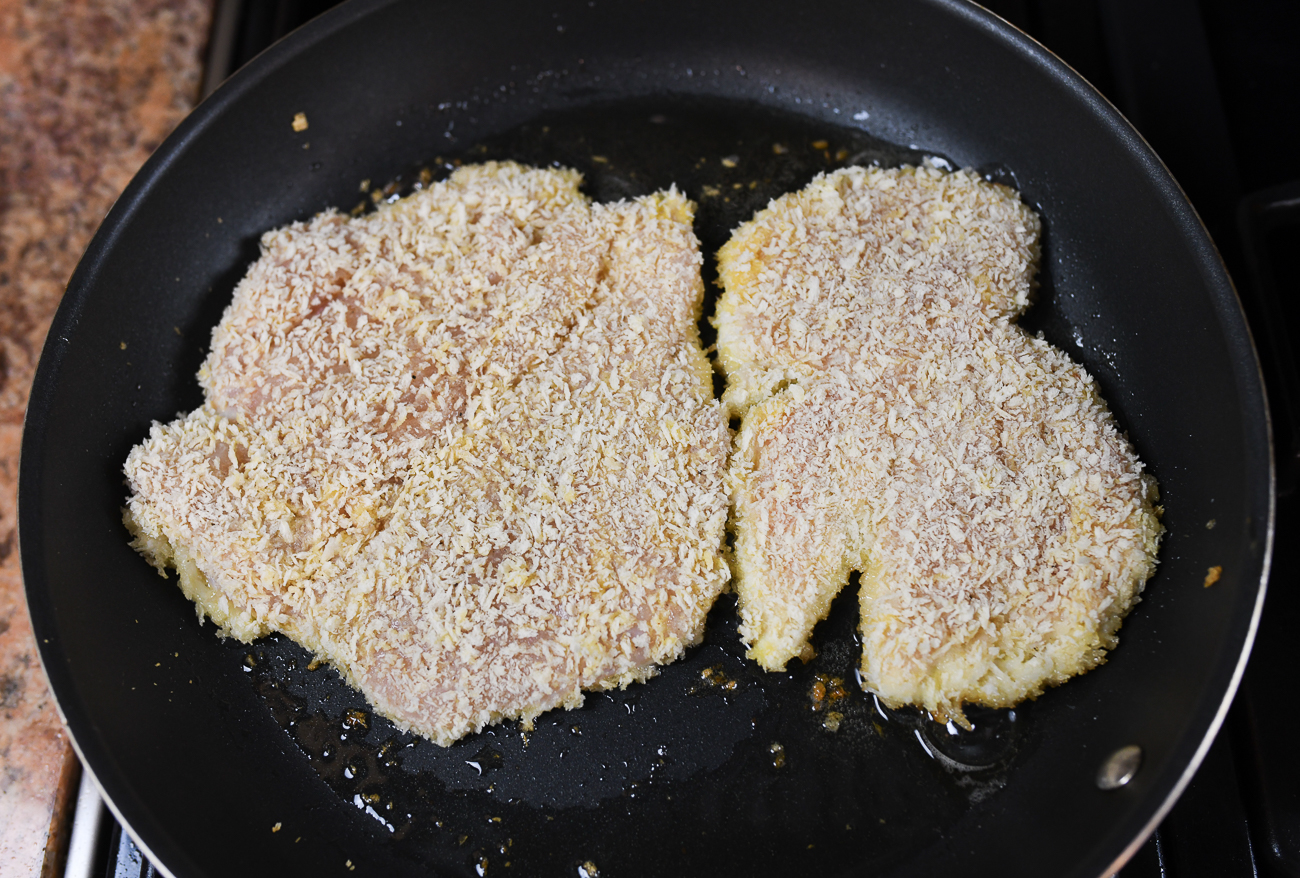
Flip and cook the other side for another 5-6 minutes. Transfer to a plate and repeat with the remaining chicken, adding oil to the pan as needed.
Stir the cornstarch with the water to make a slurry, and add it to the curry sauce. Stir until the sauce is thickened, then stir in the butter. Taste for seasoning and add additional salt to taste if needed.
Slice the chicken, and place over the steamed rice. Ladle the curry sauce on the side. Enjoy!
Looking for more authentic recipes? Subscribe to our email list and be sure to follow us on Pinterest, Facebook, Instagram, and Youtube!
Recipe

Chicken Katsu Curry Rice
Ingredients
For the curry sauce:
- 1 tablespoon vegetable oil
- 10-12 ounces white or yellow onion (about 2 small to medium onions, halved and cut into 1-inch/2.5cm pieces)
- 1 clove garlic (minced)
- 1 tablespoon tomato paste
- 1 teaspoon Worcestershire sauce (optional)
- 2 tablespoons curry powder (such as madras curry powder)
- 1 teaspoon salt
- 1 teaspoon sugar
- 8 ounces russet or yukon gold potato (cut into 3/4 inch or 2 cm cubes; about 1 medium or 2 small potatoes)
- 8 ounces carrots (cut into 3/4 inch or 2 cm triangular pieces; about 3 medium carrots)
- 2 cups chicken stock
- 1 tablespoon cornstarch (mixed onto a slurry with 1 tablespoon water)
- 1 tablespoon salted butter
For the chicken katsu:
- 2 pounds boneless skinless chicken breast
- salt and pepper
- 2 tablespoons all purpose flour
- 1 egg
- 1 1/3 cups panko breadcrumbs
- vegetable oil (for frying)
For serving:
- 6 cups steamed short grain Japanese rice such as koshihikari
Instructions
- Heat a Dutch oven or other medium to large pot over medium heat. Add the 1 tablespoon oil and the onion, and cook until the onions begin to turn translucent and the edges begin to brown, about 2-3 minutes.
- Add the garlic, tomato paste, and Worcestershire sauce (if using), and cook until fragrant, 1 minute. Then stir in the curry powder, salt, and sugar, and cook for 1 minute.
- Stir in the potatoes, carrots, and chicken stock. Bring to a simmer, cover, and cook until the potatoes and carrots are tender, about 20-25 minutes.
- Meanwhile, butterfly the chicken breast so they’re thin and even. If the chicken is uneven, you can pound it to an even thickness. Pat the chicken dry with a paper towel. Season both sides of the chicken pieces with salt and pepper, and dust with a light, even coating of flour. In one shallow bowl, beat the egg. Put the panko breadcrumbs into another shallow bowl.
- Add a thin, even layer of oil to a cast iron pan or nonstick skillet over medium heat. The oil is ready when you throw a panko breadcrumb into the oil and it sizzles. Dip the chicken into the egg to coat. Transfer to the panko and press it evenly into the chicken to get a good coating.
- You’ll need to cook the chicken in a couple batches. Carefully lay the chicken in the hot oil and cook for 6 minutes on one side, until golden brown. Flip and cook the other side for another 5-6 minutes. Transfer to a plate and repeat with the remaining chicken, adding oil to the pan as needed.
- Stir the cornstarch with the water to make a slurry, and add it to the curry sauce. Stir until the sauce is thickened, then stir in the butter. Taste for seasoning and add additional salt to taste if needed.
- Slice the chicken, and place over the steamed rice. Ladle the curry sauce on the side. Enjoy!


