
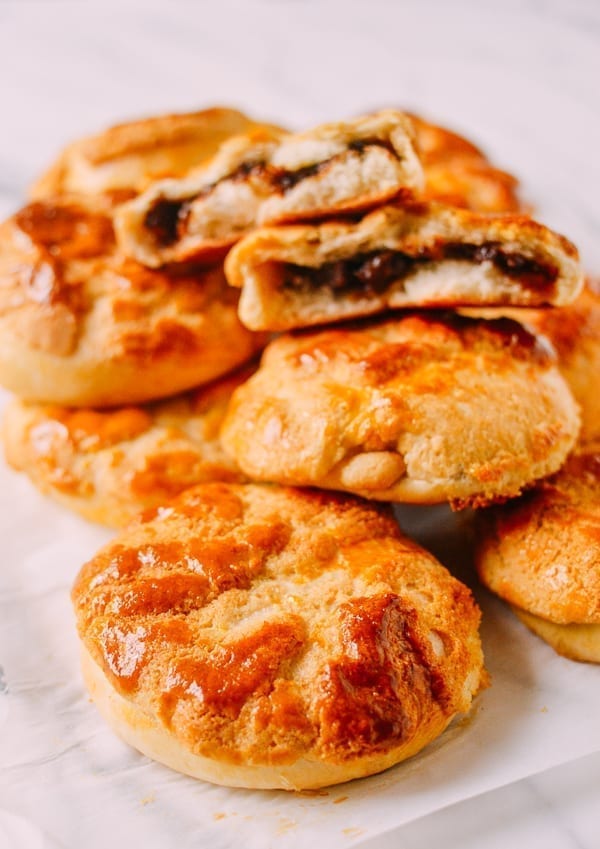
These Chinese Pineapple Buns with Roast Pork Filling are a mashup of two Chinese bakery favorites: the char siu roast pork bun, and the crispy-topped, golden yellow “pineapple” bun. Their powers combined create a magical pastry concoction that aren’t long for this world once out of the oven.
A Combo of Two Chinese Bakery Classics
For readers who may not have grown up with Chinese baked goods, let’s talk buns. The type of Chinese bakery breads we’re talking about here, popular in Hong Kong and found in Chinatowns around the world, are all generally made using a soft, fluffy, buttery milk bread base that’s slightly sweet and akin to brioche (but with less egg). Buns can be topped, filled, or both.
Regular pineapple buns generally have a plain base bun, and are topped with a crunchy, sweet yellow topping that crumbles when you bite into it. There’s no actual pineapple in Chinese pineapple buns, which got their name for the cracked appearance of the topping, which resembles the texture of a pineapple.
Roast Pork Buns, or char siu bao, are a different beast entirely. They generally have no topping, but are filled with a mixture of glazed Cantonese roast pork, or char siu.
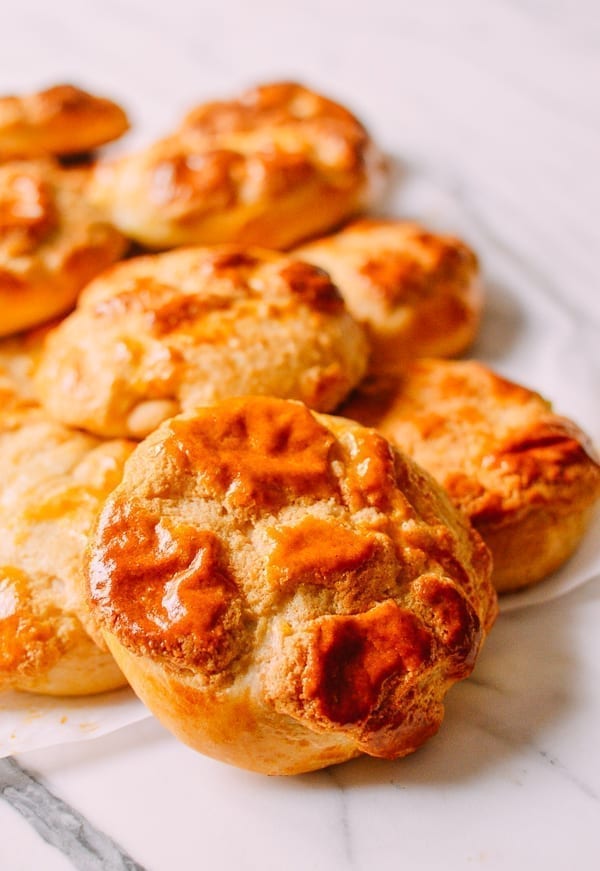
These Chinese Pineapple Buns with Roast Pork Filling are a combination of the two, offering that familiar sweet, soft texture of our acclaimed milk bread recipe, as well as the deliciousness of savory roast pork in the middle, and a crumbly, buttery pineapple bun topping on the outside. It’s hard to eat just one.
Here’s how to make them!
Pineapple Buns with Roast Pork Filling: Recipe Instructions
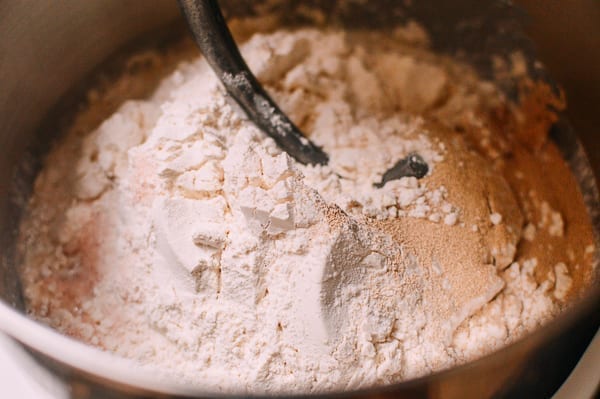
In the bowl of a mixer, add the dough ingredients: heavy cream, milk, egg, sugar, cake flour, bread flour, yeast, and salt.

Don’t Have Bread Flour or Cake Flour?
Feel free to substitute all-purpose flour for both! We have since extensively re-tested this recipe, and have not found that using 100% all-purpose flour in this recipe makes a meaningful difference to the result.
Use the dough hook attachment, and turn on the mixer to “stir.” Let it go for 15 minutes, occasionally stopping the mixer to push the dough together.
If you’re in a humid climate and the dough is too sticky, feel free to add a little more flour ¼ cup at a time until it comes together. If you don’t have a mixer and would like to knead by hand, extend the kneading time by 5-10 minutes.
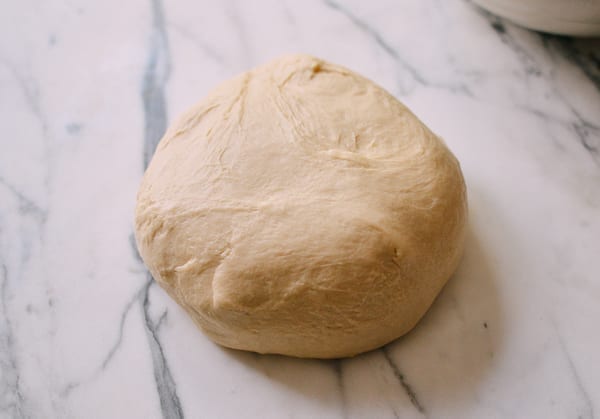
After 15 minutes of mixing, the dough is ready for proofing. Cover the bowl with a damp towel and place in a warm spot for 1 hour. The dough will grow to 1.5X its original size.
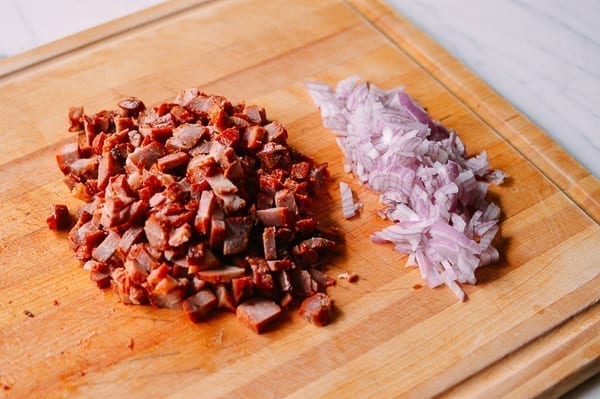
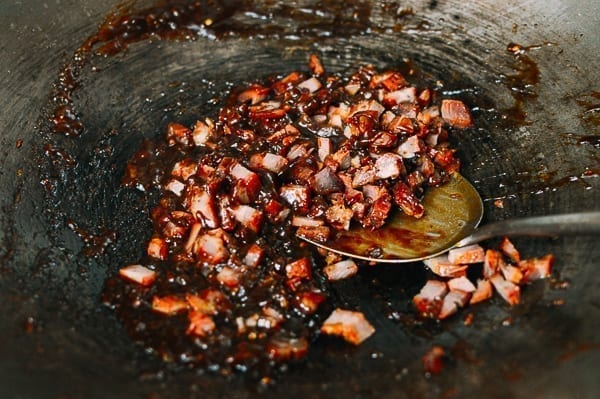
Meanwhile, prepare your filling and topping. To make the filling, heat 2 tablespoons oil in a wok over medium high heat.
Add the onion and stir-fry for 2 minutes. Add the sugar, soy sauce, oyster sauce, sesame oil, and dark soy. Stir and cook until it starts to bubble up. Add the water and flour.
Reduce the heat to medium low and cook, stirring, for a couple minutes until thickened. Remove from the heat and stir in the roast pork. Set aside to cool.
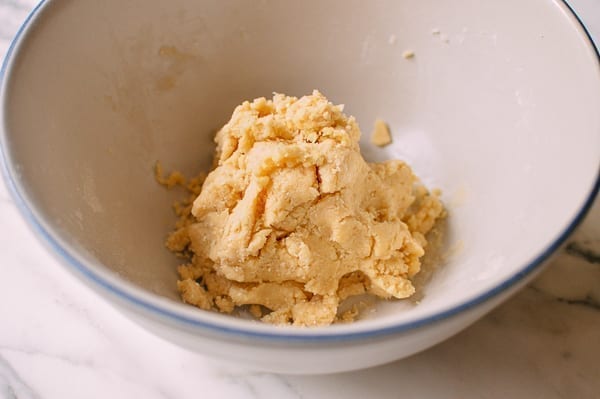
To prepare the Chinese pineapple bun topping, add the dry milk powder to a mixing bowl. If your dry milk powder has some larger clumps, crush them up with your fingers so it’s uniformly powdery.
Add the flour, baking soda, baking powder, and superfine sugar. Stir to combine. Add the shortening, milk, egg yolk, and vanilla.
Use your hands to mix everything together into a dough. If it’s too dry, add a little more milk a teaspoon at a time until it comes together. Cover with an overturned bowl or plate, and set aside at room temperature.
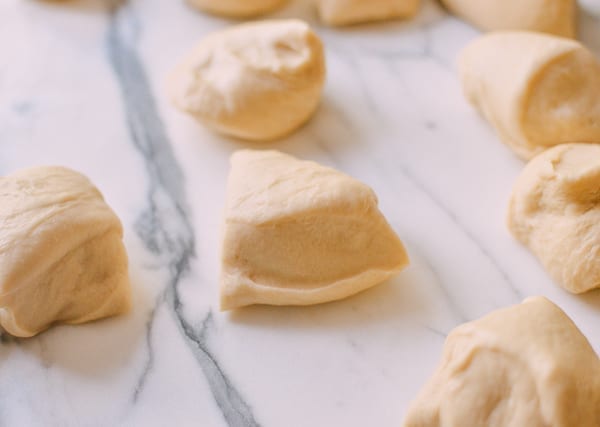
After the hour of proofing, put the dough back in the mixer and stir for another 5 minutes to get rid of air bubbles. You can also knead by hand. Dump the dough onto a lightly floured surface, and cut it into 18 equal pieces.
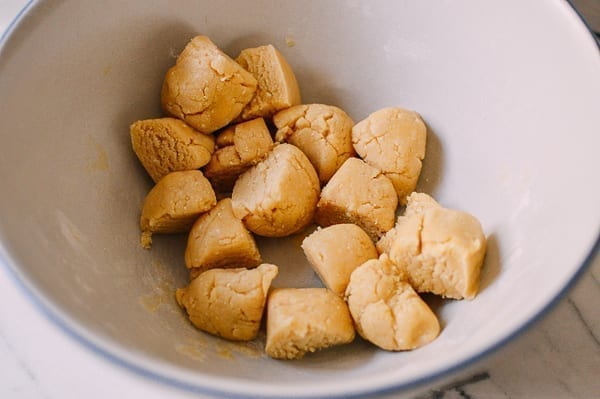
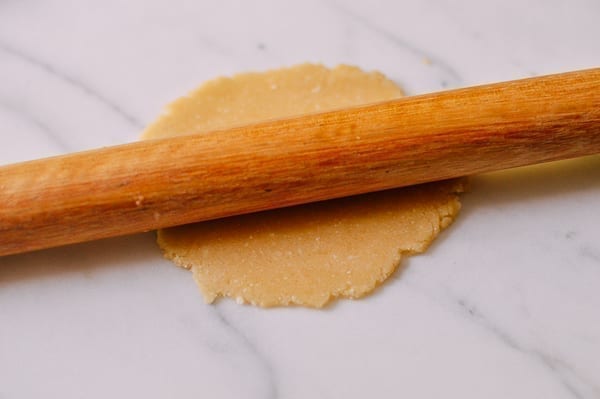
To assemble, divide the topping mixture into 18 equal pieces and roll each into a ball.
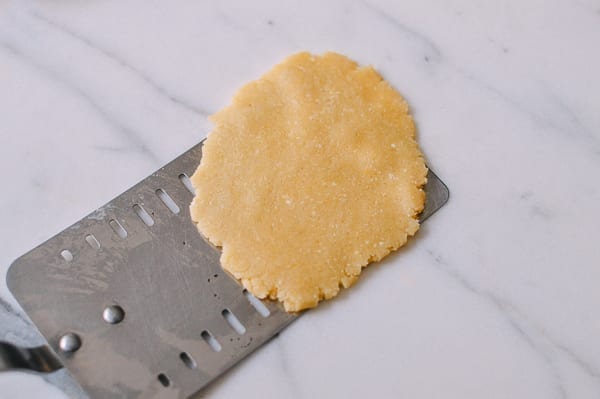
Roll each ball out into a flat circle using a rolling pin.
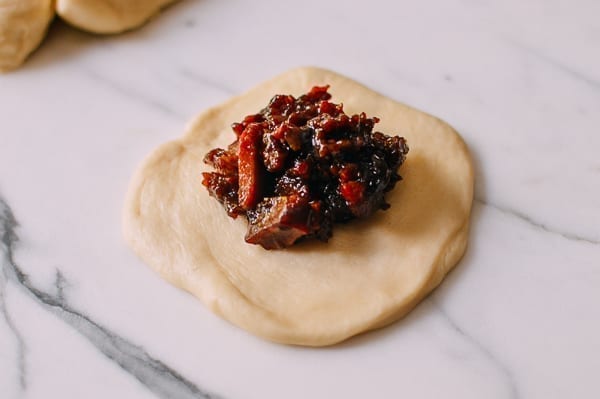
Take a piece of bread dough, and flatten with your hands into a rough circle. Put a heaping tablespoon of pork filling in the middle.
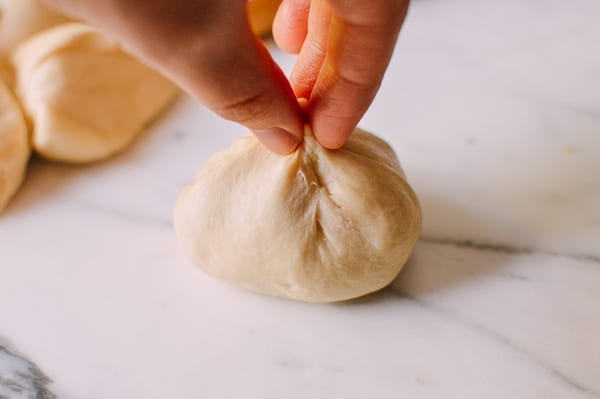
Wrap the dough around it.
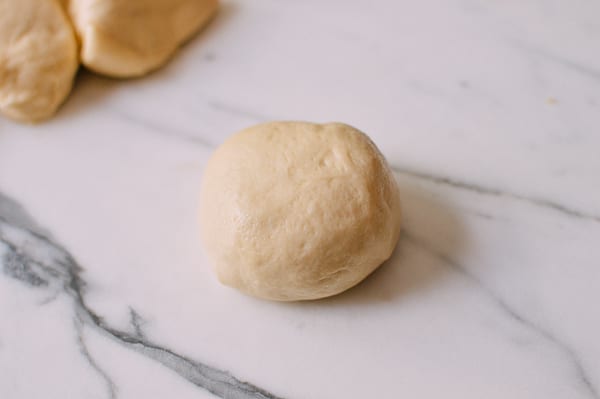
Roll into a smooth ball between your hands.
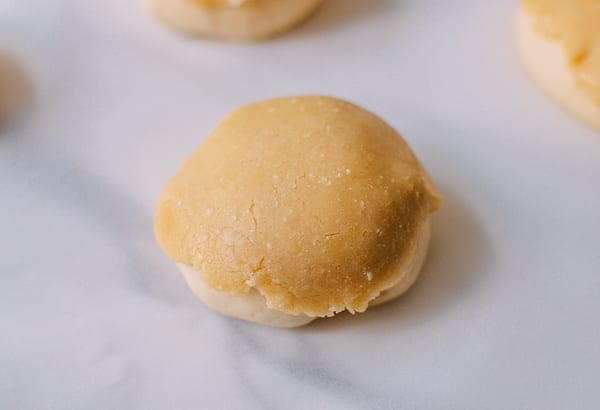
Place on a parchment-lined baking sheet, seam-side down. Top the bun with a circle of topping. Helps to use a thin spatula to get the topping off the counter.
Continue assembling until all the buns are made. Cover with a clean, damp towel and allow to rise for another hour.
After they’re done rising, position a rack in the middle of the oven and preheat to 350 degrees F. Brush the topping with egg yolk and any exposed dough with egg white.
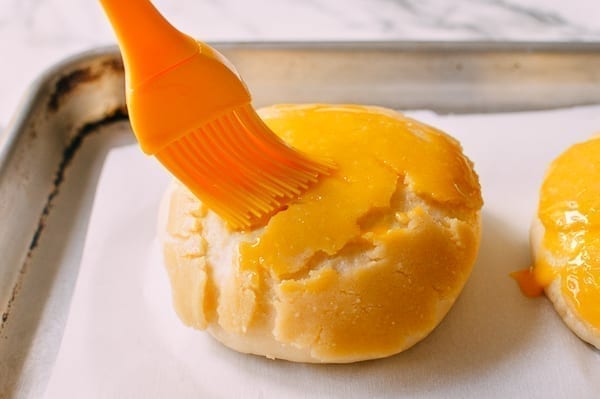
Bake for 18-20 minutes until golden. If you notice the topping getting too dark, tent the buns lightly with foil.
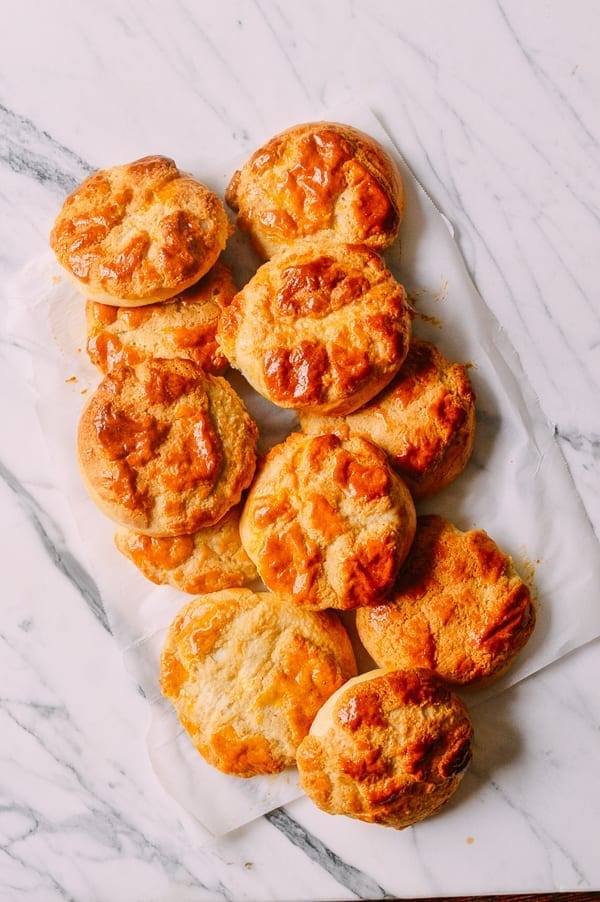
These Chinese Pineapple Buns with Roast Pork are great warm out of the oven, but they’re also great reheated in the microwave for about 30 seconds. Store them in an airtight container in the fridge and reheat to enjoy!
Looking for more authentic recipes? Subscribe to our email list and be sure to follow us on Pinterest, Facebook, Instagram, and Youtube!
Recipe

Chinese Pineapple Buns with Roast Pork Filling
Ingredients
For the buns:
- ⅔ cup heavy cream (160 ml, at room temperature)
- 1 cup milk (235 ml, at room temperature)
- 1 large egg (at room temperature)
- ⅓ cup granulated sugar (75g)
- ½ cup cake flour (70g)
- 3½ cups bread flour (500g)
- 1 tablespoon active dry yeast (11g)
- 1½ teaspoons salt (7g)
For the filling:
- 2 tablespoons oil (30 ml)
- 1/2 cup finely chopped shallots or red onion
- 2 tablespoons sugar (25g)
- 1 tablespoon soy sauce (15 ml)
- 2 tablespoons oyster sauce (30 ml)
- 2 teaspoons sesame oil
- 2 teaspoons dark soy sauce
- ¾ cup water (175 ml)
- 3 tablespoons flour (24g)
- 2 cups Chinese roast pork (char siu, diced)
For the topping:
- ¼ cup nonfat dry milk powder (30g)
- 1¼ cups all-purpose flour (160g)
- ½ teaspoon baking soda
- ¼ teaspoon baking powder
- 2/3 cup superfine or caster sugar (150g, very important that it’s superfine)
- ¼ cup vegetable shortening or butter (50g)
- 2 tablespoons milk (30 ml)
- 1 egg yolk
- 1/8 teaspoon vanilla extract
To finish the buns:
- 2 eggs (separated)
Instructions
- In the bowl of a mixer, add the dough ingredients: heavy cream, milk, egg, sugar, cake flour, bread flour, yeast, and salt. Use the dough hook attachment, and turn on the mixer to “stir.” Let it go for 15 minutes, occasionally stopping the mixer to push the dough together. If you’re in a humid climate and the dough is too sticky, feel free to add a little more flour ¼ cup at a time until it comes together. If you don’t have a mixer and would like to knead by hand, extend the kneading time by 5-10 minutes.
- After 15 minutes of mixing, the dough is ready for proofing. Cover the bowl with a damp towel and place in a warm spot for 1 hour. The dough will grow to 1.5X its original size.
- Meanwhile, prepare your filling and topping. To make the filling, heat 2 tablespoons oil in a wok over medium high heat. Add the onion and stir-fry for 2 minutes. Add the sugar, soy sauce, oyster sauce, sesame oil, and dark soy. Stir and cook until it starts to bubble up. Add the water and flour. Reduce the heat to medium low and cook, stirring, for a couple minutes until thickened. Remove from the heat and stir in the roast pork. Set aside to cool.
- To prepare the topping, add the dry milk powder to a mixing bowl. If your dry milk powder has some larger clumps, crush them up with your fingers so it’s uniformly powdery. Add the flour, baking soda, baking powder, and superfine sugar. Stir to combine. Add the shortening, milk, egg yolk, and vanilla. Use your hands to mix everything together into a dough. If it’s too dry, add a little more milk a teaspoon at a time until it comes together. Cover with an overturned bowl or plate, and set aside at room temperature.
- After the hour of proofing, put the dough back in the mixer and stir for another 5 minutes to get rid of air bubbles. You can also knead by hand. Dump the dough onto a lightly floured surface, and cut it into 18 equal pieces.
- To assemble, divide the topping mixture into 18 equal pieces and roll each into a ball. Roll each ball out into a flat circle using a rolling pin.
- Take a piece of bread dough, and flatten with your hands into a rough circle. Put a heaping tablespoon of pork filling in the middle, and wrap the dough around it. Roll into a smooth ball between your hands, and place on a parchment-lined baking sheet, seam-side down. Top the bun with a circle of topping.
- Continue assembling until all the buns are made. Cover with a clean, damp towel and allow to rise for another hour.
- After they’re done rising, position a rack in the middle of the oven and preheat to 350 degrees F. Brush the topping with egg yolk and any exposed dough with egg white. Bake for 18-20 minutes until golden. If you notice the topping getting too dark, tent the buns lightly with foil.
- These are great warm out of the oven, but they’re also great reheated in the microwave for about 30 seconds. Store them in an airtight container in the fridge and reheat to enjoy!


