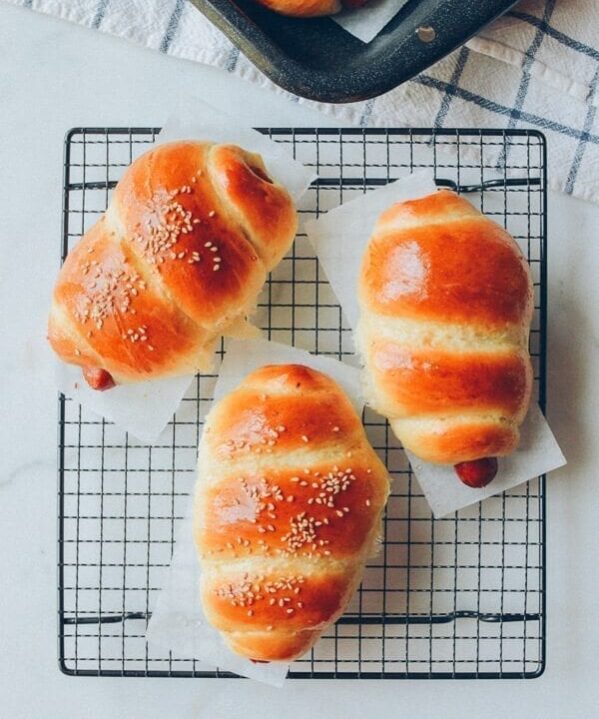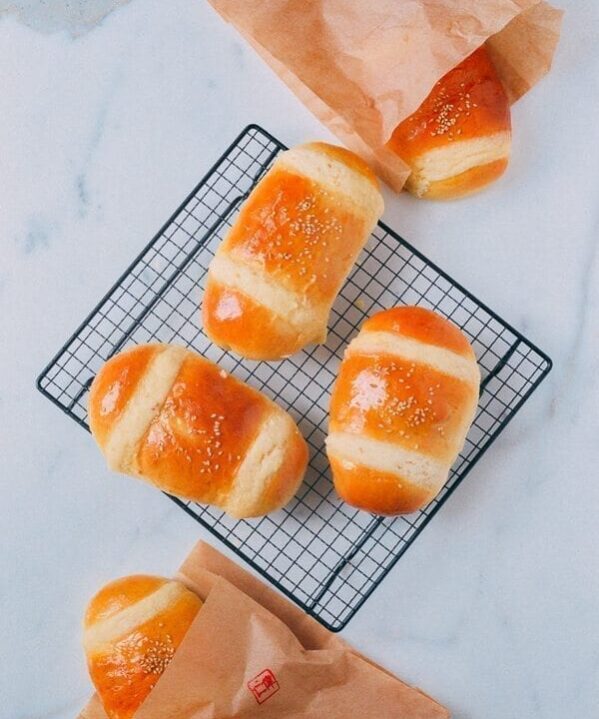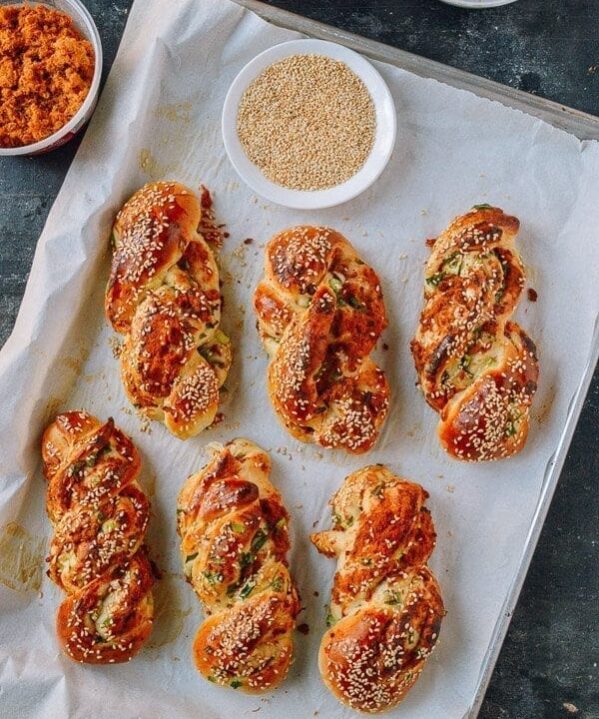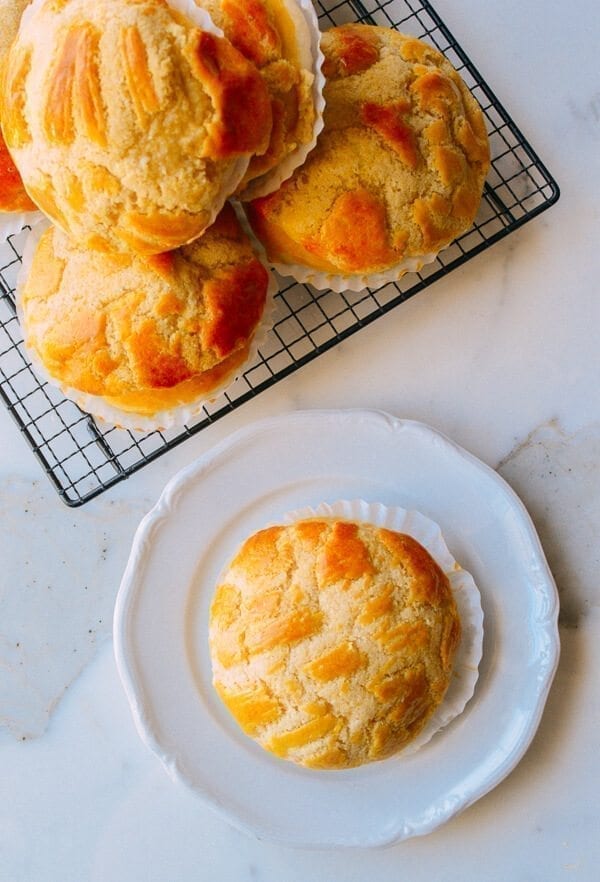
For a long time now, pineapple buns, or bo lo bao, have been my unequivocal go-to choice whenever I walk into a Chinese bakery. I blow right past the char siu bao, the coconut buns, and the hot dog buns…and mosey right on over to these fluffy, delightfully quirky looking yellow half-domes of buttery, sugary joy. They. are. the. best.
Peanut Gallery: “So, Sarah…if pineapple buns are in fact your favorite, what were you doing posting recipes for all those other ‘second tier’ buns before this one?”
Great question. Let’s discuss.
So for all you readers who might not have heard of this yellow, delightfully crumbly bakery treat, I’ll preface with the fact that there is no actual pineapple in the recipe. This did not stop 9-year-old me from making up elaborate rationalizations for the name, assuming that pineapple must be somehow involved in the pineapple bun’s unique topping. I could actually fake-taste the subtle pineapple flavor, fancying myself a pineapple bun connoisseur. I was the wine snob of the bakery aisle, tasting flavors that weren’t actually there.
When I later found out that I’d been living a lie (and that in actuality, the name “pineapple bun” comes from the pineapple-like pattern of the baked topping), I basically gave up on the prospect of trying to figure out what went into making a pineapple bun. Some kind of strange, kitchen sorcery was obviously involved.
Wellllll I recently decided to finally take up the challenge and I’ve since unlocked the pineapple bun mystery. Despite some very complicated recipes floating around the internet, it’s really not a difficult thing to make! Building off of our trusty, simple milk bread recipe, I tested and came up with the pineapple bun recipe laid out below. It’s a straightforward process, and all the ingredients can be found at your local grocery store. Hurrah!
NOTE: Feel free to substitute all-purpose flour for both the cake flour and bread flour! We have since extensively re-tested this recipe, and have not found that using 100% all-purpose flour in this recipe makes a meaningful difference to the result.
Pineapple Buns Recipe Instructions
After 15 minutes, the dough is ready for proofing.
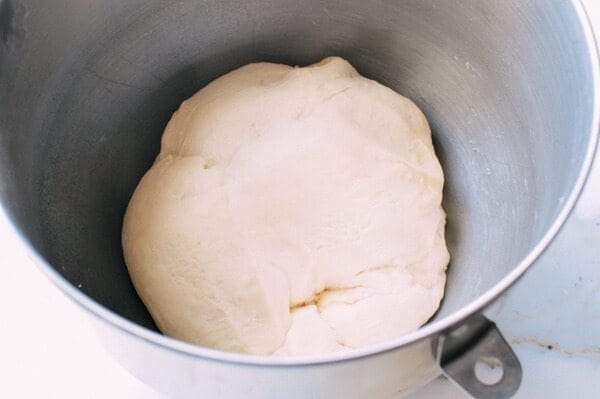
Cover the bowl with a damp towel and place in a warm spot for 1 hour. The dough will grow to 1.5X its original size.
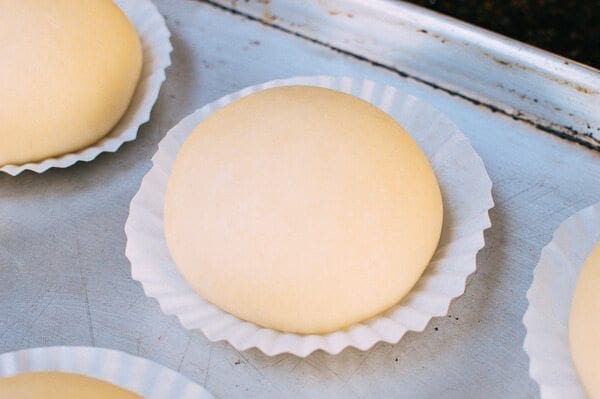
After the bread dough has proofed for an hour, put the dough back in the stand mixer and stir for another 5 minutes to get rid of air bubbles. Dump the dough on a lightly floured surface and cut into 12 equal pieces. Form each piece into a circular bun, and place on a baking sheet. Cover the buns with a clean, dry kitchen towel and let rise for another hour.
While that’s happening, make the topping. Add the dry milk powder to a mixing bowl. If your dry milk powder has some larger clumps, crush them up with your fingers so it’s uniformly powdery.
Add the flour, baking soda, baking powder, and superfine sugar. Stir to combine. Add the shortening, milk, egg yolk, and vanilla. Use your hands to mix everything together into a dough. If it’s too dry, add a little more milk a teaspoon at a time until it comes together. Cover tightly with plastic wrap and set aside at room temperature.
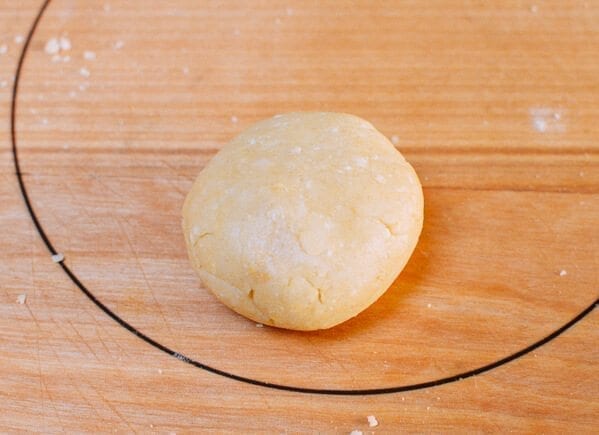
When the pineapple buns are done rising for a second time, preheat the oven to 350 degrees F. Separate the topping dough into 12 equal pieces and roll them into balls.
On a clean surface, roll out each ball into a flat circle…
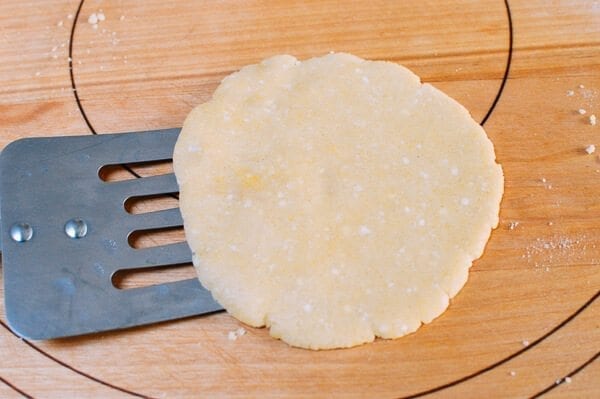
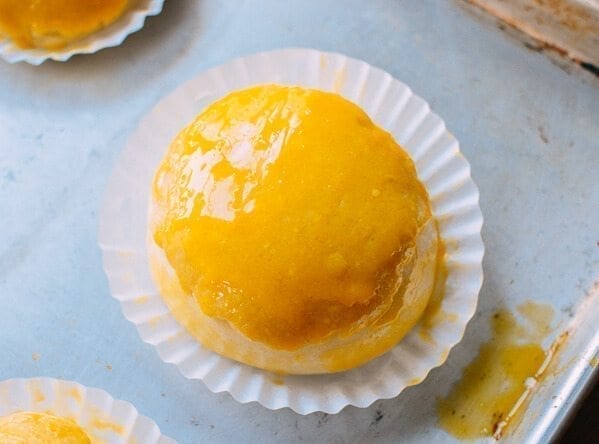
…and place one onto each bun. (It helps to use a spatula to transfer it over.)
It’s important to note here that you don’t want the topping circle to cover the entire bun. It WILL expand as it bakes.
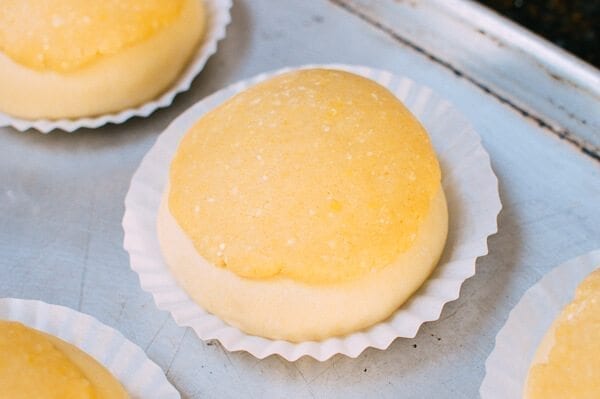
Brush with egg yolk. This will give the buns their bright yellow color.
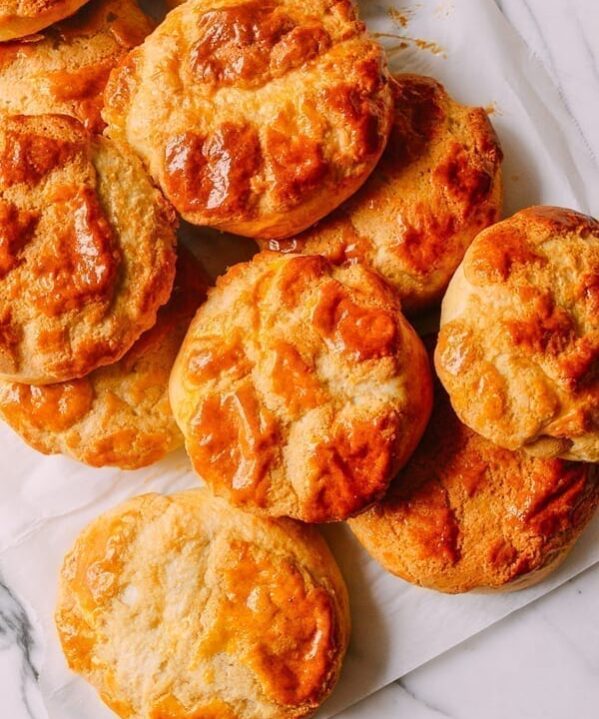
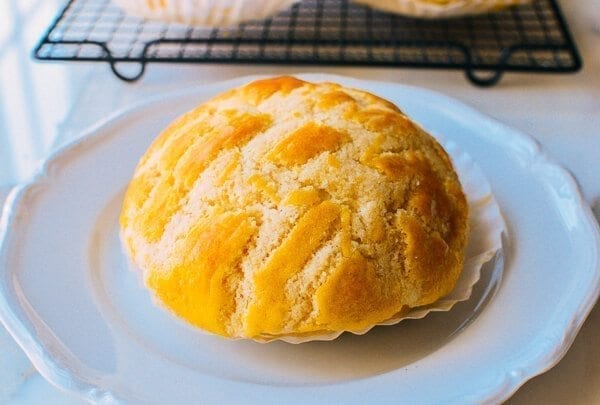
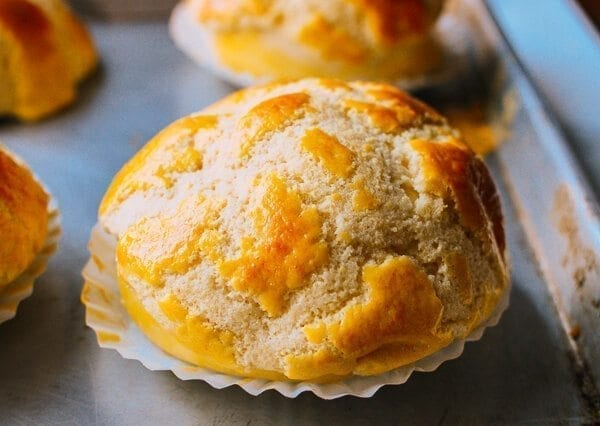
Bake at 350 degrees for 12-13 minutes on a baking sheet. You’ll see the topping start to crack into that signature pineapple pattern. Success!
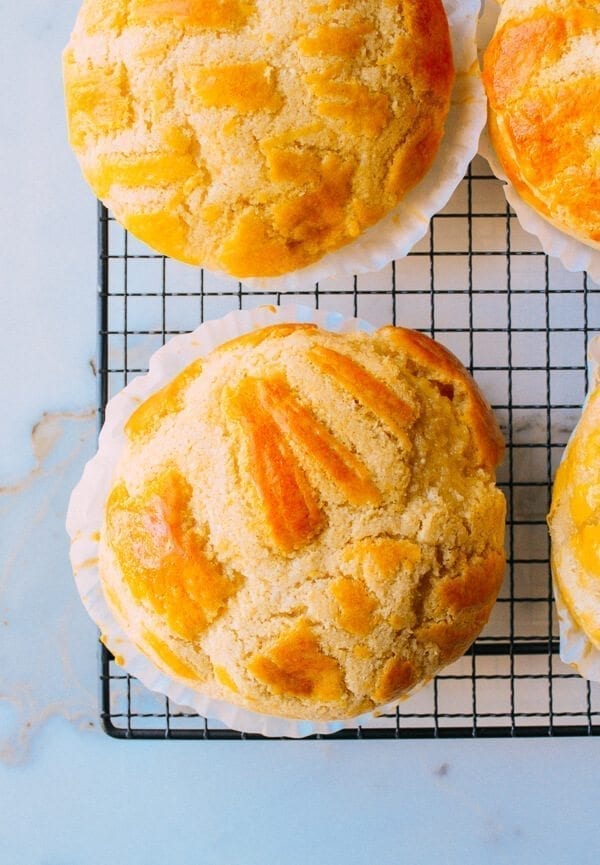
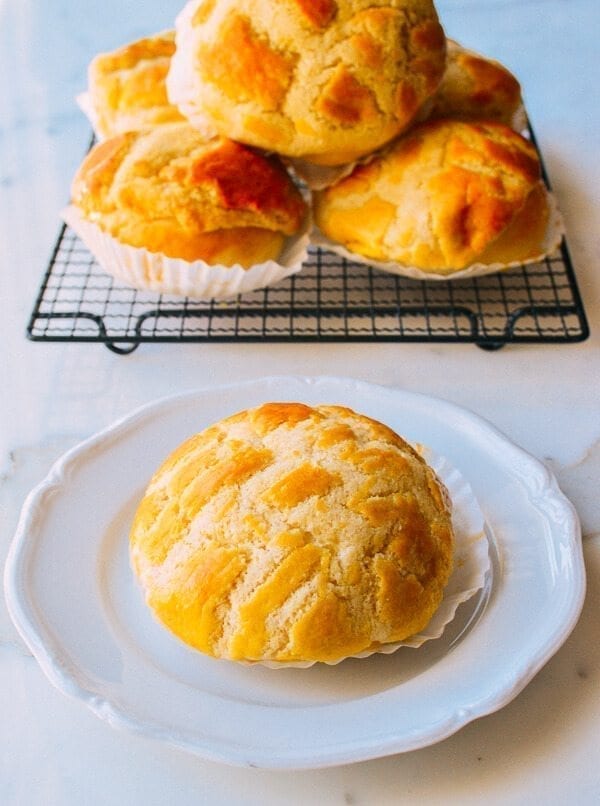
Allow to cool a bit on a metal cooling rack before serving. These are great when they’re warm out of the oven, but in my opinion, they’re even better the next day. Right out of the oven, the topping is almost crunchy. But if you let them cool and store them in a plastic zip top bag overnight, they’ll be soft and crumbly the next day, just like the Chinatown bakery buns I love.
They’ll last for a few days stored in the fridge. To bring them back to their original, out-of-the-oven state, just pop them into the microwave for 10-15 seconds, and they’ll be soft as ever.
Pineapple Buns

Ingredients
For the bread dough:
- 2/3 cup heavy cream (at room temperature)
- 1 cup milk (at room temperature)
- 1 large egg (at room temperature)
- 1/3 cup sugar
- 1/2 cup cake flour
- 3 1/2 cups bread flour
- 1 tablespoon active dry yeast
- 1 1/2 teaspoons salt
For the topping dough:
- ¼ cup dry milk powder
- 1¼ cups all-purpose flour
- ½ teaspoon baking soda
- ¼ teaspoon baking powder
- 2/3 cup superfine sugar (it’s very important that it’s superfine)
- ¼ cup vegetable shortening (can subsitute lard or butter)
- 2 tablespoons milk
- 1 egg yolk
- 1/8 teaspoon vanilla extract
To finish the buns:
- 1 egg yolk
Instructions
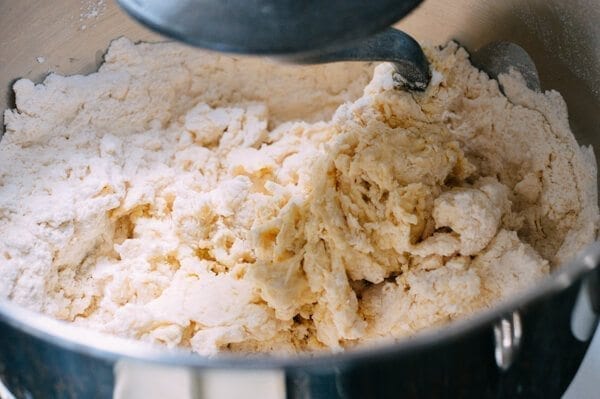
- Start by making the bread dough. In the bowl of a mixer, add the heavy cream, milk, egg, sugar, cake flour, bread flour, yeast, and salt (in that order). Using the dough hook attachment, turn on the mixer to “stir.” Let it go for 15 minutes, occasionally stopping the mixer to push the dough together.
- After 15 minutes, the dough is ready for proofing. Cover the bowl with a damp towel and place in a warm spot for 1 hour. The dough will grow to 1.5X its original size.
- After the bread dough has proofed for an hour, put the dough back in the mixer and stir for another 5 minutes to get rid of air bubbles. Dump the dough on a lightly floured surface and cut into 12 equal pieces. Form each piece into a circular bun, and place on a baking sheet. Cover the buns with a clean, dry kitchen towel and let rise for another hour.
- While that’s happening, make the topping. Add the dry milk powder to a mixing bowl. If your dry milk powder has some larger clumps, crush them up with your fingers so it’s uniformly powdery.
- Add the flour, baking soda, baking powder, and superfine sugar. Stir to combine. Add the shortening, milk, egg yolk, and vanilla. Use your hands to mix everything together into a dough. If it’s too dry, add a little more milk a teaspoon at a time until it comes together. Cover tightly with plastic wrap and set aside at room temperature.
- When the buns are done rising for a second time, preheat the oven to 350 degrees F. Separate the topping dough into 12 equal pieces and roll them into balls. On a clean surface, roll out each ball into a flat circle and place one onto each bun.
- Brush with egg yolk and bake at 350 degrees for 12-13 minutes.