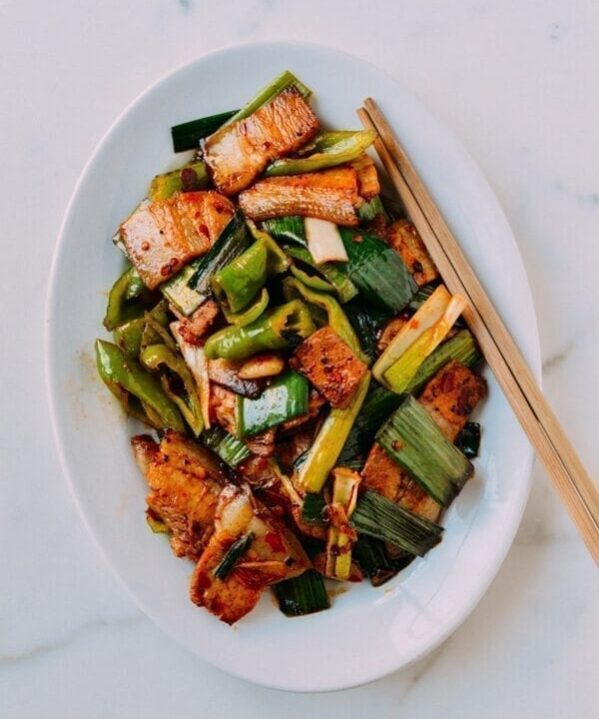
Yes, you read that right. I’m going to talk about how to make LARD today. Lard seems to be a word that everyone dodges and shuns. Unlike butter, it seems that lard has been swept to a forgotten culinary wasteland. This is a huge injustice!
“Lard” Is Not a Bad Word!
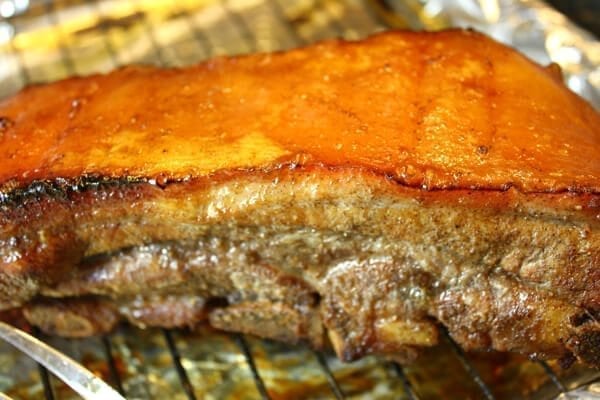
Not only is pork fat one of the most spectacular flavor additions out there, it’s actually one of the world’s top 10 most nutritious foods? And no, I did not make that up…just ask the BBC. (They put pork fat at #8!)
Apparently it’s more unsaturated than lamb or beef fat, and it’s a good source of B vitamins and minerals. Plus, lard has been used to treat illness and discomfort in Traditional Chinese Medicine for centuries.
Obviously, I don’t think we should all go around taking a spoonful of lard in the morning given it’s caloric density, but very few home cooks consider it something practical, and probably fewer know how amazing it can be.
That’s why we’re reclaiming our “tub of lard,” and I’m going to show you how to make lard at home!
Using Lard in Asian Cooking
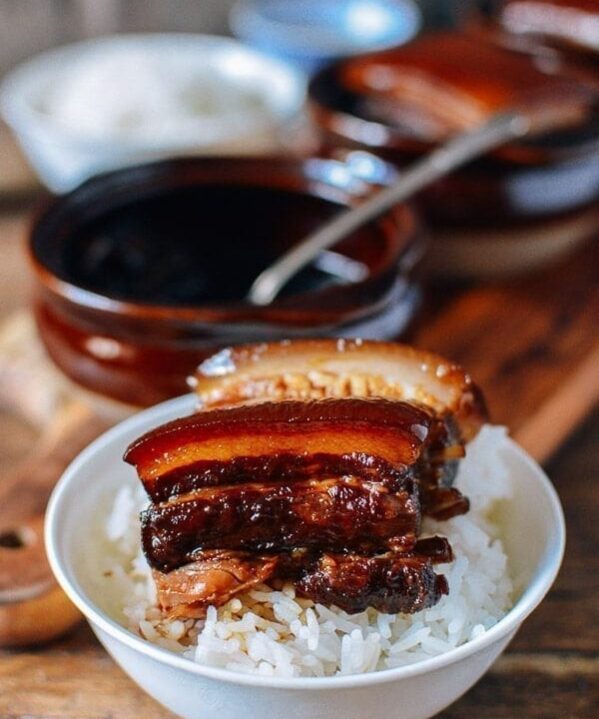
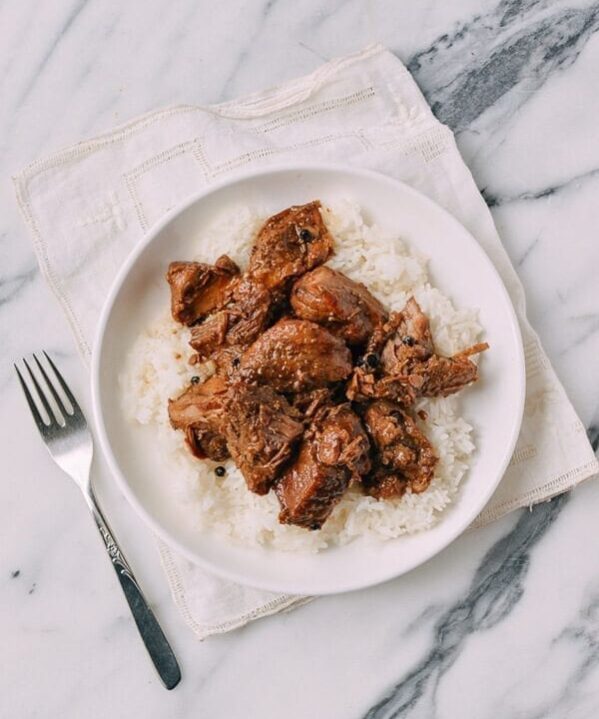
Lard has long been an important ingredient in Asian cooking. Besides being used in everyday savory dishes like stir-fries and noodle soups, when it comes to Asian sweets like pancakes and pastries, lard is irreplaceable.
We have tried to replace lard with butter in many of our traditional recipes, but the flavor is just not the same.
Knowing how to render lard will open doors to many more tasty dishes!
Patience Is a Virtue When Rendering Fat
Before we jump into the details of this lard recipe, a word of advice: be patient throughout the whole rendering process. Higher heat (when you see smoke) will burn the fat very quickly, and it will taste and look burned.
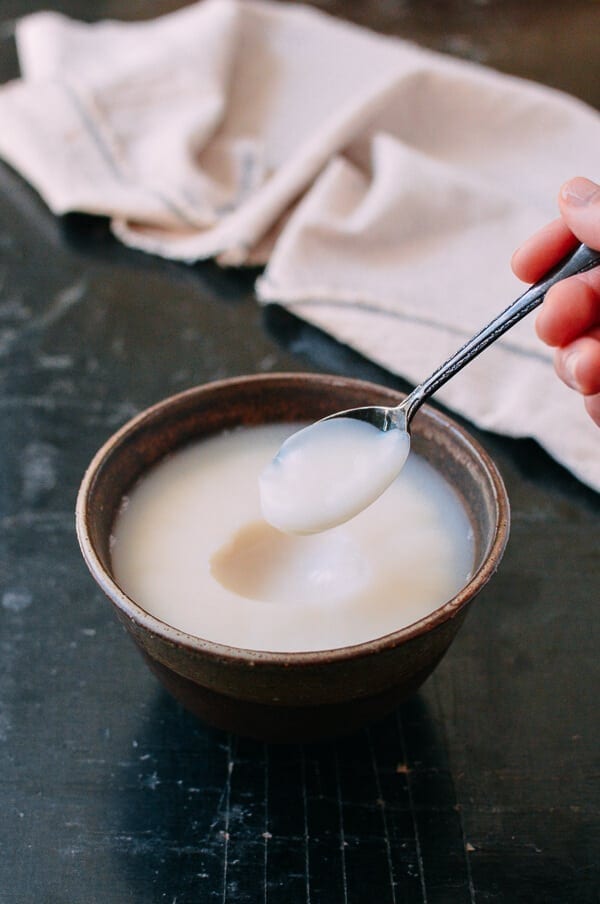
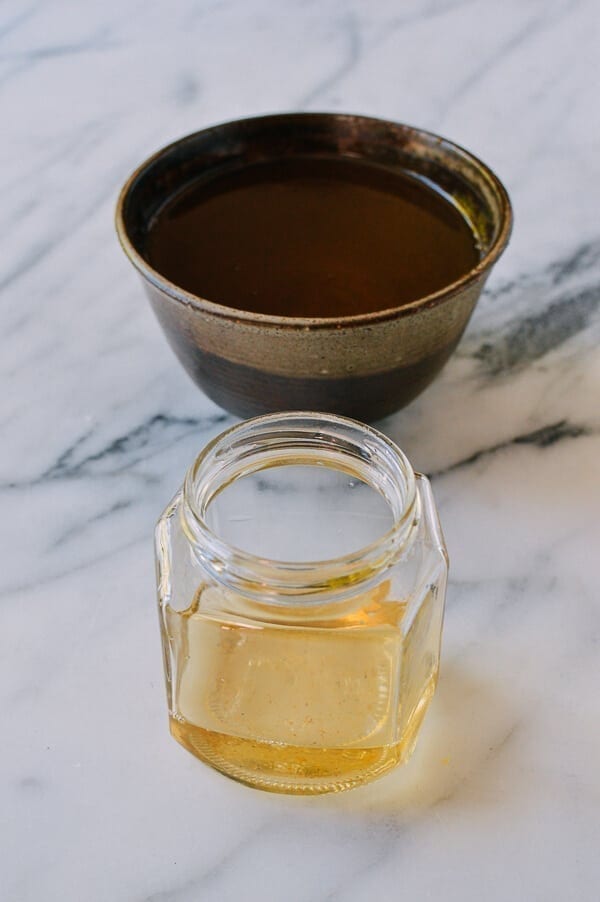
Use medium heat for the duration of the process, and look for clear bubbles. When it’s done right, the color of the lard will be lightly golden in liquid form and creamy white after it has cooled and solidified.
You’ll know it’s slightly burned when it looks anywhere from a light gray color to a rust color. It’s still okay to consume, but the flavor will be smokier, a little bit similar to bacon.
What to Do with the Cracklings
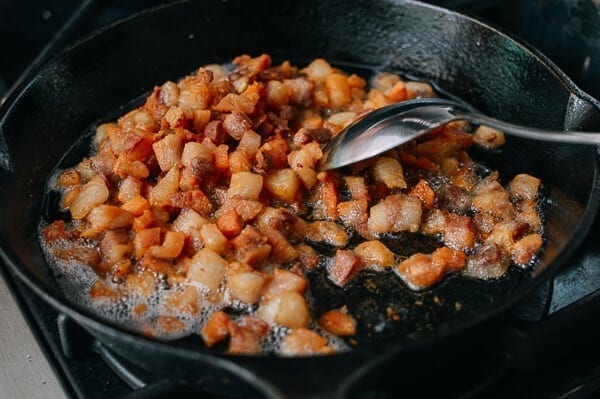
This recipe makes two cups of lard—plenty to use in your favorite recipes. But in the interest of not wasting food, the family had a heated discussion about what to do with the cracklings—the crispy bits of porky fat left behind.
Here are some suggestions we came up with:
- Grind them up into coarse crumbs and use them like bacon bits
- Sprinkle with salt and enjoy as a snack with an ice cold beer (they get very rich very quickly, so don’t go too crazy!)
- Stir-fry them with vegetables––an option for when you can’t get your hands on other cuts of meat
- Add them to soups for flavor
The world is your lard bar.
How to Make Lard: Recipe Instructions
You’ll need a couple pounds of pork fat and some water.
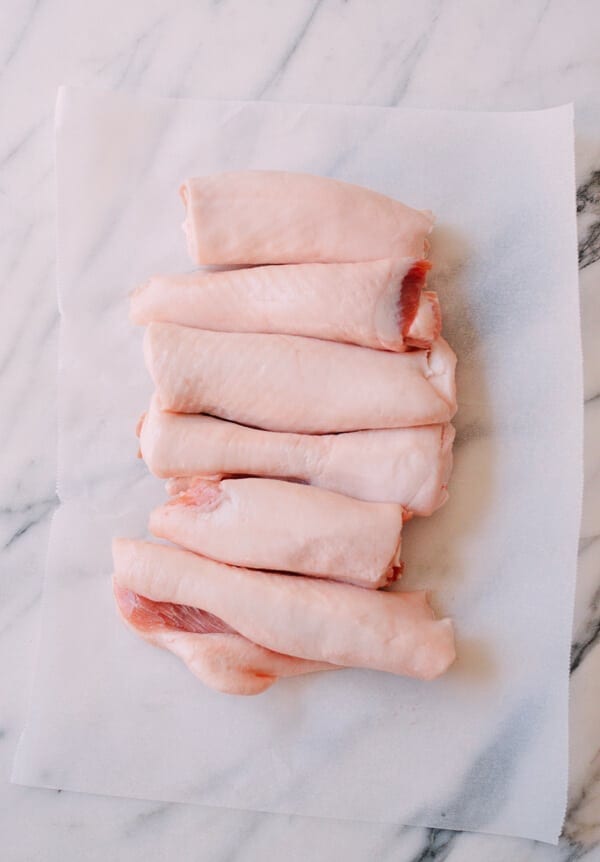
Cut the pork fat into roughly 1-inch squares.
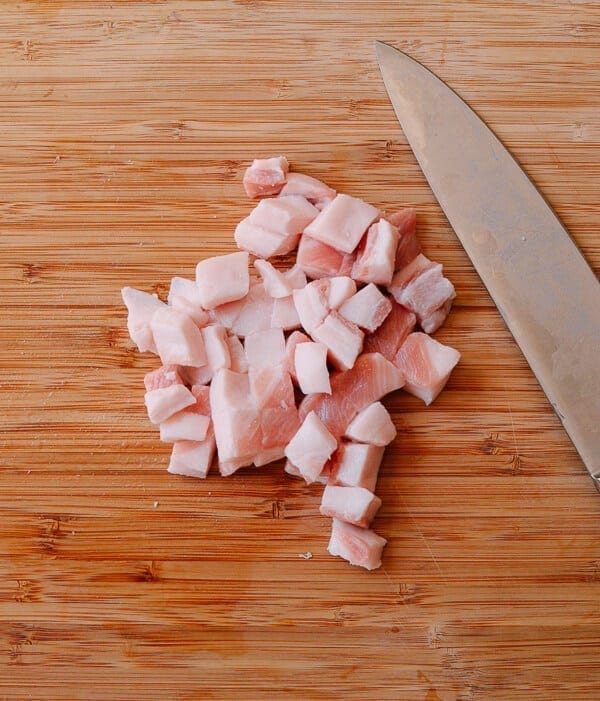
Add both the pork fat and ½ cup cold water to a cold thick-bottomed pot. We used our cast-iron skillet, but you can also use a Dutch oven. Place the skillet/pot over medium heat, uncovered.
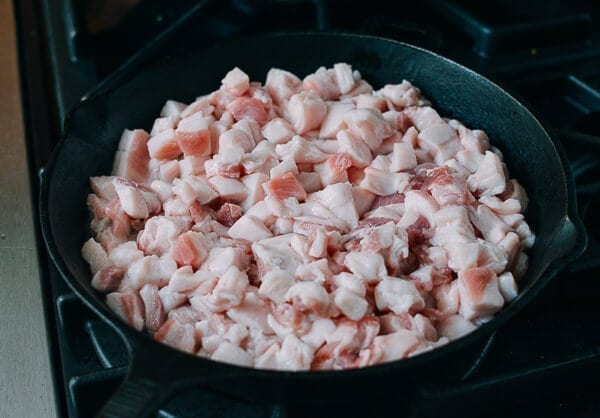
The water will cook off and fat will render slowly.
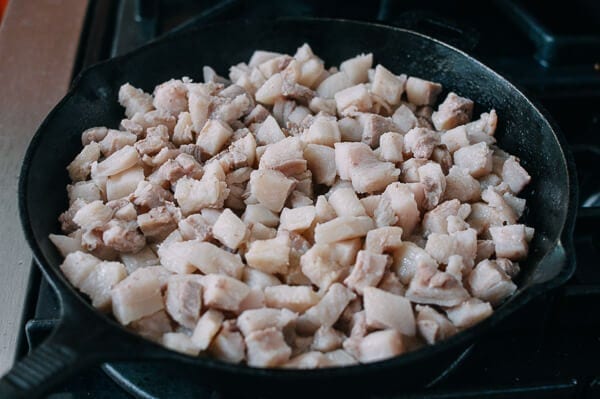
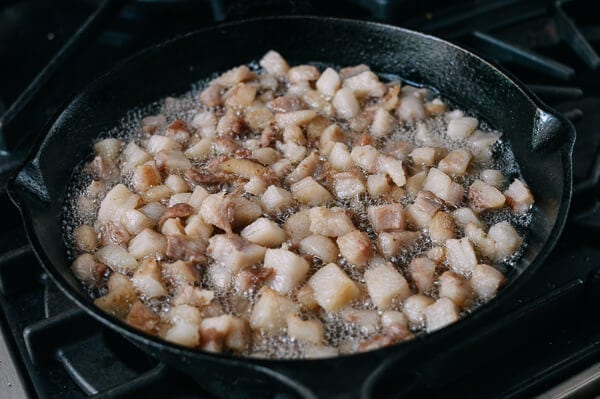
It’s important to keep the heat below the fat’s smoke point. When the heat level is right, you’ll see a lot of small bubbles, but no smoke or steam of any kind. Stir periodically to prevent sticking. And as always with hot grease, be very careful!
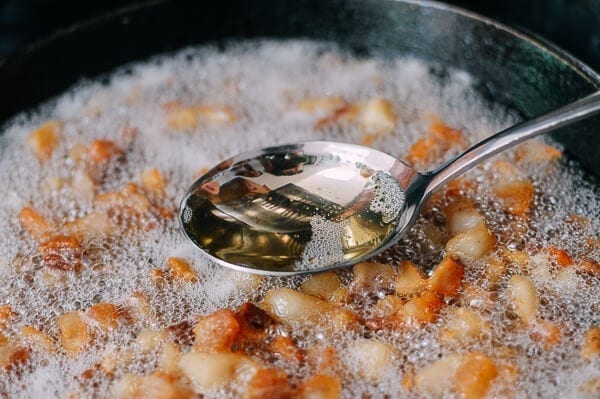
When the oil starts to pool, you can scoop it out and strain it into a clean, heat-proof jar or container.
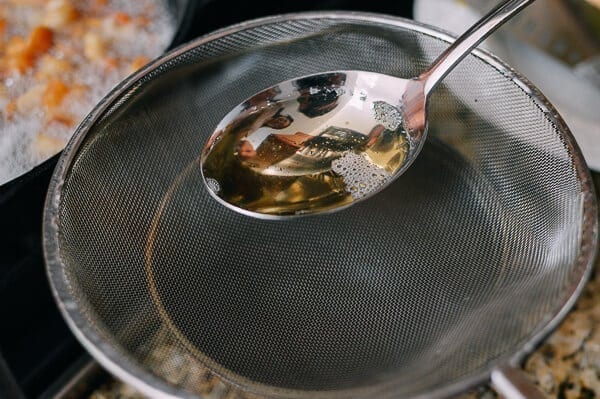
You can do this gradually as the lard builds up. The whole process will take about an hour. Once it’s done, the rendered pork fat will be a light golden color.
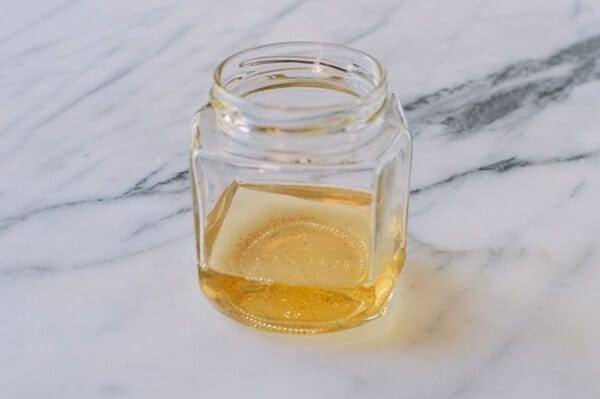
Once the fat is cool, cover and store it in the refrigerator. It will solidify and turn the loveliest creamy white color, and you’ll have plenty to keep in the refrigerator for a few months.
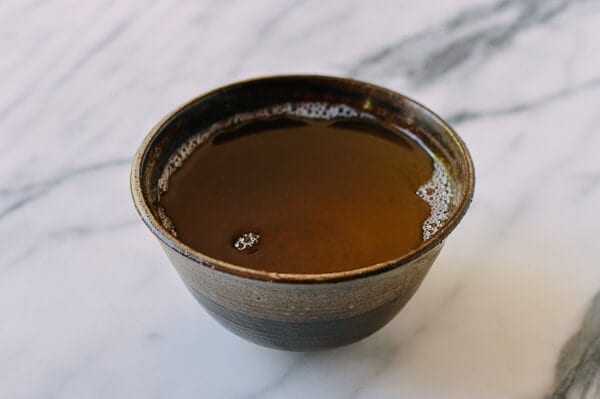
As with all homemade sauces, condiments, etc., practice good sense and hygiene. Only dip clean utensils into your lard to preserve it! And keep it on the top shelf, which is the coldest part of your refrigerator.
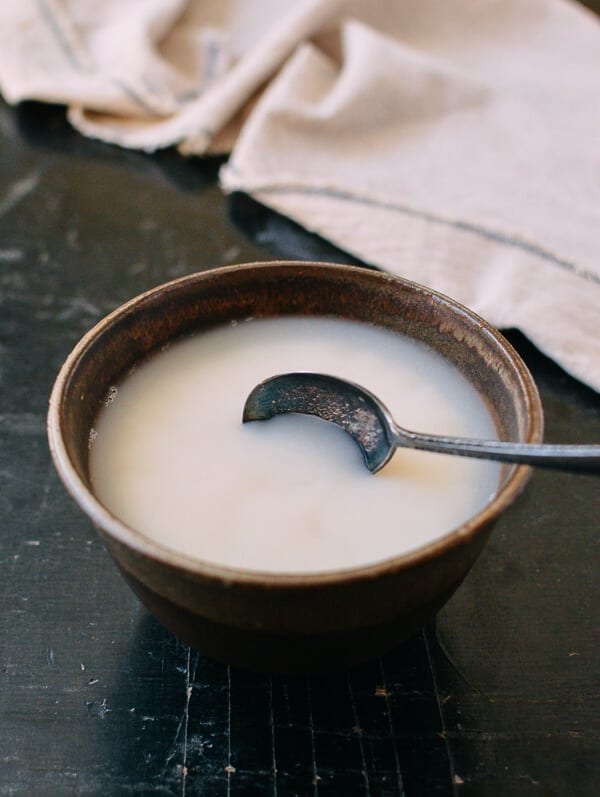
How to Make Lard
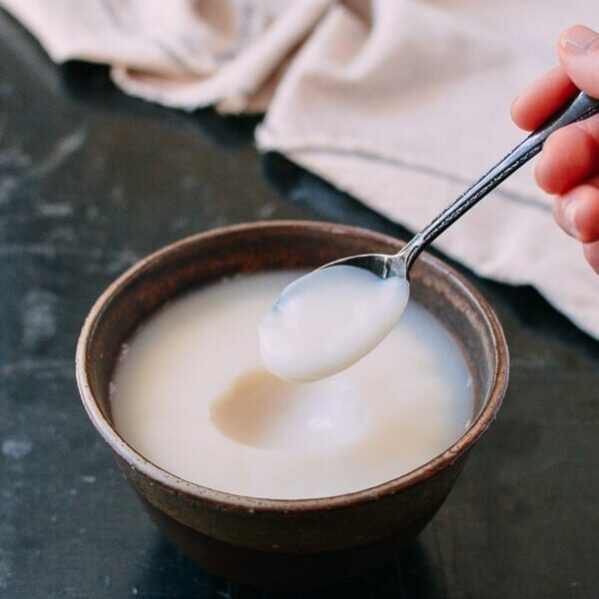
Ingredients
- 2 pounds pork fat
- ½ cup cold water
Instructions
- Cut the pork fat into roughly 1-inch squares. Add both the pork fat and ½ cup cold water to a cold thick-bottomed pot. We used our cast-iron skillet, but you can also use a Dutch oven. Place the skillet/pot over medium heat, uncovered.
- The water will cook off and the lard will render slowly. It’s important to keep the heat below the fat’s smoke point. When the heat level is right, you’ll see a lot of small bubbles, but no smoke or steam of any kind. Stir periodically to prevent sticking. And as always with hot grease, be very careful!
- When the oil starts to pool, you can scoop it out and strain it into a clean, heat-proof jar or container. You can do this gradually as the lard builds up. The whole process will take about an hour. Once it’s done, the rendered pork fat will be a light golden color.
- Once the lard is cooled, cover and store it in the refrigerator. As with all homemade sauces, condiments, etc., practice good sense and hygiene. Only dip clean utensils into your lard to preserve it! And keep it on the top shelf, which is the coldest part of your refrigerator.
