This preserved daikon radish is a tasty accompaniment to breakfast congee, soy milk soups, and noodle soups. Preserved daikon is usually sold in vacuum sealed packages in Asian grocery stores, but it’s easy to make at home.
Why We Love Daikon
Daikon radish is a type of radish. Sometimes it is referred to as “Chinese turnip.” These long, thick white radishes are spicy, a tad bitter, and also slightly sweet.
I absolutely love this super healthy root vegetable. In Asian cooking, we use daikon in stir-fries (like this Carrot Daikon Stir-fry) and soups (like this simple oxtail soup). I also love them in braises, with or without meat (like this boiled daikon radish dish or our Cantonese braised beef with radish).
You might also see daikon as an accompaniment to Japanese dishes. Pay attention next time you visit your favorite sushi restaurant. Grated raw daikon may show up on your plate! I really like eating daikon this way, at least in small quantities (eating a lot of it raw can be harsh on the stomach, especially in winter).
If you like daikon as much as I do, search the term “daikon” in our search bar, and you’ll find all the recipes featuring it, including our popular Chinese Turnip Cake (lo bak go).
How to Pick Fresh Daikon at the Market
When choosing a daikon radish at the market, look for specimens that:
- Are firm to the touch
- Feel heavy as you weigh them in your hand
- Have shiny white skin and no black spots
- Still have a green and fresh looking stem with leaves (avoid yellowing leaves)
- Preferably have the root portion still intact
Note that you may come across green daikon, which is sweeter than white daikon.
Preserving Daikon Radish
I had a couple daikon radishes in my refrigerator that were starting to look a little tired. Despite the fact that we’re all in lockdown in our respective homes (and Sarah can’t be here to take photos), I blogged this preserved daikon radish recipe for all of you myself!
After all, we’re limiting trips to the grocery store these days, and we need to preserve what we have. Preserved, dried or pickled root vegetables are very popular in Asia. They’re used as condiments, snacks, and cooking ingredients, just like capers and olives.
The store-bought version can be loaded with MSG and preservatives. Yet another reason to make this at home! If you make it yourself, you can also choose your favorite sauces and seasonings to spice up your version. Here are some ingredients you can add:
- Sugar
- Sesame oil
- Chili flakes
- Chili oil
- Pickled chili sauce
- Five spice powder
- Sichuan peppercorn powder
- Light soy sauce
Preserved Daikon Radish Recipe Instructions
The preservation process for daikon radishes involves salting them and drying them in the sun. You can also press them dry, dehydrate them in your oven at low temp, or dry them out in the refrigerator uncovered. Each method requires a different amount of time.
In this recipe, I describe the sun-drying method. To protect them from bugs, cover them with a thin layer of cheesecloth so the sun can still do its work.
One important thing to remember when drying daikon radish is to keep the skin on––do not peel them beforehand. That skin is the best part, with an extra crunchy texture after drying properly.
Ok, let’s get into it.
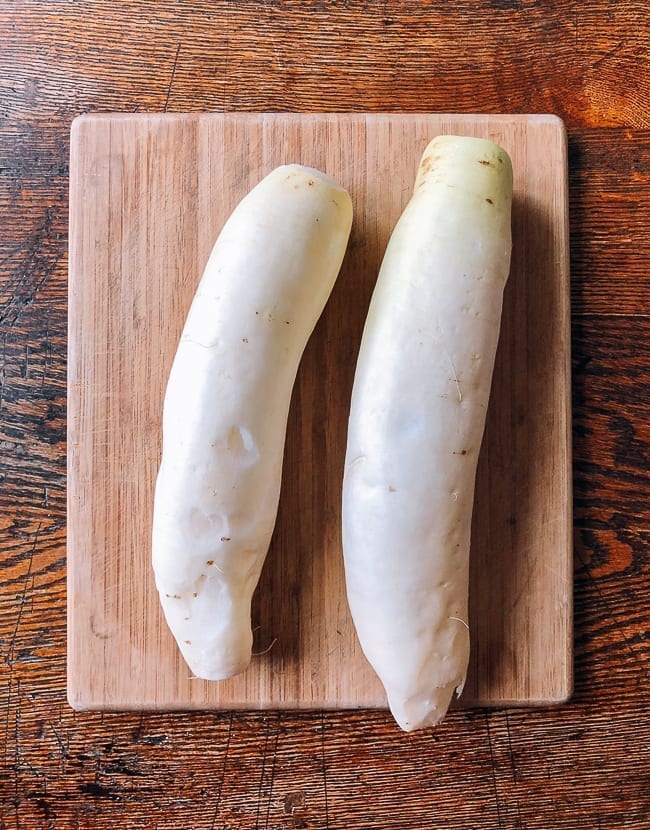
Scrub the radishes clean and rinse. Do NOT peel them. Trim the top and bottom of each radish, and trim away any blemishes or dark spots.
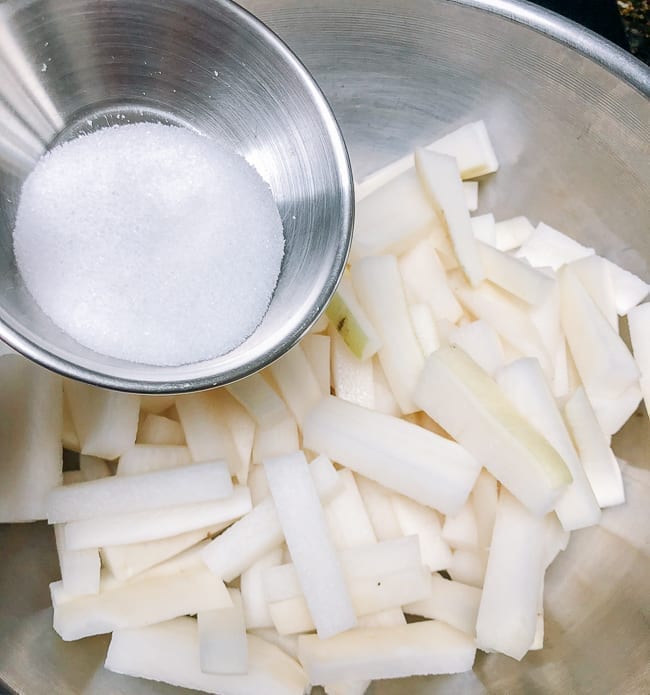
Cut them into ½ inch x 2.5 inch pieces (1.25 cm x 6.25 cm). Transfer to a large stainless steel or glass container.

Toss the daikon pieces with 1 ½ tablespoons salt, and set aside for 2 hours.
You’ll see that the salt draws out the radishes’ water content:
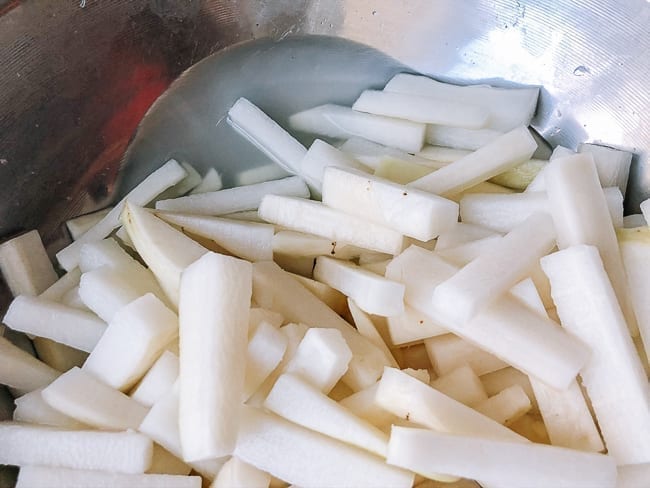
After 2 hours, squeeze as much liquid out as you can from the daikon pieces.
Spread them in a single layer on a baking sheet, or better yet, a wide colander, to allow for airflow. Place in the sun and cover with cheesecloth. Allow to sun dry for 2-3 days (move it indoors at night and keep it at room temperature).
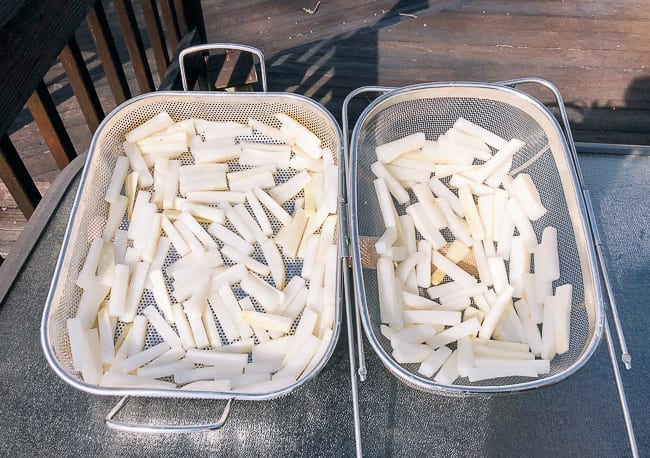
Here’s what they looked like after Day 1 of drying:
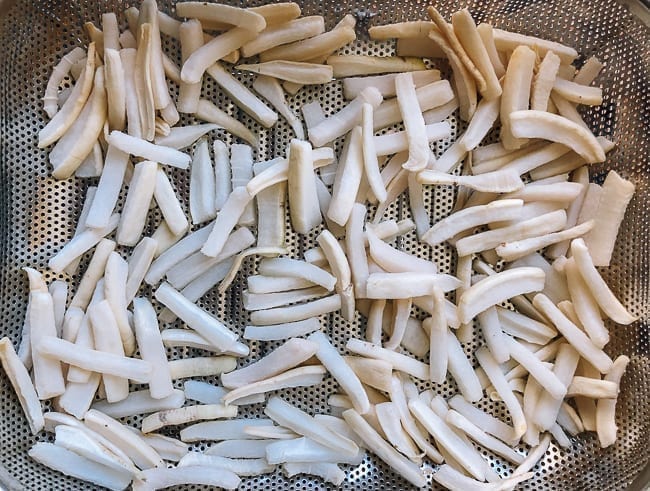
And here’s what they looked like after Day 2:
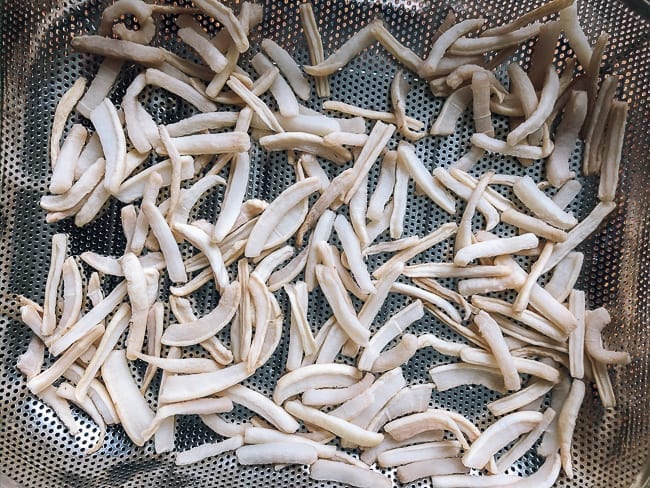
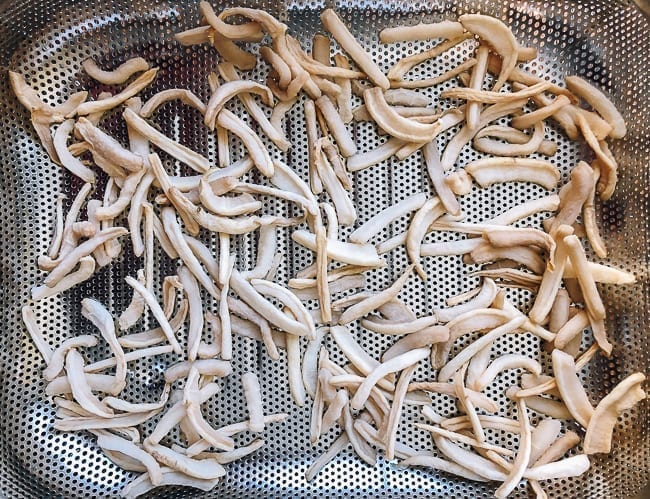
You’ll know that your daikon has reached an ideal level of dryness when they have reduced in size by half. They should feel soft and dry to the touch, and not release any kind of liquid when squeezed. Here’s what they looked like after Day 3:
At this point, you can store them in a glass container and refrigerate as you would with other condiments. Use them in stir-fries and noodle soups––any dish that can use a bit of salt and crunch. Just wash and chop them before cooking.
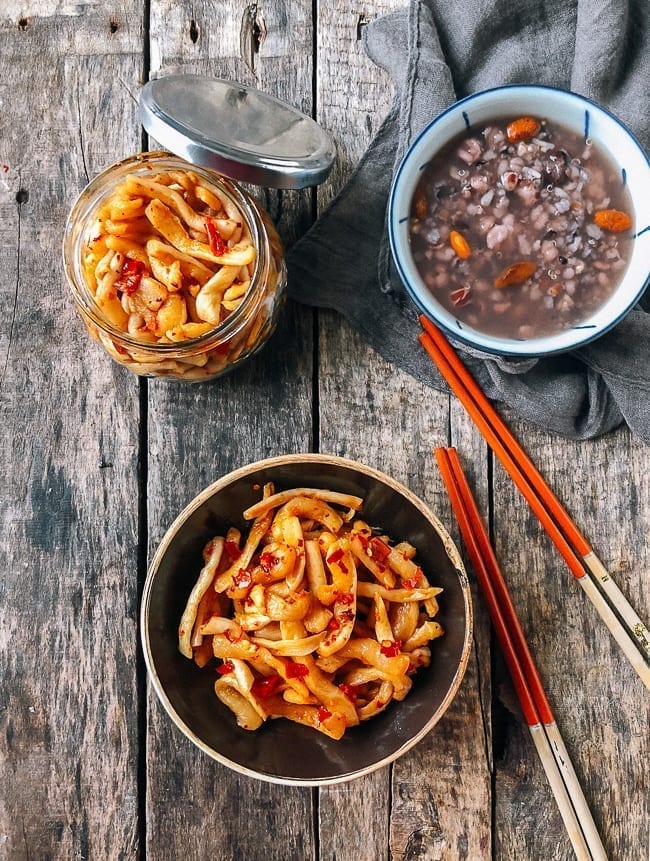
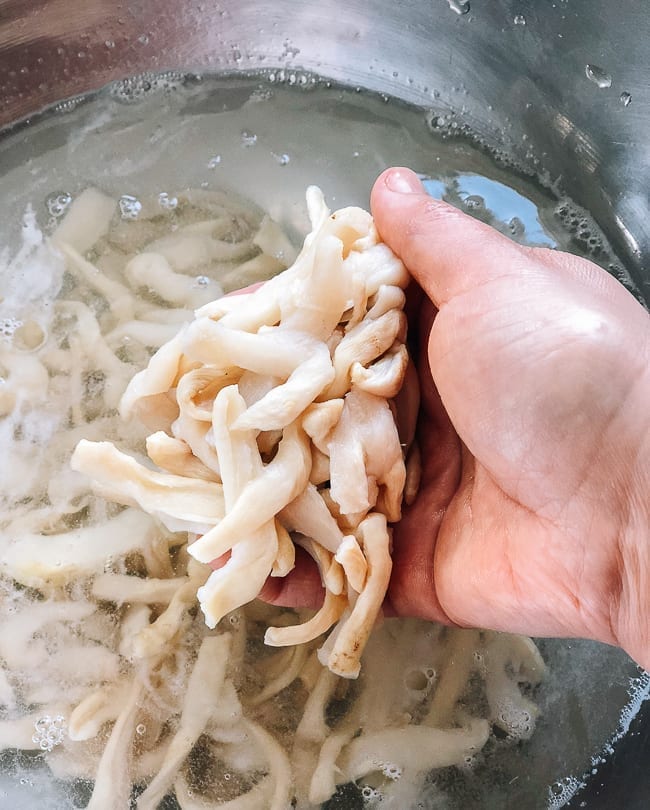
I decided to season my preserved daikon radish and serve it with congee, which I have a couple times per week. To season your daikon, boil a large pot of water, cover, and allow to cool completely. Use the boiled, cooled water to wash the dried daikon pieces, rubbing them between your palms as you wash to re-hydrate slightly and remove excess salt.
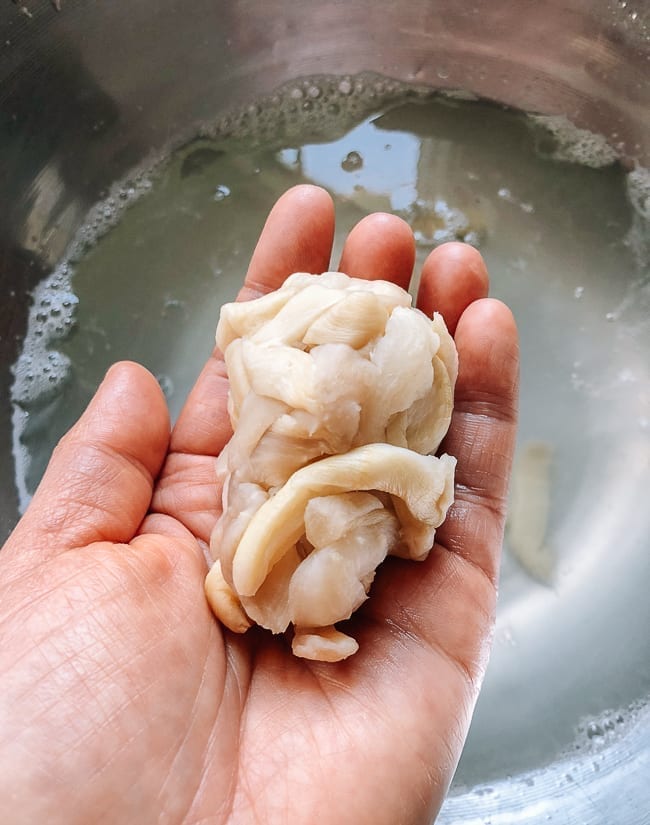
Squeeze out as much water as you can.
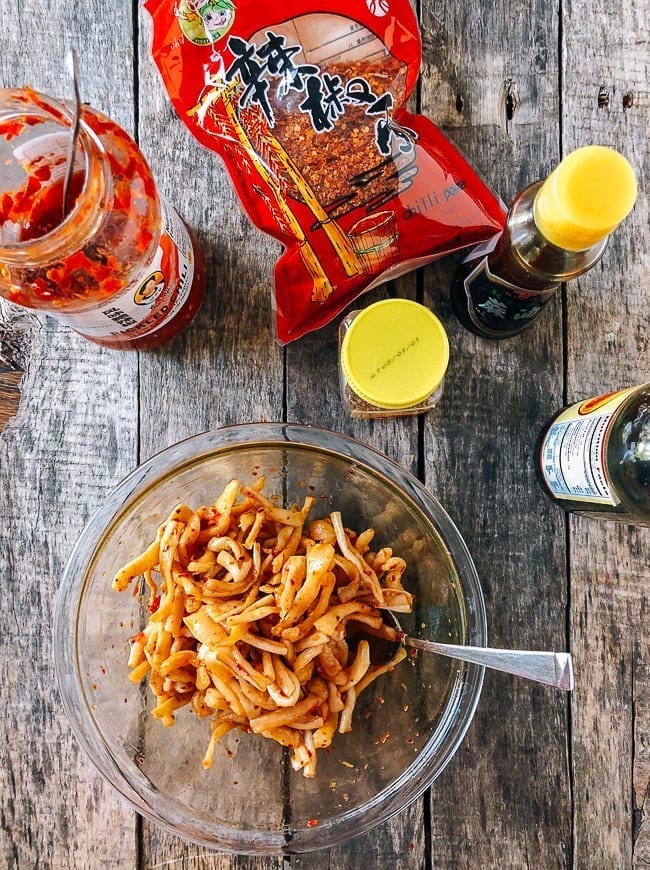
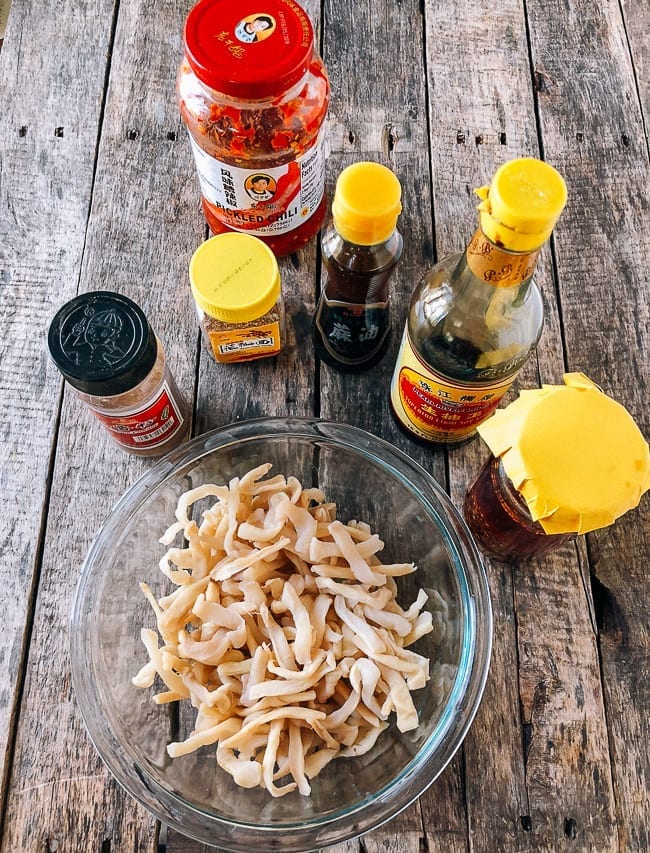
In a clean mixing bowl, combine the daikon pieces with 1 teaspoon sugar, 1 ½ teaspoons sesame oil, 2 teaspoons light soy sauce, 1 heaping tablespoon of pickled chili sauce, and a small pinch of dried chili flakes. Mix well, cover, and allow to sit in the refrigerator overnight.
The next day, serve! You can keep this preserved daikon in an airtight container for up to 2 weeks. Use a clean utensil whenever you dip into it.
I served it with my multigrain congee (with some added goji berries).
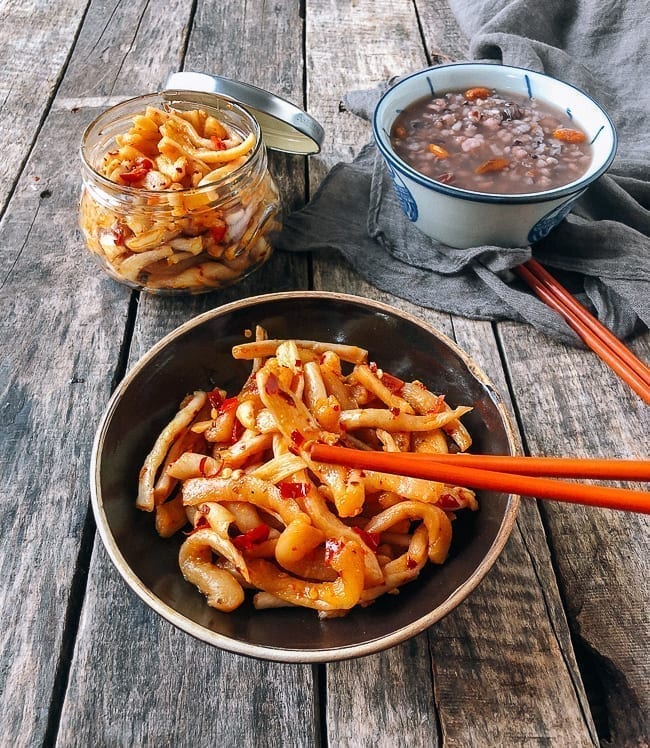
Eat as is, or add to noodle soups and stir-fries. They are very versatile!
Looking for more authentic recipes? Subscribe to our email list and be sure to follow us on Pinterest, Facebook, Instagram, and Youtube!
Recipe

Preserved Daikon Radish
Ingredients
- 2 daikon radishes (about 3 pounds/1.5 kg)
- 1 1/2 tablespoons salt (25g)
- 1 teaspoon sugar
- 1 1/2 teaspoons sesame oil
- 2 teaspoons light soy sauce
- 1/8 teaspoon dried chili flakes (optional)
- 1 tablespoon pickled chili sauce (duojiao) (optional)
Instructions
To Make Preserved Daikon:
- Scrub the radishes clean and rinse. Do NOT peel them. Trim the top and bottom of each radish, and trim away any blemishes or dark spots. Cut them into ½ inch x 2.5 inch pieces (1.25 cm x 6.25 cm). Transfer to a large stainless steel or glass container.
- Toss the daikon pieces with 1 ½ tablespoons salt, and set aside for 2 hours.
- After 2 hours, squeeze as much liquid out as you can from the daikon pieces. Spread them in a single layer on a baking sheet, or better yet, a wide colander, to allow for airflow. Place in the sun and cover with cheesecloth. Allow to sun dry for 2-3 days (move it indoors at night and keep it at room temperature).
- You’ll know that your daikon has reached an ideal level of dryness when they have reduced in size by half. They should feel soft and dry to the touch, and not release any kind of liquid when squeezed.
- At this point, you can store them in a glass container and refrigerate as you would with other condiments. Use them in stir-fries and noodle soups––any dish that can use a bit of salt and crunch. Just wash and chop them before cooking.
Seasoning Preserved Daikon:
- If you'd like to season your daikon, boil a large pot of water, cover, and allow to cool completely. Use the boiled, cooled water to wash the dried daikon pieces, rubbing them between your palms as you wash to re-hydrate slightly and remove excess salt. Squeeze out as much water as you can.
- In a clean mixing bowl, combine the daikon pieces with 1 teaspoon sugar, 1 ½ teaspoons sesame oil, 2 teaspoons light soy sauce, 1 heaping tablespoon of pickled chili sauce, and a small pinch of dried chili flakes. Mix well, cover, and allow to sit in the refrigerator overnight.
- The next day, serve! You can keep this preserved daikon in an airtight container for up to 2 weeks. Use a clean utensil whenever you dip into it.


