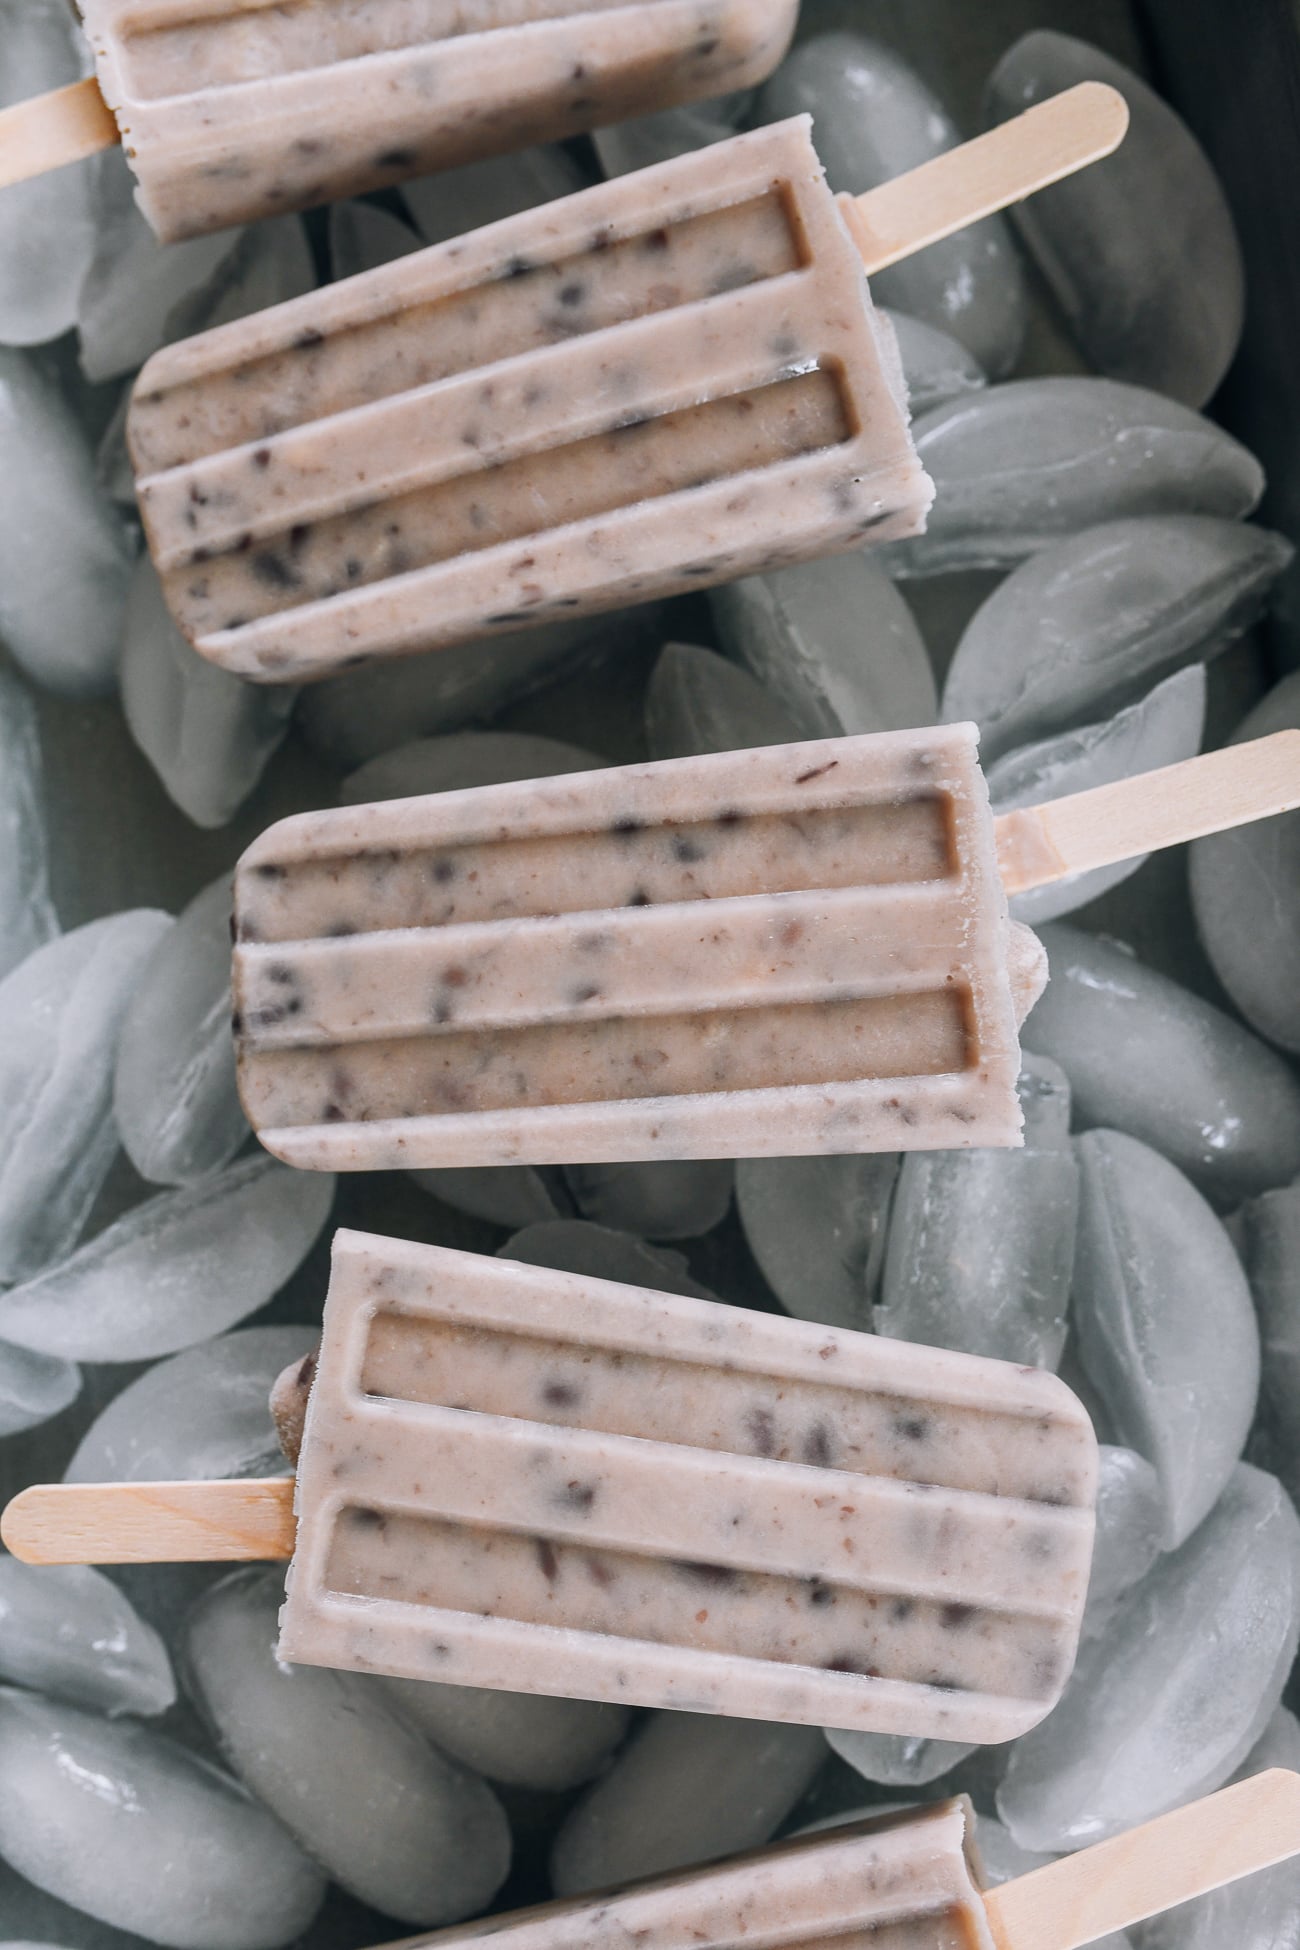
Red Bean Popsicles are an all-time favorite Asian dessert during the summertime. This version is super creamy and sweet, and even better than the ones you remember from childhood.
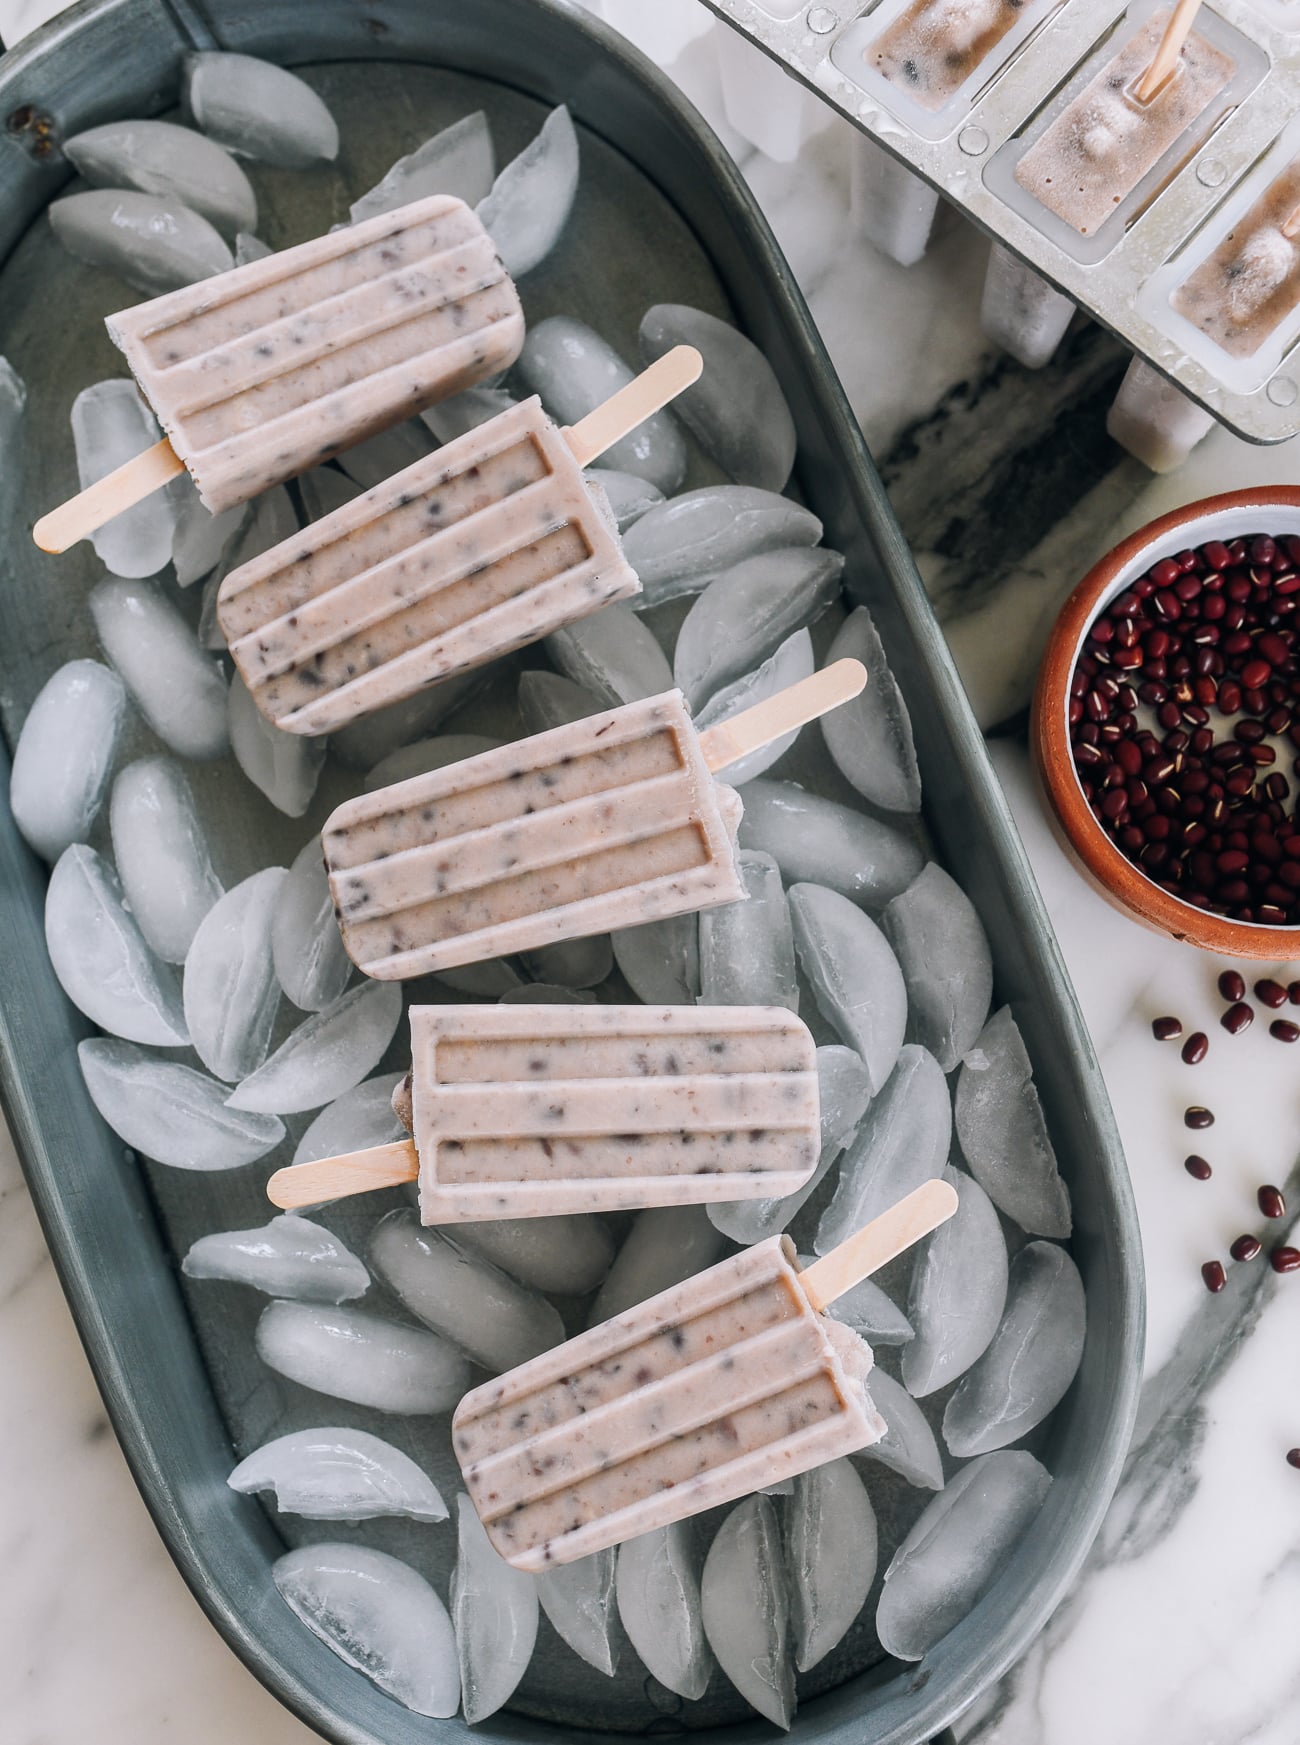
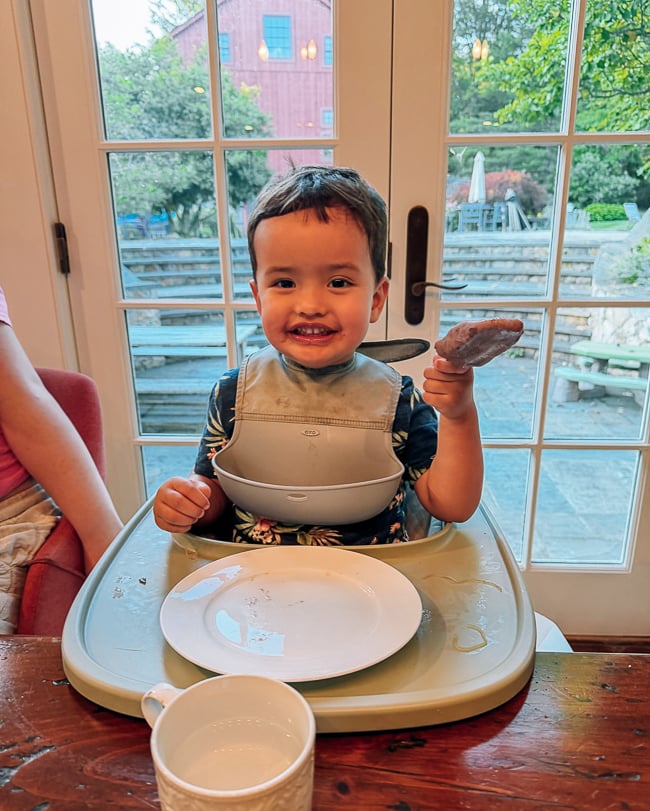
It almost tastes like a red bean ice cream! My grandson Ethan absolutely loved them, and has started asking for them after dinner!
The Perfect Red Bean Popsicle
During our time living in China, we would regularly pop into the neighborhood convenience stores to grab a cooling popsicle during scorching Beijing summers. Red bean popsicles are beloved by many Asians, whether you’re Chinese, Korean, or Japanese.
Ironically, this popsicle recipe became a family debate between western preferences for ice cream bars and Asian sensibilities.
I love red beans so much that an early iteration of this recipe had a sprinkle of cooked whole beans at the base of the popsicle mold, so you can bite off and chew them—kind of like getting chocolate chips in ice cream. The first iteration of this popsicle was more icy and less sweet too, which you’ll commonly see in other Chinese popsicles like my mung bean popsicle.
You can still do that if you’re like me, but after much testing, we’ve created the perfectly creamy red bean popsicle that’s almost reminiscent of an ice cream bar. They’re sweet with a nice creaminess from plenty of mashed red beans, whole milk, and heavy cream, plus a little vanilla extract to round it all out.
The first batch I made, no one was very interested in trying, but the last batch made using this recipe? Everyone was quick to ask for a popsicle out of the freezer!
Adjust the Sweetness to Your Liking
As always, I’ve offered guidelines for making this recipe less sweet. If you want a “commercial” level of sweetness, opt for ⅔ cup (135g) of sugar. If you’re watching your sugar or you prefer less sweet desserts, ½ cup (100g) of sugar may be sweet enough.
So you decide! Just keep in mind that ice creams and popsicle mixtures generally taste less sweet once frozen, so it’s best to use at least ½ cup of sugar.
Red Bean Popsicles: Recipe Instructions
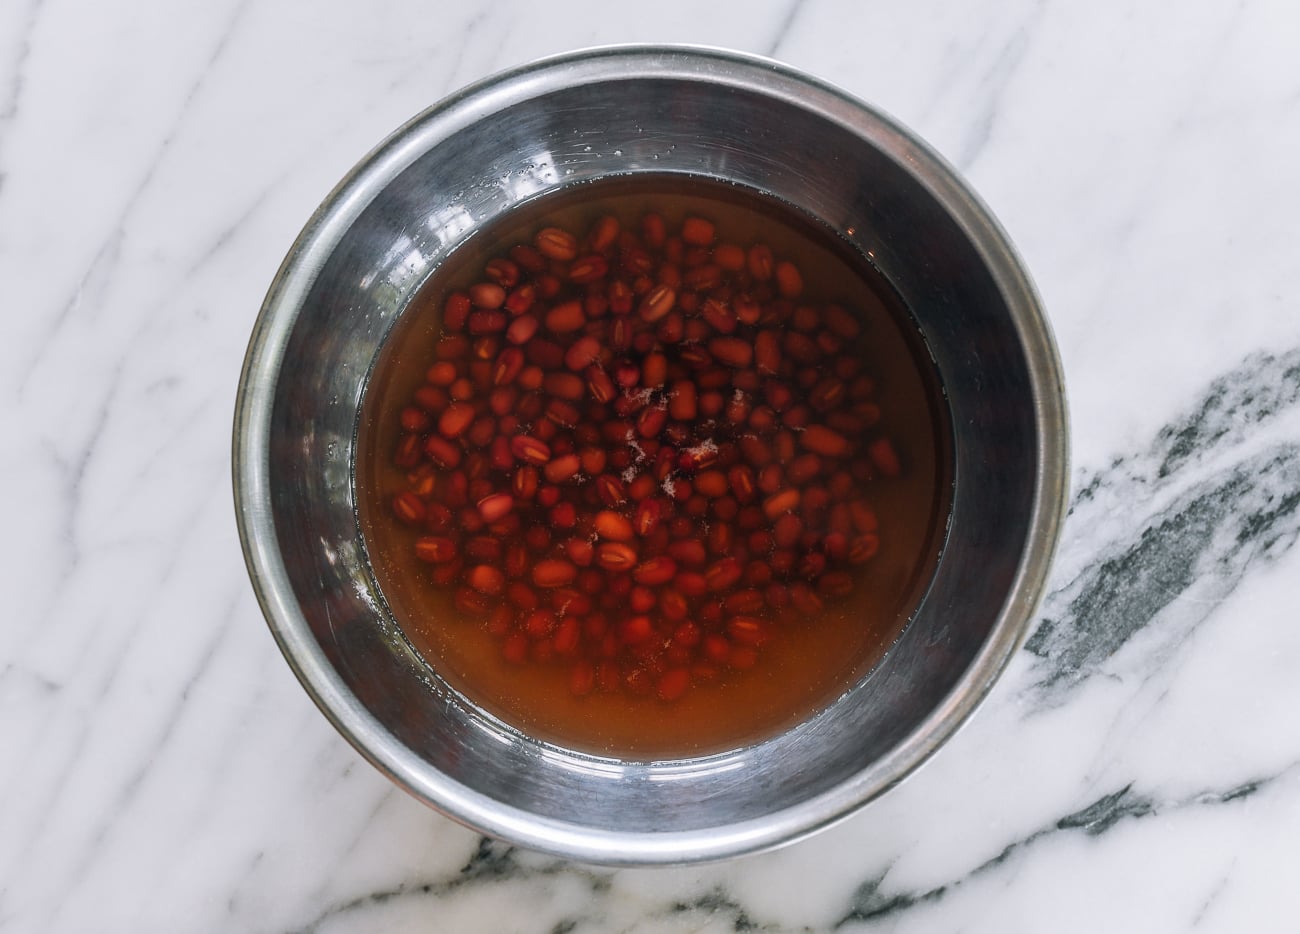
Soak the red beans in water overnight. Drain and add them to a small pot, along with 3 cups of fresh water. Bring to a boil, then reduce the heat to medium / medium low, leaving the lid slightly ajar to prevent overflow. Simmer for 30-45 minutes until the beans are fully softened and the skins are beginning to open up.
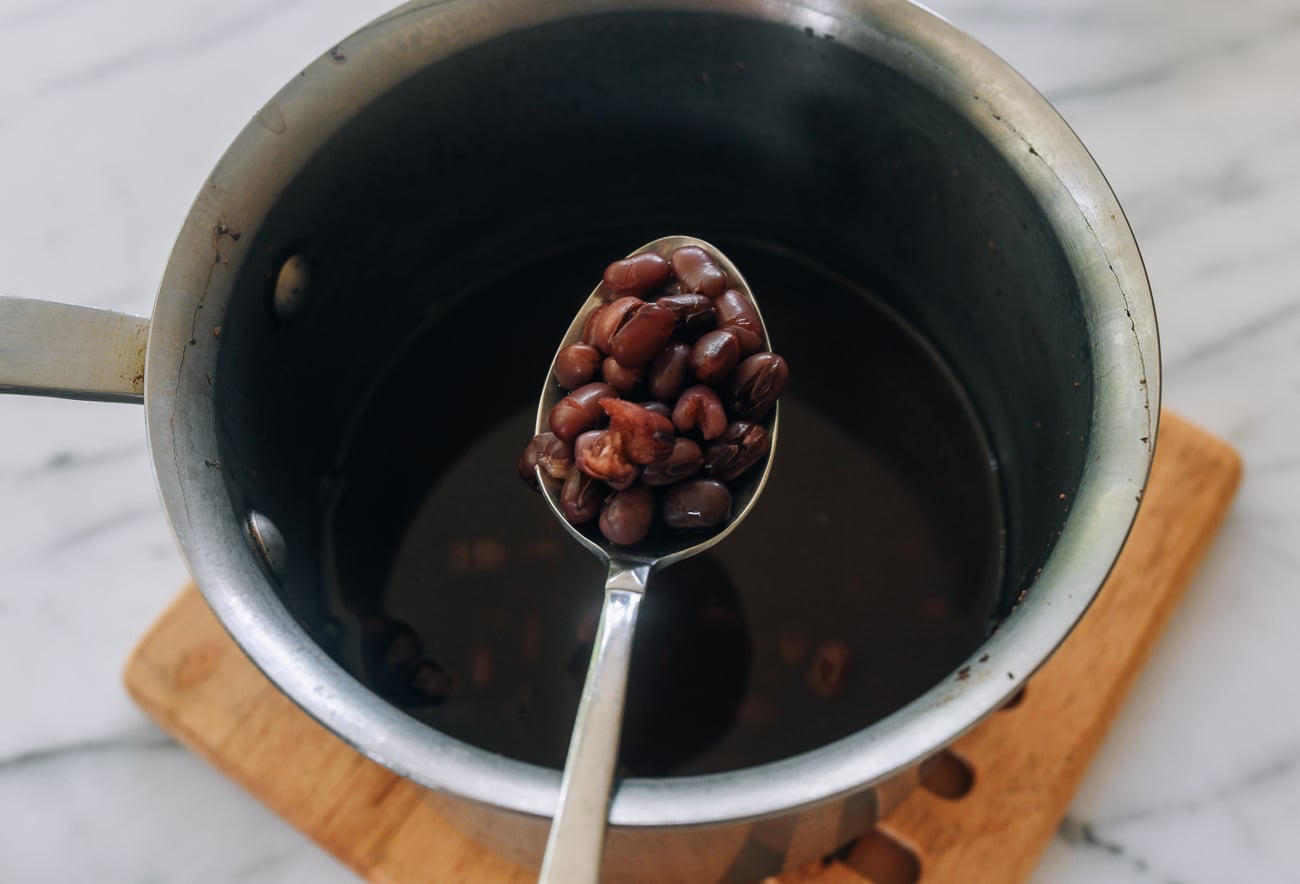
If your red beans are older and have been sitting on the shelf, they may require a longer cooking time. Check periodically and add a little more water if it cooks off before the red beans soften. Excess liquid isn’t necessary, so refrain from adding too much.
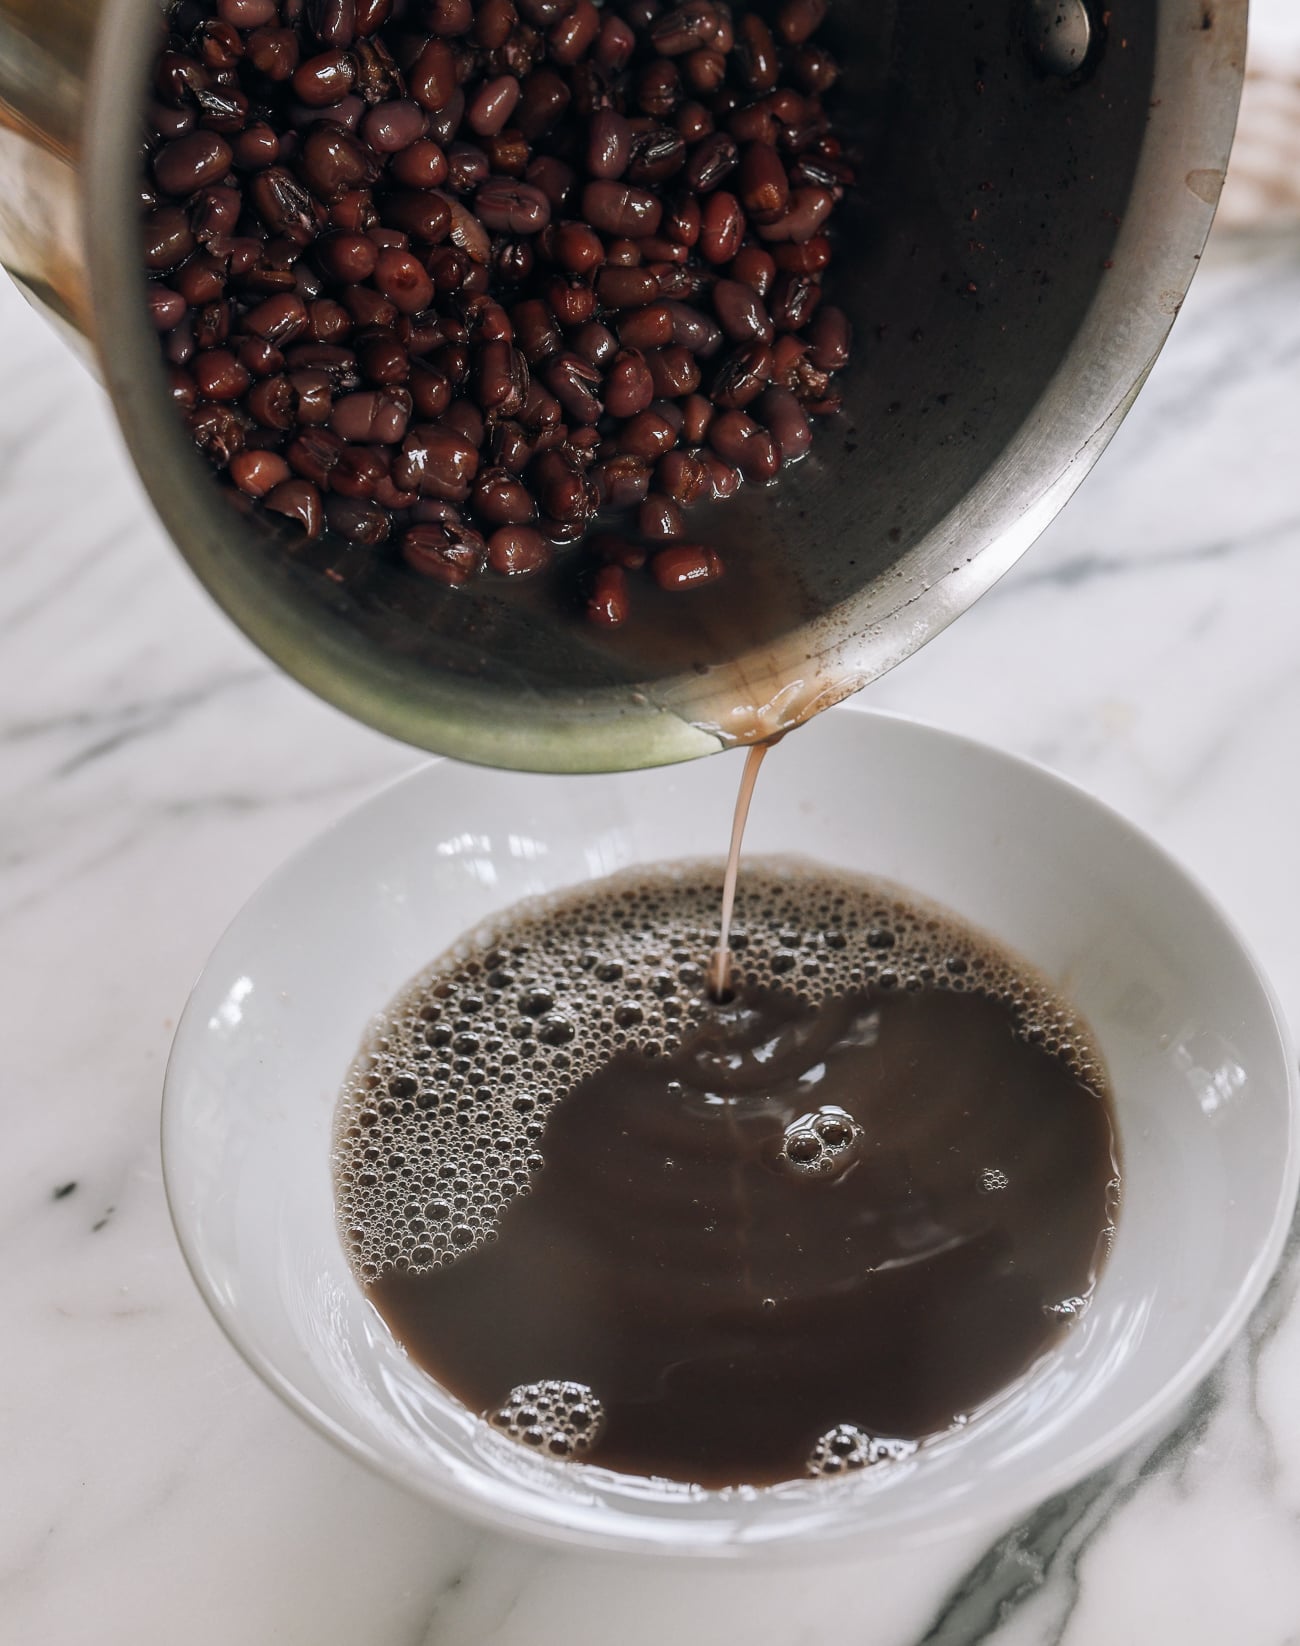
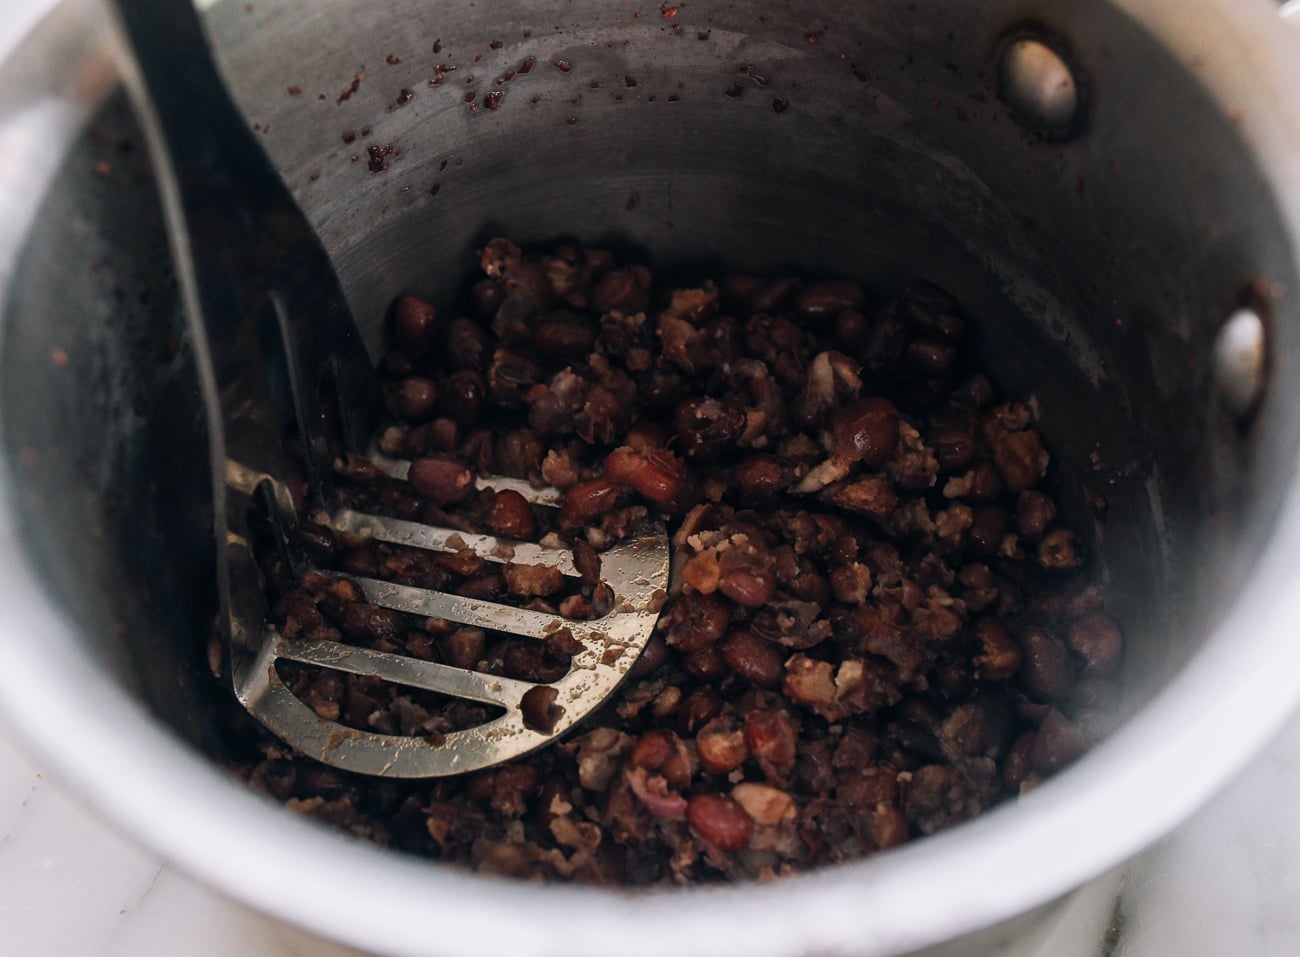
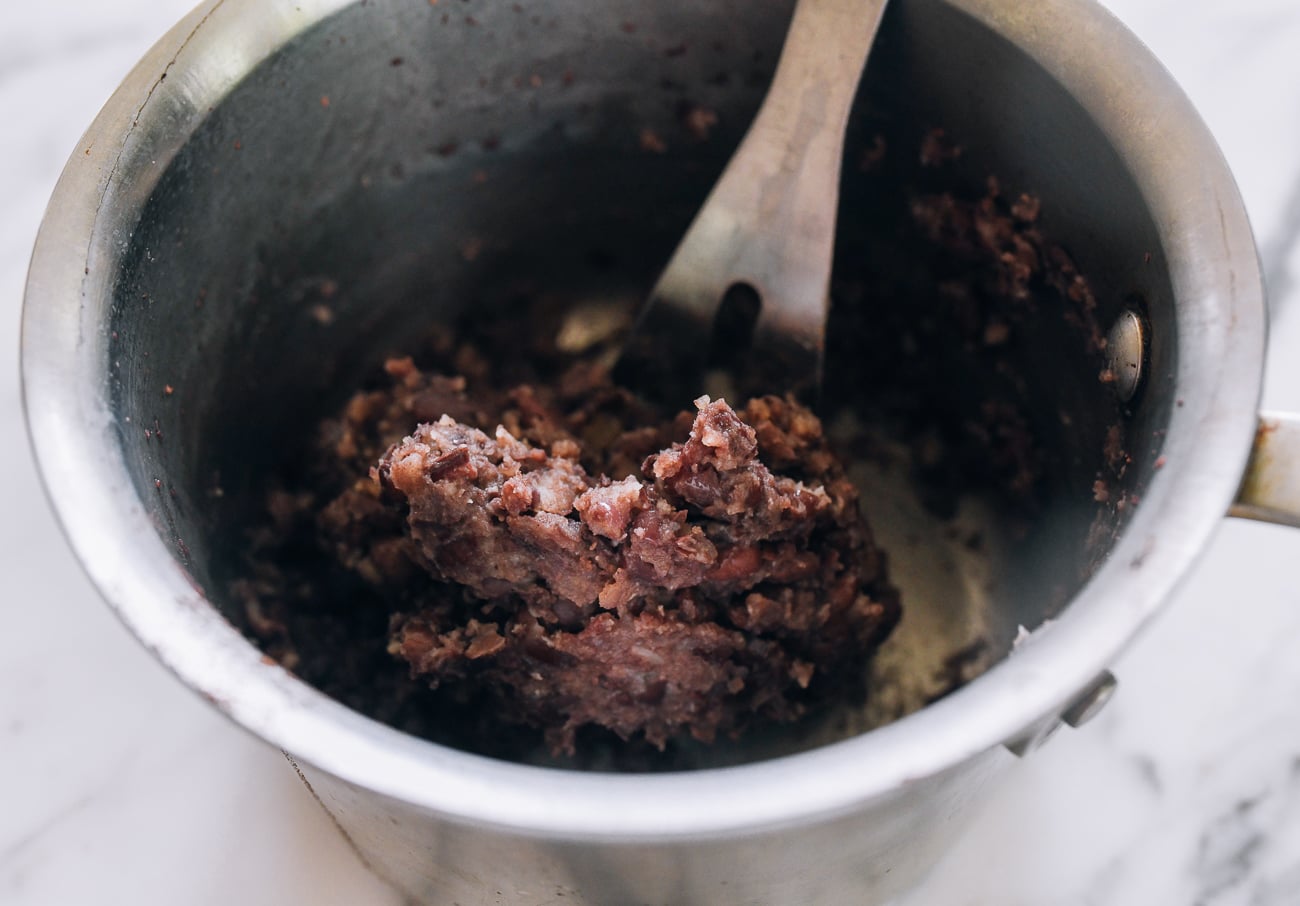
Once the red beans are done cooking, drain off all the liquid into a bowl (you can drink the liquid with or without some sweetener—it’s very good for you). Gently mash the red beans with a potato masher until a paste forms. Set aside.
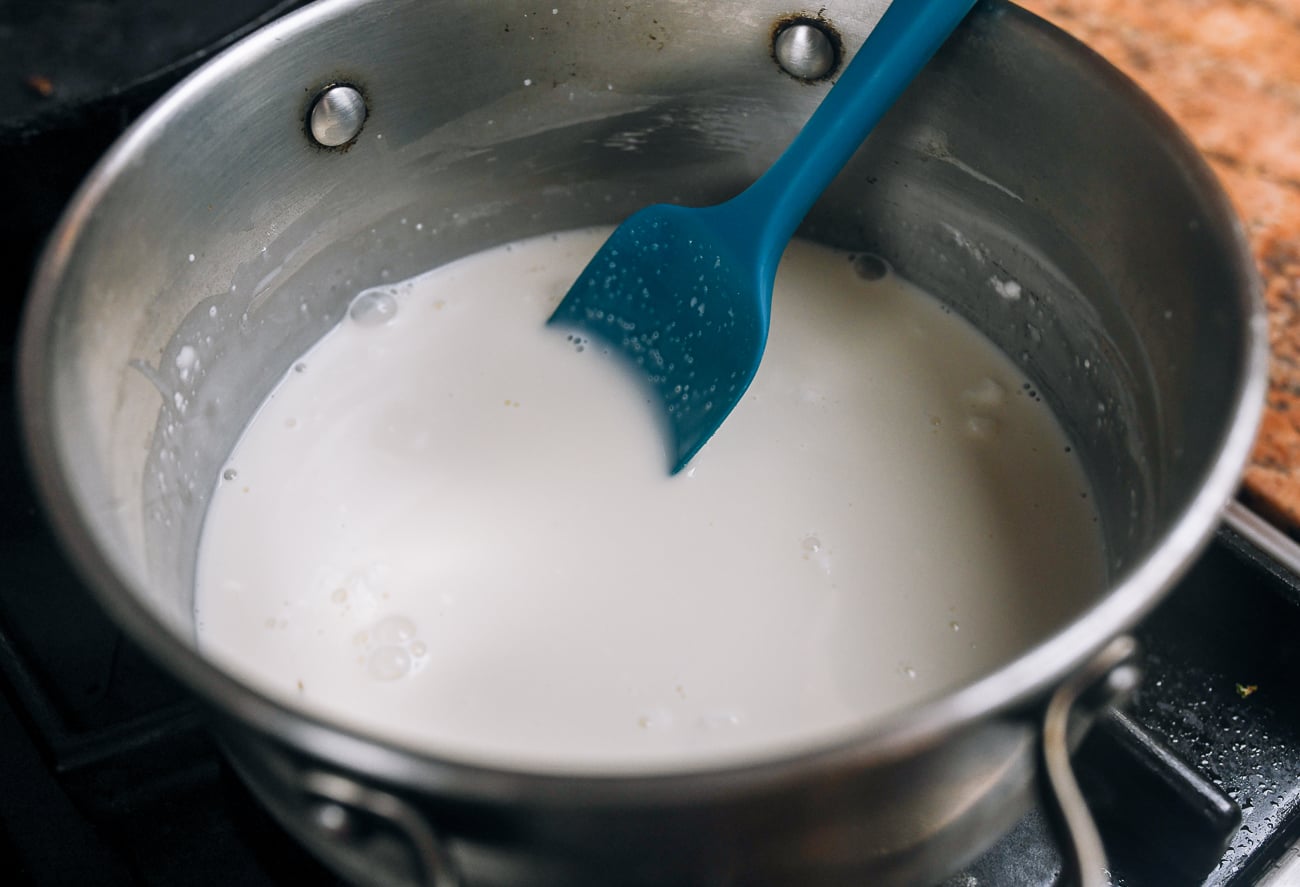
Add the milk to a separate pot. Stir in the cornstarch until completely dissolved, then add the heavy cream, sugar, vanilla, and mashed red beans. Cook until you start to see small bubbles. It’s best to stay at the stove during this process. Once the milk mixture reaches a boil, stir until everything is well combined, and remove from the heat. Cover with a tight fitting lid and let cool.
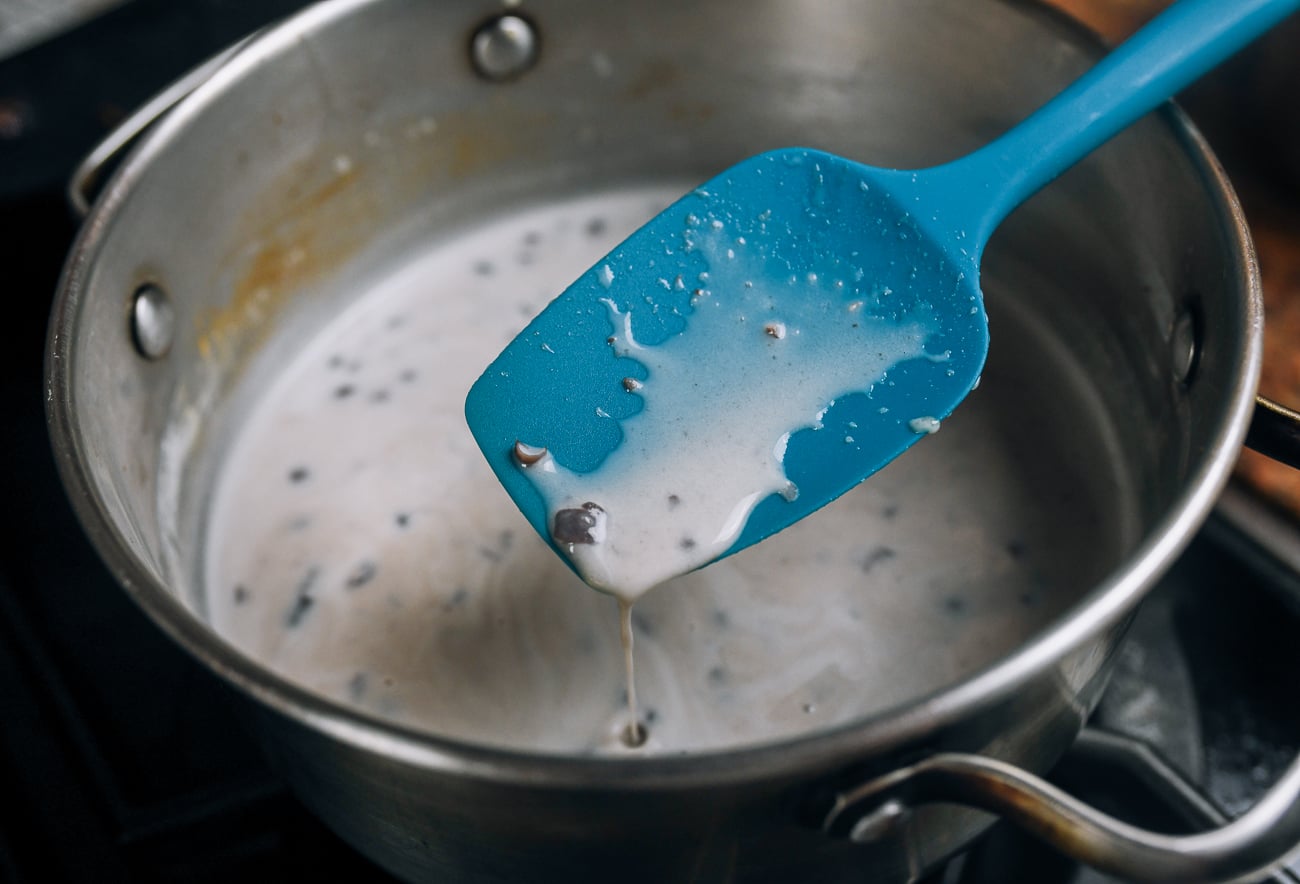
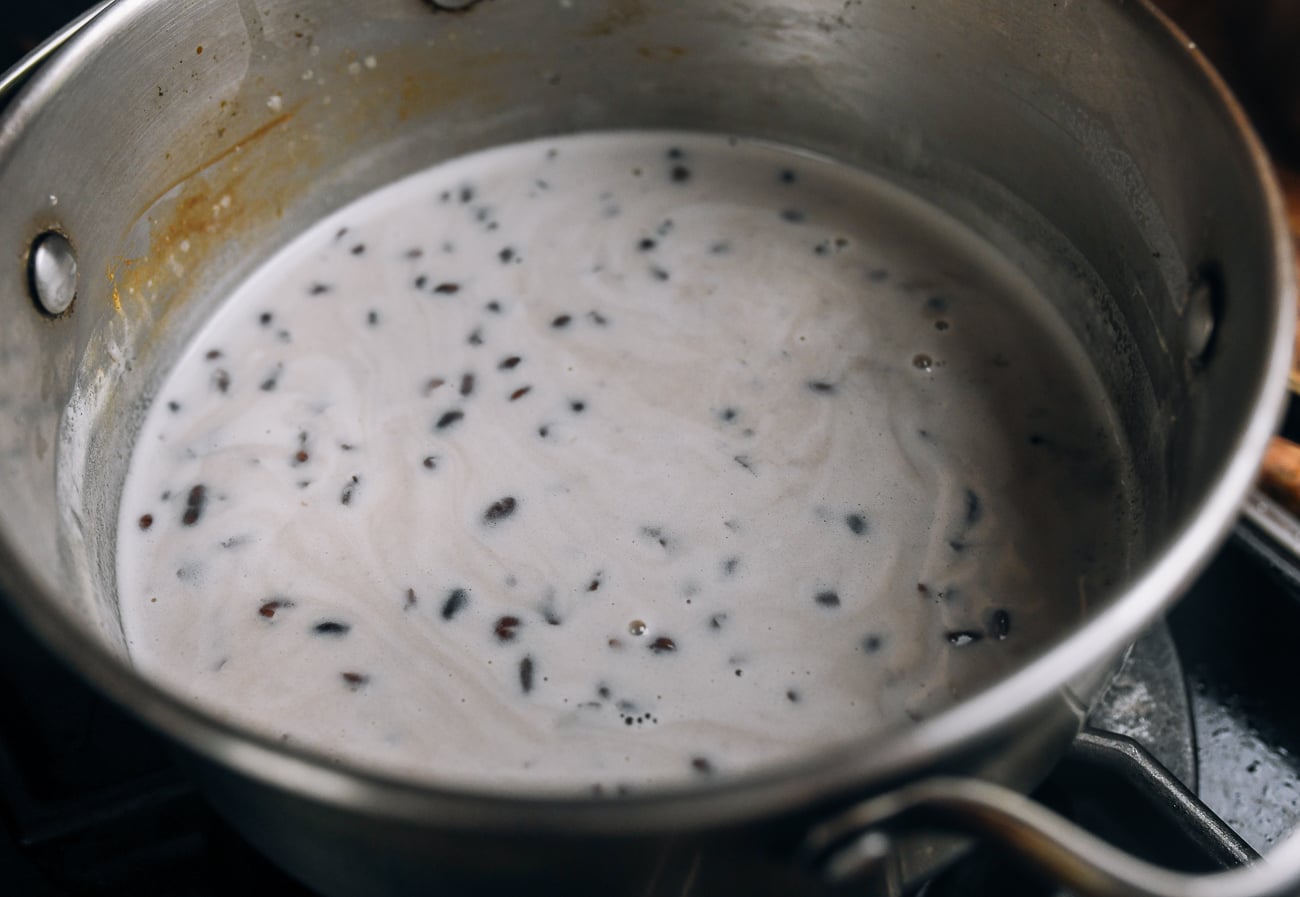
When the mixture is fully cooled to room temperature, it’s time to assemble the popsicles. Stir up the creamy red bean mixture and fill each mold until it’s 95% full. Cover the popsicles with the lid, insert the wooden popsicle sticks, and freeze overnight.

Note:
Make sure that your popsicle mold lid is straight, or the popsicle sticks will end up crooked, as they did in our photos (whoops!).
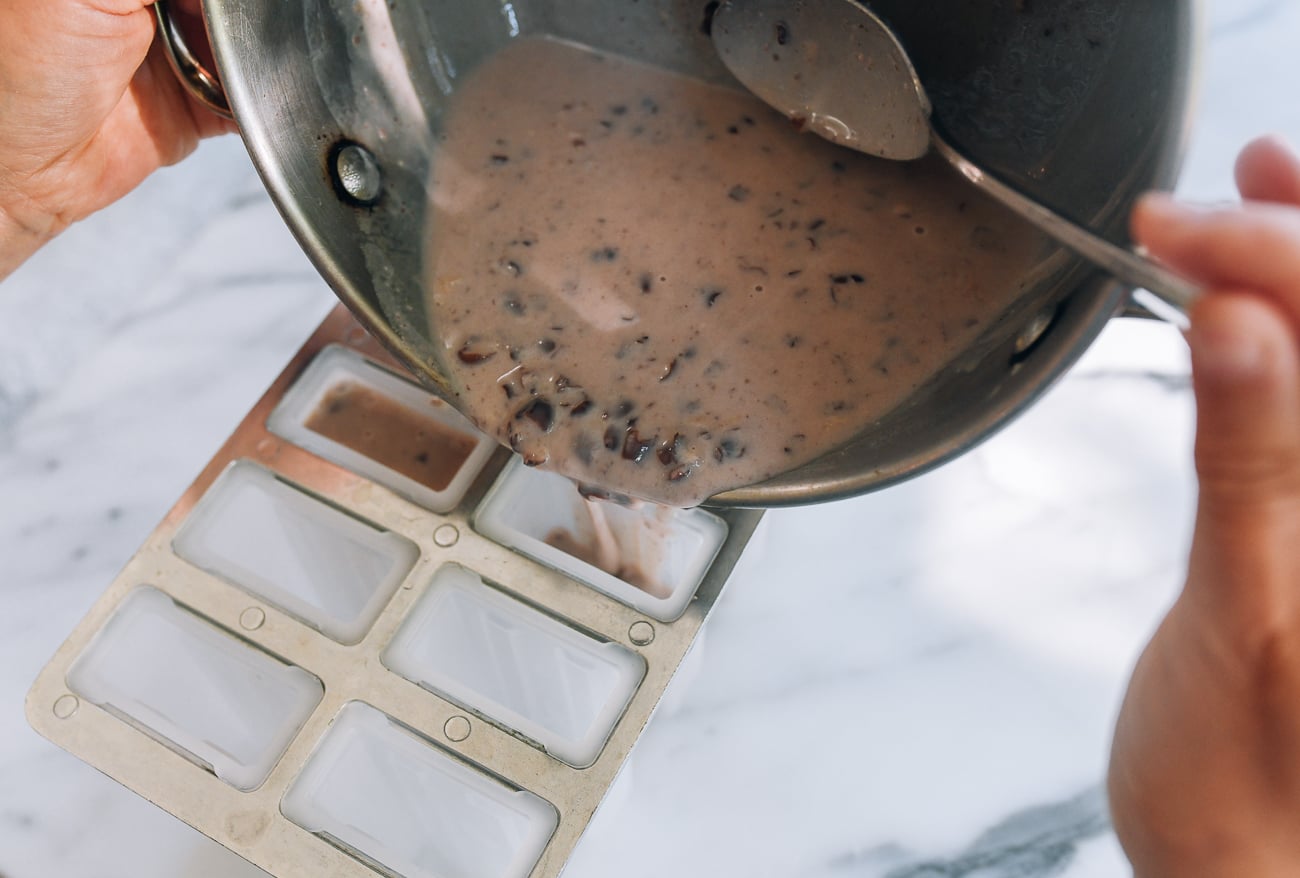
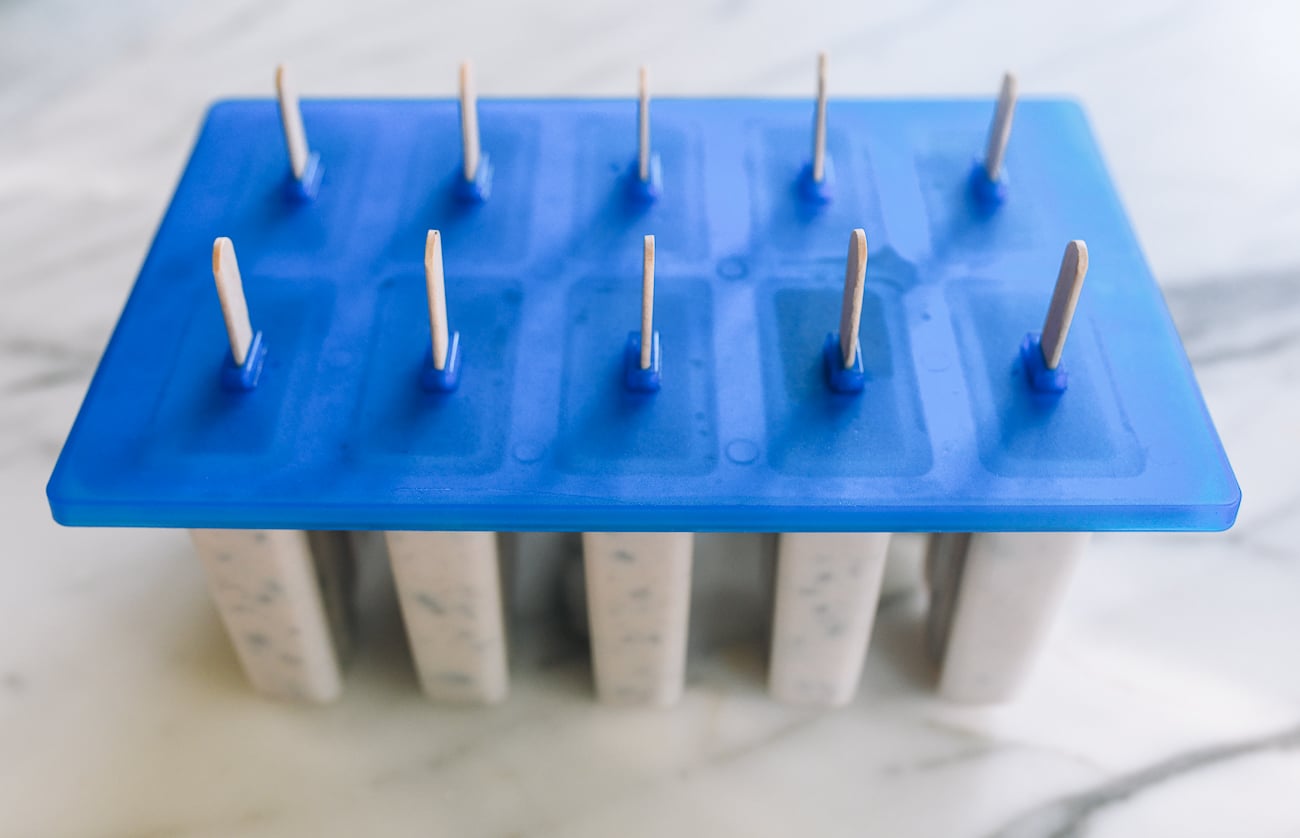
The next day, they’re ready to enjoy! I remove them from the molds and place them in a freezer bag for longer-term storage. Enjoy within 2 months at best quality!
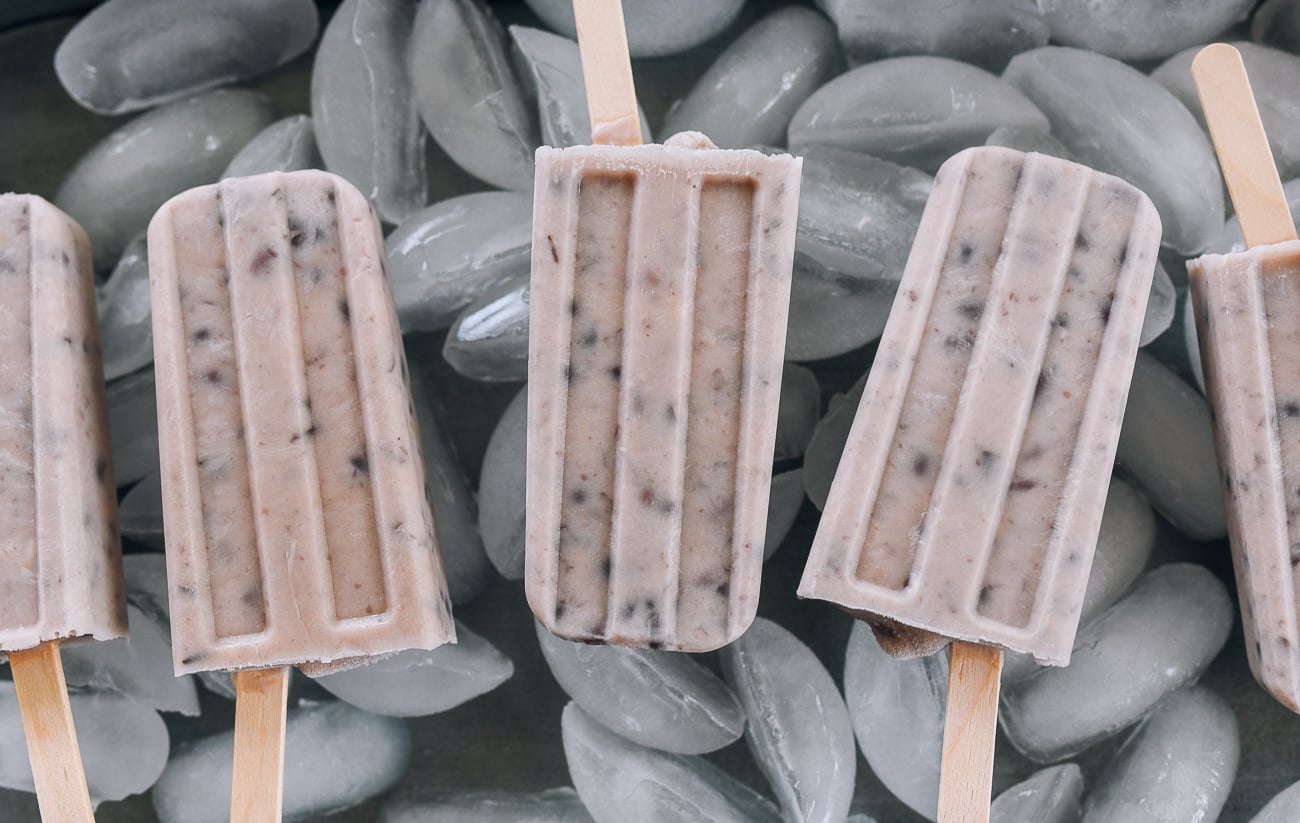
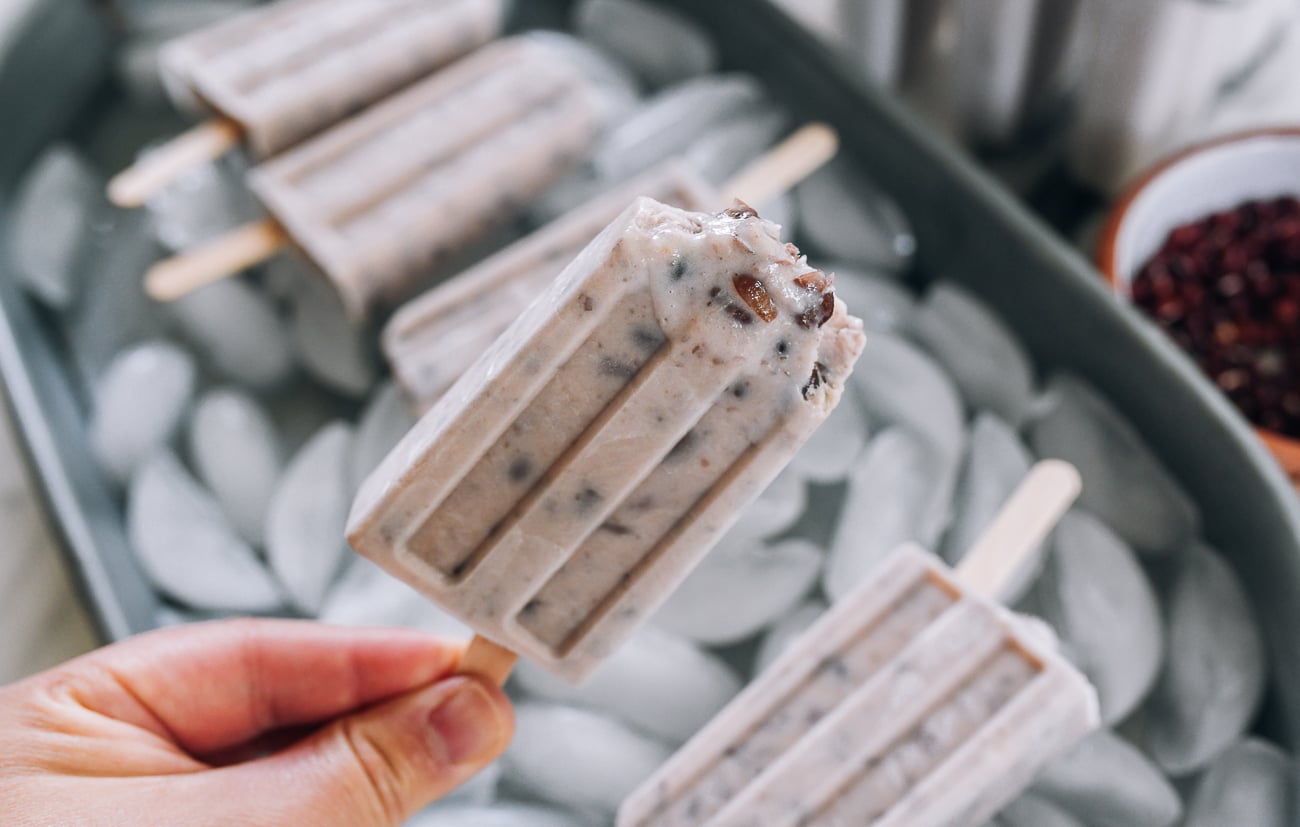
Chunky vs. smooth red bean popsicles
Many recipes call for a blender or food processor, but I find a good old fashioned potato masher does the trick just fine. If you prefer a perfectly smooth texture to your popsicles, you can use a food processor to process the beans until the skins break down and the red beans are a smooth paste.
Looking for more authentic recipes? Subscribe to our email list and be sure to follow us on Pinterest, Facebook, Instagram, and Youtube!
Recipe
Red Bean Popsicles
Equipment
- Popsicle mold
- Popsicle sticks
Ingredients
- ½ cup dried red beans (adzuki beans)
- 3 cups water (plus more for soaking the beans)
- 1¼ cups whole milk
- 2 teaspoons cornstarch
- ¾ cup heavy cream
- ½ – ⅔ cup granulated sugar
- 1 teaspoon vanilla extract
Instructions
- Soak the red beans in water overnight. Drain and add them to a small pot, along with 3 cups of fresh water. Bring to a boil, then reduce the heat to medium / medium low, leaving the lid slightly ajar to prevent overflow. Simmer for 30-45 minutes until the beans are fully softened and the skins are beginning to open up.
- If your red beans are older and have been sitting on the shelf, they may require a longer cooking time. Check periodically and add a little more water if it cooks off before the red beans soften. Excess liquid isn’t necessary, so refrain from adding too much.
- Once the red beans are done cooking, drain off all the liquid into a bowl (you can drink the liquid with or without some sweetener—it’s very good for you). Gently mash the red beans with a potato masher until a paste forms. Set aside.
- Add the milk to a separate pot. Stir in the cornstarch until completely dissolved, then add the heavy cream, sugar, vanilla, and mashed red beans. Cook until you start to see small bubbles. It’s best to stay at the stove during this process. Once the milk mixture reaches a boil, stir until everything is well combined, and remove from the heat. Cover with a tight fitting lid and let cool.
- When the mixture is fully cooled to room temperature, it’s time to assemble the popsicles. Stir up the creamy red bean mixture and fill each mold until it’s 95% full. Cover the popsicles with the lid, insert the wooden popsicle sticks, and freeze overnight.
- The next day, they’re ready to enjoy! I remove them from the molds and place them in a freezer bag for longer-term storage. Enjoy within 2 months at best quality!