Multigrain flour has become a mainstay in our house. Made with a blend of our favorite grains and seeds, it’s a healthy base for baking all of our favorite breads at home!
Making A Wholesome Multigrain Flour
Judy has always been a stickler for eating multigrain breads, and I can attest that we have Chinese multigrain congee (porridge) with our stir-fries at least once a week.
That said, it’s hard to keep track of what all the healthy buzzwords mean these days. “Whole wheat” vs. “ whole grain” vs. “multigrain?” We figure that ultimately, the fewer commercial processed foods we buy, the better.
So every chance we get, we skip commercial processed options in favor of homemade multigrain bread, multigrain English muffins, and whole wheat sandwich bread. (Of course there are exceptions. Some things like milk bread buns just shouldn’t be made with multigrain flour!)
The secret to making deliciously nutty breads at home means making our own multigrain flour. It involves buying a blend of grains and grinding them into a flour in a trusty blender.
With brands like Vitamix, Blendtec and Ninja, you have many capable blenders to choose from depending upon your budget. They’re perfect for making small batches of flour at home.
Advantages of making your own multigrain flour:
- Knowing exactly what goes in.
- Being able to adjust the types and ratios of grains for just the right flavor and texture.
- Being able to determine whether you want to use organic options or grains with / without husks, etc.
- It’s always fresh! You can grind only what you can use in a short period of time for a few batches of bread.
What goes into a multigrain flour mix?
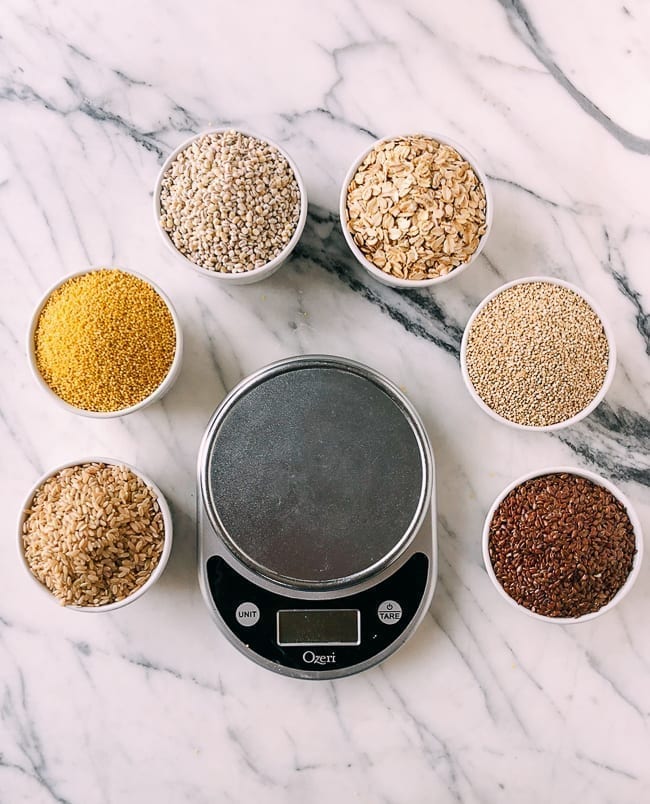
Multigrain flour is typically made with at least two whole grains, but usually consists of 7 or more, including barley, wheat, oats, brown rice, and even seeds. Commonly used seeds include flaxseed, quinoa, and buckwheat.
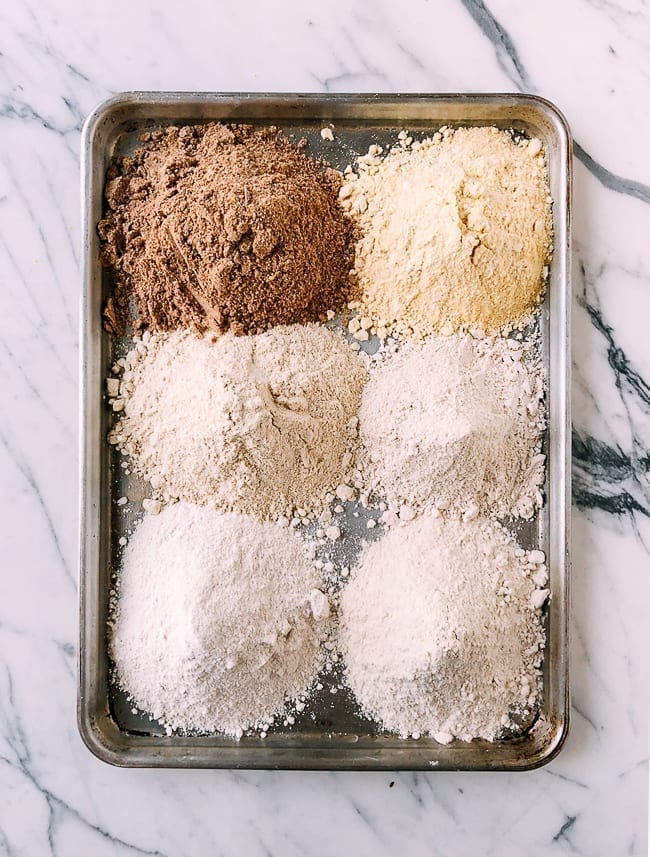
We pick a handful of whole grains, and mix in some store-bought whole grain flours like buckwheat flour, cornmeal, and whole wheat flour to round out the flavor.
Selecting your grains is a personal preference, and experimenting is part of the fun. Our recipe is a 9-grain flour, you could make a 7-grain, 12-grain, or even a simpler 5-grain flour.
You can be the judge and tailor your flour to your tastes. We recommend starting with smaller batches if you want to experiment. (Click on the number of servings in the recipe card, and use the slider to scale down quantities.)
One thing we’ve noticed is that of all the above ingredients, buckwheat can assert the strongest flavor (and color), so be mindful of that when crafting your flour mix.
Should I wash the grains?
In most cases, no. Grains you buy at the store are usually pre-washed. Unlike white rice, there is no benefit of washing to remove excess starch.
That said, if you feel better rinsing off the grains after a visual inspection, just be sure to drain completely and place them on a sheet pan to dry completely before adding to the blender.
This step will likely need to be done the day before you plan to make your flour.
How to Make Multigrain Flour
In short, just add the grains to a strong blender like a Vitamix or Blendtec in batches of 1-2 cups until you’ve ground everything into a fine powder.
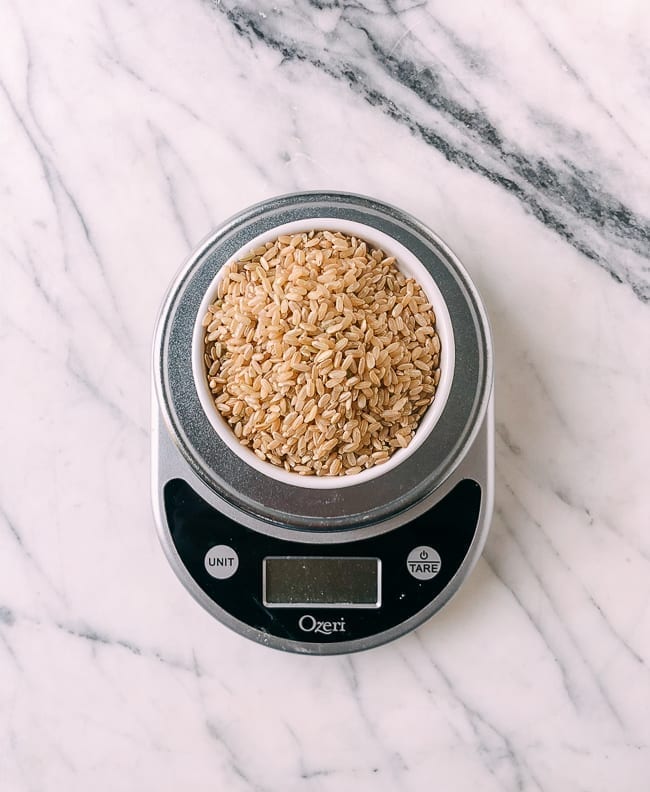
How much you place in the blender depends upon the size and capacity of the blender pitcher, but the grains should at least cover the blades of the blender to effectively pulverize your grains into flour. Otherwise, the grains will just blow around the pitcher.

Before you hit the “start” button, cover the top of your blender with a dish towel to catch any residual powder. Then, turn the blender to the highest setting. It takes our blender 30-45 seconds to grind grains into a usable fine flour.
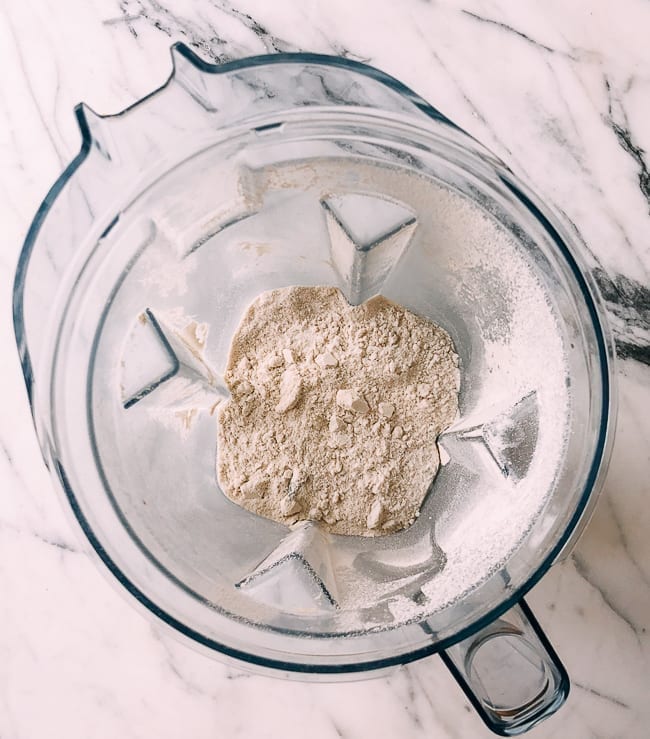
You can adjust the coarseness of your grind. For a finer multi-grain flour for delicate uses like pancakes, use a higher setting for a longer duration. For coarser flour to be used in rustic multigrain loaves, you’ll want the highest setting, but for a shorter duration. It’s not an exact science, but as I learn more I’ll be sure to update this post!
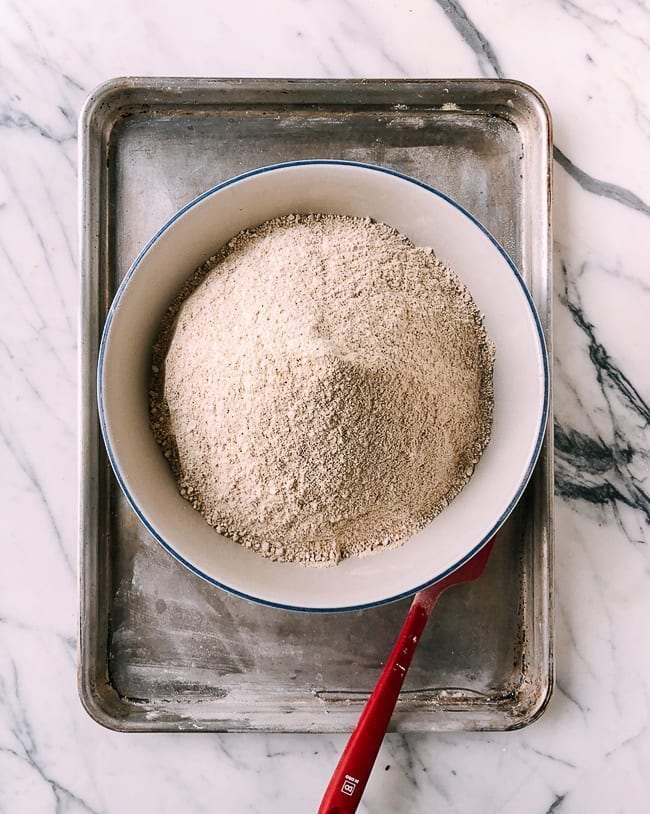
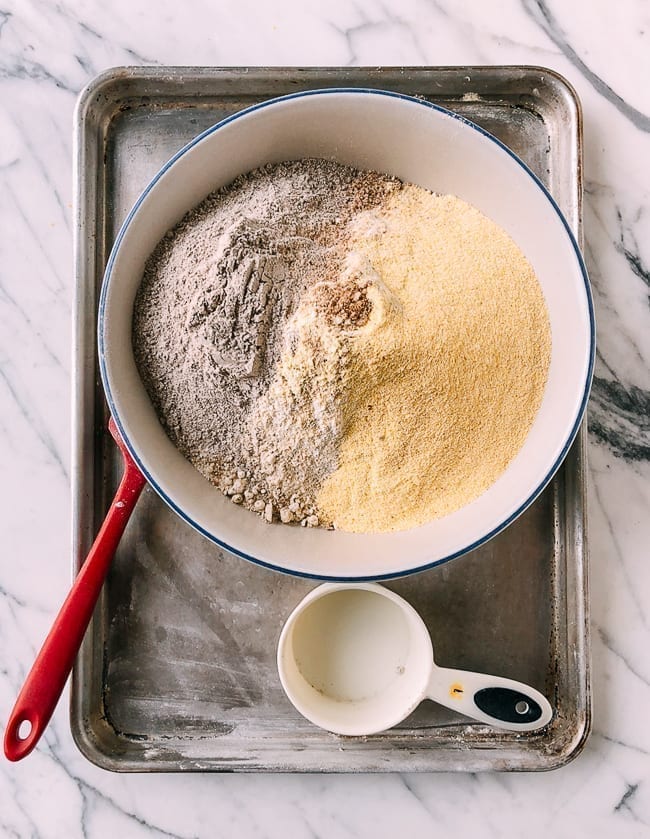
Once the grains are milled, combine them in a large bowl.
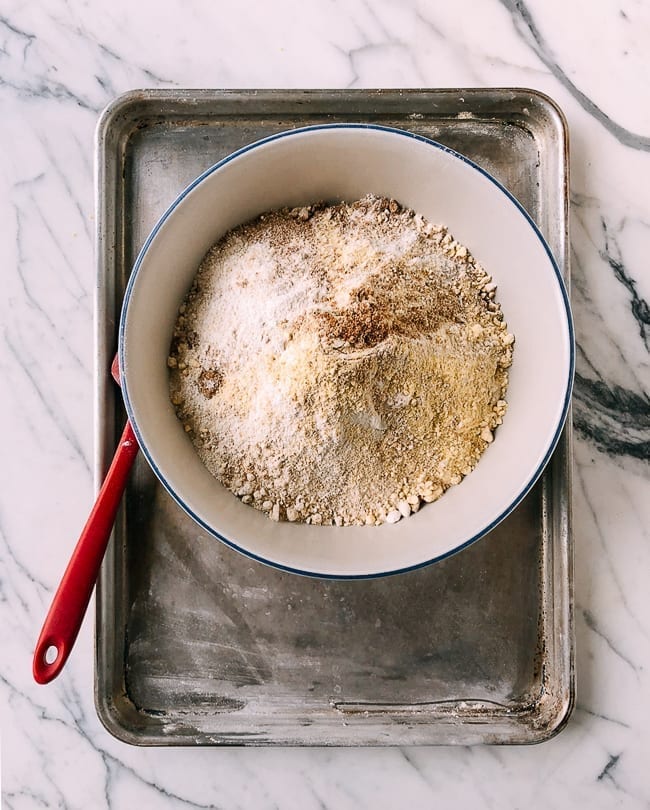
Add any store-bought flours you decide to use, and stir until everything is uniformly combined.
Transfer the flour to an airtight container.
Storing your multi-grain flour in the refrigerator is recommended, since homemade milled flour tends to spoil more quickly. As mentioned, we usually aim to store ours for no longer than a couple of months.
Looking for more authentic recipes? Subscribe to our email list and be sure to follow us on Pinterest, Facebook, Instagram, and Youtube!
Recipe

Homemade Multigrain Flour
Equipment
- Blender
Ingredients
- 1 cup brown rice 200g
- 1 cup millet 205g
- 1 cup barley 200g
- 1 cup rolled oats 110g
- 1 cup quinoa 185g
- 1 cup flaxseed 160g
- 1 cup cornmeal 125g
- 1 cup buckwheat flour 135g
- 1 cup whole wheat flour 130g
Instructions
- In short, just add the grains to a strong blender like a Vitamix or Blendtec in batches of 1-2 cups until you’ve ground everything into a fine powder. How much you place in the blender depends upon the size and capacity of the blender pitcher, but the grains should at least cover the blades of the blender to effectively pulverize your grains into flour. Otherwise, the grains will just blow around the pitcher.
- Before you hit the “start” button, cover the top of your blender with a dish towel to catch any residual powder. Then, turn the blender to the highest setting. It takes our blender 30-45 seconds to grind grains into a usable fine flour.
- Once the grains are milled, combine them in a large bowl along with any store-bought flours you decide to use, and stir until everything is uniformly combined. Transfer the flour to an airtight container.


