Today, I’m sharing how we wash our vegetables. Getting the most out of produce and making sure they’re as clean as possible is very important to me, as I’m sure it is for many of you! We break down how to wash everything from leafy greens to herbs, peppers, and more.
If you’d rather watch than read, be sure to check out our YouTube video. While you may already have your own method, I hope that you learn something new here.
The Most Important Step We Rarely Talk About
Washing vegetables is a hugely important task in our kitchen!
Compared to everyone in the family, I’m the biggest stickler when it comes to cleaning vegetables! Every week, I make sure we eat a wide variety of vegetables, which means there’s a lot of washing, trimming, and prep involved.
When it comes to cleaning vegetables, peace of mind and a pleasant eating experience go a long way. Too many times, we’ve crunched down on sand when eating out at a restaurant, or had an improperly trimmed vegetable.
And with pesticides being used so widely, it’s more important than ever to wash our fresh produce thoroughly. It affects the taste and texture of your final dish and even how much vegetable you end up with.
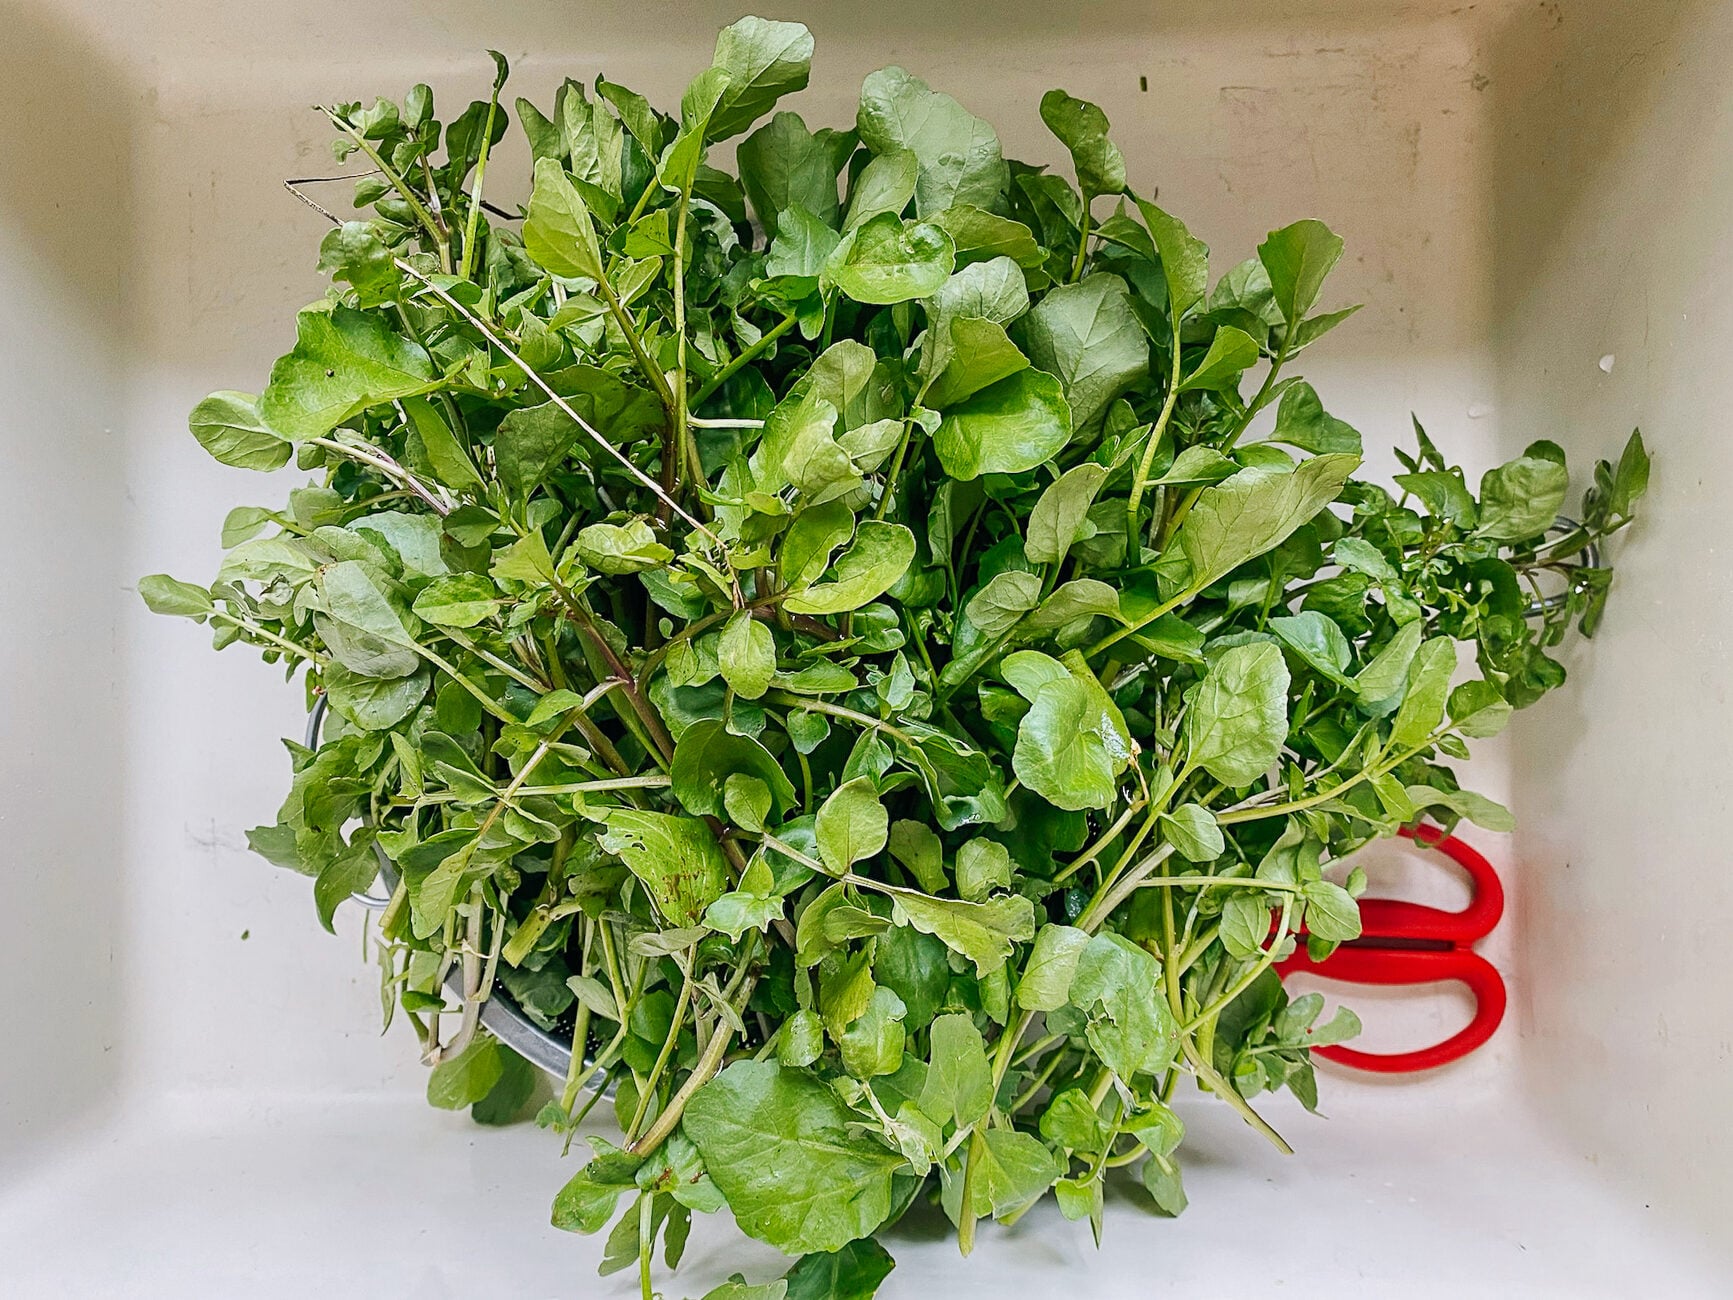
For those of you who may not mind the pesticide factor, some vegetables are more likely to have sand or even tiny snails (watercress!), and it’s ideal to rinse these vegetables clean to avoid any unpleasant surprises.

And even if you don’t care so much about the health side of things, vegetables and fresh produce are more expensive than ever. These steps will help you optimize the fresh produce you spent your hard-earned money on!

Our Most important Tips
- I always soak our vegetables three times. “Triple washed” has become a selling point on boxed greens and restaurant menus for a reason. It’s not just marketing fluff, it’s a sign that washing leafy greens once under a tap often isn’t enough. For sandy leafy greens, we agitate each stalk in the soaking water to get rid of dirt and debris.
- Lift your vegetables out of the soaking water and into a colander so you don’t pour all the grit that settles to the bottom of the bowl back onto your clean vegetables.
- Wash and soak your vegetables thoroughly before cutting them into your final desired shape. Cutting vegetables opens them up to more pesticide residue and dirt. You can also lose water-soluble vitamins after they’re cut open!
- We know it is tempting, but you cannot soak vegetables overnight. The longest you can let them soak is 1-2 hours total. After that point, they will start to degrade and rot in the water.
- If you want to wash your vegetables ahead of time, we would recommend not pre-washing more than 2 days in advance.
Don’t get overwhelmed. Trust me, once you get into this rhythm, it becomes second nature!
The Vegetable Washing Method: Step by Step
1. The First Soak (pre-washing)
This first step removes all the most obvious surface dirt and grit.
Our vegetable washing tools
- A large stainless steel bowl (at least 8 quart size) (like this one)
- A stainless steel colander—we like one that has lots of little holes (like this one)
- A natural bristle vegetable brush (like this one)
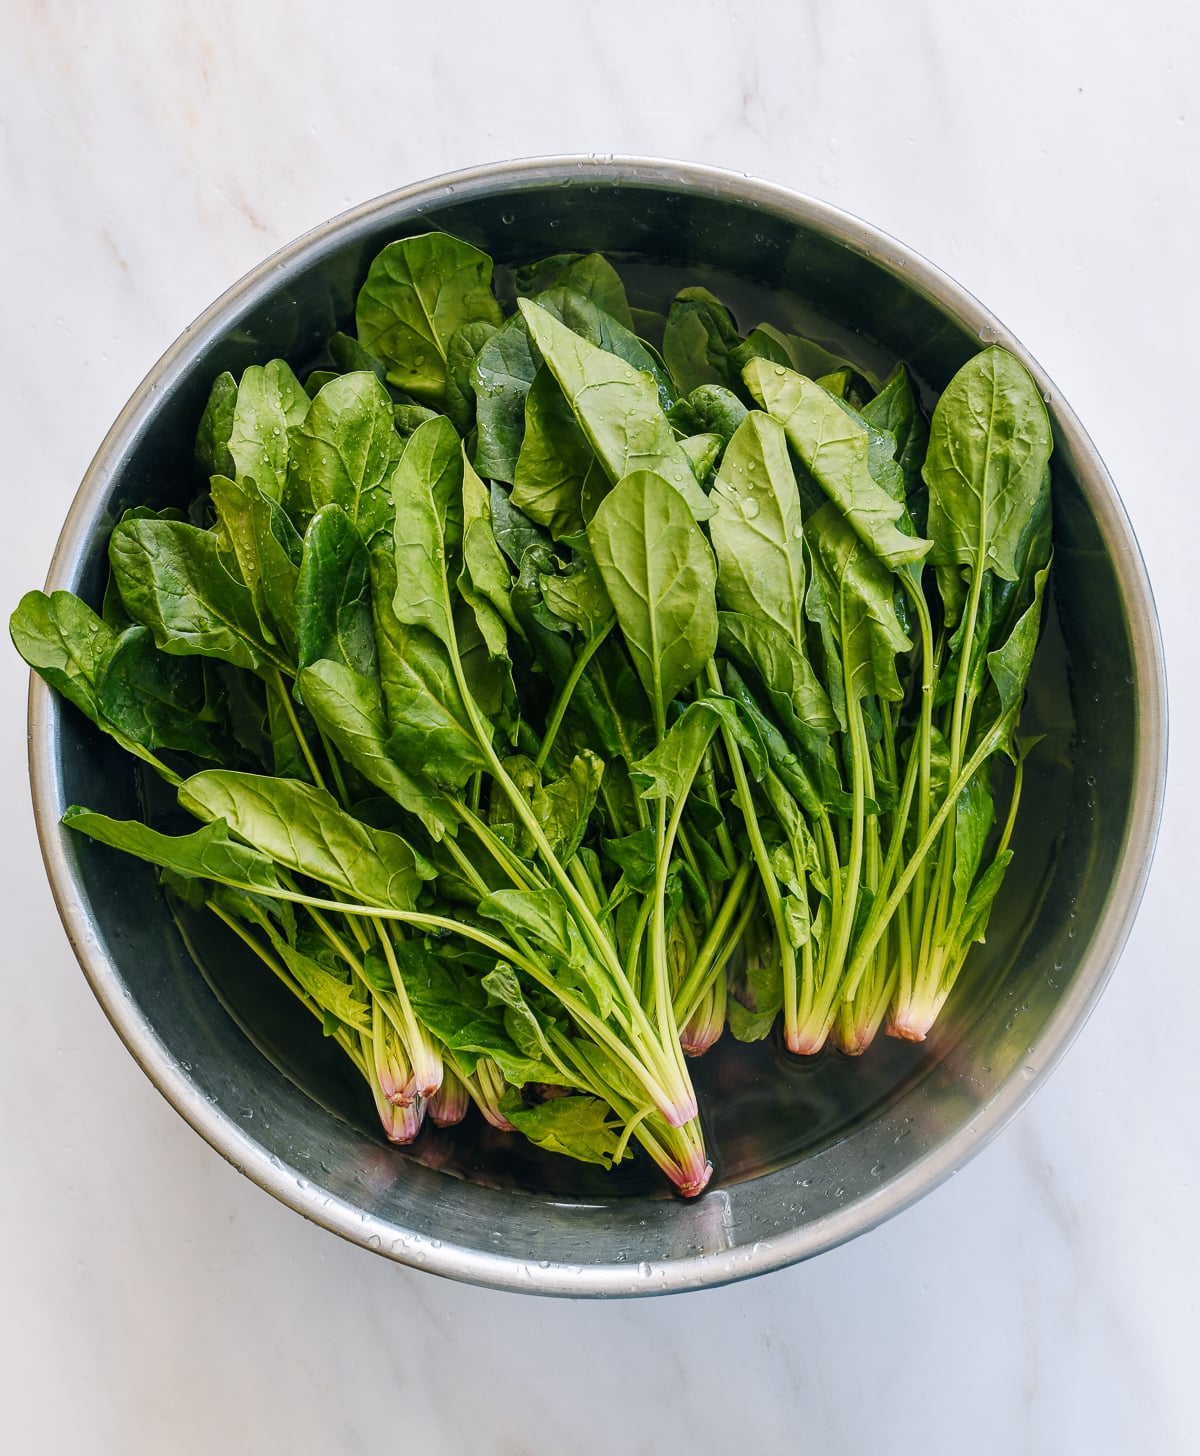
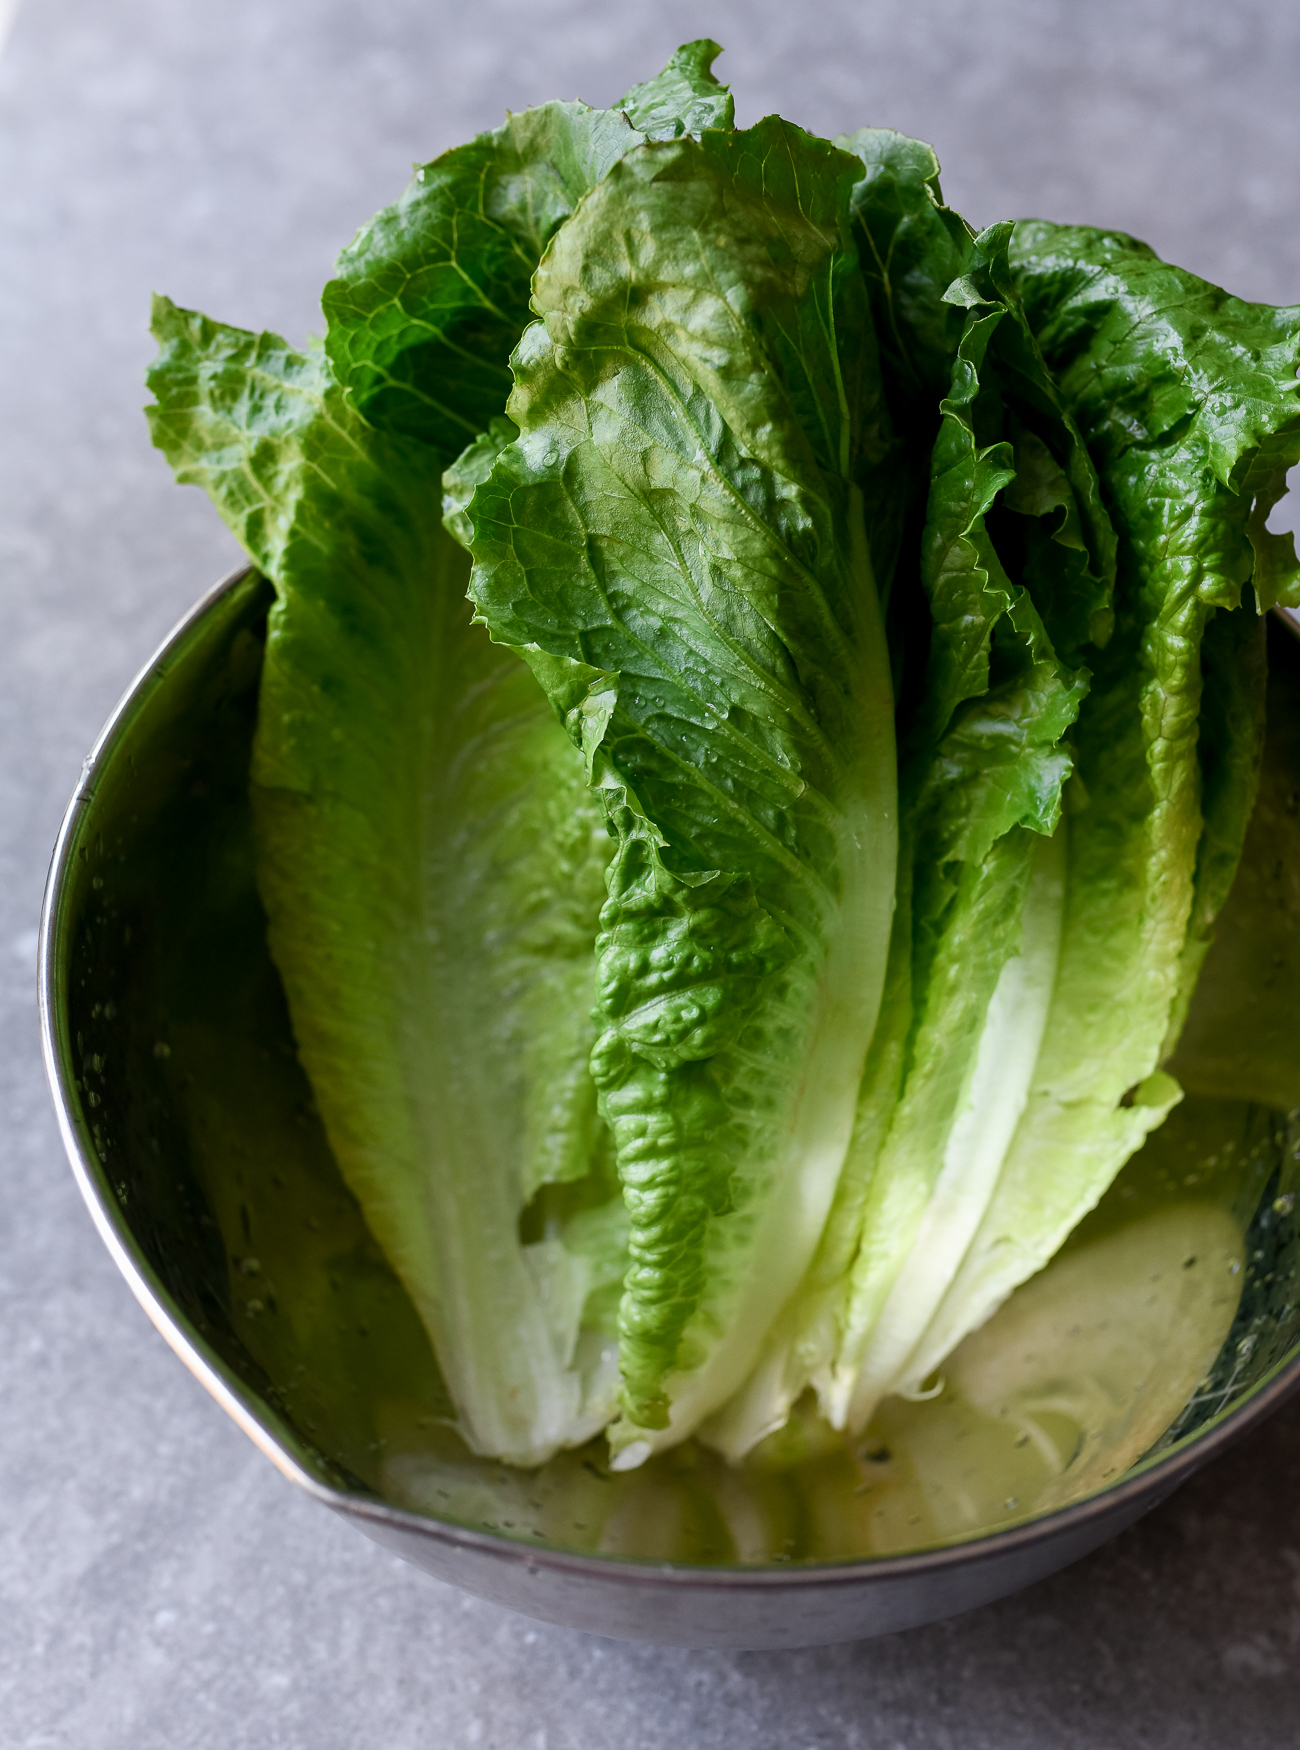
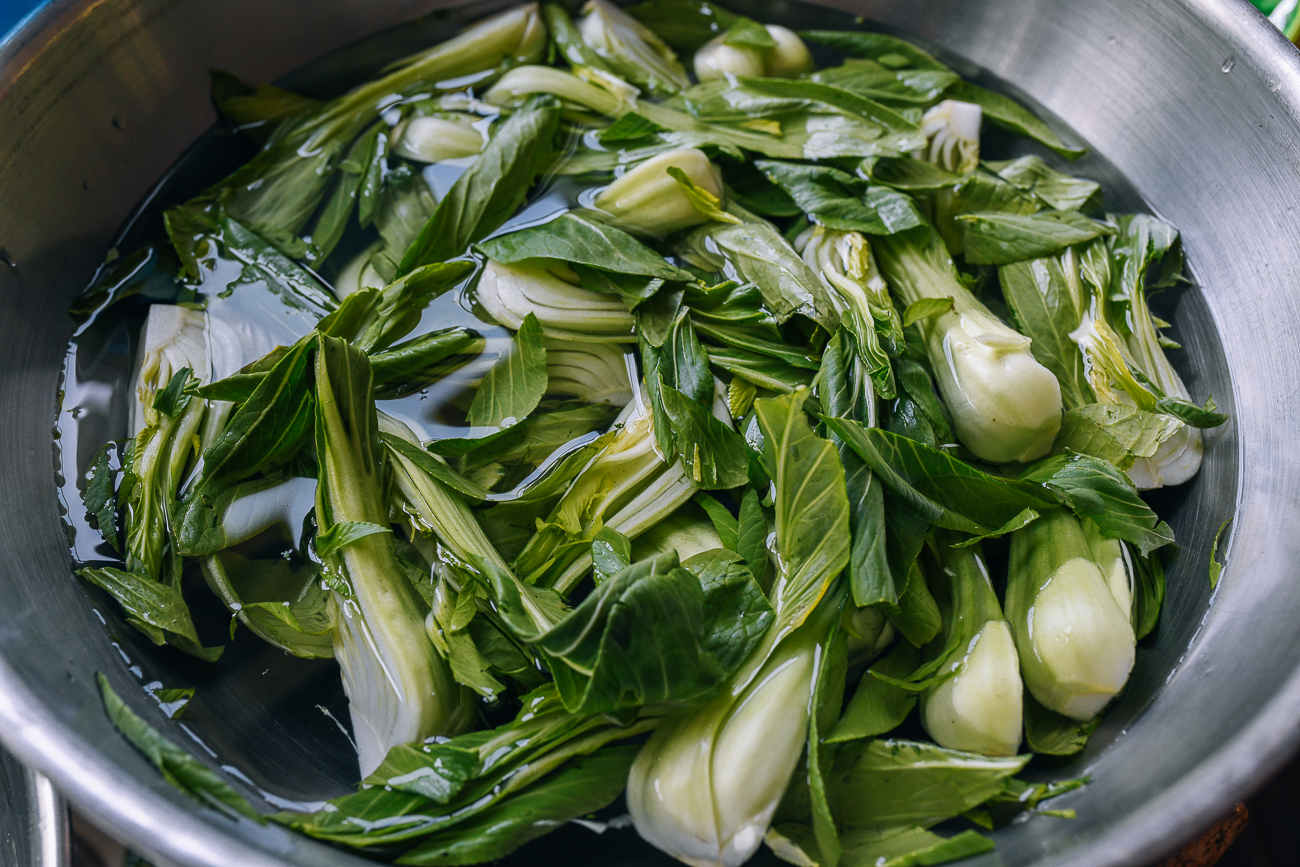
Fill a large stainless steel bowl with cold water. In the past, we used large plastic basins that you can find at the dollar store, but these days we prefer to use all stainless steel bowls. Using a large bowl is better than filling up your sink, as it is more sanitary and requires less water.
Add the leafy greens and agitate them in the water. This first soak is to get rid of obvious dirt and grit and to pick through the vegetables. Discard yellowing or battered leaves and trim away rough, woodier stems or root ends. But don’t do too much trimming at this stage—just remove what’s past its prime or what you wouldn’t want to eat.
The exception is if you’re working with a head of lettuce, cabbage, napa, broccoli, or cauliflower. These “heading” vegetables get exposed to pesticides at various layers as they grow.

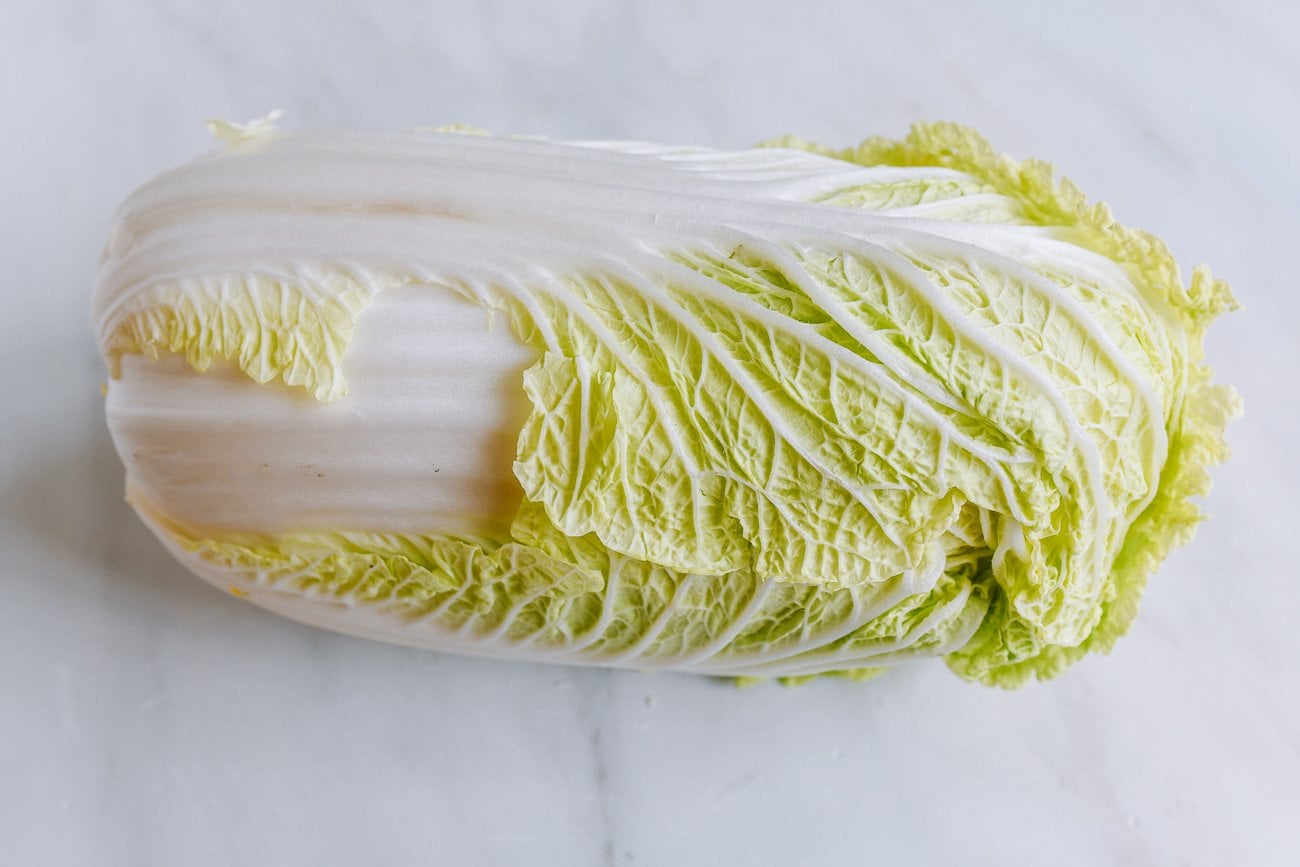
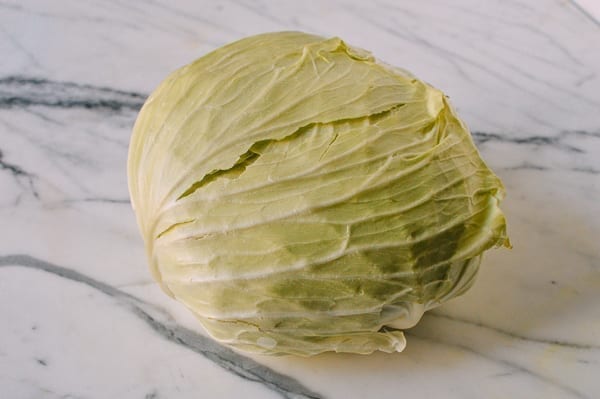
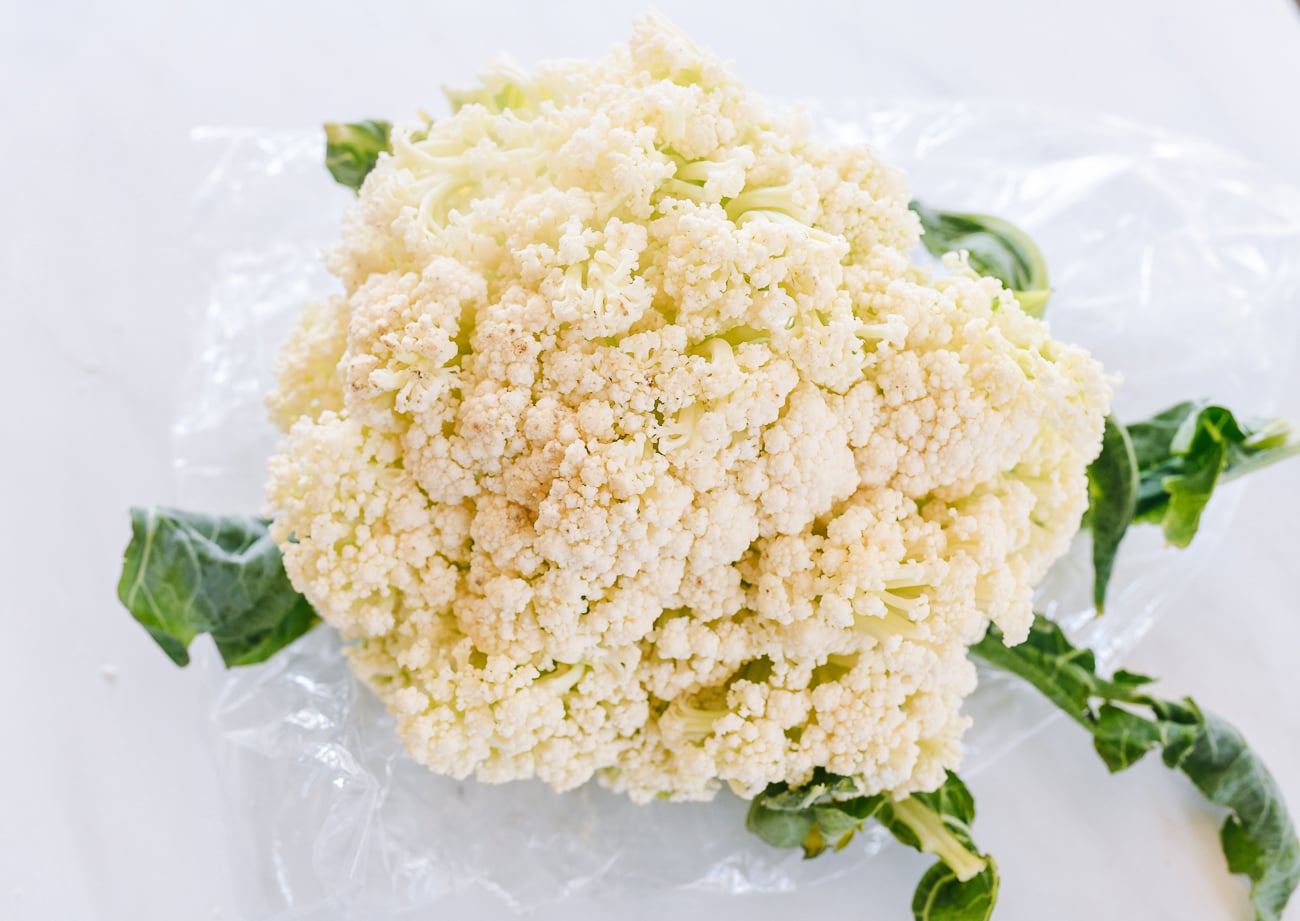
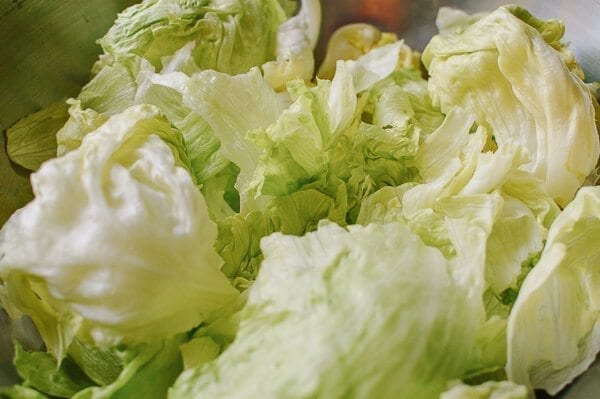
If you have one of those, now is the time to separate the leaves (or florets). For lettuce, we just pull the whole leaves away and add them to the washing bowl. For cabbage, cut out the core, and separate the layers so the water gets around all the cabbage leaves. It doesn’t have to be perfect, but you do want to expose the leaves as much as you can.
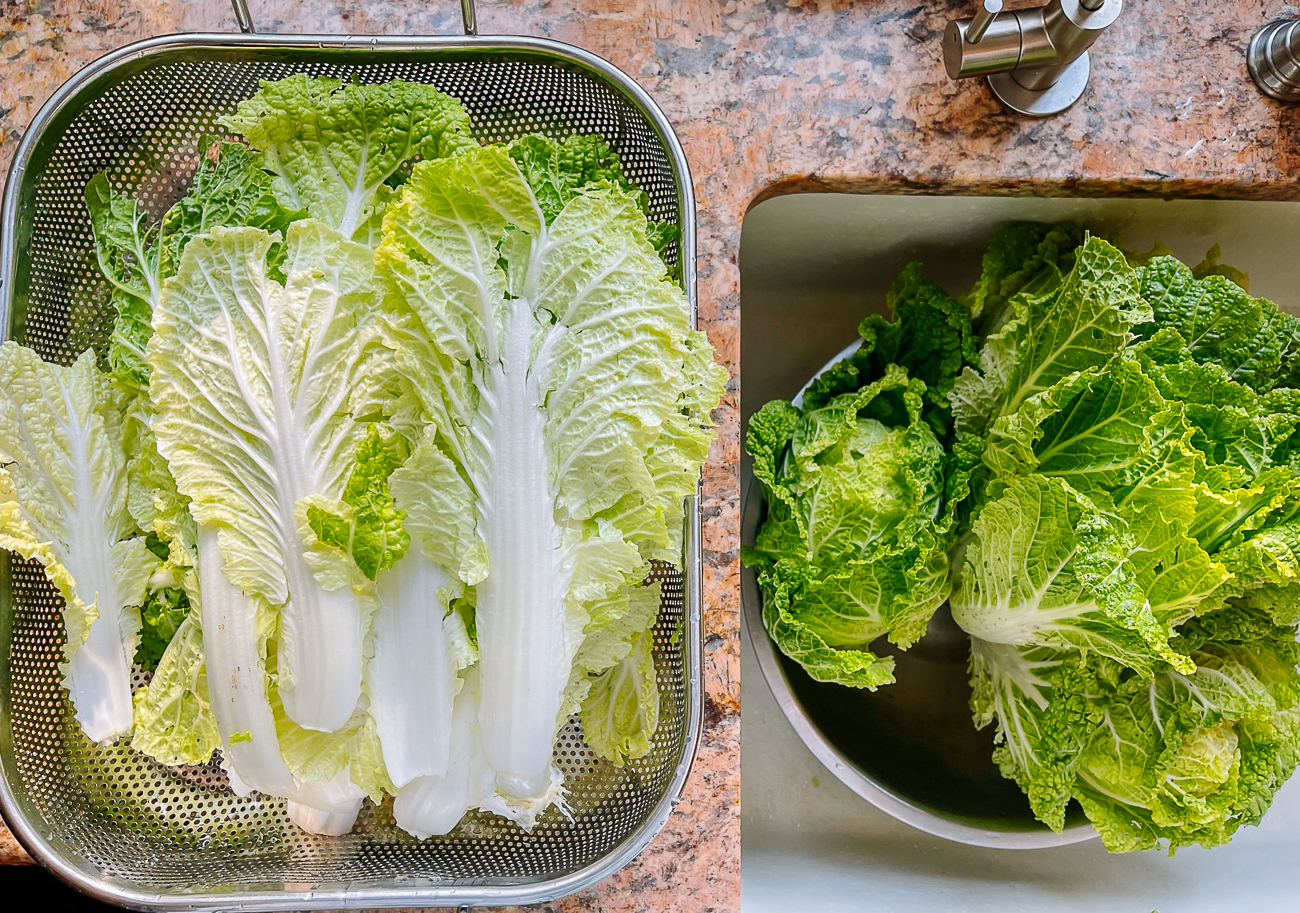
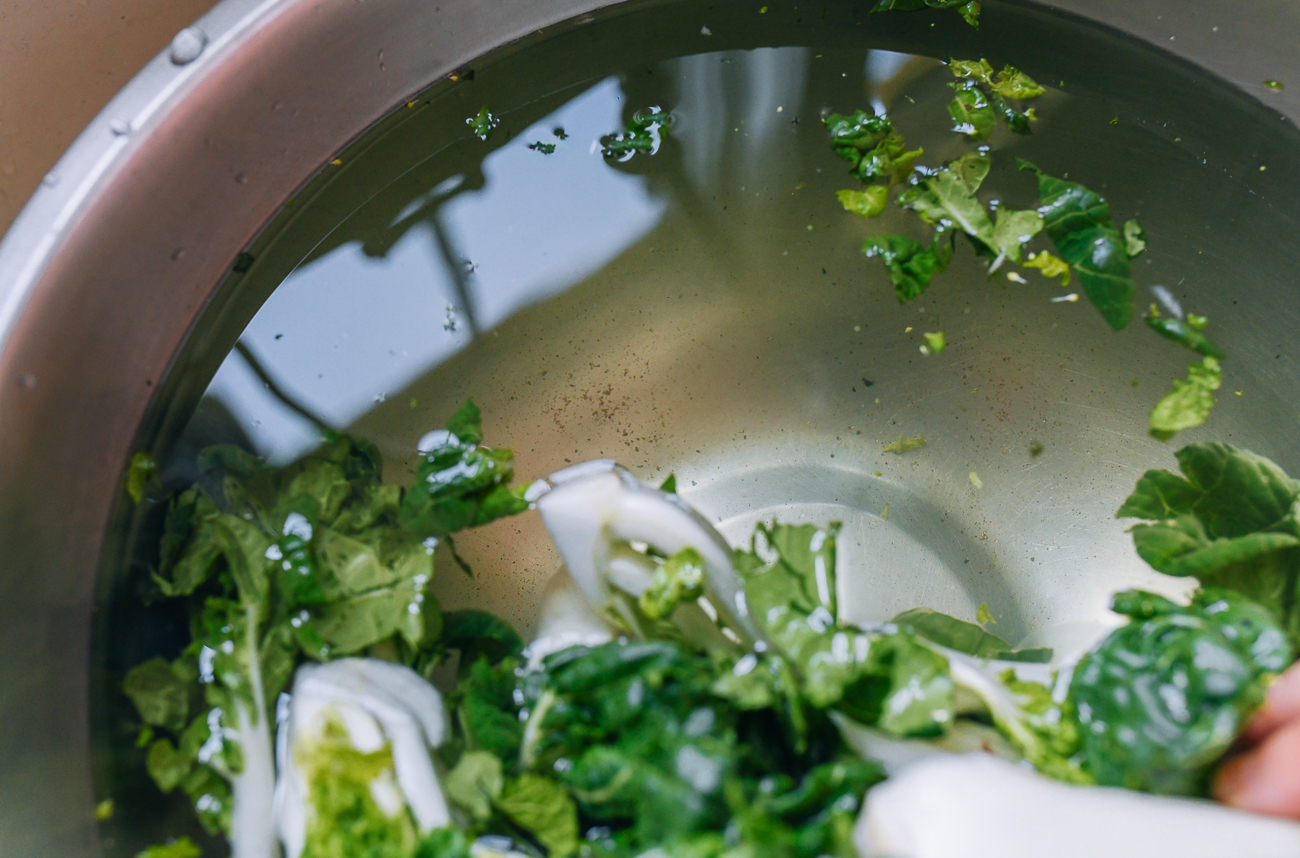
Let the vegetables soak for about 5-10 minutes, then lift them out of the water and into a colander. Pour off the water and rinse out your bowl thoroughly. (You can also use it to water your house plants and flower pots.)
Don’t just pour the contents of the bowl into your colander. When you do that, all the sediment and grit that has sunk to the bottom of the bowl gets dragged right back through your vegetables. Lifting the vegetables out and into a clean colander means the dirt stays behind in the water.
2. The Second Soak (the main wash)
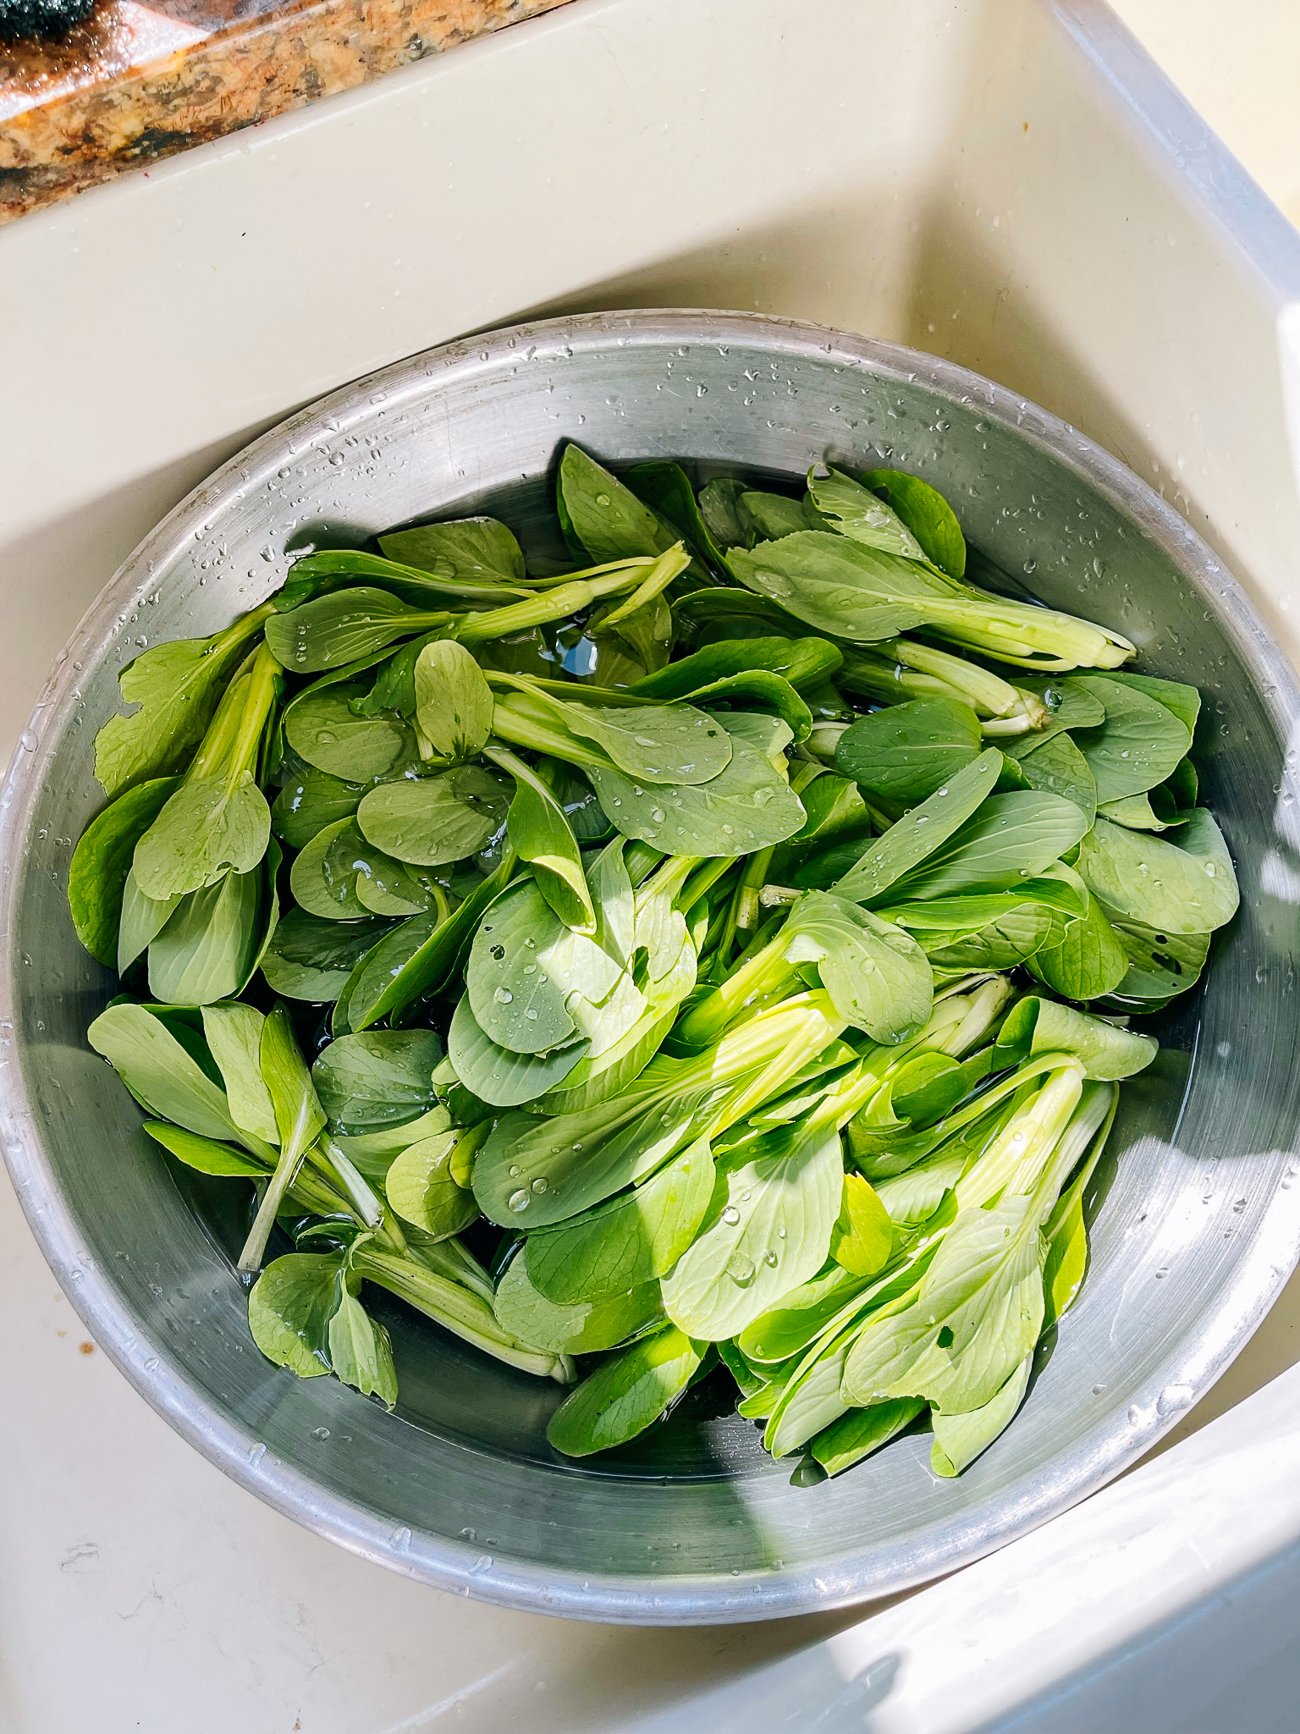
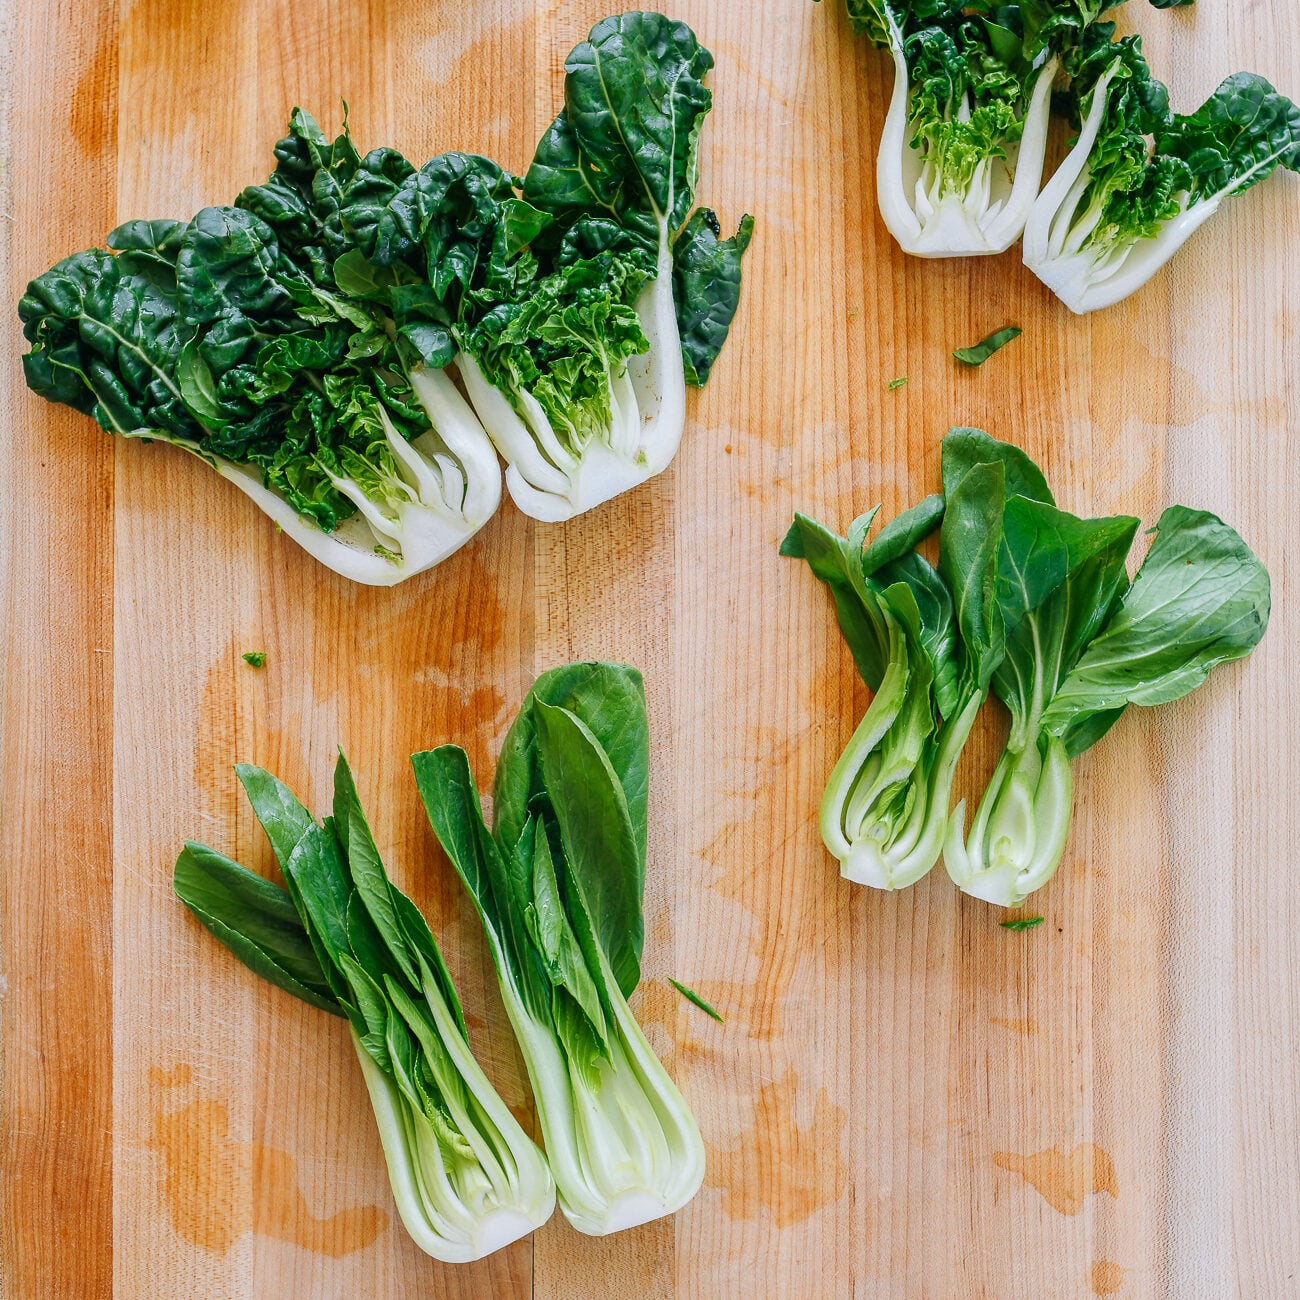
For the second soak, add the vegetables back to the clean bowl and submerge them in water. For vegetables that are hard to “reach” like bok choy, now is a good time to halve them so the water can get inside the layers of leaves.
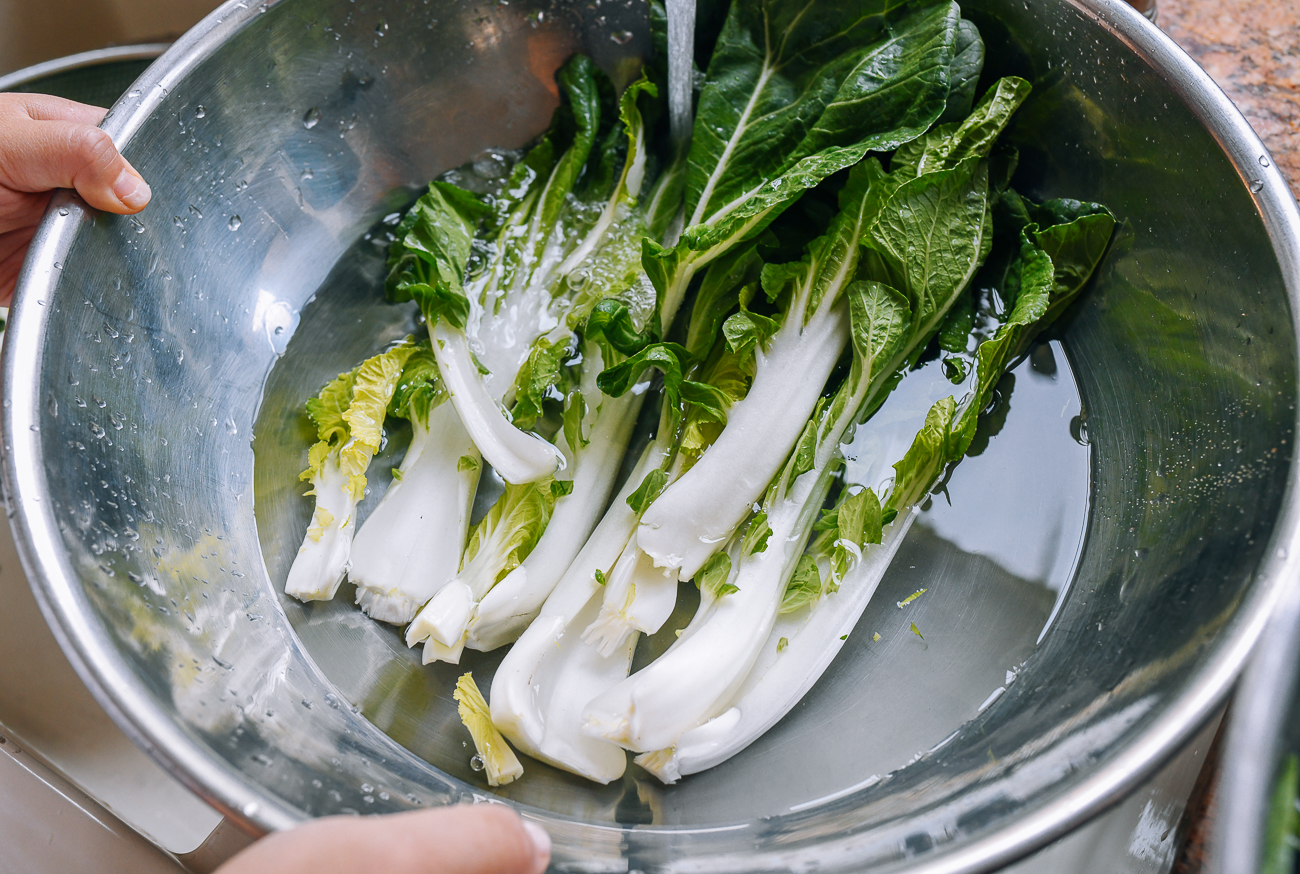
This time you can leave them to soak for another 10 minutes, or up to 20-30 minutes. Now is a good time to prep the other ingredients you may need for your meal!
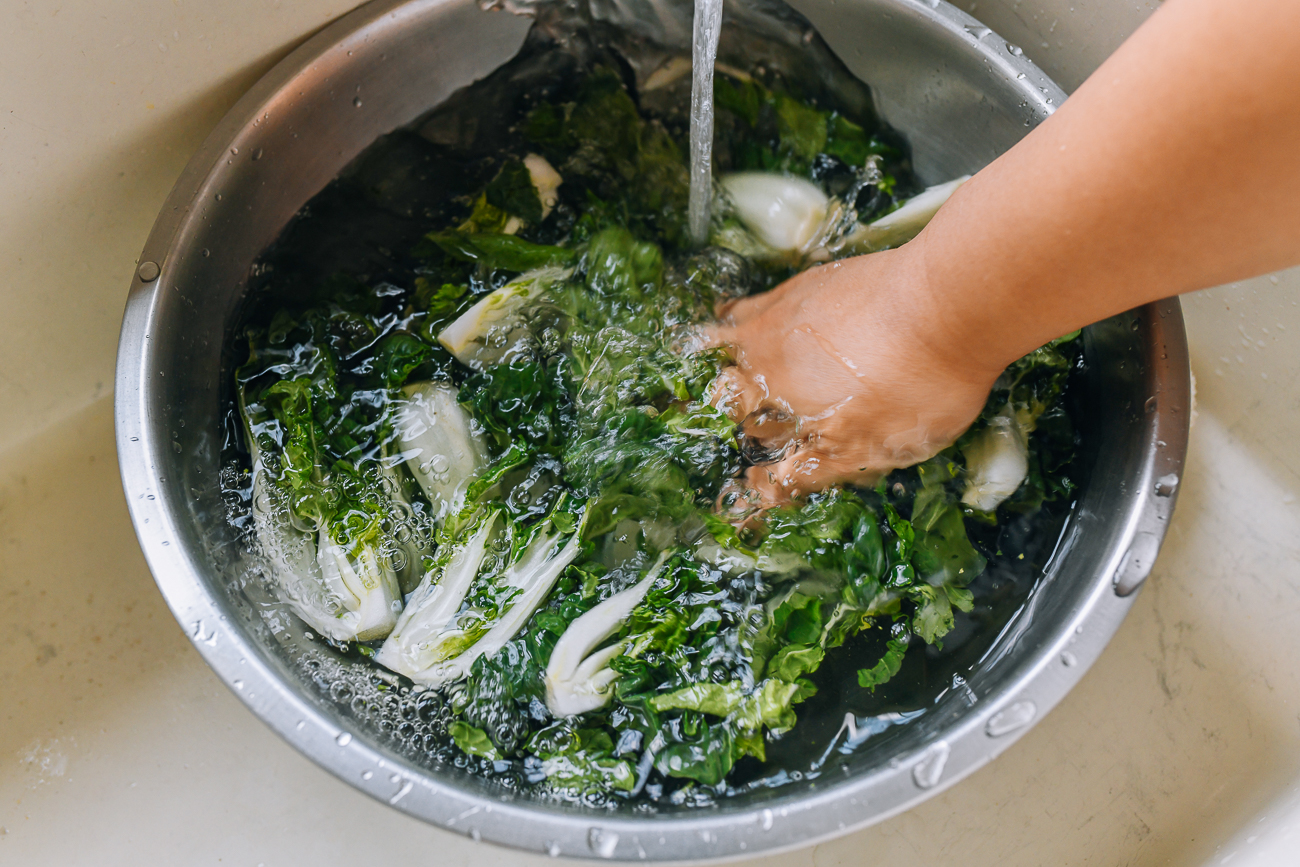
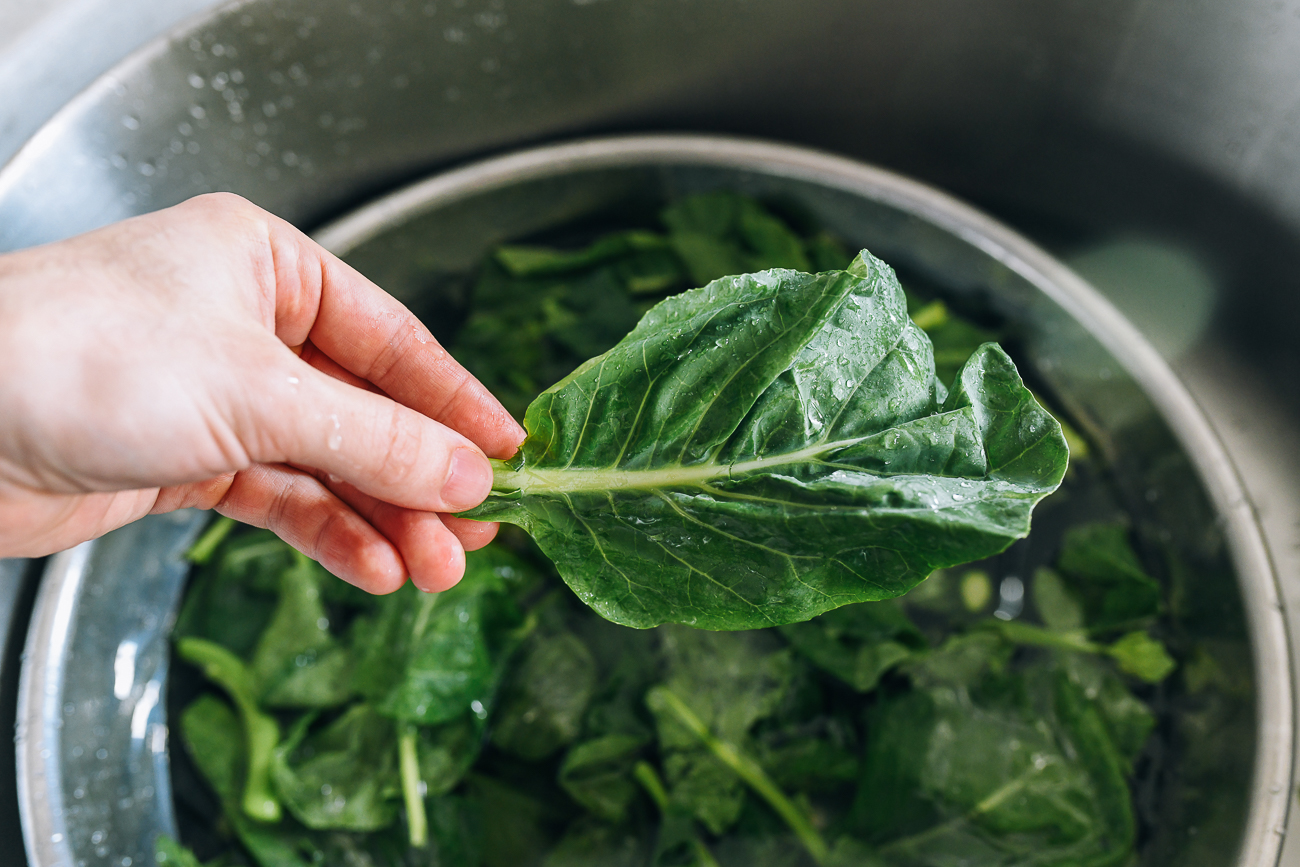
To finish off the second soak, now is the time to take a look at each stalk of vegetable and use your fingers to agitate the base of the stems and leaves to rinse away hidden dirt. This is particularly important for vegetables like bok choy, choy sum, and romaine lettuce!

As you rinse each stalk of vegetable, place them in the colander. As you go, you can periodically use the sprayer attachment of your faucet if you have one to spray the vegetables clean.
Discard the water (we use it to water flower beds!) and rinse out your bowl thoroughly.
3. The Third Soak (for good measure)
For the third soak, add the vegetables back to the bowl and submerge them in water. Let them soak for the last time. This is usually when we finish off any remaining prep tasks for the rest of the meal. So you can soak them for as little as 10 minutes or as long as 30 minutes.
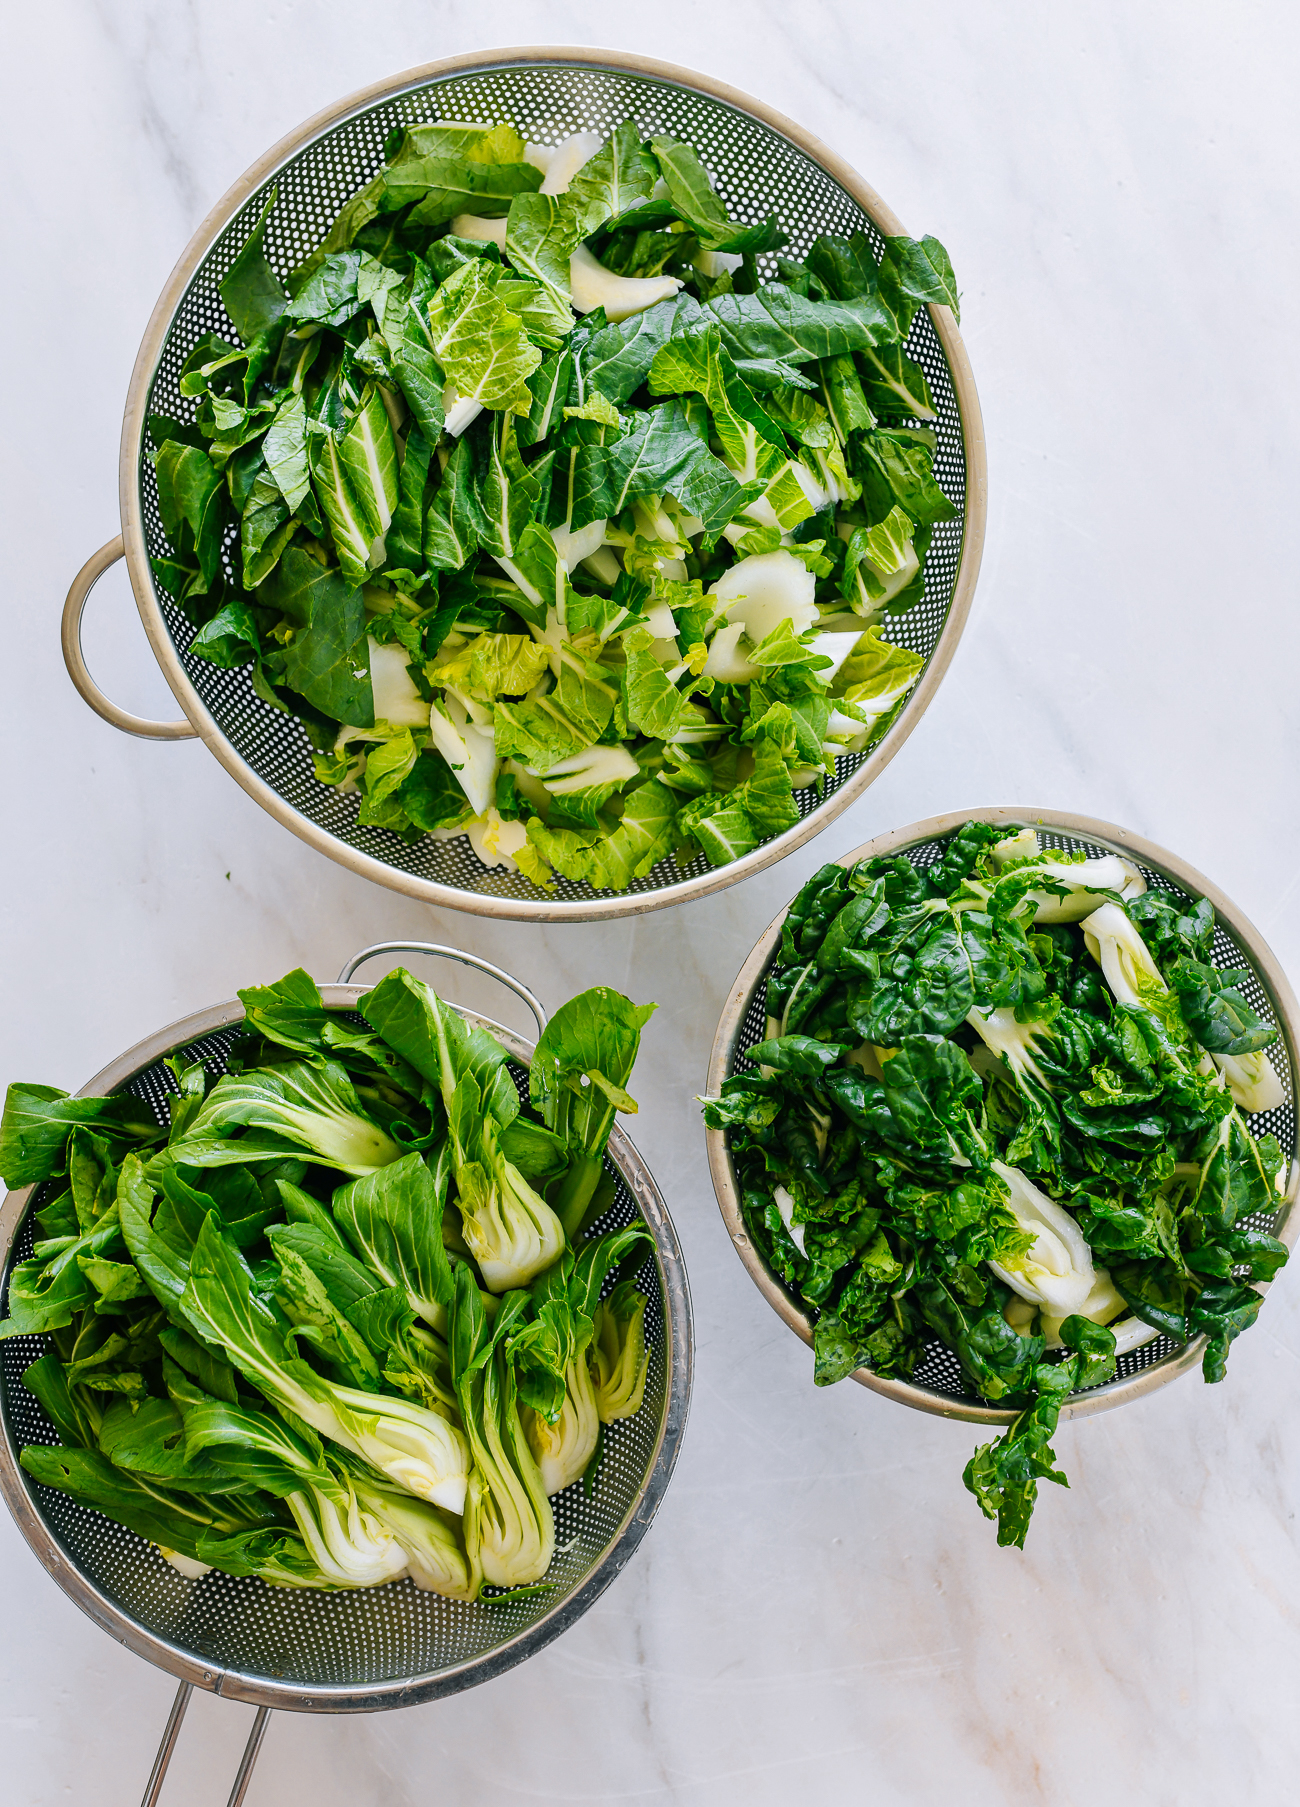
When the vegetables are done soaking, do any final trimming, like peeling the tough outer layer off the base of choy sum or gai lan stalks, and lift them out into a colander. You can use a sprayer to give them one final rinse.
If you’re working with Chinese leafy greens, you can arrange them stem side up so the water drains down. Alternatively, if you’re making a salad, run the leaves through a salad spinner. Finally, cut the vegetables into your desired size, and you’re ready to cook!
If you have more vegetables to wash, you can use the third batch of soaking water as the first round of soaking water for the next batch of vegetables. This helps save water.
Using baking soda to wash vegetables
Baking soda is alkaline, and research has shown it to be effective at breaking down pesticide residues on the surface of produce. It’s a good extra step for things like berries, apples, or any heavily sprayed produce.
If you want to use baking soda to wash your vegetables, use 3 tablespoons for a large bowl of water (about 1 teaspoon for every 2 cups of water). Agitate and swish the produce around in the water to make sure it’s well-submerged. You can use baking soda on the first or second soak.
Just know that you should limit the time you soak the produce in baking soda solution to about 10 minutes. We’ve found that baking soda will start to disintegrate more tender produce like berries fairly quickly.
How to Wash “Hard” Vegetables
If you’re washing what we would call “hard” vegetables like tomatoes, peppers, squash, eggplant, celery, or potatoes, the protocol is slightly different and less time consuming.
For me, I still like to throw these vegetables into a bowl of water, and you may opt to soak them in a baking soda solution for 10 minutes. From there, I’m quick to go in with a natural bristle vegetable brush and scrub the vegetables well on all sides. Pay attention to crevices and the ends where dirt likes to hide. You may think that a smooth vegetable like zucchini is fairly clean, but it often has fine sand clinging to the skin.
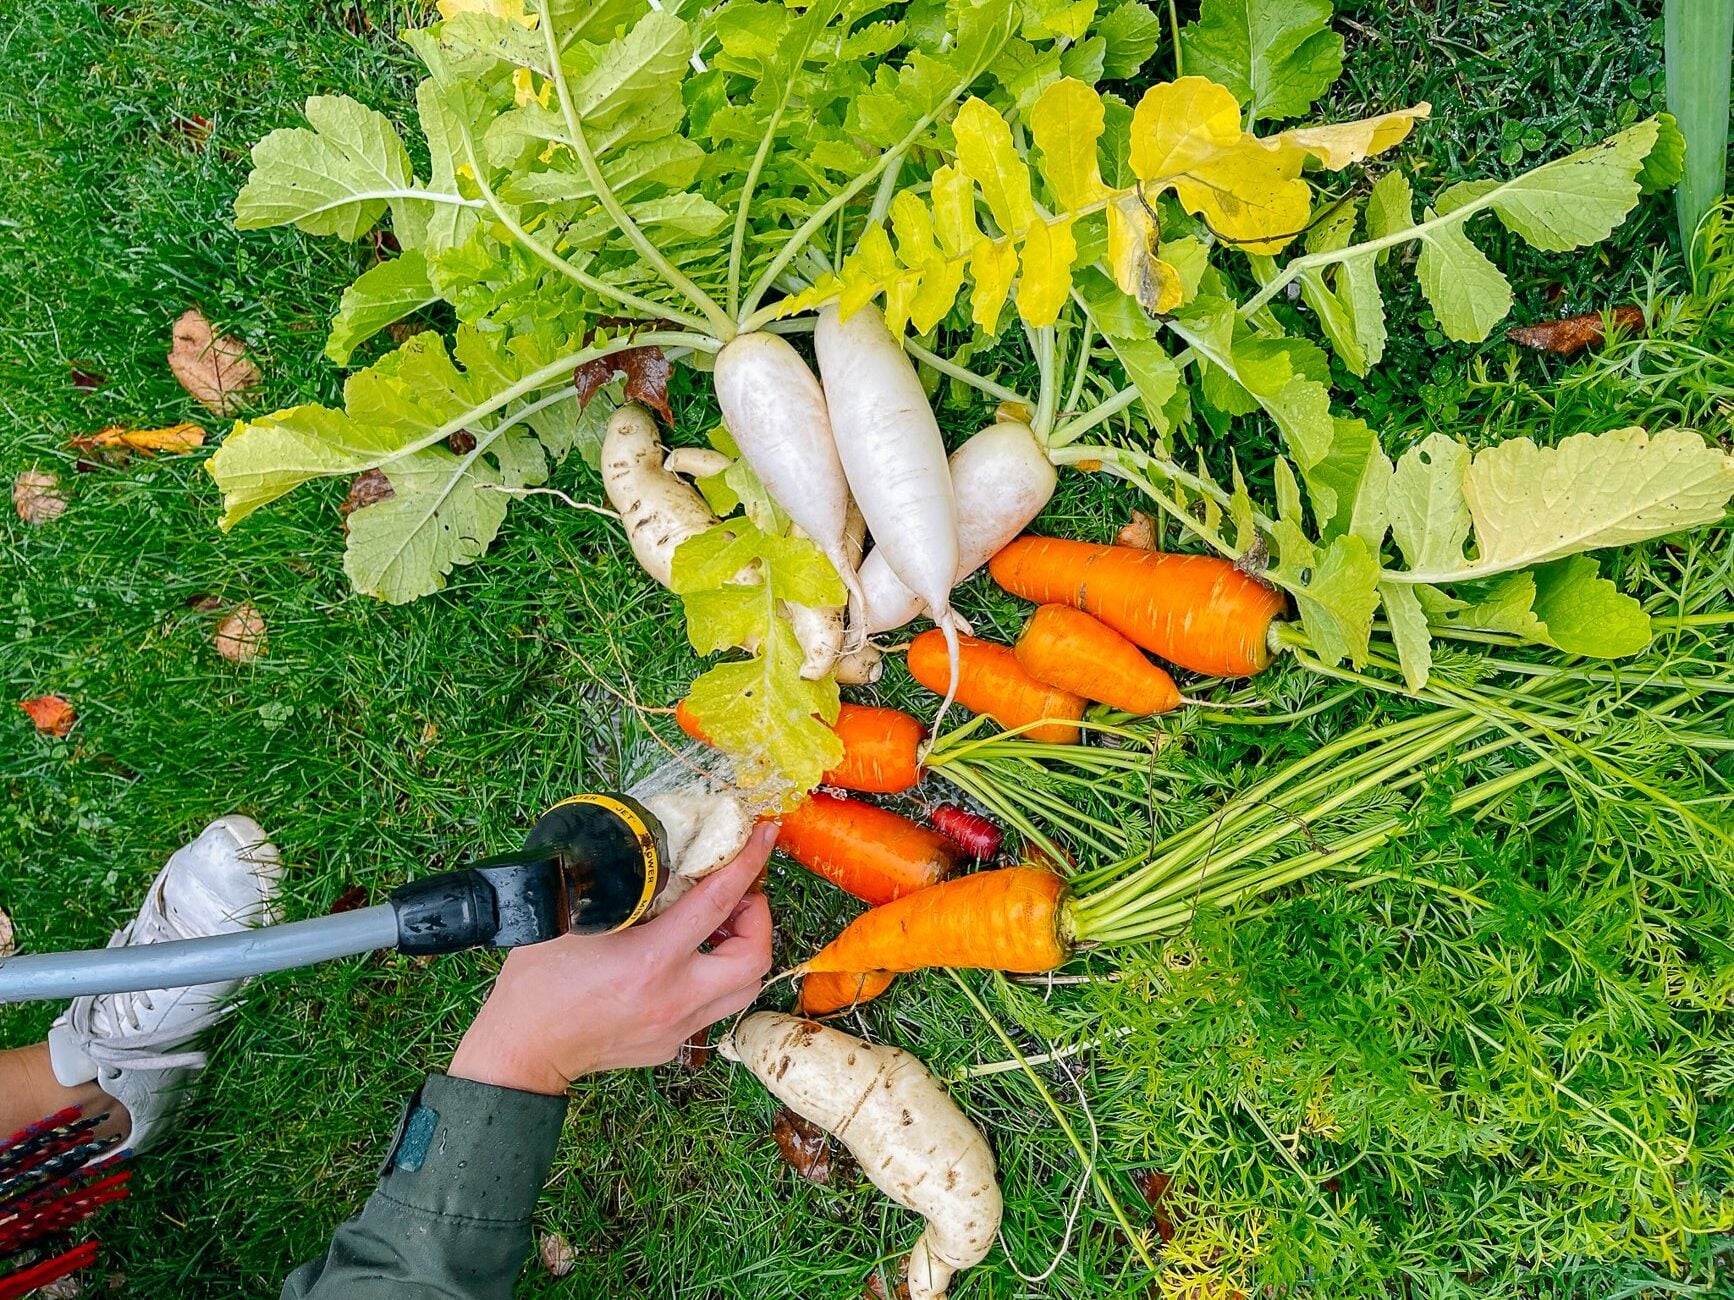
If you’re peeling your vegetables, you can be less meticulous, but for vegetables like carrots or daikon radish, we’ll still give them a brush, rinse them well, and then peel them. After peeling, just rinse them under running water.
How to Treat Tough Stems
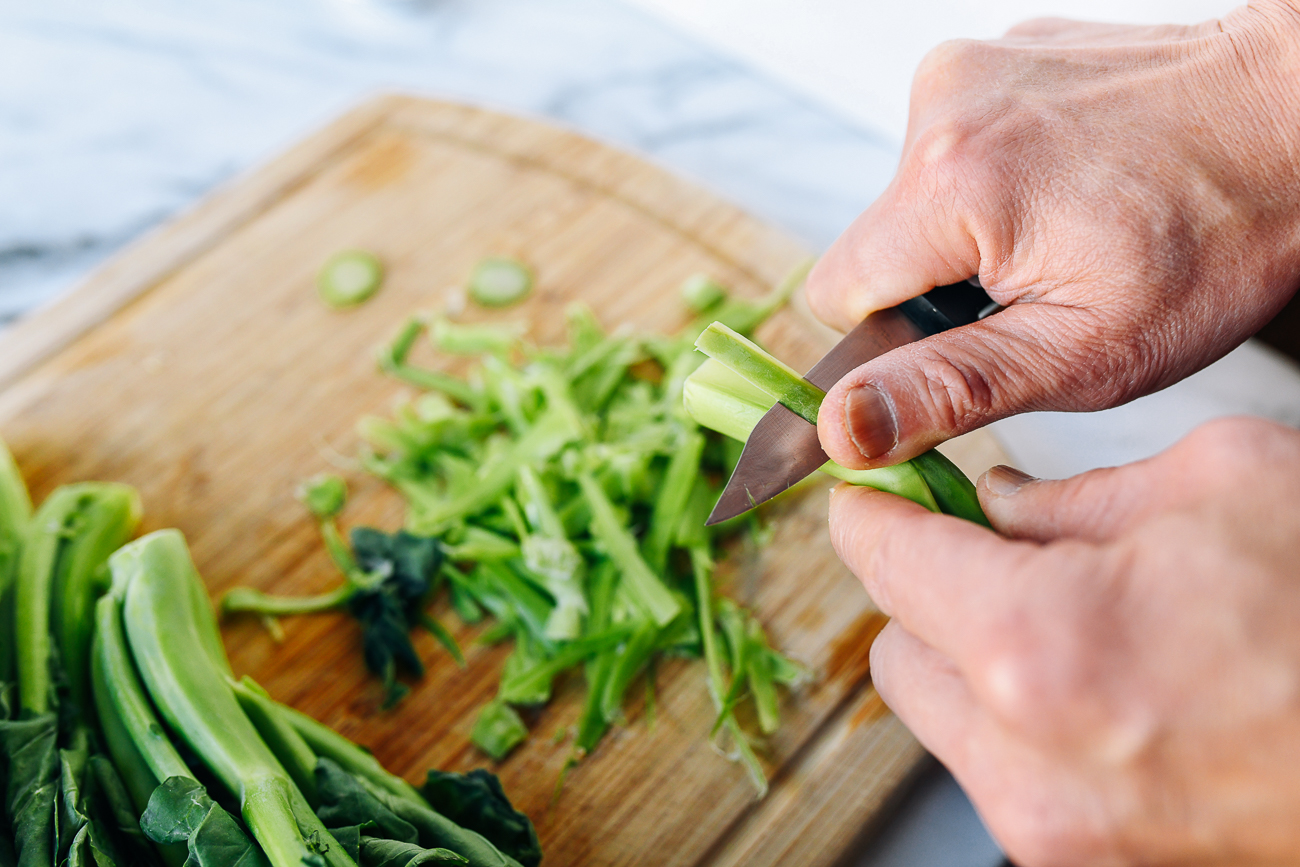
For vegetables with thicker, more fibrous stems — like asparagus, broccoli, gai lan/Chinese broccoli, or broccoli rabe — the stems deserve a little extra prep.
Use a paring knife or peeler to peel the outer layer of the stems away. For some vegetables like broccoli rabe, you can even use your finger nails to pull back these tough outer layers. The outer layer can be stringy and tough, while the inner stem is tender and sweet.

We enjoy the stems in many cases as much as the leaves! Sarah even made a recipe for stir-fried broccoli stems!
Sometimes it’s better to trim away tough stems, as is sometimes the case with pea tips and water spinach. The base of the stems can be very fibrous and chewy. Use your own judgment. If it is hard to puncture with your fingernails, it probably won’t be too pleasant on your teeth.
Sometimes, this can be solved by just cutting the stems into smaller pieces, which is what I often do with kale stems. Or I will just save the kale stems for my winter vegetable soup where it has a chance to soften and cook down!
Watch Our Video for All Our Tips

Thank the person who washes your vegetables!
Once you build these habits, washing vegetables stops feeling like a chore and starts feeling like the first act of cooking. It’s one of the first kitchen tasks I had Sarah and Kaitlin do when they were younger because it can often be done without the use of a knife.
A dish is only as good as the care you put into it from the very beginning. And as you can see there is quite a lot of effort involved! A thank you to whoever washes and preps your vegetables for you goes a long way!


