After Bill posted his Homemade Cheung Fun recipe a while back, I have been wanting to post this homemade rice noodle recipe.
It’s perfect for stir-fried rice noodle dishes like Beef Chow Fun. But this recipe is mostly for readers who don’t live near an Asian market. If you do live near an Asian market, we advise that you save yourself some time and simply buy the pre-made fresh rice noodles in the refrigerated section of the Asian market.
But if you don’t have access to a ready supply of fresh noodles, we hope you find this recipe useful!
How to Use Homemade Rice Noodles
These rice noodles are ready to eat after steaming. You can stir fry them or put them in noodle soups. We’ve included some awesome applications for you to consider:
- You can use these noodles in our popular 15-minute chicken red curry noodle soup. Just slice them more thinly.
- Add some blanched leafy greens and minced garlic to make my all-time favorite: You Po Mian.
- Another crowd pleaser is Pho (Vietnamese Noodle Soup). Again, just slice them more thinly.
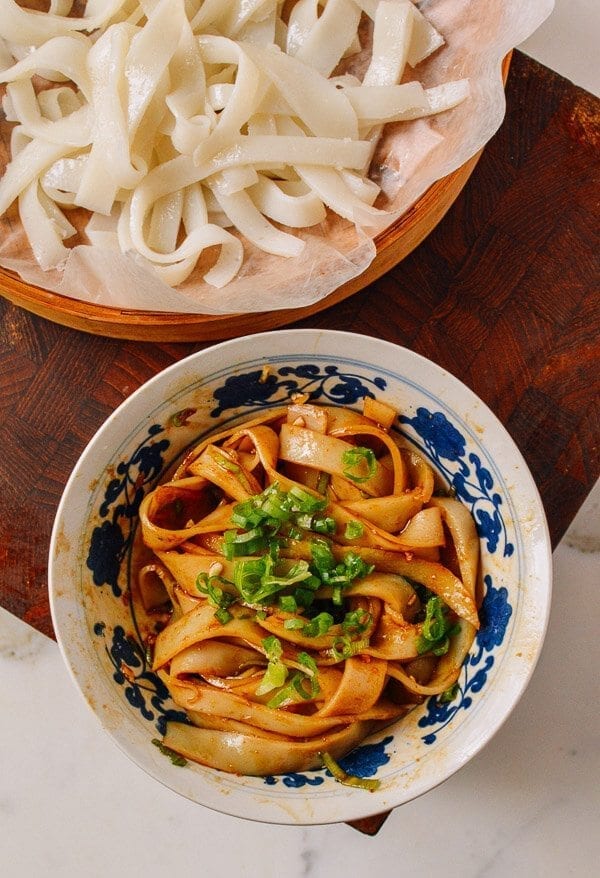
- You can also just make our homemade chili oil and toss the rice noodles with a spoonful of chili oil, some soy sauce, and sesame oil.
Important Recipe Tips
Normally, my cooking instructions are short and sweet. The instructions here, however, are a bit more detailed. While these noodles are actually quite easy to make, they require a little more attention to detail to make sure things go smoothly. To set you up for success, here are some key points:
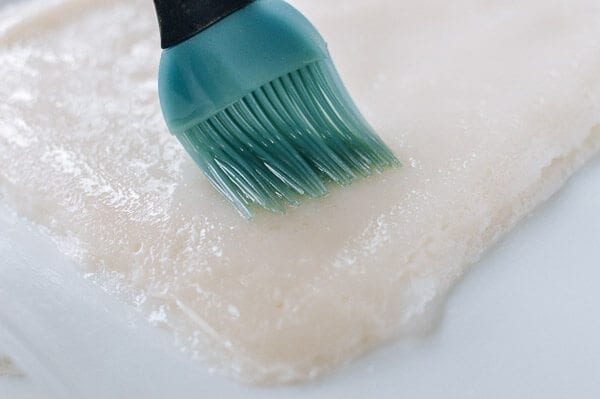
- The key is to prevent the rice noodle sheets from sticking together. Each layer (as well as the surfaces that the rice noodles touch) should be brushed lightly with oil.
- You will need two flat-bottomed pans (a baking pan or a Pyrex pan). One pan is good enough, but with two, you will get the job done faster, which is always good.
- When adding the rice mixture to the flat-bottomed pan, make sure the pan is sitting on top of the boiling water. On water, the pan is fully level, so the sheet of noodle will come out with an even thickness. The pan I used is 7×7 inches, and I made 7 sheets of noodles with this recipe which is about two servings.
- Rice flour settles, so be sure to stir the rice mixture well every time before adding it to the pan.
Rice Noodles: Recipe Instructions
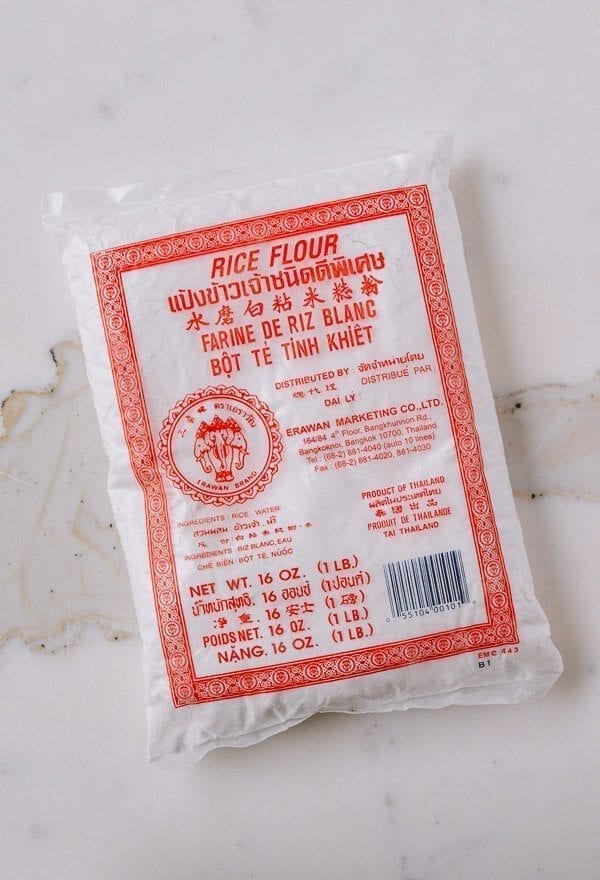
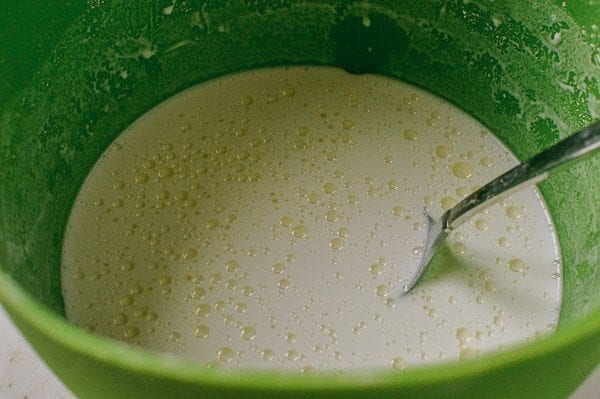
Add the rice flour, tapioca starch (or cornstarch), salt and water to a mixing bowl. Mix and dissolve everything together well. Add 1 teaspoon of oil, and strain the liquid through a fine-mesh strainer into another bowl. Cover the liquid and let rest for 30 minutes.
While the mixture is resting, fill your wok (make sure that your flat-bottomed pan fits comfortably inside first!) with water. If you don’t have a wok, use a large, deep cooking vessel with a wide opening and a lid. Bring the water to a boil. (You might need to add more water throughout the cooking process. The goal is to have the pan float on top of the boiling water.)
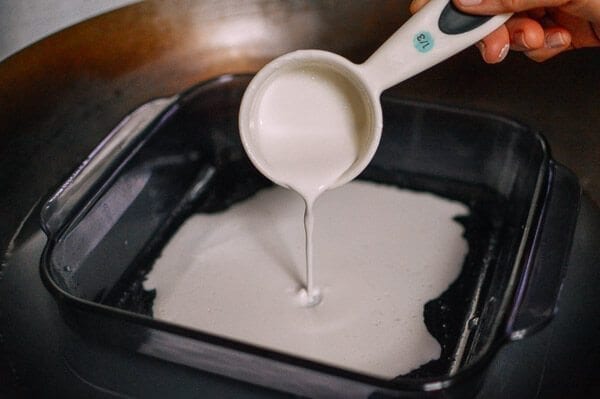
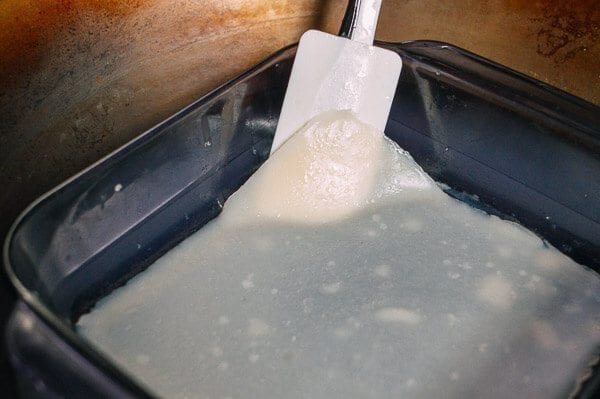
Brush a light coating of oil on the bottom of the flat-bottom pan, put the pan on top of the boiling water, and add a 1/4 cup of the rice liquid to the pan. Tilt it a little so the rice liquid covers the bottom of the pan.
Now, cover with the pot/wok lid and cook on high heat for 5 minutes. If the flat bottom pan you use has a thicker bottom, e.g., Pyrex, increase the cooking time to 7 or 8 minutes. While it’s cooking, brush the second pan lightly with oil.
After 5 minutes, remove the lid, take out the 1st pan, and set aside. Put the 2nd pan on top of the water in the wok, add a ¼ cup of the rice mixture. Tilt it a little so the rice liquid evenly covers the bottom, cover, and let cook.
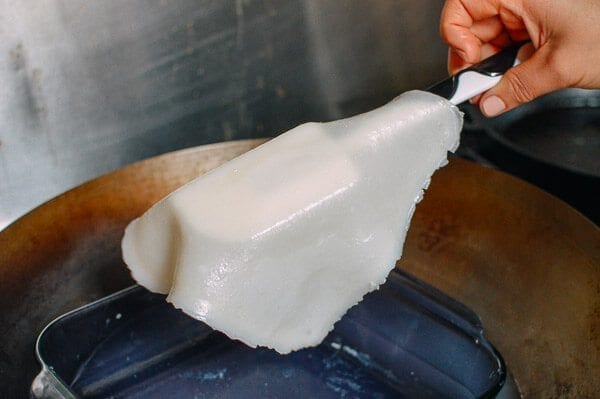
While it’s cooking, attend to the first pan. We’re going to lift the noodle sheet out and place it onto a cutting board. Brush the cutting board with a thin layer of oil to prevent sticking. Then, use a rubber spatula to loosen all sides of the sheet of noodle, and slowly lift it up and off the pan. Lay it flat on your cutting board.
By now, your second pan is probably ready. Remember to brush the first layer with a thin layer of oil before layering the second sheet on top to prevent sticking.
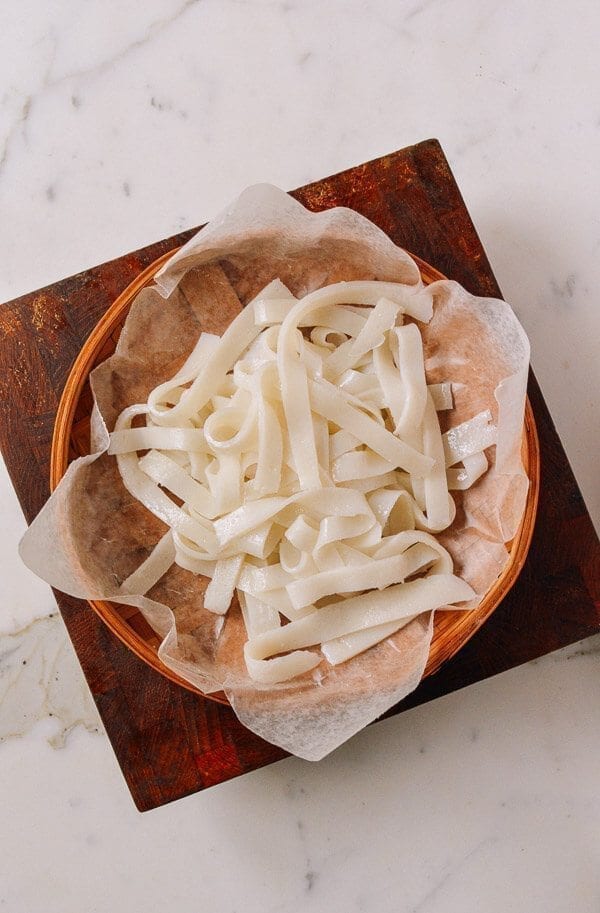
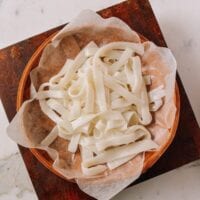
Now brush the bottom of the 1st pan with some oil and get ready to make your 3rd batch. Repeat the above steps until all of the rice noodle batter is gone. Once all of the noodle sheets are made, I cut the noodle sheets into 1/3-inch wide pieces, but feel free to cut them in whatever sizes and shapes you like. I then toss the noodles, loosening each layer to separate them. Now the rice noodles are ready to be used!

You can store these noodles in the refrigerator for a day or two. They might harden slightly, but they should bounce back nicely once heated. Enjoy your homemade noodles!
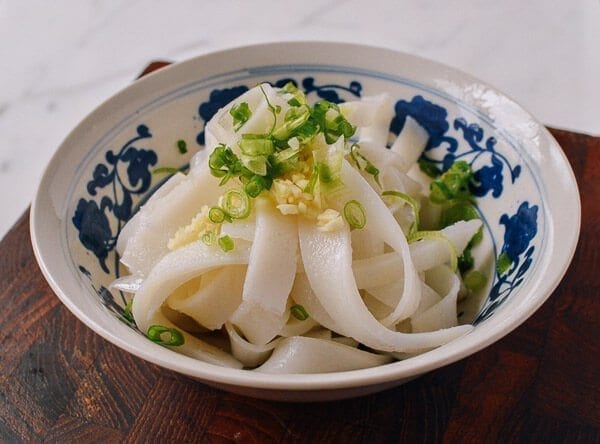
Here’s another easy serving suggestion: just mix the noodles with a bit of chopped raw garlic, chopped scallions, soy sauce, sesame oil, and black vinegar to taste!
Looking for more authentic recipes? Subscribe to our email list and be sure to follow us on Pinterest, Facebook, Instagram, and Youtube!
Recipe
Homemade Rice Noodles
Ingredients
- 1¼ cups rice flour
- 2 tablespoons tapioca starch (or cornstarch)
- 1/2 teaspoon salt
- 1¼ cups water
- 1 teaspoon vegetable oil (plus more for brushing)
Instructions
- Add the rice flour, tapioca starch (or cornstarch), salt and water to a mixing bowl. Mix and dissolve everything together well. Add 1 teaspoon of oil, and strain the liquid through a fine-mesh strainer into another bowl. Cover the liquid and let rest for 30 minutes.
- While the mixture is resting, fill your wok (make sure that your flat-bottomed pan fits comfortably inside first!) with water. If you don’t have a wok, use a large, deep cooking vessel with a wide opening and a lid. Bring the water to a boil. (You might need to add more water throughout the cooking process. The goal is to have the pan float on top of the boiling water.)
- Brush a light coating of oil on the bottom of the flat-bottom pan, put the pan on top of the boiling water, and add a 1/4 cup of the rice liquid to the pan. Tilt it a little so the rice liquid covers the bottom of the pan.
- Now, cover with the pot/wok lid and cook on high heat for 5 minutes. If the flat bottom pan you use has a thicker bottom, e.g., Pyrex, increase the cooking time to 7 or 8 minutes. While it’s cooking, brush the second pan lightly with oil.
- After 5 minutes, remove the lid, take out the 1st pan, and set aside. Put the 2nd pan on top of the water in the wok, add a ¼ cup of the rice mixture. Tilt it a little so the rice liquid evenly covers the bottom, cover, and let cook.
- While it’s cooking, attend to the first pan. We’re going to lift the noodle sheet out and place it onto a cutting board. Brush the cutting board with a thin layer of oil to prevent sticking. Then, use a rubber spatula to loosen all sides of the sheet of noodle, and slowly lift it up and off the pan. Lay it flat on your cutting board. By now, your second pan is probably ready. Remember to brush the first layer with a thin layer of oil before layering the second sheet on top to prevent sticking.
- Now brush the bottom of the 1st pan with some oil and get ready to make your 3rd batch. Repeat the above steps until all of the noodle batter is gone. Once all of the noodle sheets are made, I cut the noodle sheets into 1/3-inch wide pieces, but feel free to cut them in whatever sizes and shapes you like. I then toss the noodles, loosening each layer to separate them. Now the rice noodles are ready to be used!
- You can store these noodles in the refrigerator for a day or two. They might harden slightly, but they should bounce back nicely once heated. Enjoy your homemade noodles!
Tips & Notes:
Nutrition Facts