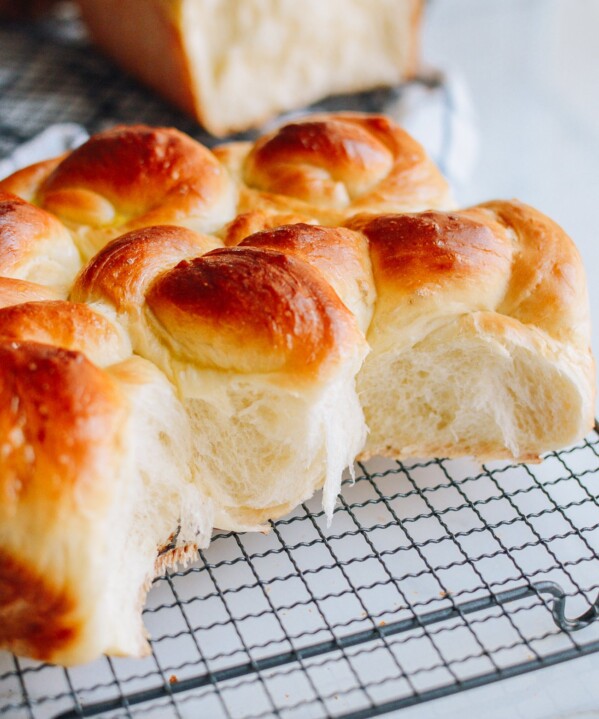
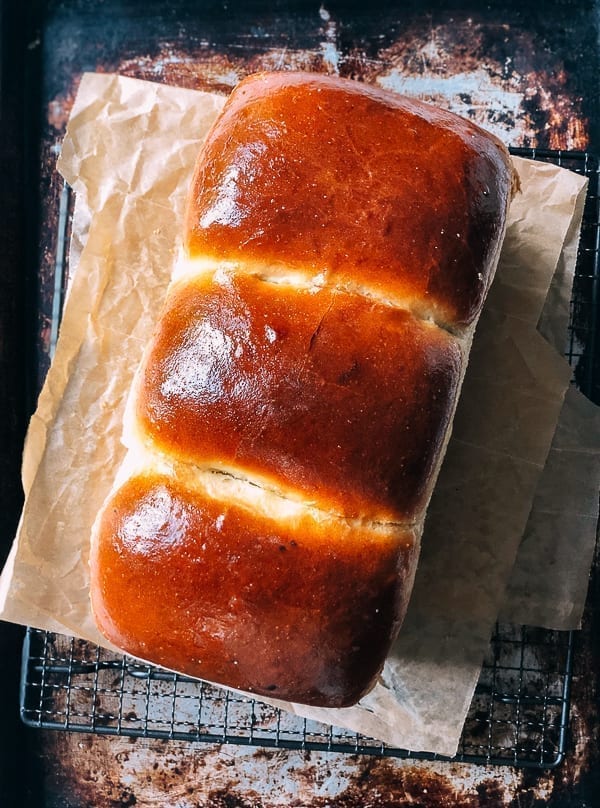
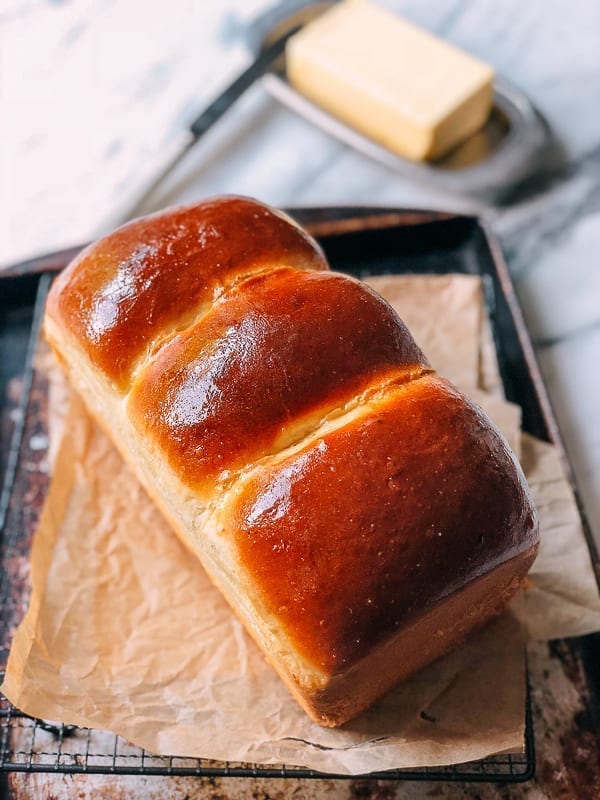
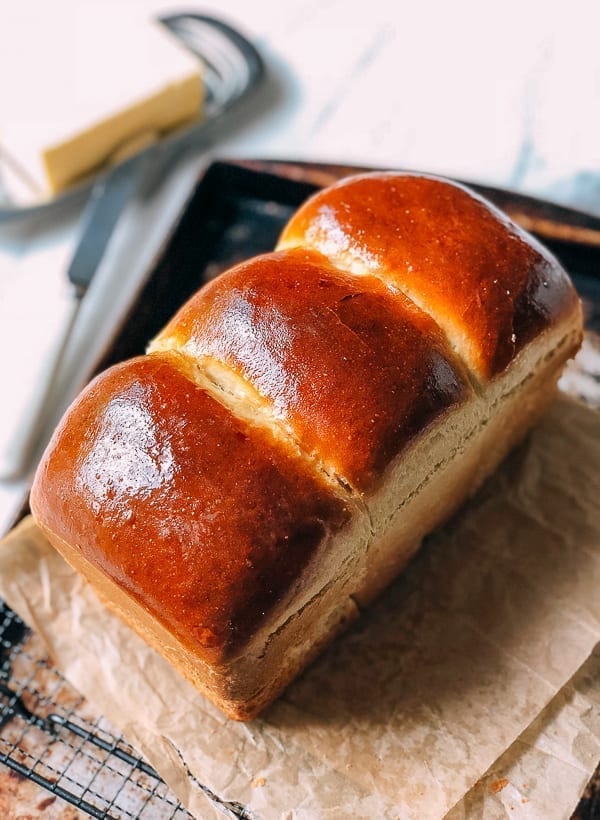
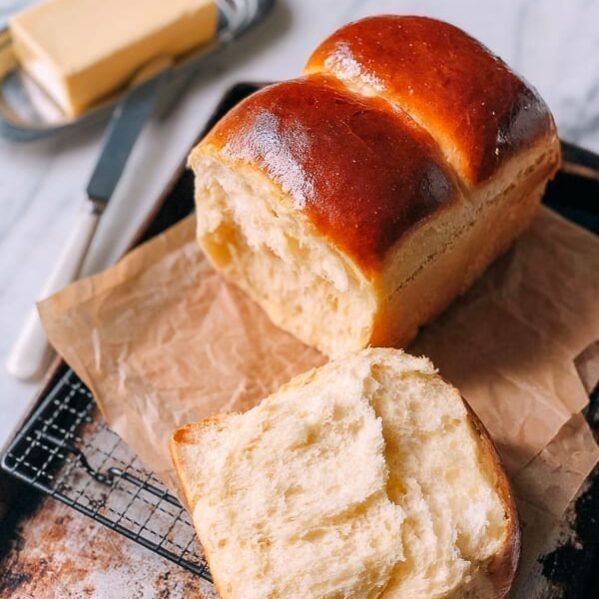
The lightly sweet taste and fluffy texture of this Old-Style Shanghai Bread is so similar to our famous Milk Bread that even I have trouble telling them apart. However, the particular beauty of this recipe is that it can be adapted to be made dairy-free!
A Dairy-Free Alternative to Milk Bread
The biggest reason I have to choose this Old-Style Shanghai Bread is that, unlike Milk Bread, it can be made without dairy (for all of our lactose-intolerant readers)!
This recipe does ask for ¼ cup of dried milk powder, but you can simply substitute it with non-dairy milk powder to make it dairy-free.
Furthermore, because this old-fashioned recipe lacks dairy, Shanghai bread keeps better and longer than Milk Bread, because it does not harden when cooled! It remains soft and ready-to-eat days later if kept in a zip-top bag with the air pressed out of it. That said, you might want to double the recipe and make 2 loaves.
Recipe Origins: A Childhood Memory
The origin of this recipe is from my younger days, and I hope you don’t mind if I reminisce a little bit before getting to the recipe. Since we started in 2013, this blog has brought up so many memories for me.
If you’re a longtime reader of my recipes, you may know that I’ve shared some not so cheerful memories of my childhood growing up in China, and I can’t say this one isn’t a little bittersweet, but it is one that helps me remember to be grateful for what I have––especially around the holidays!
In grade school, the yearly spring outing (春游, chun you) was the biggest event of the year. Kids chattered and exchanged ideas of what they’d bring to eat that day weeks ahead of time. Here’s a photo of my class on that very trip:
 The true purpose of the spring outing was to experience the great outdoors, but that purpose was lost under the piles of food these kids would ask their parents to prepare for their special adventure: tea eggs, pork chops, chicken drumsticks, salty preserved sausages, braised meats, and pan-fried buns (sheng jian bao). The list could go on!
I also had high hopes that my grandma would let me bring something similar, but instead I was promised a small loaf of Shanghai bread due to our family’s lack of funds.
Over the years, a small loaf of old-style Shanghai bread became my spring outing staple. Eating my bread and eyeing my classmates’ tea eggs, I felt a little bit like a second class citizen, but you could say that this bread has earned its place as one of my favorite recipes.
While I have mixed feelings toward this bread and those memories, it has became a nostalgic part of my childhood. Today, the sight of this bread makes me realize and truly appreciate how far I’ve come from those days––a happy ending after all!
Shanghai Bread: Recipe Instructions
In your mixing bowl, stir together 200g (1 ½ cups) all-purpose flour, 3g (1 teaspoon) active dry yeast, and 12g (1 tablespoon) sugar. Stir in 160ml (⅔ cup) water with a rubber spatula to create a wet starter dough.
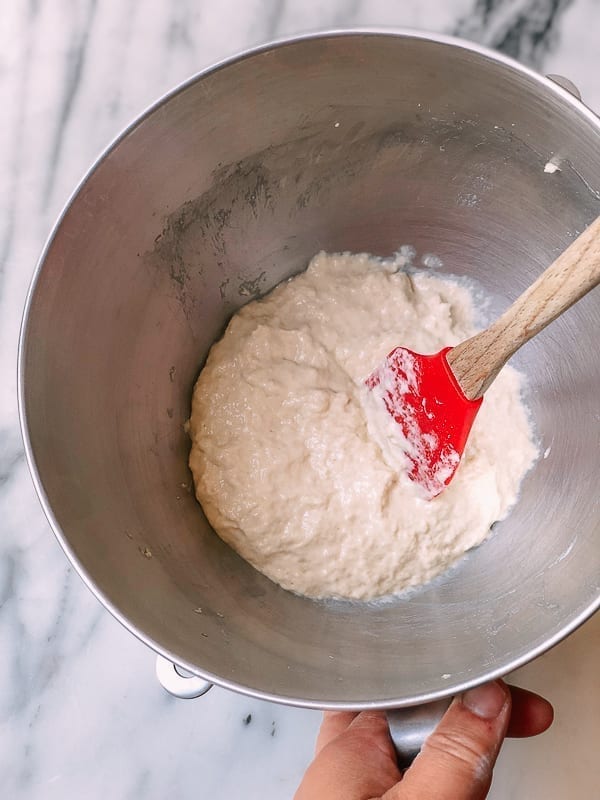
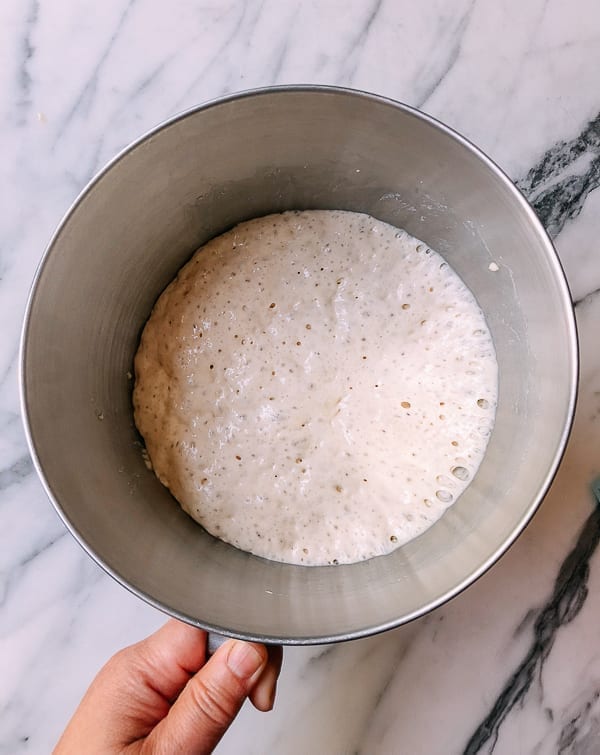
Mix thoroughly and scrape together the dough, then cover with a plate, and proof at room temperature (about 70 degrees F/21 degrees C) for 2 to 3 hours, until the wet dough has expanded with air bubbles (see my picture for comparison).
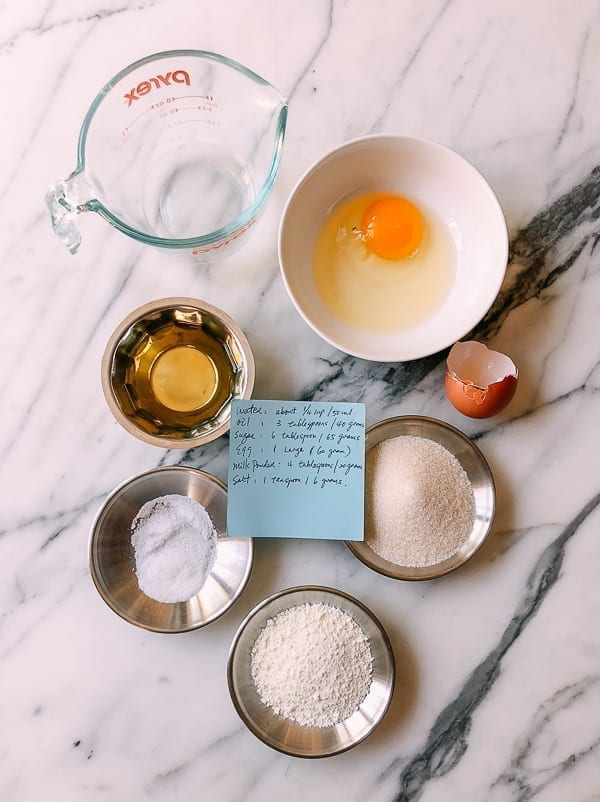
Once the 2-3 hours have elapsed, put the proofed wet dough back into the mixer. Add 200g (about 1 1/2 cups) all-purpose flour, 5g (1 teaspoon) salt, 50g (1/4 cup) sugar, and 20 g (3 tablespoons) dried milk powder. Turn the mixer on low, and add 1 large egg and 45 ml (3 tablespoons) vegetable oil. The dough should be wet, but can hold its shape. Only if the dough is not wet enough, add the 1 tablespoon water 1 teaspoon at a time, only as needed. You might need slightly more or less water depending on the humidity in your kitchen.
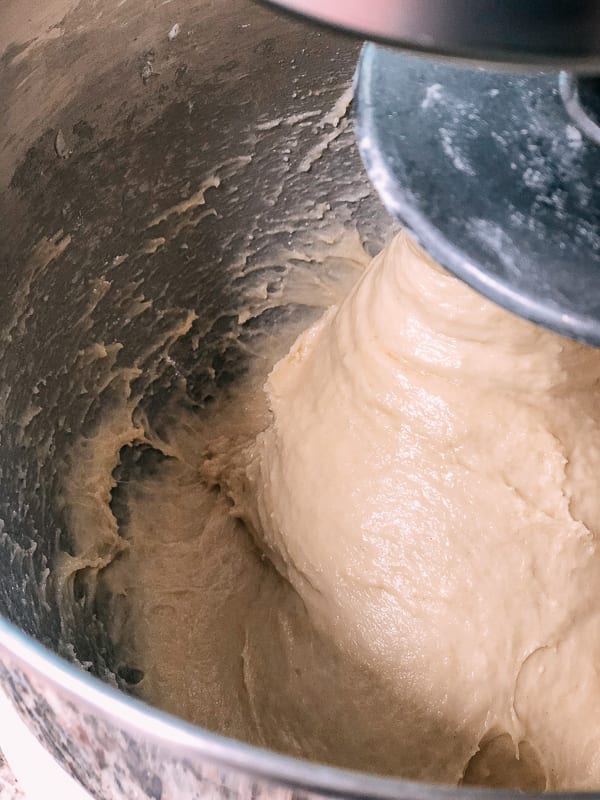
Once the dough is smooth, scrape the dough off the sides of the mixing bowl and the dough hook, into a ball with a rubber spatula.
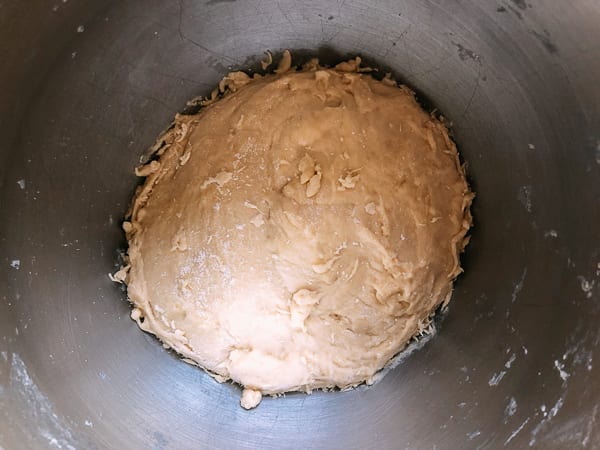
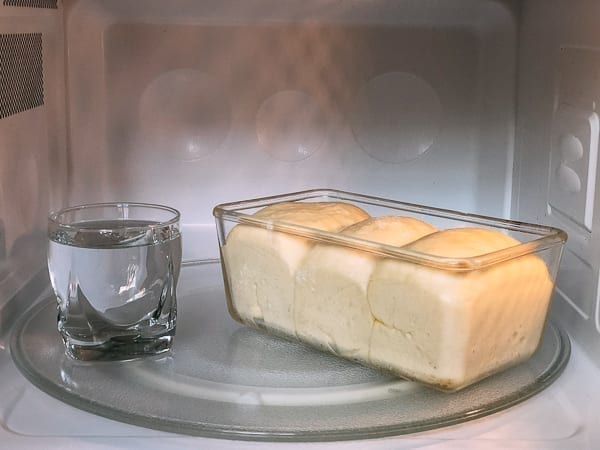
Cover the mixing bowl with a plate, and let it proof inside your microwave or oven (door closed) with a large mug of boiled water for an hour, until it doubles in size. (Note that the microwave or oven should be off––it’s just providing an enclosed environment) While the dough is proofing, grease a loaf pan with vegetable oil.
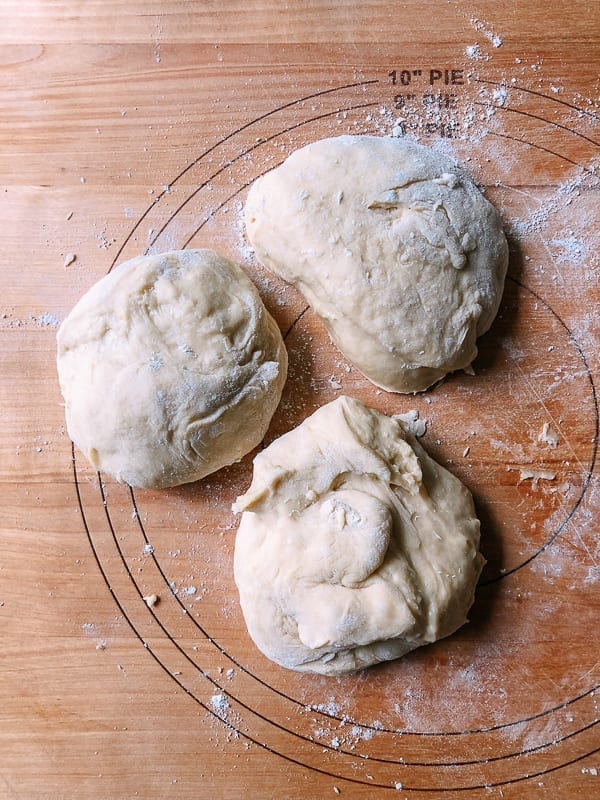
Next, transfer the dough to a clean and lightly floured surface. I separated the dough into 3 equal pieces and rolled them into 3 mini loaves arranged in the greased loaf pan, my loaf pan’s size is 9″ x 5″.

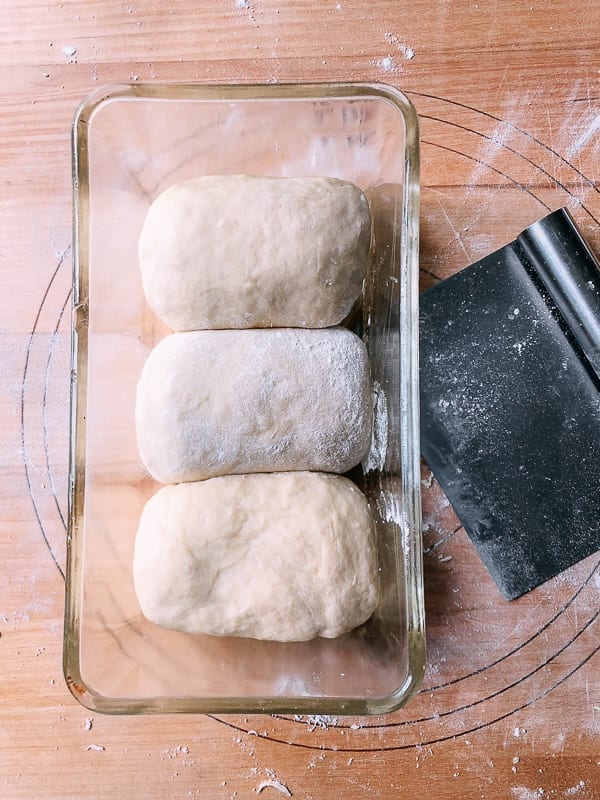
Let it proof one last time in your microwave or oven (door closed) with a large mug of boiled water for an hour until it doubles in size. (Again, the microwave or oven should be off.)
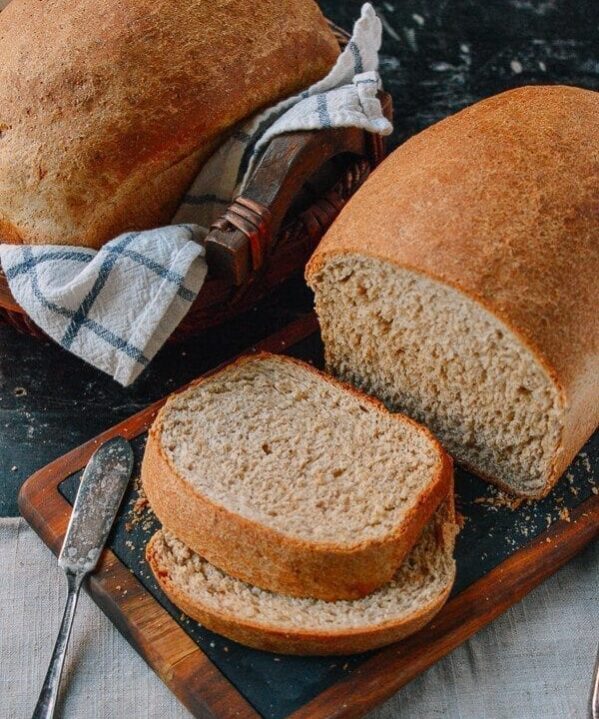
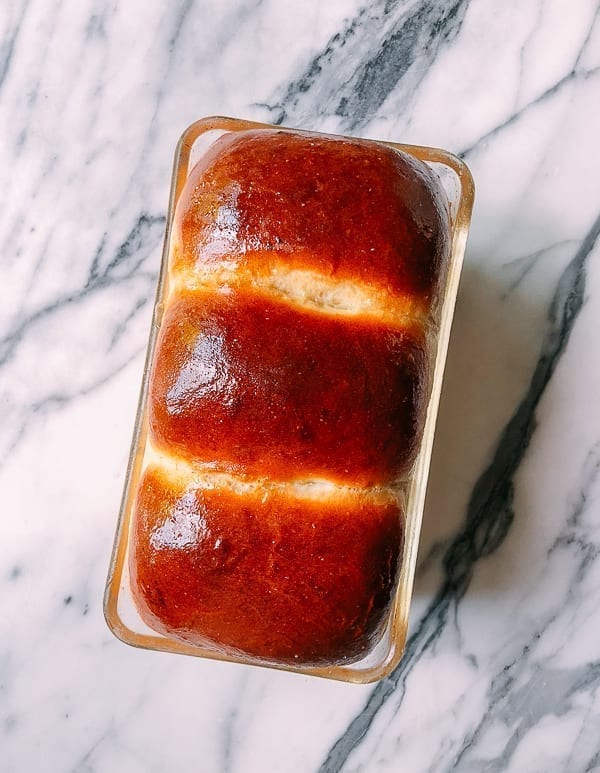
When the dough is almost done proofing, preheat your oven to 375 degrees F/190 degrees C. Bake the bread in the middle of the oven for 28 – 33 minutes until the top is golden brown. While the bread is baking, prepare the sugar syrup by mixing 4g (1 teaspoon) sugar with 10 ml (2 teaspoons) water until the sugar fully dissolves. After it’s done baking, brush the bread with the sugar syrup while it’s still piping hot to get that perfect golden rice color. Let the bread cool for 5 minutes before removing it from the pan to a cooling rack.
For storage, keep the bread in zip-lock bag, and it will stay fresh for a few days on the counter. But in the summer, it’s better to leave it in the refrigerator.
Old-Style Shanghai Bread
Ingredients
For the starter dough:
- 200 g all-purpose flour (about 1 ½ cups)
- 3 g active dry yeast (1 teaspoon)
- 12 g sugar (1 tablespoon)
- 160 ml water (about ⅔ cup)
For the finished dough:
- 200 g all-purpose flour (about 1 ½ cups)
- 5 g salt (1 teaspoon)
- 50 g sugar (about ¼ cup)
- 20 g dry milk powder or non-dairy milk powder (about 3 tablespoons)
- 1 large egg
- 45 ml vegetable oil (about 3 tablespoons, plus more to grease the pan)
- 15 ml water (about 1 tablespoon, only as needed)
For the sugar syrup:
- 4 g sugar (1 teaspoon)
- 10 ml water (2 teaspoons)
Instructions
- In your mixing bowl, stir together 200g (1 ½ cups) all-purpose flour, 3g (1 teaspoon) active dry yeast, and 12g (1 tablespoon) sugar. Stir in 160ml (⅔ cup) water with a rubber spatula to create a wet starter dough. Mix thoroughly and scrape together the dough, then cover with a plate, and proof at room temperature (about 70 degrees F/21 degrees C) for 2 to 3 hours, until the wet dough has expanded with air bubbles (see my picture for comparison).
- Once the 2-3 hours have elapsed, put the proofed wet dough back into the mixer. Add 200g (about 1 1/2 cups) all-purpose flour, 5g (1 teaspoon) salt, 50g (1/4 cup) sugar, and 20 g (3 tablespoons) dried milk powder. Turn the mixer on low, and add 1 large egg and 45 ml (3 tablespoons) vegetable oil. The dough should be wet, but can hold its shape. Only if the dough is not wet enough, add the 1 tablespoon water 1 teaspoon at a time, only as needed. You might need slightly more or less water depending on the humidity in your kitchen.
- Once the dough is smooth, scrape the dough off the sides of the mixing bowl and the dough hook, into a ball with a rubber spatula. Cover the mixing bowl with a plate, and let it proof inside your microwave or oven (door closed) with a large mug of boiled water for an hour, until it doubles in size. (Note that the microwave or oven should be off––it’s just providing an enclosed environment) While the dough is proofing, grease a loaf pan (9" x 5") with vegetable oil.
- Next, transfer the dough to a clean and lightly floured surface. I separated the dough into 3 equal pieces and rolled them into 3 mini loaves arranged in the greased loaf pan. Let it proof one last time in your microwave or oven (door closed) with a large mug of boiled water for an hour until it doubles in size. (Again, the microwave or oven should be off.)
- When the dough is almost done proofing, preheat your oven to 375 degrees F/190 degrees C. Bake the bread in the middle of the oven for 28 - 33 minutes until the top is golden brown. While the bread is baking, prepare the sugar syrup by mixing 4g (1 teaspoon) sugar with 10 ml (2 teaspoons) water until the sugar fully dissolves. After it’s done baking, brush the bread with the sugar syrup while it’s still piping hot to get that perfect golden rice color. Let the bread cool for 5 minutes before removing it from the pan to a cooling rack.
- For storage, keep the bread in zip-lock bag, and it will stay fresh for a few days on the counter. But in the summer, it’s better to leave it in the refrigerator.