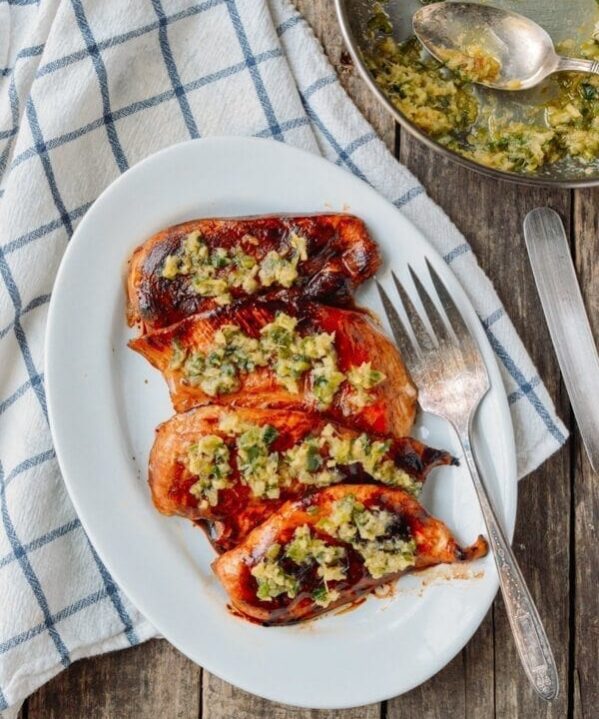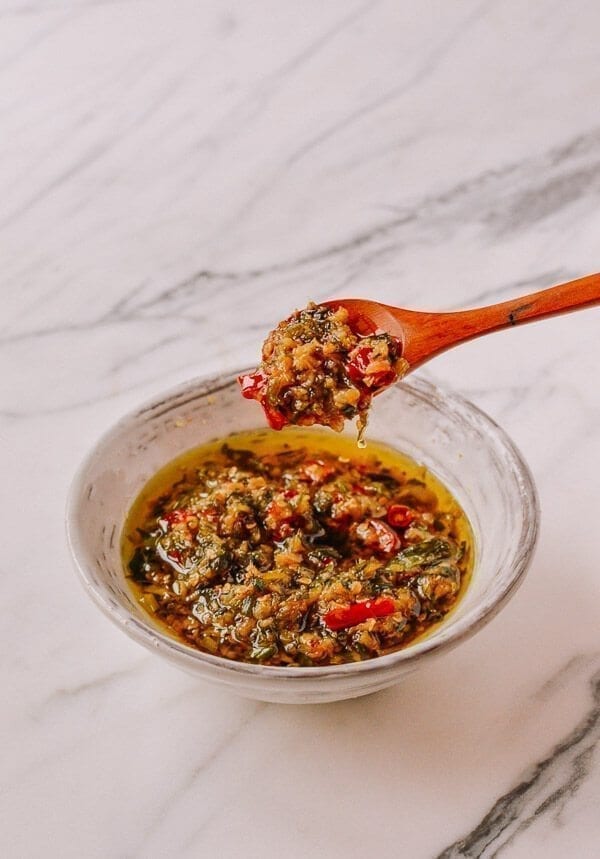
When I first learned how to make this Ginger Scallion Oil, I was so thrilled I could barely stand it. Some of you may recognize this condiment as the deliciously salty topping for Cantonese roast meats like Crispy Roast Pork Belly (Siu Yuk) or Soy Sauce Chicken, but with a spicy kick of chili.
Whenever we make the pilgrimage to our local Chinese market, I always make sure to make a stop by the hot foods counter for a lunch of three meats: roast pork belly, BBQ pork (char siu), and Soy Sauce Chicken.
The butcher packs the takeout container with a healthy bed of rice, and with expert speed and precision, chops your choice of meats and fans them over the rice. Then he adds the finishing touches: a simple side of stir-fried cabbage and a liberal dollop of salty ginger scallion oil. It’s tasty as hell (and cheap), and we’ve been eating it at the same place since I was a kid.
In the past, I’ve made a couple of versions of this recipe that were always close but not quiiite there in terms of the flavor of the butcher’s ginger scallion oil.
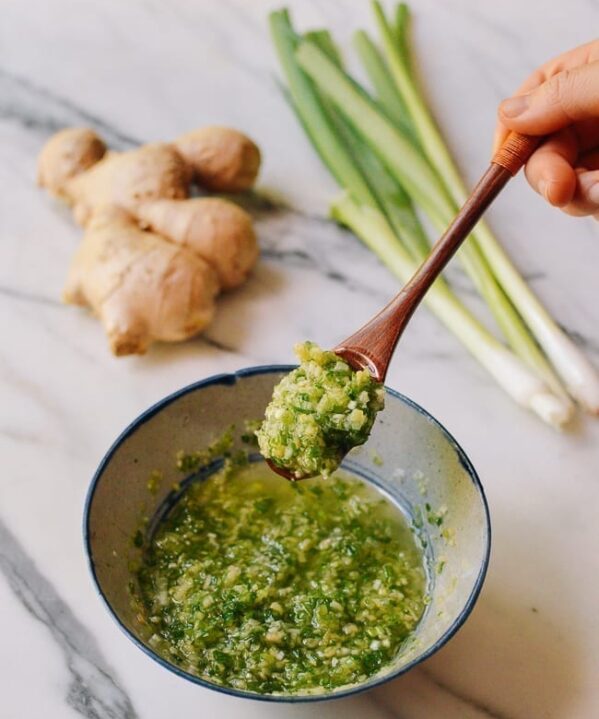
I realized that instead of using the very popular technique of pouring sizzling hot oil over the raw ingredients, actively frying the ingredients in a saucepan creates a stronger and more full-bodied flavor (which is why this oil looks a bit darker and more intensely colored than average). I also like to add chilies to mine, which is a bit non-traditional in some circles. You can feel free to leave them out.

So without further ado, onto the recipe! By the end of it, don’t be surprised to find that you want to cover everything you eat in this delicious oil!
Recipe Instructions
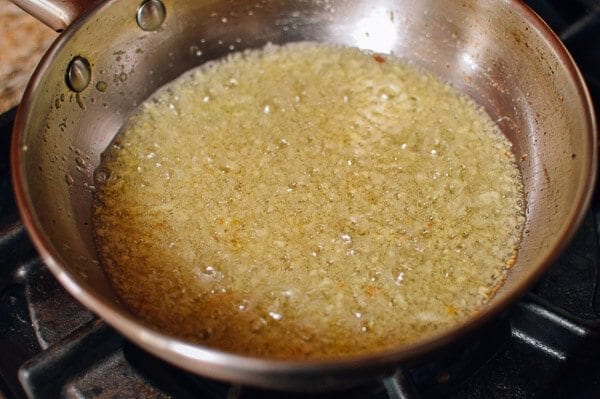
Prepare the ginger, garlic, scallions, and chili peppers. In a saucepan, heat ½ cup of oil over medium-high heat. Add the ginger and fry gently for about 15 min. until the color deepens into a darker, more golden yellow. If the ginger sizzles too much, turn the heat down to medium or medium low; the ginger should not visibly crisp or brown.
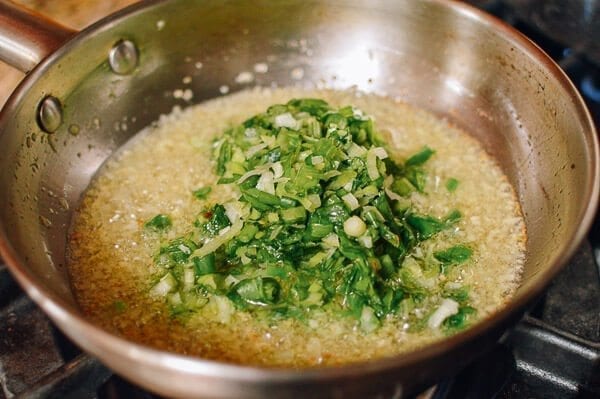
Next, add the garlic and cook for an additional 5-10 minutes. Follow with the scallions, stirring until the scallions are cooked through.
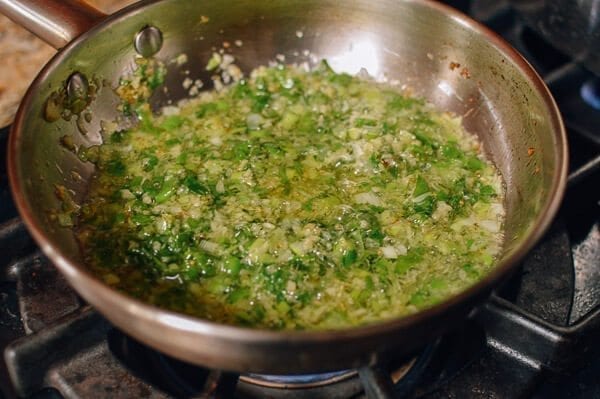
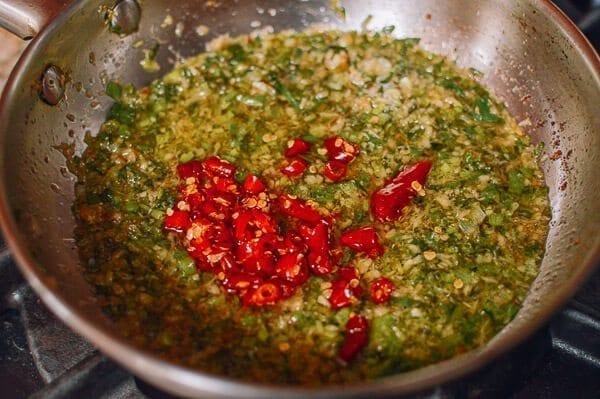
Add the red chili peppers and stir to combine, letting the peppers cook through as well.
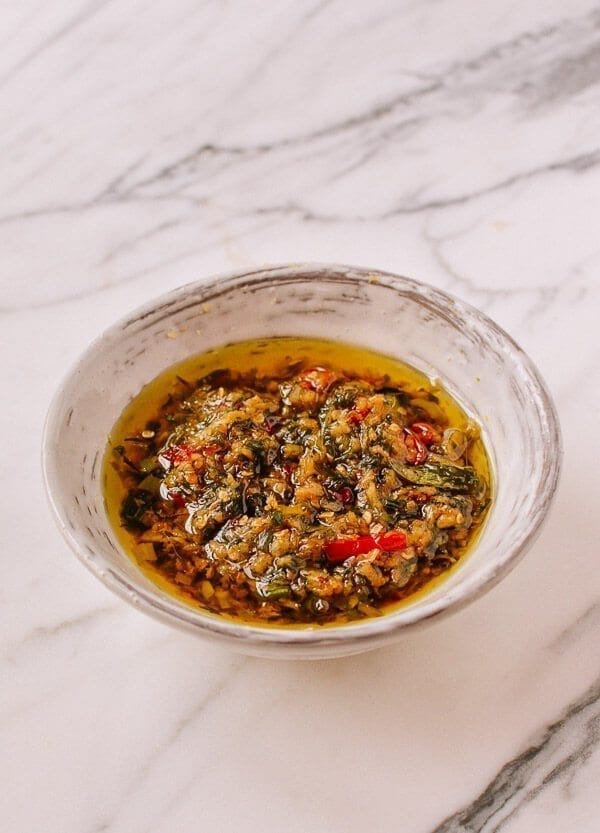
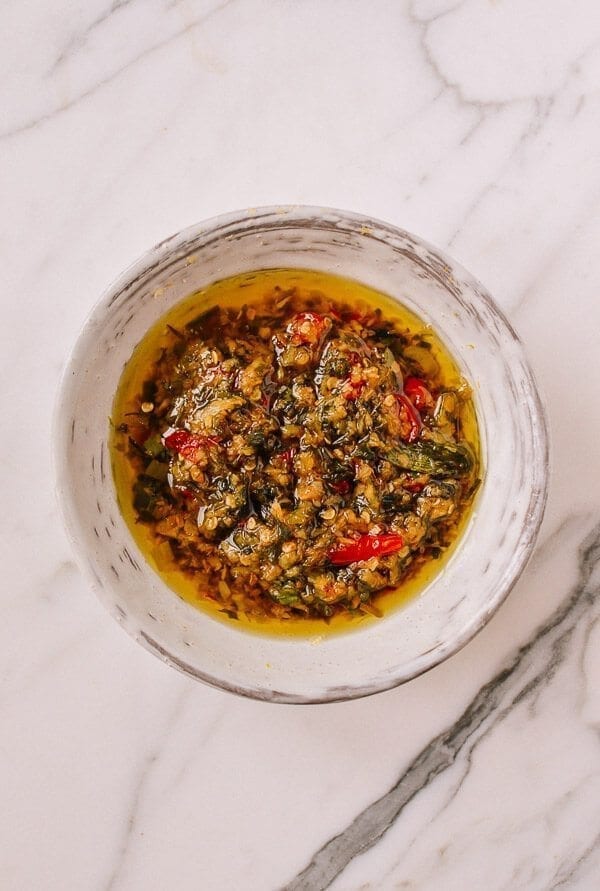
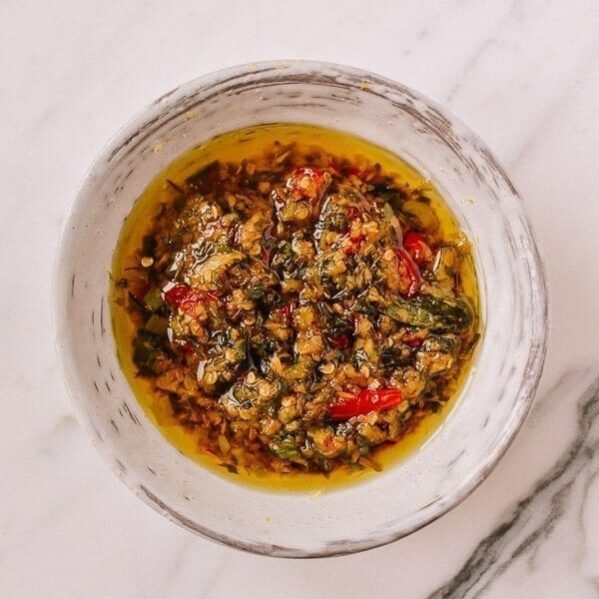
Finally, add the soy sauce, sugar, Shaoxing wine, and salt (feel free to add salt to taste). Use immediately or store in an airtight tupperware container or glass jar on the top shelf of your refrigerator for up to 2 weeks.
Ginger Scallion Oil with Chilies
Ingredients
- 6 tablespoons ginger (minced)
- 1 tablespoon garlic (minced)
- 3 scallions (minced)
- 4 fresh red chili peppers (chopped, optional)
- ½ cup neutral oil (like vegetable or canola oil)
- ½ teaspoon soy sauce
- 1/8 teaspoon sugar
- 1 teaspoon Shaoxing wine
- 1 teaspoon salt
Instructions
- Prepare the ginger, garlic, scallions, and chili peppers. In a saucepan, heat ½ cup of oil over medium-high heat. Add the ginger and fry gently for about 15 min. until the color deepens into a darker, more golden yellow. If the ginger sizzles too much, turn the heat down to medium or medium low; the ginger should not visibly crisp or brown.
- Next, add the garlic and cook for an additional 5-10 minutes. Follow with the scallions, stirring until the scallions are cooked through. Add the chili peppers and stir to combine, letting the peppers cook through as well.
- Finally, add the soy sauce, sugar, Shaoxing wine, and salt (feel free to add salt to taste). Use immediately or store in an airtight tupperware container or glass jar on the top shelf of your refrigerator for up to 2 weeks.
Tips & Notes:
nutrition facts