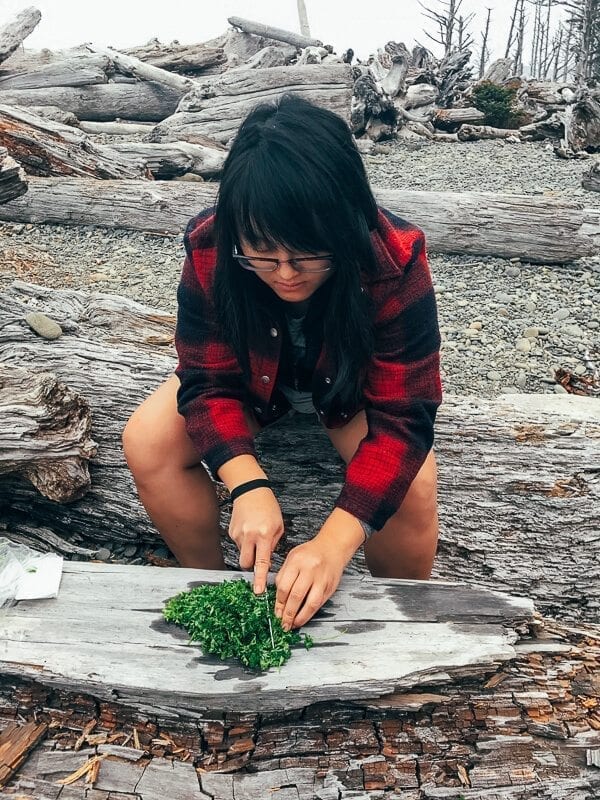
Some of the most memorable meals I’ve ever had have been camping meals–prepared with sooty hands, beat-up cooking pots, Swiss Army knives, and paper bag/tree stump cutting boards.
Whether you’re crouching over a campfire or a backcountry stove, there just aren’t many culinary experiences more rewarding than those that involve cooking outdoors. There’s something about cooking over an open fire or in unspoiled, unfamiliar surroundings with nothing but forest, ocean, or desert around you, that makes it feel like you’ve earned your meal.
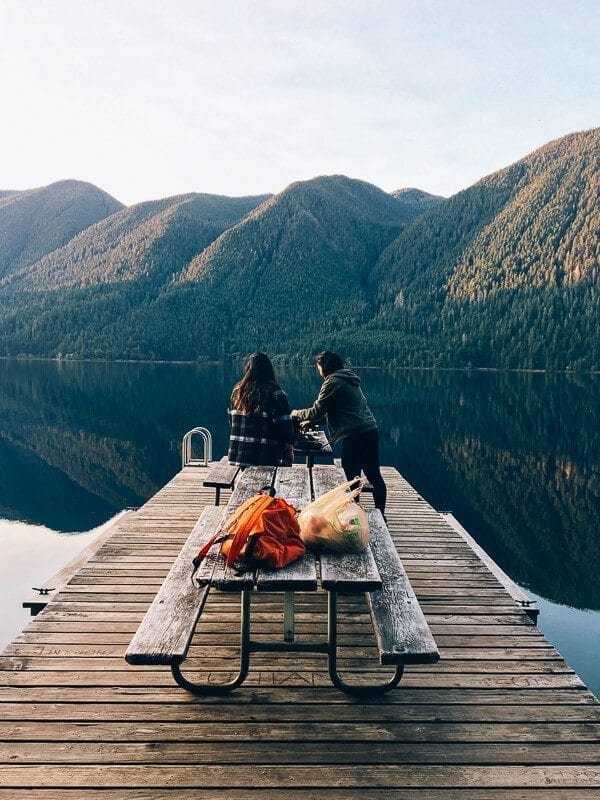
On our recent trip to Olympic National Park, we found ourselves preparing meals in the most beautiful places.
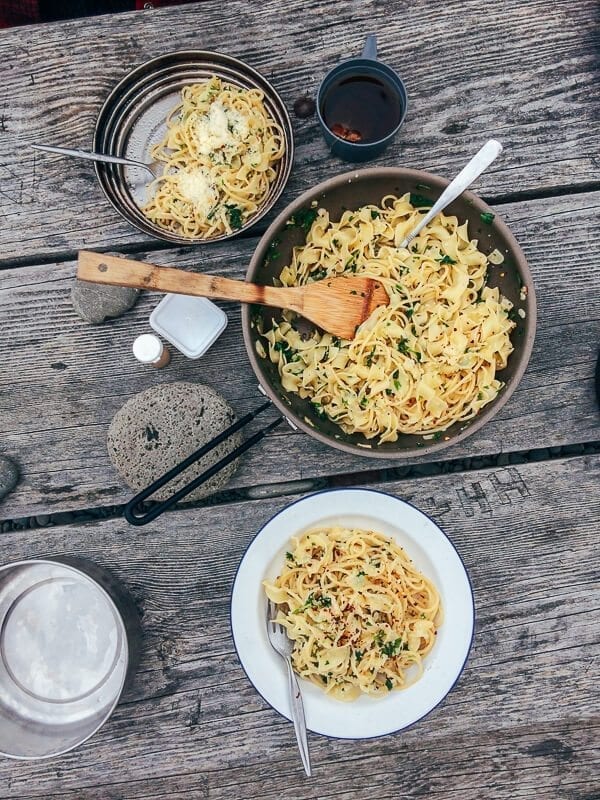
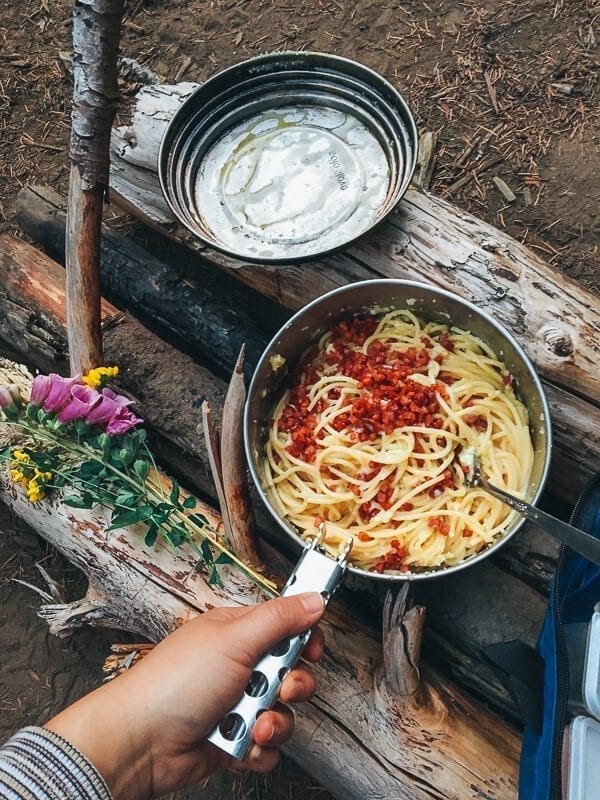
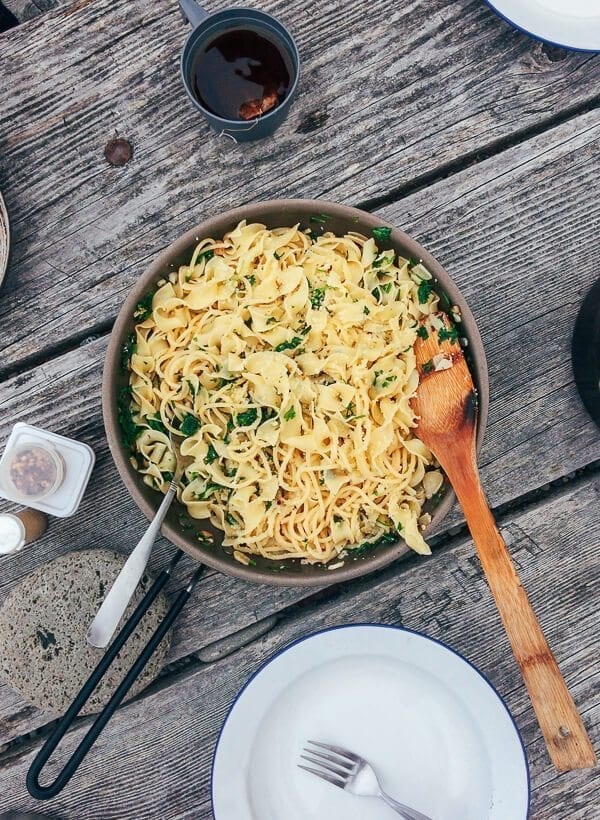
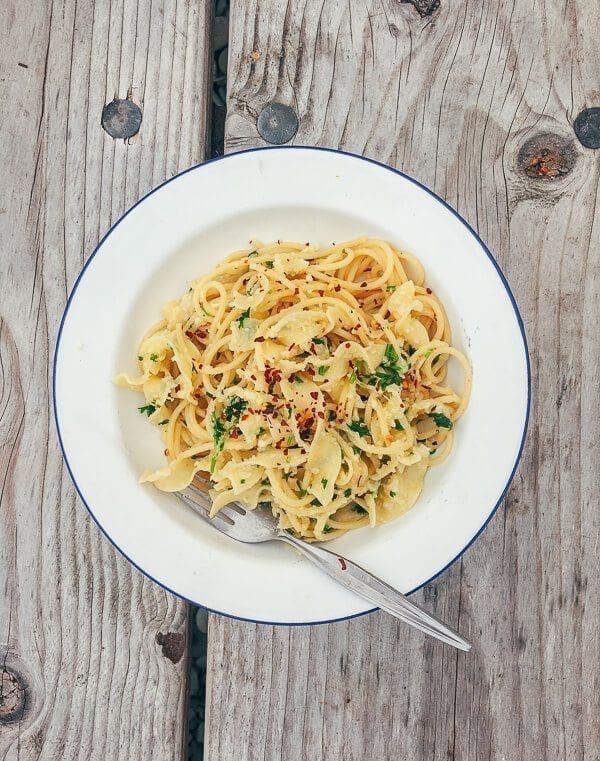
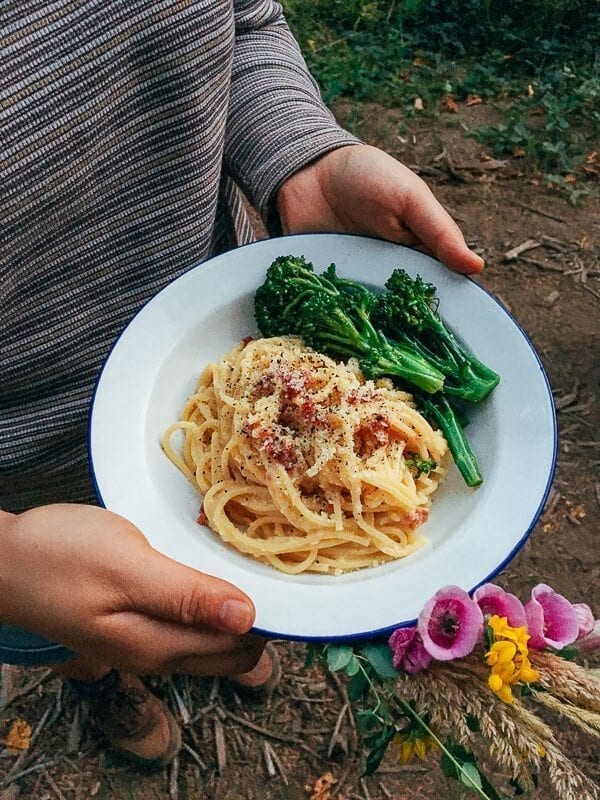
Breakfast on a deserted dock on the North Shore of glassy Lake Crescent at 6:30 AM, pasta with garlic, parsley, red chili, and Pecorino Romano in a sea of driftwood at Rialto Beach, and campfire beef stew at sunset at Kalaloch Beach Campground, with waves crashing just over the hedgerows. Even one particularly memorable dinner of Spaghetti Carbonara in a ditch off a Forest Service Road just outside of the park (see my sister’s post about the trip for the full story).
Those of you who’ve been reading our blog for a while––and perhaps our travel posts––know that we have a long history of camp cooking, sometimes even making elaborate meals on day hikes just for kicks.
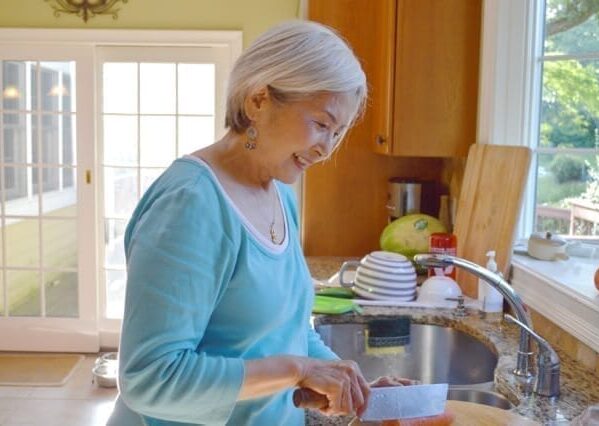
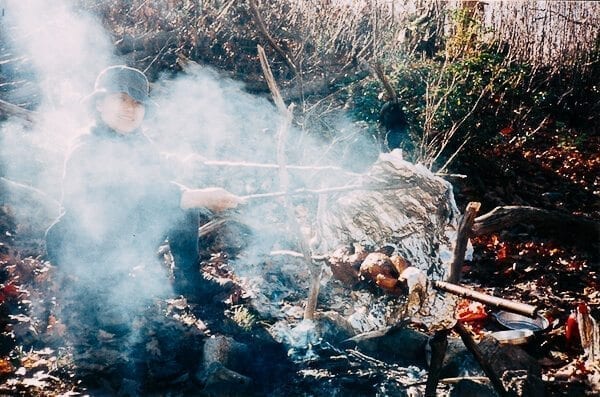
Exhibit A: This classic photo of my mom tending to a couple Cornish game hens on a trail at Bear Mountain State Park circa 1999:
You may have also seen some of the meals we prepared on trips to national parks in California, Utah, and Arizona.
Since publishing those posts, we’ve received a few requests from readers for an entire post dedicated to the art of preparing camping meals in general––tips, tricks, and meal planning suggestions for eating well out of a tent. (And a car––we’re talking car camping here, though I’m definitely planning a backcountry trip/cooking post for the future!)
We kept that in mind while out in Washington, and carefully documented some of our favorite meals from the trip as well as our best tips on The Art of Cooking Outside.
So without further ado…
Camping Meals Tip #1: Know What to Pack
It’s like those Boy Scouts are always saying: Be Prepared. (Or at least that’s what I assume they’re always saying. I was a Girl Scout, and we were always doing arts and crafts instead of learning how to build fires and survive in the wilderness, even though I would have preferred the camping!)
Knowing what to pack at home is half the battle, and without a doubt the most vital (and therefore detailed) part of this guide. My dad has a little spice organizer––a blue zip bag that says “Kitchen Essentials”on it, manufactured by REI probably in the late 80s––that I’ve taken on every single camping trip for as long as I can remember, and I always make sure to fill it with little vials of key spices and seasonings, tea, coffee, and a select few important tools.
Of course, the number of items you pack will be contingent upon whether or not you’re flying to your camping destination or driving there. If you’re driving, and your destination is relatively close to home, it would make sense to pack almost everything you need right into your car from the beginning.
If, however, you’re flying to your camping destination, you’ll have to make some decisions about what to pack, and what to buy when you get there.
My approach to packing for a faraway camping trip is to pack only the essentials (in the name of traveling light and avoiding overpacking), but to also balance that by perhaps expanding my definition of “essential” a little bit. It might seem counterintuitive, but hear me out.
On one of our first solo-sister camping trips out in California last year, I was determined to only pack ONE checked suitcase of camping gear. I stuffed our tent, sleeping bags, stove, and mess kit into one bag, and was militant about not overpacking. But when we got there, we ended up having to buy key items anyway–things that we already had at home and could’ve easily brought with us! My frugal brain had some regrets.
The thing is, you want to make sure that you have whatever you need to cook fabulous and practical breakfasts, lunches, and dinners out in the wild (or the campground), but you don’t want to have to spend money on items that fit the following criteria:
- You already have it at home, and it’s pretty low effort to pack it and fit it into your suitcase.
- If you were to buy it new, you probably wouldn’t use all of it and would end up having to pack anything unused to take home, throw it away, or try to give it away.
Think about it, do you want to come home with new bottles of the 6 or 7 spices that you ended up needing to make just a few meals? And then end up having 2 bottles of garlic powder, 2 bottles of cumin, etc. in your spice cabinet? Nah.
Here’s what I do: I have a list of all the things I might decide to bring, and then I whittle that list down, cutting or keeping items by asking myself three quick questions:
- Does it make more sense to buy this when I land?
- How many possible uses can this item have? (The more the better.)
- Will I regret not having it if I decide to leave it behind?”
Here are my cooking essentials to pack on every camping trip:
1. Salt and pepper: We buy our salt and pepper in bulk, so I just pack some of it up in little reusable mini containers (it’s a good idea to put rubber bands around them to ensure they don’t pop open in transit!). Pack a little more than you think you need, because chances are, it won’t be enough. I NEVER pack enough pepper.
2. Other seasonings: Any other spices or seasonings you think you will need, pack into those little containers! Don’t go crazy––just pack the most versatile, useful spices in your cabinet. My go-to’s (other than salt and pepper) are usually:
- crushed red pepper flakes (for anything that needs a little kick of heat)
- garlic powder (you may forget to buy fresh garlic)
- onion powder (ditto)
- cumin (really versatile)
- thyme or an all-purpose herb seasoning (for all your herby needs)
- cinnamon (a million uses for potential breakfasts and desserts)
- a couple of individually wrapped bouillon cubes (can add an extra shot of flavor to almost anything!)
If I plan to make something very specific on the trip, I’ll also pack what I need for that. If, for example, I’m planning to make my dad’s campfire curry ramen, I won’t forget to pack the curry powder!
Or once, we went on a camping/fishing trip to the Adirondacks, and in the hopes of catching and filleting some bass, pre-mixed the dry ingredients to make a beer batter and packed it up in a freezer bag. When we were ready cook, we just poured in a bottle of beer, mixed it up, and were good to go.
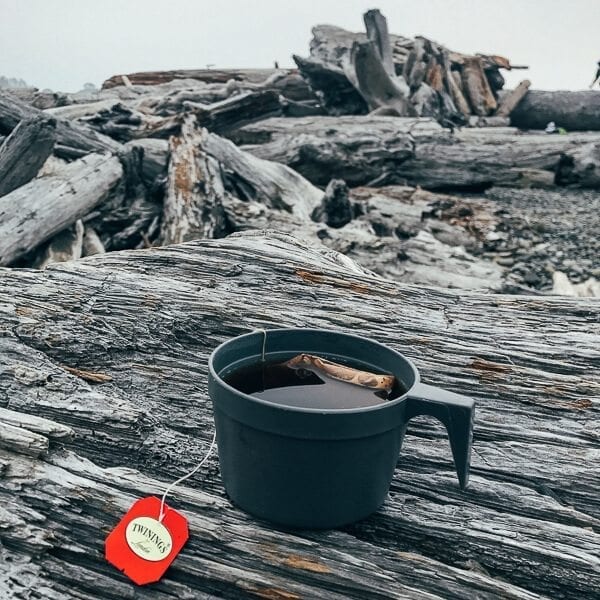
3. Coffee & Tea: Things we all have at home, and so light and low-profile, you might as well just pack what you need rather than buying full packs.
4. A package of dry milk powder: Sounds crazy, but you never know when you might need milk in a recipe. Dry milk powder has come in handy many a time! Especially if you want pancakes for breakfast.
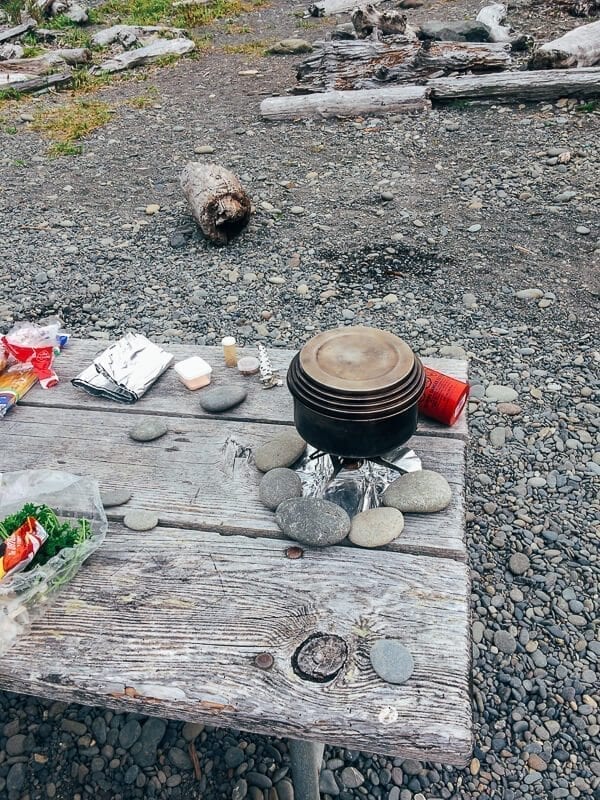
5. Non-stick aluminum foil: Great for lining campground grills that may have seen better days, in order to have a clean cooking surface––just use a few rocks to hold the foil in place. It’s also perfect for wrapping up leftovers or wrapping food to be cooked directly on a campfire. I specify non-stick here, because if you want to use it as a cooking surface, non-stick foil is the ONLY way to go. You don’t want to have to pick little bits of charred aluminum off your burger, do ya?
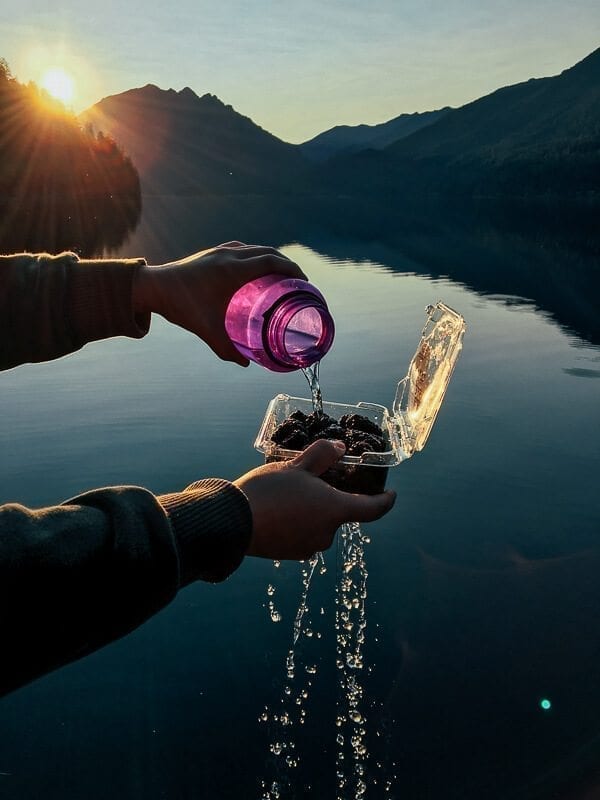
6. Reusable plastic containers: Cheap and lightweight, I always have some reusable plastic containers from takeout orders past in my cabinet. I take a few of them camping so that I have something to put leftovers in.
These containers are ALSO key for keeping ingredients that need to be stored in the cooler from getting wet or water-logged (melting ice and all). Things like butter and cheese, etc., that may not have the most airtight and watertight packaging. Bring a few of varying sizes, so you have some flexibility.
7. Zip-top bags: These can also be really useful for keeping food dry and protected in the cooler, as well as for marinating things or storing leftovers. I like to bring a few of varying sizes on every trip. We’ve transitioned to using reusable silicone bags, with a watertight seal. We really like Stasher bags.
8. Cooler: I have a soft, collapsable cooler that I take on every car camping trip. It’s a cinch to stuff into any suitcase, and can keep all of our perishables cold, as long as we replenish it with fresh ice every couple days. It’s a good idea to line it with a heavy duty (reusable!) plastic bag, to prevent any leakage.
9. Brillo pad/Dish detergent: I keep around a small travel bottle that I fill with a small amount of dish detergent for the trip, and I buy brillo pads in multi-packs, so I just throw one in with my mess kit.
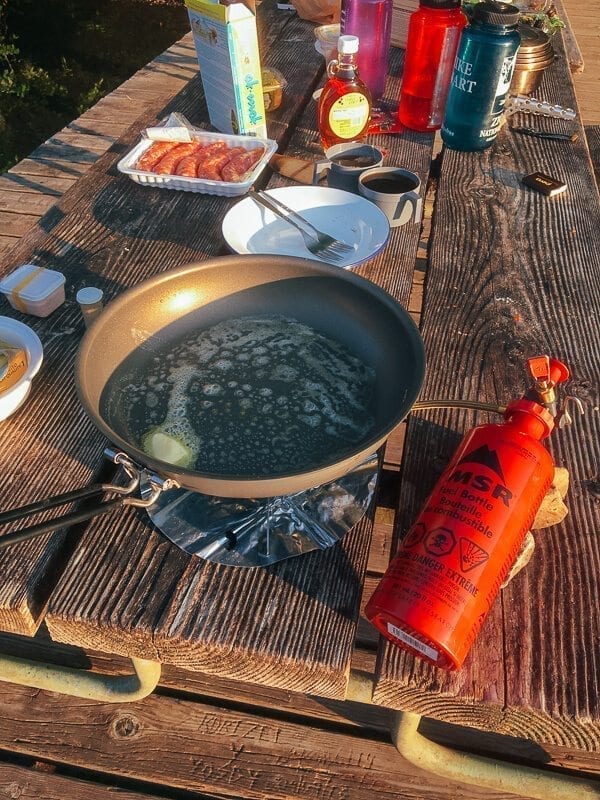
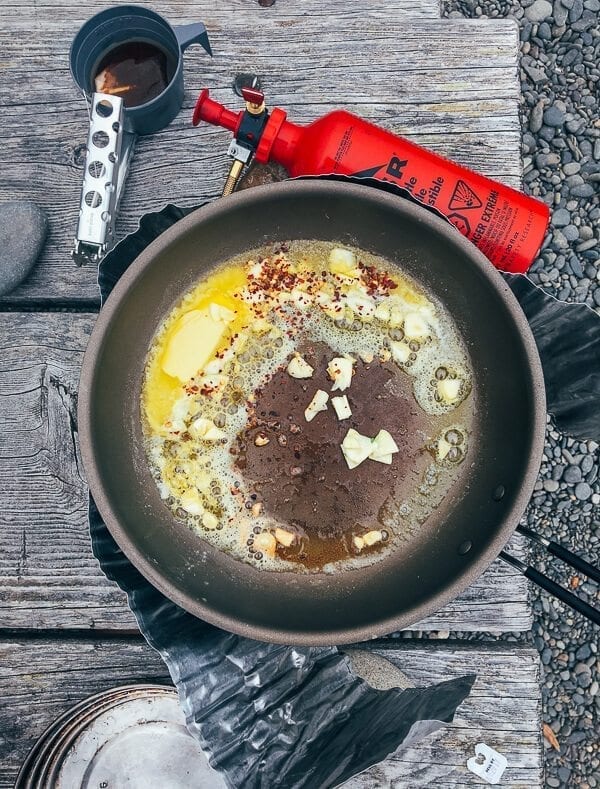
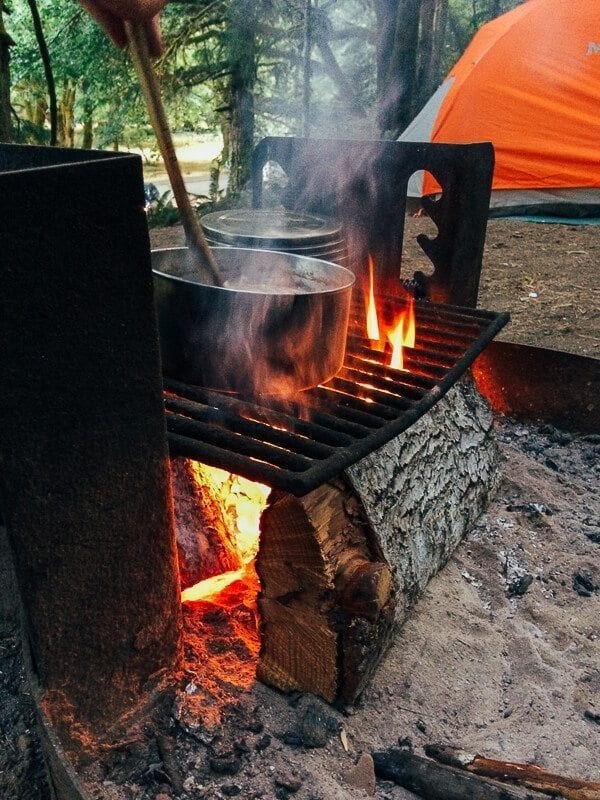
10. Backpacking stove: Ok, we’re getting to the true “essentials” now. A reliable, easy-to-operate backpacking stove is on my CANNOT-LEAVE-FOR-A-TRIP-WITHOUT-IT list. While cooking over campfires is fun and totally awesome, there will be times when building an entire campfire won’t be a practical option for cooking. When we were in the Pacific Northwest, there were temporary bans on campfires in some areas, due to forest fire risk/activity in the area.
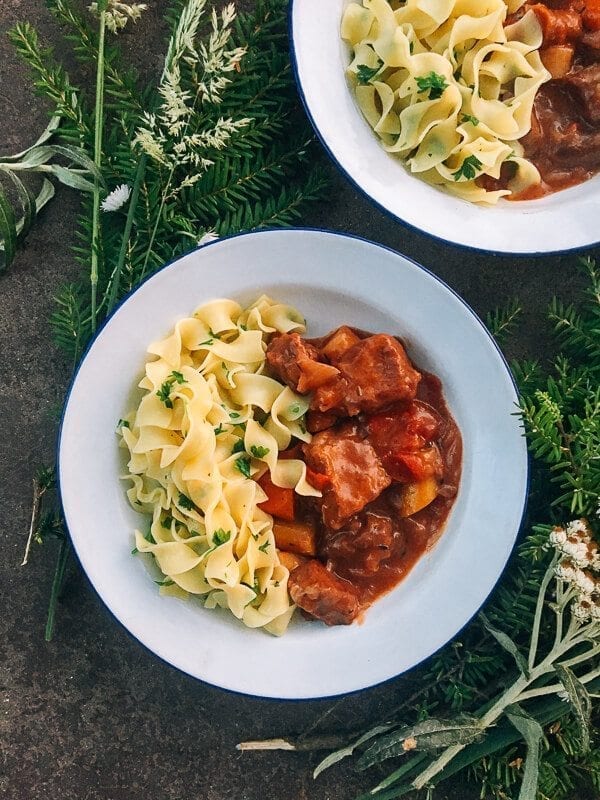
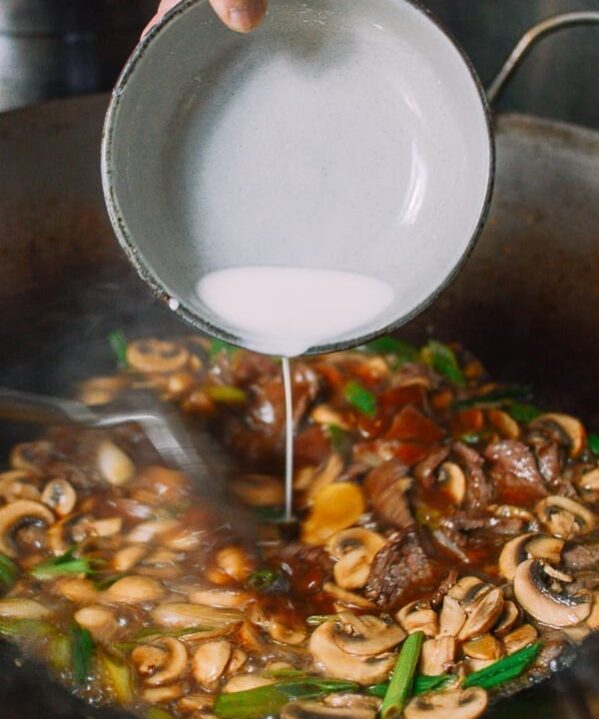
(Aside: check out our campfire beef stew with buttered parsley noodles recipe, pictured above.)
Backpacking stoves also give you the ultimate flexibility. A little stove like the Whisperlite can have you making a hot meal ANYWHERE.
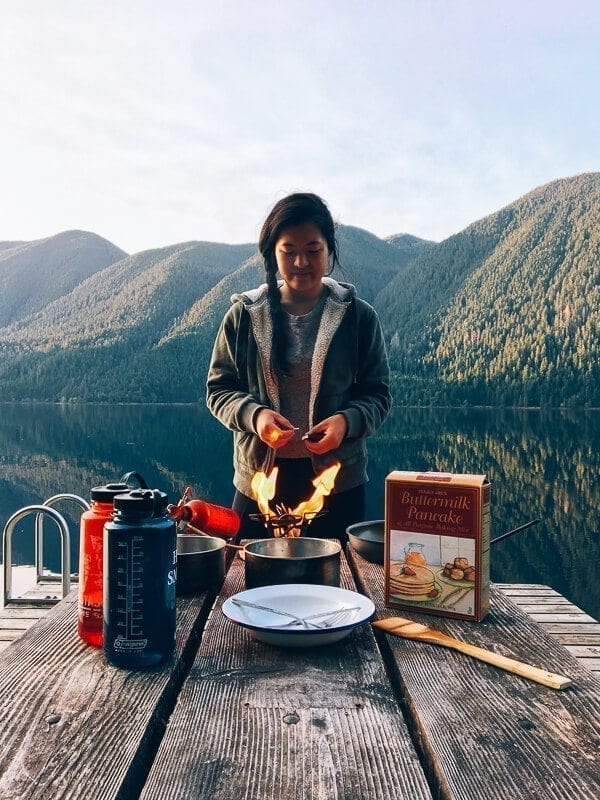
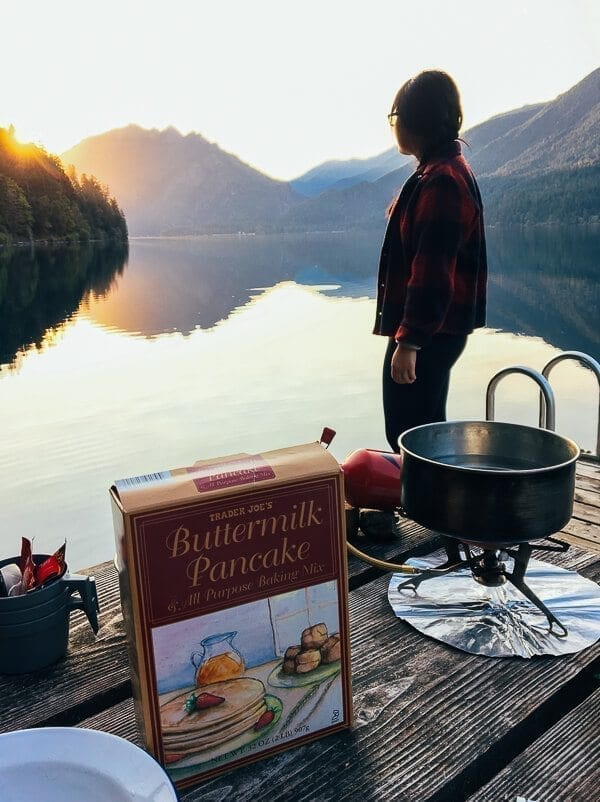
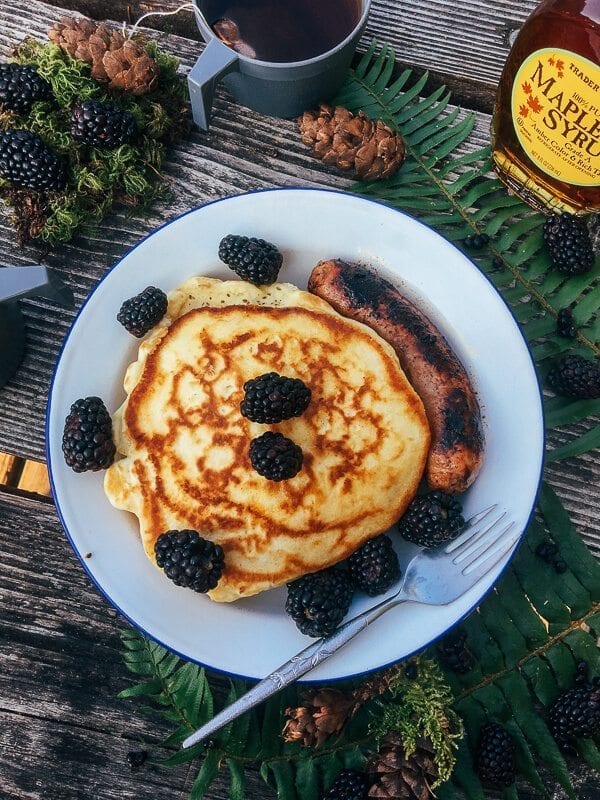
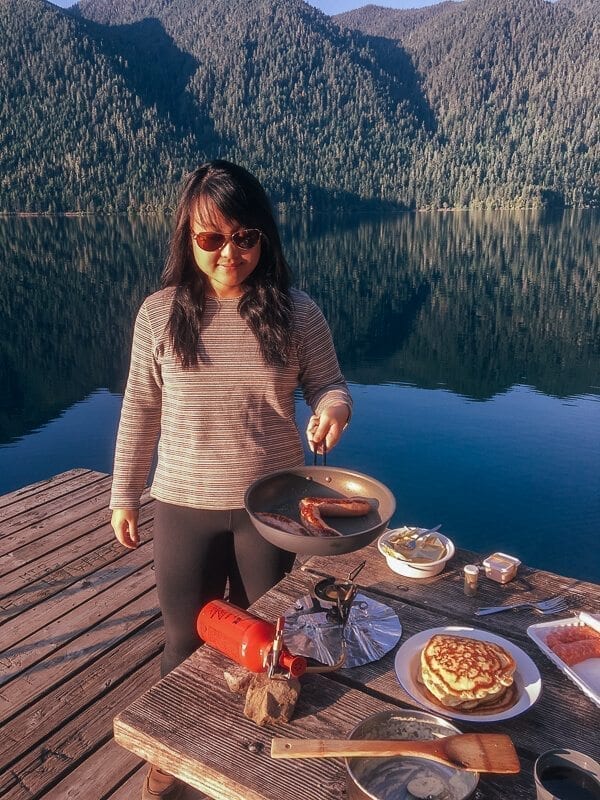
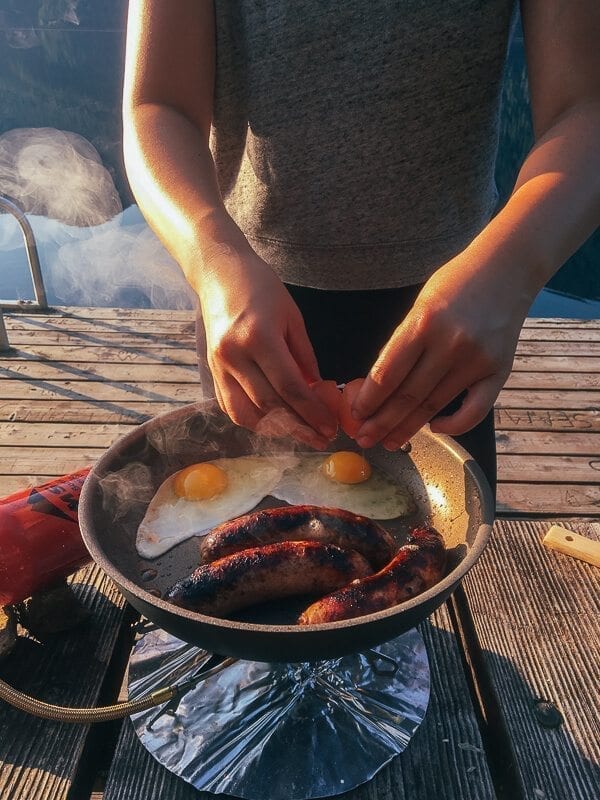
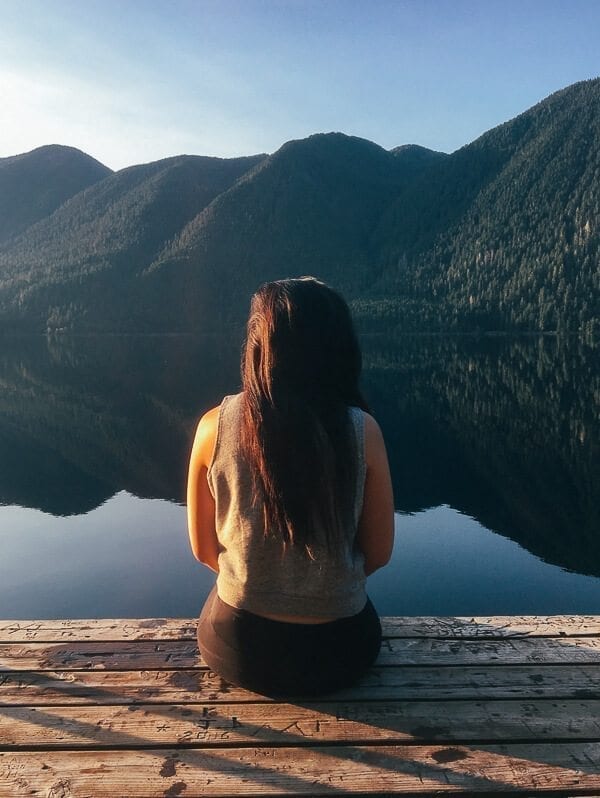
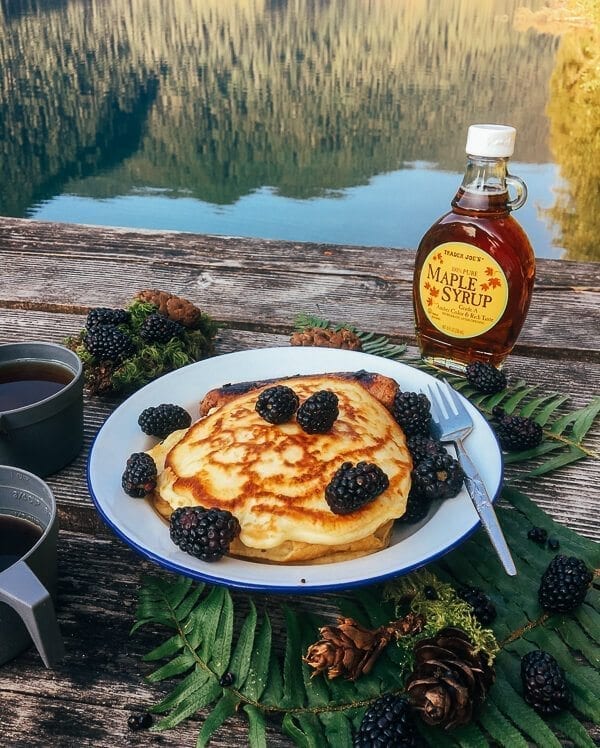
While in Olympic National Park, we wandered onto a dock right on the shore of Lake Crescent in the early morning hours, just as the sun was rising. It was like our own private breakfast nook, conveniently at the doorstep of the amazing views of the lake and mountains.

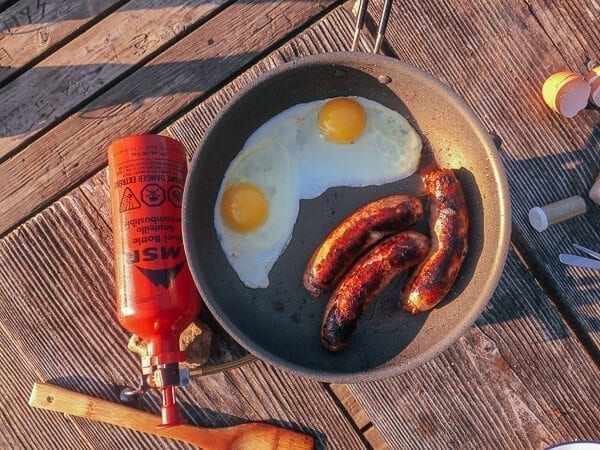
On the menu? Buttermilk pancakes with blackberries, butter, and maple syrup, eggs sunny-side-up, and big links of breakfast sausage.
11. Cooking Pots: You need a good set of cooking pots to make all this food––get a nested set of three pots of varying sizes. Depending on how many people you’re traveling with, you’re going to want to make sure that your largest pot has the potential to cook enough for the entire group.
I really love my Solo Stove 3-pot set, which comes with 3 pots (if I didn’t make that obvious already, ha), the largest of which is 2 Liters and can make a meal for 3 to 4 people without a problem. It also comes with a lid that can double as a frying pan, and a metal pot gripper that acts as a universal handle. While it isn’t the lightest weight camping pot set on the market, I like that it’s sturdy and big enough to feed the big appetites I’m usually traveling with (including mine)!
Having multiple pots also allows for more flexibility. I might be boiling pasta in the largest pot, while I’m washing tomatoes in the medium one and making dessert in the smallest one, for example.
12. Frying Pan: This wasn’t originally on my list of essentials, since, as I mentioned above, I have a lid that doubles as a frying pan included in my Solo Stove set. But on this last trip, my new 10-inch, nonstick GSI Outdoor Bugaboo frying pan has proven to be a total game changer. I used it for almost every single meal we cooked, and the handle folds into the pan to make it easy to transport. (None of these brands are paying me to plug their products, by the way. I just like them. I WISH they were paying me.)
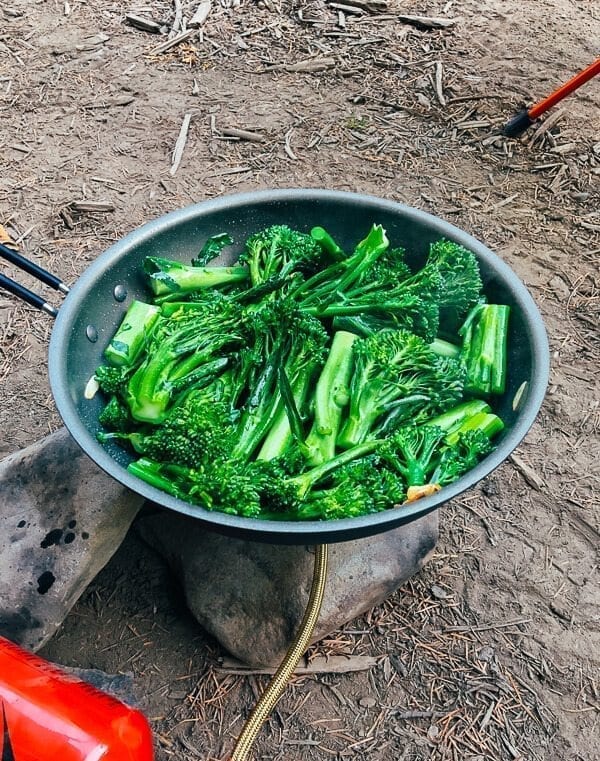
Not only is having a non-stick surface super convenient for making things like pancakes and eggs without a ton of cleanup, it was also great to have a broad, flat surface that I could put over my camping stove in order to sautée a large volume of vegetables…
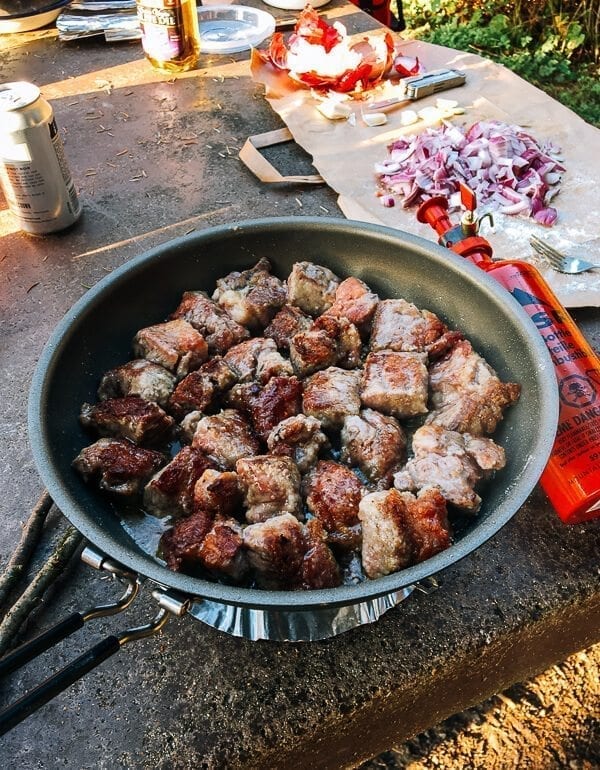
Or to sear meat.
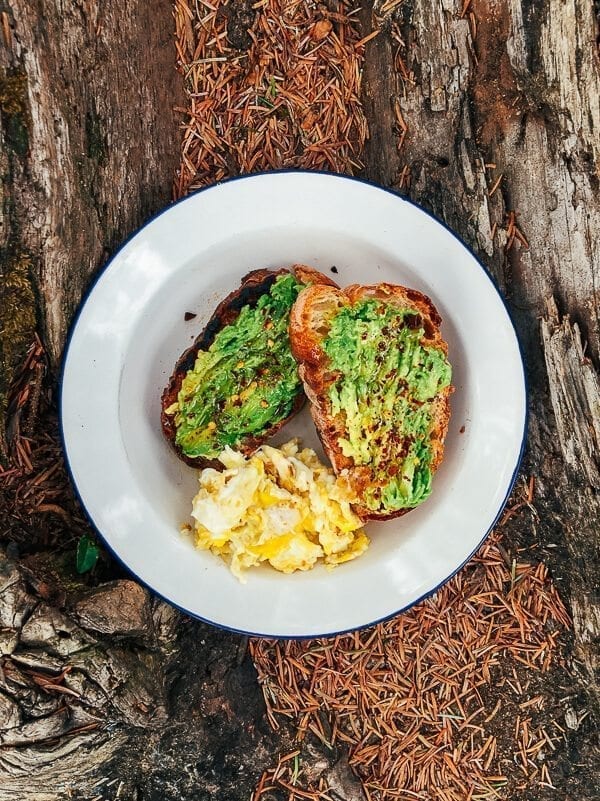
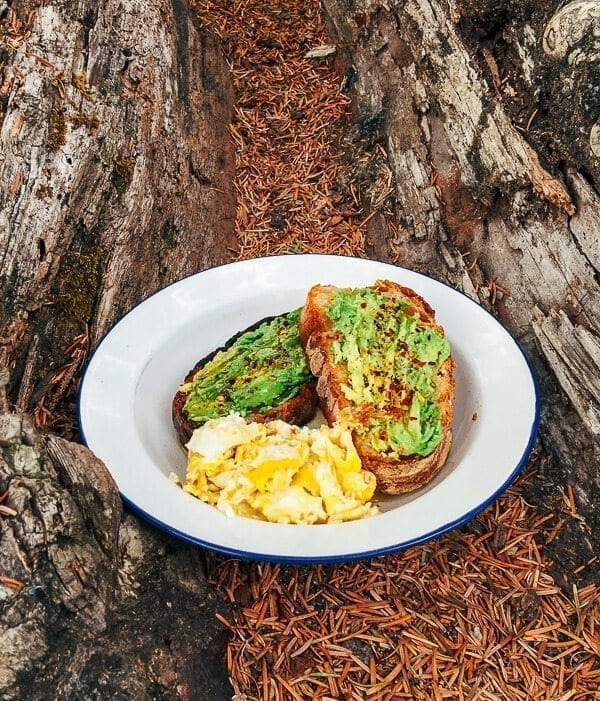
It was also a great surface for toasting bread––a task formerly requiring a campfire or a grill. Just look at this beautiful avocado toast we had for breakfast one morning:
13: Utensils, cups, and plates: I prefer to pack regular metal utensils and reusable cups and plates when I go camping. Disposable utensils, cups, and plates are bad for the environment–pretty counterintuitive to the main objective of any outdoor adventure–and just plain annoying to deal with.
I don’t buy any special utensils––I just rifle through our drawers of mismatched forks, knives, and spoons, and pick out the exact number I need for the number of people in my party as well as the lightest ones I have. You can also buy lightweight utensils made especially for camping. But if you’re going car camping, your regular kitchen utensils are totally fine.
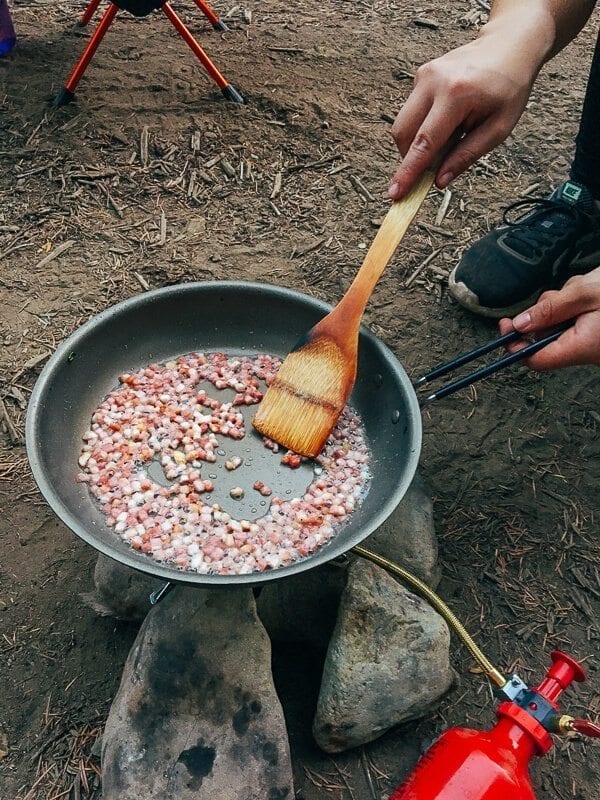
I also pack 1 sturdy cooking utensil––a flat bamboo spatula like the one in this set. It’s really versatile. Perfect for sautéing without scratching your non-stick surface and flipping pancakes. It’s also pretty light and easy to to transport. But most importantly, it won’t melt like plastic cooking utensils or overheat like metal utensils when exposed to the intense heat of a cooking stove or campfire.
I have a set of lightweight reusable plastic cups as well that double as measuring cups––handy for mixing pancake batter or any other recipes that require more precise measurements. They’re also good for your morning coffee or tea, or for serving soup or chili.
I don’t think plates are really an “essential.” You could use your extra pots or lids as plates/bowls, but you can always pack a set of plates if you want that convenience!
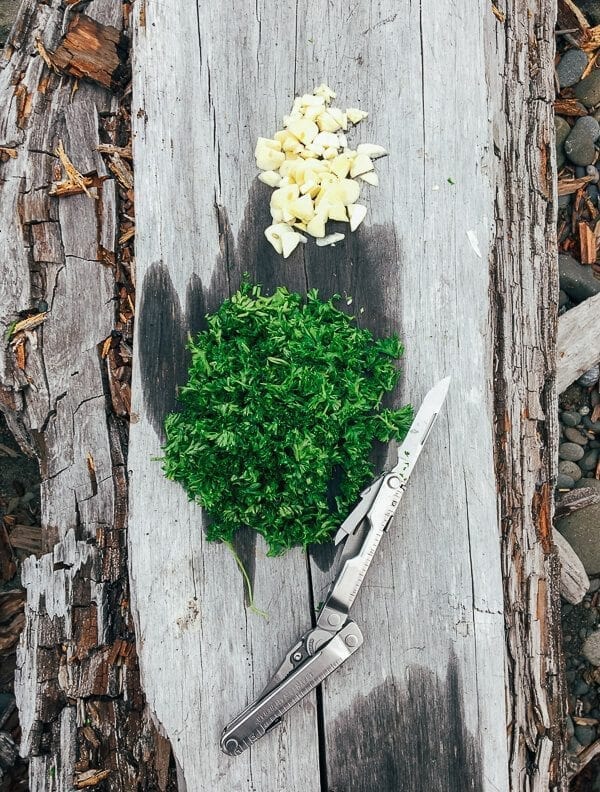
14. Knife/Multi-tool: Pretty obvious why you’d need one of these, but I would suggest that rather than just bringing a regular pocket knife, you get a multitool that has a knife and other useful tools in it. I have the Leatherman Rebar, and it’s really sharp and great for our camp kitchen––cutting meat and vegetables, opening packages, etc.
It also really came in handy as a can opener (woo, opening cans!), screwdriver (fixing a broken camp chair and tightening a loose screw on one of our suitcases), and a saw (scraping logs to make kindling) on this last trip. My dad prefers the Swiss Army RangerGrip 178, which has a more heavy-duty knife blade and saw, perfect for scaling fish and cutting larger pieces of tinder off of logs.
REMEMBER: If flying to your destination, pack this in your checked luggage. It will get confiscated if it’s in your carry-on!
Camping Meals Tip #2: Know What to Buy When You Get There
Once you’ve figured out what you’re going to pack, the next step is figuring out what you’re going to buy when once you’ve landed, picked up your car, and are about to head out on your adventure!
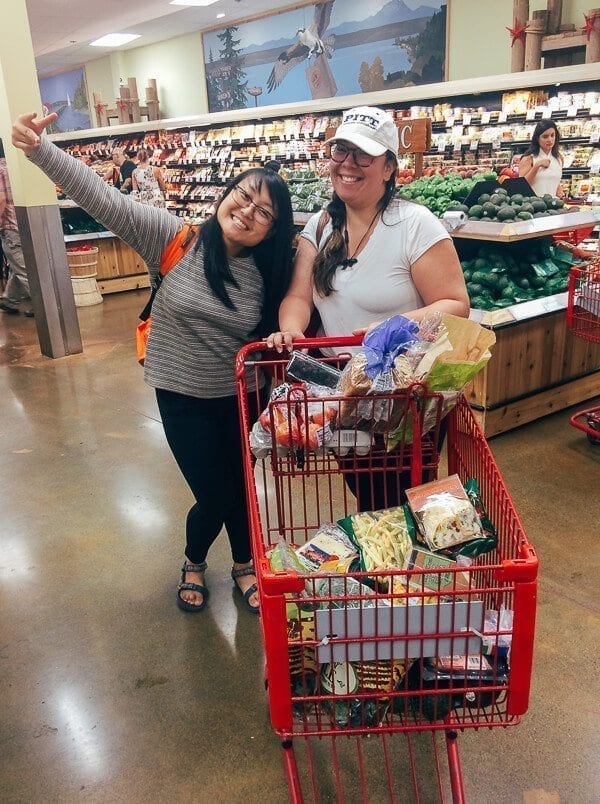
Our favorite place to shop for camping provisions is without a doubt Trader Joe’s. It’s become a bit of a tradition. They just have so many convenient options for camping meals. Pre-cooked, vacuum sealed packages of pork carnitas, pre-cut pancetta, tons of pre-washed veggies, fresh produce, great bread, etc. (Trader Joe’s should DEFINITELY be paying me.)
But you don’t necessarily want to waste a ton of time grocery shopping. And going in without a plan can mean staying in the store for an hour longer than you should have––or worse: forgetting something!
This trip, Kaitlin and I decided to make a detailed shopping list before heading into the local Joe’s.
Before you make a shopping list, it’s a good idea to actually sit down and plan your meals. How many breakfasts, lunches, and dinners do you need to account for? What do you want to make? When will it be convenient to cook, and when won’t it be convenient? What’s your plan for either scenario?
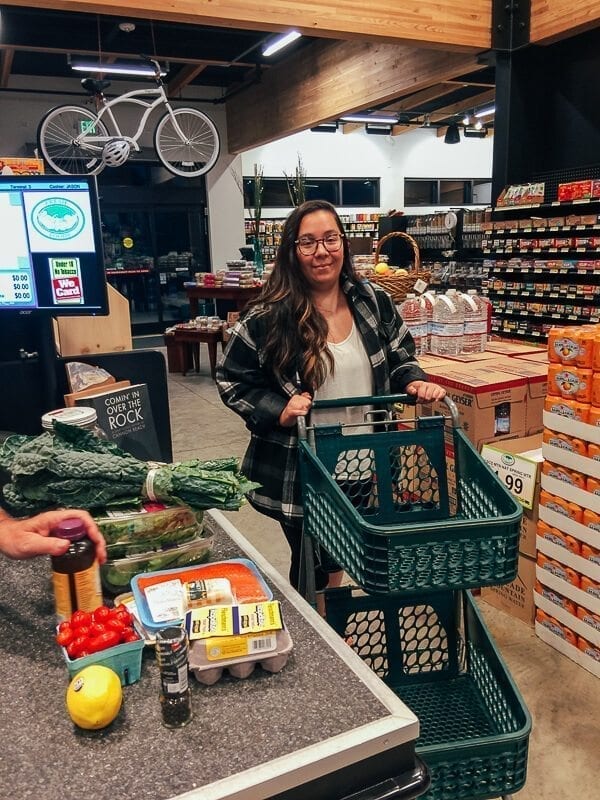
It sounds a bit over-the-top to get so into this planning process, but it makes all the difference. Kaitlin and I sat down, made a little camping meals chart (Breakfast, lunch and dinner across Saturday, Sunday, Monday…you get the picture) and filled in the boxes with our planned meals.
We then made a shopping list off that. Worked like a charm. We were in Trader Joe’s for less than an hour, and it was a triumphant trip.
When planning your meals and buying your ingredients, here are some considerations to keep in mind:
- Plan the order of your meals according to how long they will last. When planning your meals involving fresh meat, cheese, and produce, food storage and safety is super important. Use the more delicate perishable items early on, and save hardier ingredients and non-perishable items for later meals.
- When choosing fresh produce, choose things that are easy to wash and prepare, like zucchini, eggplant, portabello mushrooms, or cucumbers. You don’t want to choose leafy greens that are sandy and difficult clean. You can also go for pre-washed vegetables, but you have to be careful with those, because they can spoil quickly. Which brings me to…
- Choose ingredients that are hardy and easy-to-store. Vegetables like carrots, zucchini, and Tuscan kale (one of our personal favorites) are going to stay fresh longer than more delicate vegetables like spinach. You’re also looking for produce that can go unrefrigerated––onions, tomatoes, avocados, potatoes, etc. When it comes to fruit, the same principle applies. Fresh berries are delicate and probably won’t stay fresh longer than 24 hours unrefrigerated. If you’re gonna buy them, you have to use them right away. Apples and oranges, on the other hand, can stand being thrown into a backpack as a snack, and can definitely last for a few days. One more tip on this topic––if I’m buying produce for several days, I will also buy certain things at varying levels of ripeness. For example, if I buy a few tomatoes, bananas or avocados, I will buy a couple that are ripe for the next day, as well as a few that still need time to ripen, so that by the time we’re ready to eat them, they’re perfect!
- Only choose the freshest produce. If something doesn’t look fresh, don’t buy it––even if it was part of your original meal plan. Buying ingredients that aren’t fresh means they won’t last as long in the best of circumstances, let alone sitting in your car, unrefrigerated.
- Look for non-perishable alternatives: can you get something canned or otherwise non-perishable that can be stored unrefrigerated?
- When shopping for items that will have to go into your cooler, consider the packaging. Vacuum-sealed packaging is always preferable, because it’s less likely to break open and leak. When it comes to buying eggs, the hard plastic cartons are preferable to the cardboard, because the cardboard packaging will just disintegrate when wet.
- Don’t forget the basics. It’s easy to go into the store and remember to buy meat, vegetables, fruit, eggs, bread, pasta, and rice. But don’t forget basic essentials like cooking oil, salt and pepper (if you didn’t pack it already), matches, and ice.
- You may have to make a couple trips for fresh ingredients. Only buy fresh ingredients for as long as you will be able to store them safely/use them up, and plan to make future grocery trips (if you’ll be in an area with groceries readily available. If not, you’ll have to think of some non-perishable alternatives!).
Camping Meals Tip #3: Repurpose Ingredients to Make Different Meals
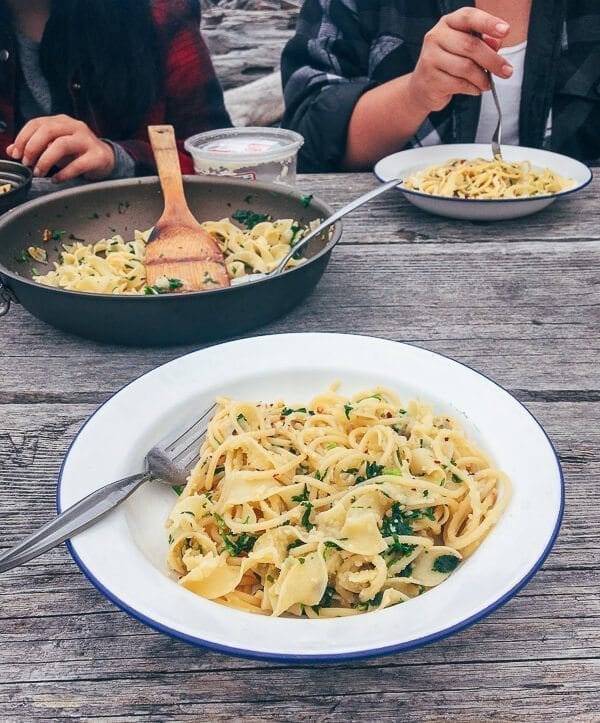
When planning your meals, it’s also important to think about how you’re going to repurpose ingredients that may be left over from other meals. This is not just economical, it ensures that you don’t waste food! You don’t have to buy a new set of ingredients for every meal––try to plan meals that will use the same ingredients in multiple ways.
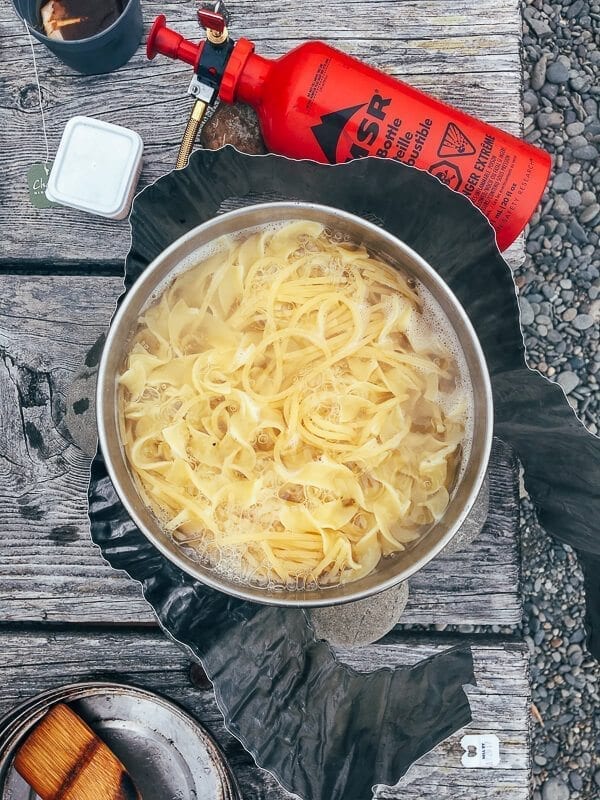
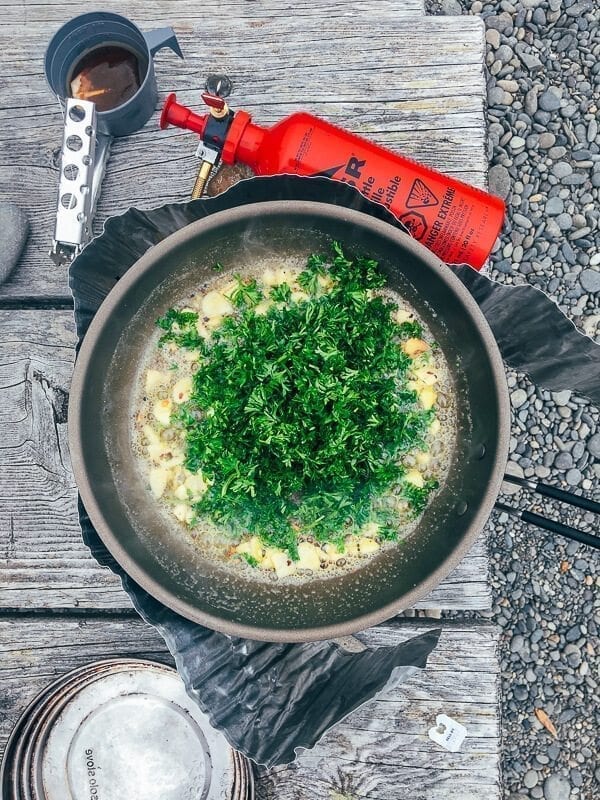
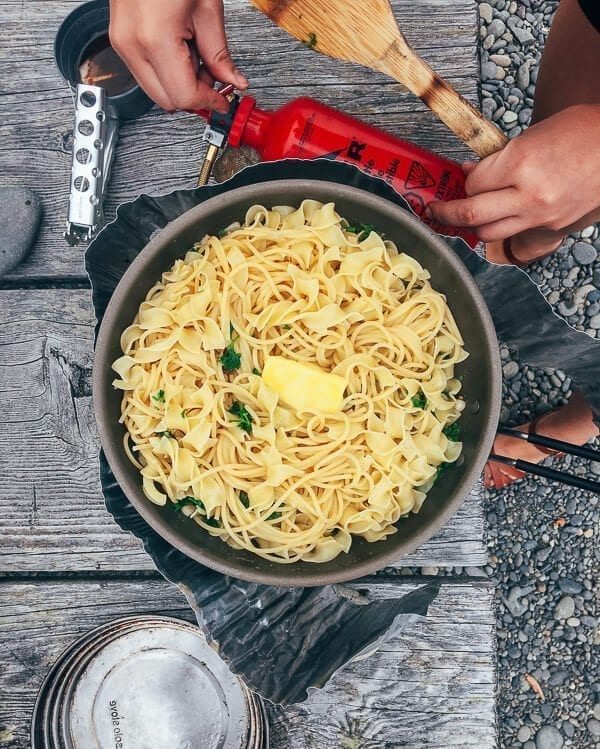
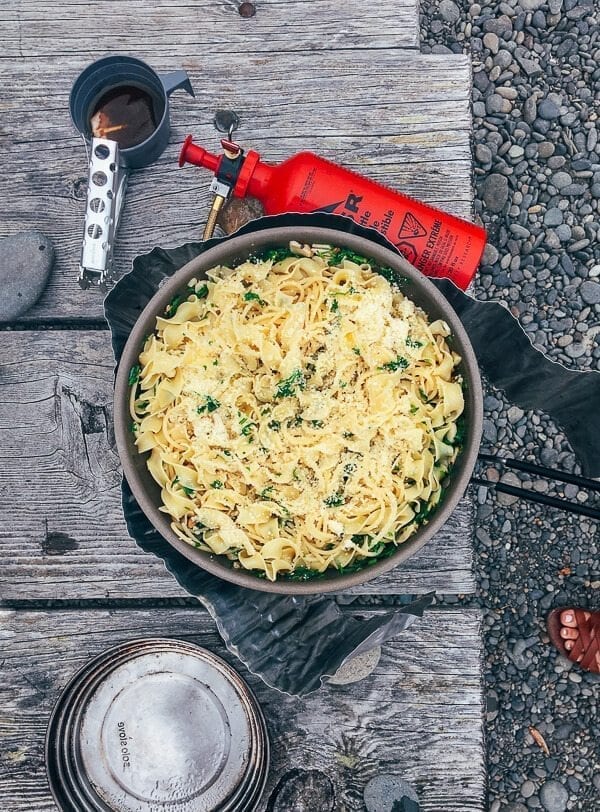
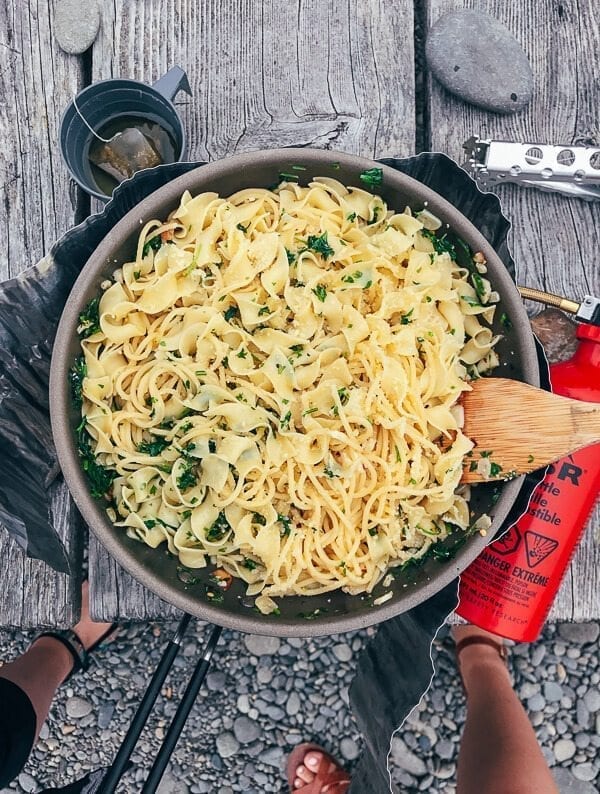
Take this lunch that we made at Rialto Beach, for instance. It was a pasta dish using:
- Extra spaghetti from the Carbonara we had on our first night.
- Extra egg noodles from our Beef Stew on night 3.
- Leftover parsley from Beef Stew night.
- Leftover Pecorino Romano cheese from Carbonara night.
- Butter from making pancakes a couple days earlier.
We just added garlic and chili flakes and had a beautiful, quick lunch at the beach!
Get the merits of creative camping meals yet?
Camping Meals Tip #4: Storing Your Food
MAKE SURE TO BUY ENOUGH ICE and replenish it when needed!
Make sure that everything that needs to be refrigerated stays in the cooler, and make room by storing items that can be stored at room temperature in a cool, dry spot in the car. And again, don’t overbuy at the grocery store! Only buy what you can store safely.
It doesn’t hurt to brush up on your food safety/food storage knowledge in general. Here are a few key things to remember:
- Double bag any raw meat that isn’t vacuum sealed, so it doesn’t leak out onto other foods.
- If you can buy meat frozen, that’s a better option, because it’ll stay colder longer.
- Put raw meat at the bottom of the cooler, where it’s coldest.
- Any perishables in general should be kept at 40 degrees F or colder to prevent spoilage.
Camping Meals Tip #5: Campfire vs. Stove
To cook over a campfire? Or the stove? That is the question.
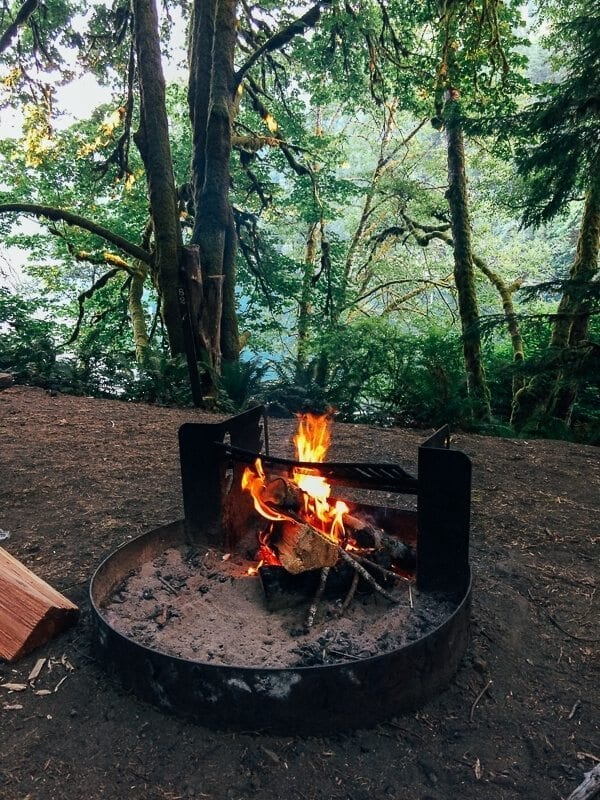
There’s no one “better” way to prepare meals while camping. Both campfire cooking and cooking over a camping stove have their merits and use cases, and it’s a good idea to know when each scenario is most practical.
Campfire cooking is great for grilling, simmering and slow cooking, and any time you have more time on your hands in general.
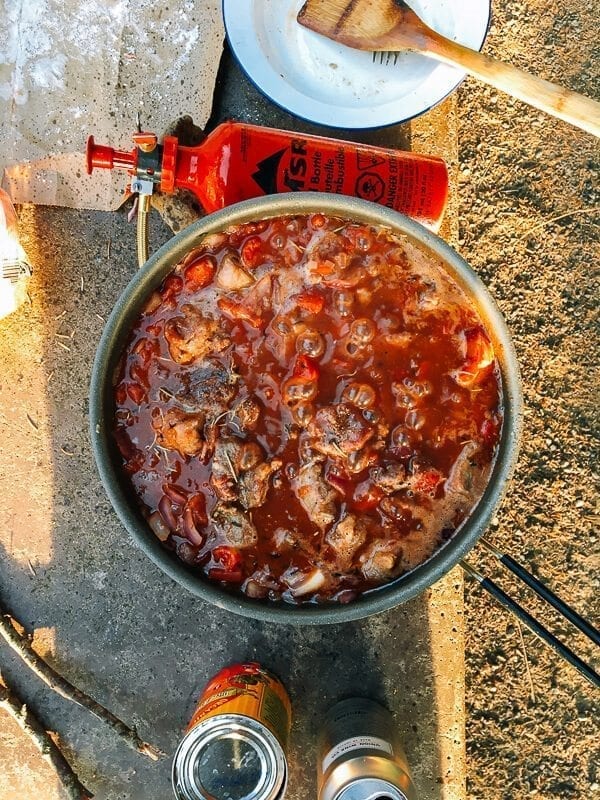
We used a campfire to grill meat, simmer beef stew, and slow cook a batch of pork and beans on this last trip. Our particular backcountry stove stays extremely hot, and doesn’t allow for much temperature regulation, so it didn’t lend itself well to simmering.
If, on the other hand, you want to make a really quick meal or boil water, your stove is going to make much more sense.
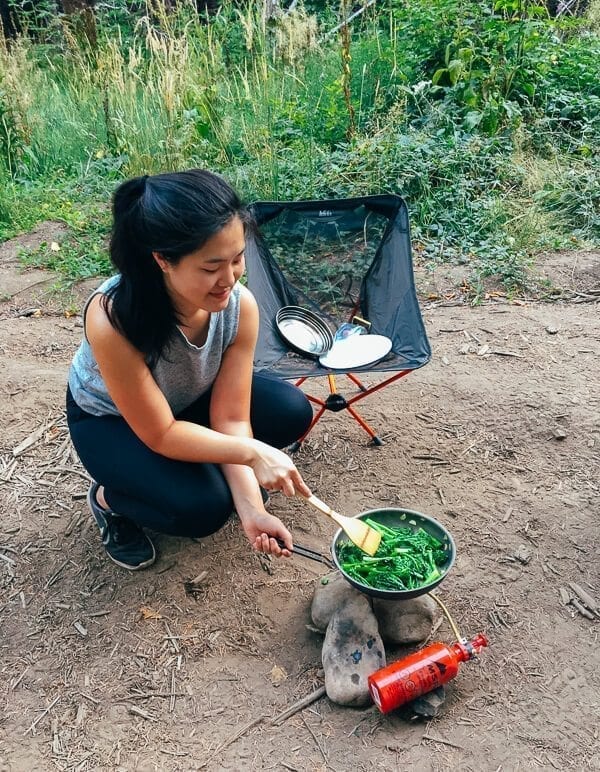
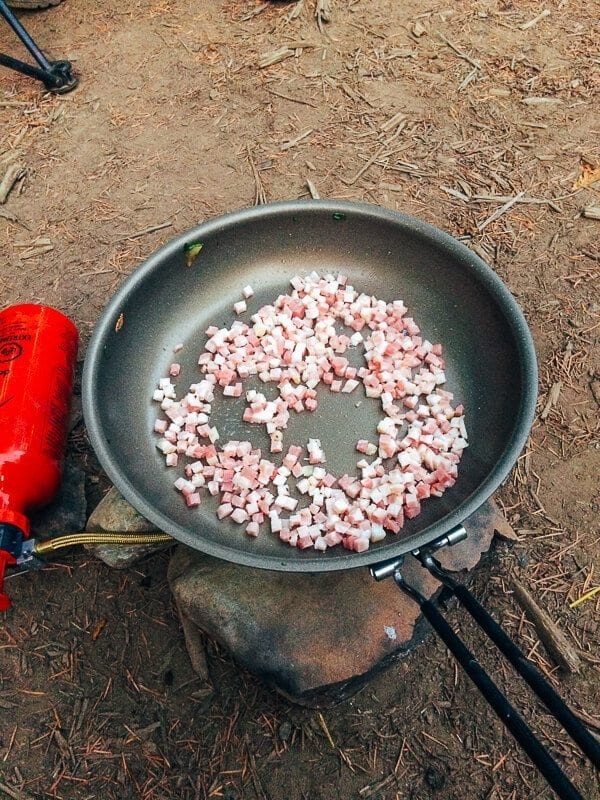
Take this carbonara we made on our first night. It took just 30 minutes to boil pasta, cook pancetta, toss the carbonara together, and sautée a side of broccolini.
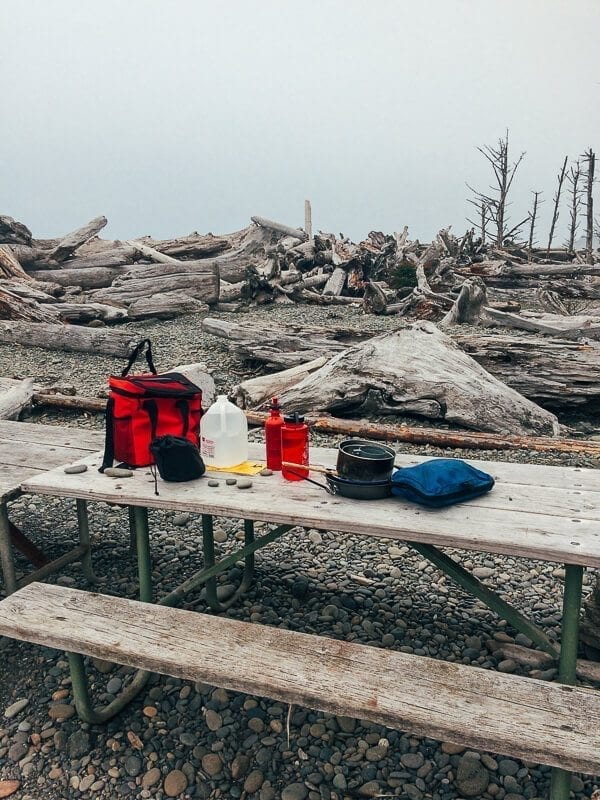
Camping Meals Tip #6: Find the Perfect Spot
Half the magic of a great camping meal is in your surroundings. Out in Olympic National Park, there were countless beautiful picnic areas––in rainforests, on the coast, by the lake.
Don’t limit yourself to eating in campgrounds! National parks, state parks, and other recreational areas have awesome picnic areas––some with grills and fire rings––and others with picnic tables where you can set up your stove and make lunch.

Camping Meals Tip #7: Don’t Be Afraid to Experiment
One of the most fun things about camp cooking can be experimenting with new ideas.
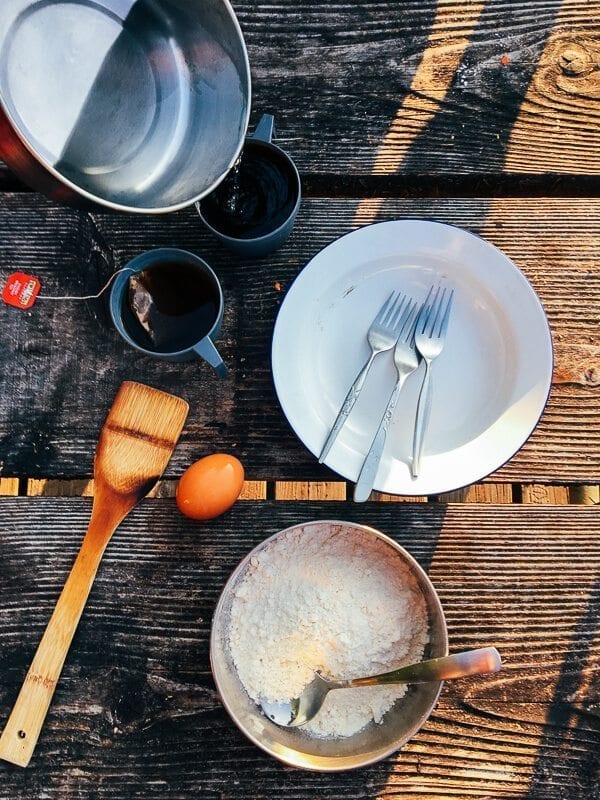
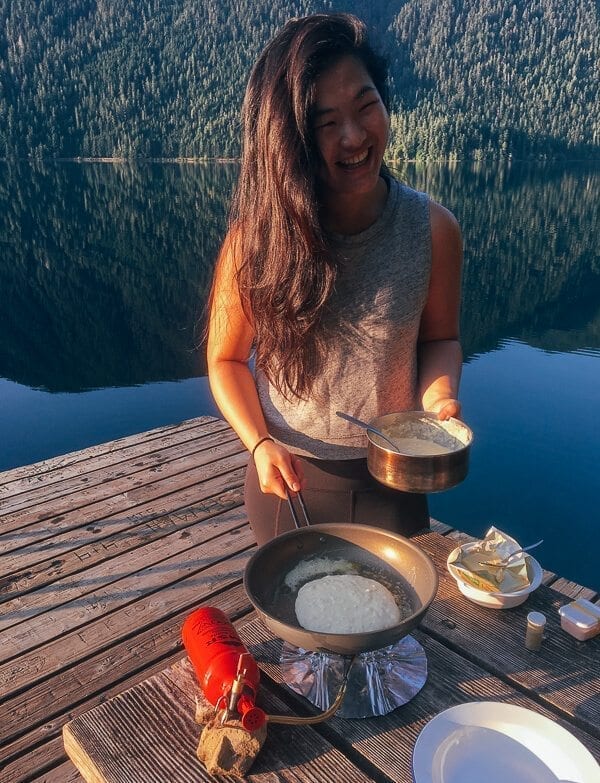
Kaitlin found a focaccia recipe on the back of the pancake box, and we threw together some dough and put it over the fire. It seemed like it was working, and we had high hopes for a good outcome after having gone out of our way to buy yeast and make good on the vial of rosemary tucked away in our mess kit, but…
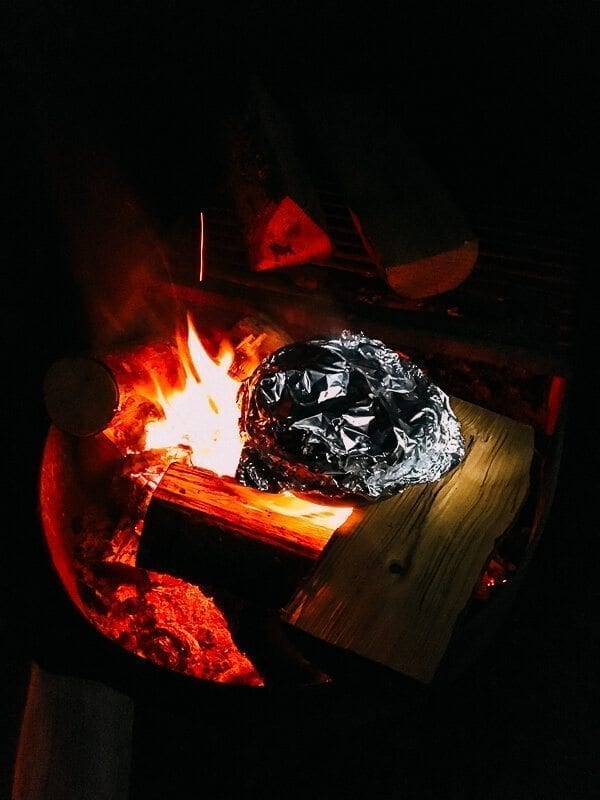
In the cold light of day…
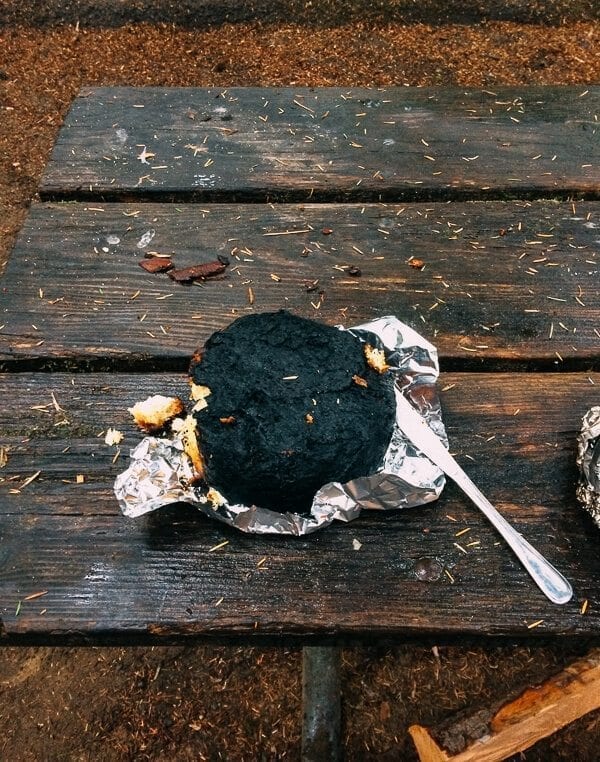
Eh, you can’t win ’em all. But we had a great story and pictures to send home of our epic failed experiment. And that, folks, is how ya learn what NOT to do in your outdoor kitchen.
We hope that after reading this, you’re feeling more well-equipped and confident than ever for an outdoor cooking––maybe even gourmet––adventure! But we want to hear from you guys in the comments––whether you have more questions we can help with or you’d just like to share your own camp cooking stories/tips, let us know in the comments below. Happy adventuring. :)
Camping Recipes
Check out some of our camping recipes below: