These Disney copycat smoked turkey legs have become a tradition in many of our readers’ households around the holidays since we published this recipe in July 2015.
Originally developed by our aunt (my dad’s older sister), we’ve since updated it with more details on pressing questions ya’ll have asked over the years:
- Some commenters have said the turkey legs are too salty—how much salt is optimal in the brine?
- Can I make these in the oven if I don’t have a charcoal grill or smoker?
- What if I’m making more or fewer turkey legs than the recipe calls for?
- Can I freeze these after cooking?
- What if my legs are very large/small?
We have answers to all these questions, as well as instructions for making these turkey legs indoors in an oven and in a charcoal grill or smoker outdoors. Enjoy!
Note: This post was originally published in July 2015. It has since been updated with more detail, oven-baking instructions, and an FAQ section! The recipe itself has not been changed. Enjoy!
*The* Disney turkey leg
When we were young, trips to Disney World were met with much fanfare:
- The time off from school! (I’ll skip your multiplication tables and coloring workbooks, thank you very much!)
- The rides! (This is the year I ride Thunder Mountain and actually put my hands in the air!)*
- The characters! (Mickey Mouse! Goofy! Mustn’t forget my autograph book!)
- And. THE FOOD!!!
While the food prices at Disney World were enough to make my parents’ eyes pop with every glance at a menu board, they made an exception for just one food item in particular: The Smoked Turkey Legs. (Because that definitely deserves some capitalization.)
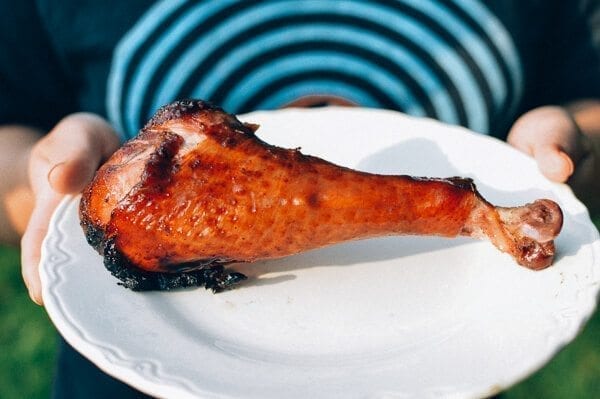
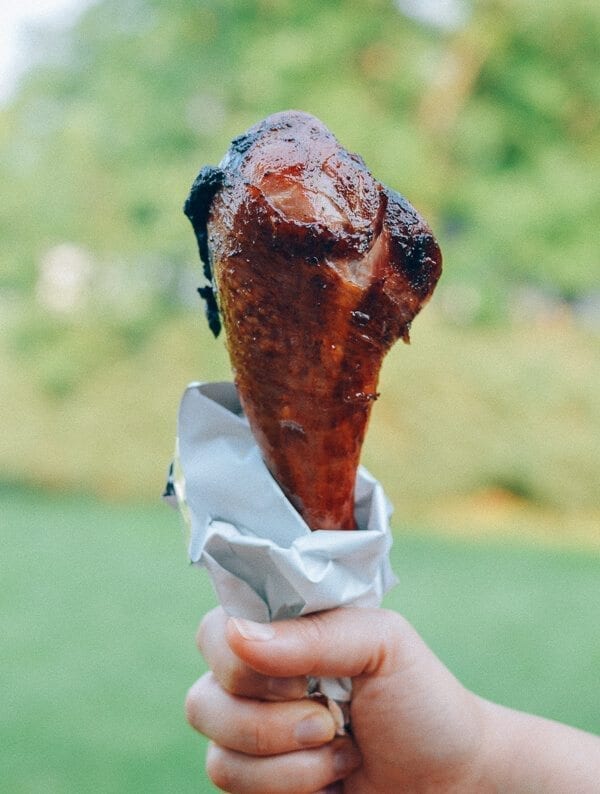
Ahhh smoked turkey legs. That deliciously salty, slightly hammy meat, smoked to a dark and glossy perfection…
We’d pay the astronomical (in the mid-90s) $8 to $10 for one and pass it around like a meaty peace pipe, tearing off hunks of turkey like the ravenous tourists that we were so okay with being at that moment.
Not one for rides or theme parks, this turkey leg was THE main attraction for my mom. Perhaps it was even the reason we got her to walk through those park gates in the first place!
*Of course this never actually happened, because when Sarah and I were young, we were weak-kneed scaredy-cats, and by the time we were old enough to not be weak-kneed scaredy-cats, Thunder Mountain was such a snooze fest that it felt like more of a scenic trolley ride than anything else.
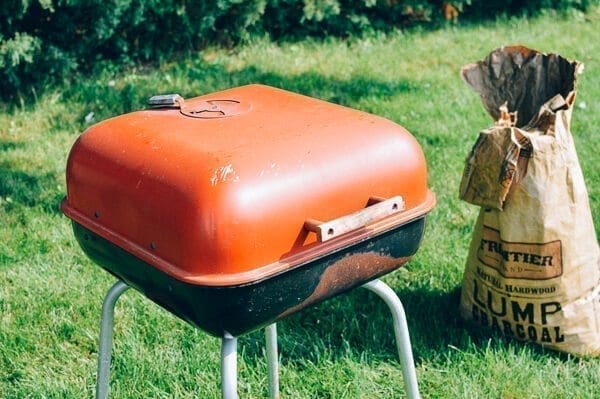
A homemade, backyard smoked turkey leg recipe
So imagine our excitement when a couple years ago, my aunt started making smoked turkey legs in a charcoal grill in her backyard! The taste is almost exactly the same, and you can make them in a big batch with relative ease.
We headed over to their house in Western New York for the July 4th weekend, and absolutely INSISTED that we eat these and document the process.
There are some tastes that make such an indelible mark on your memory that you become a tiny bit obsessed, and this is one of them. If you share my crazed ardor for this form of smoked poultry, read on!
FAQS: A RUNNING LOG
Before we get to the recipe, we have some updates and key points to ensure successful turkey legs! I’ve updated this as of November 29, 2022.
Every year, the mastermind behind this recipe (my aunt) visits for Thanksgiving, and I take the chance to pick her brain on this recipe—and your pressing questions!
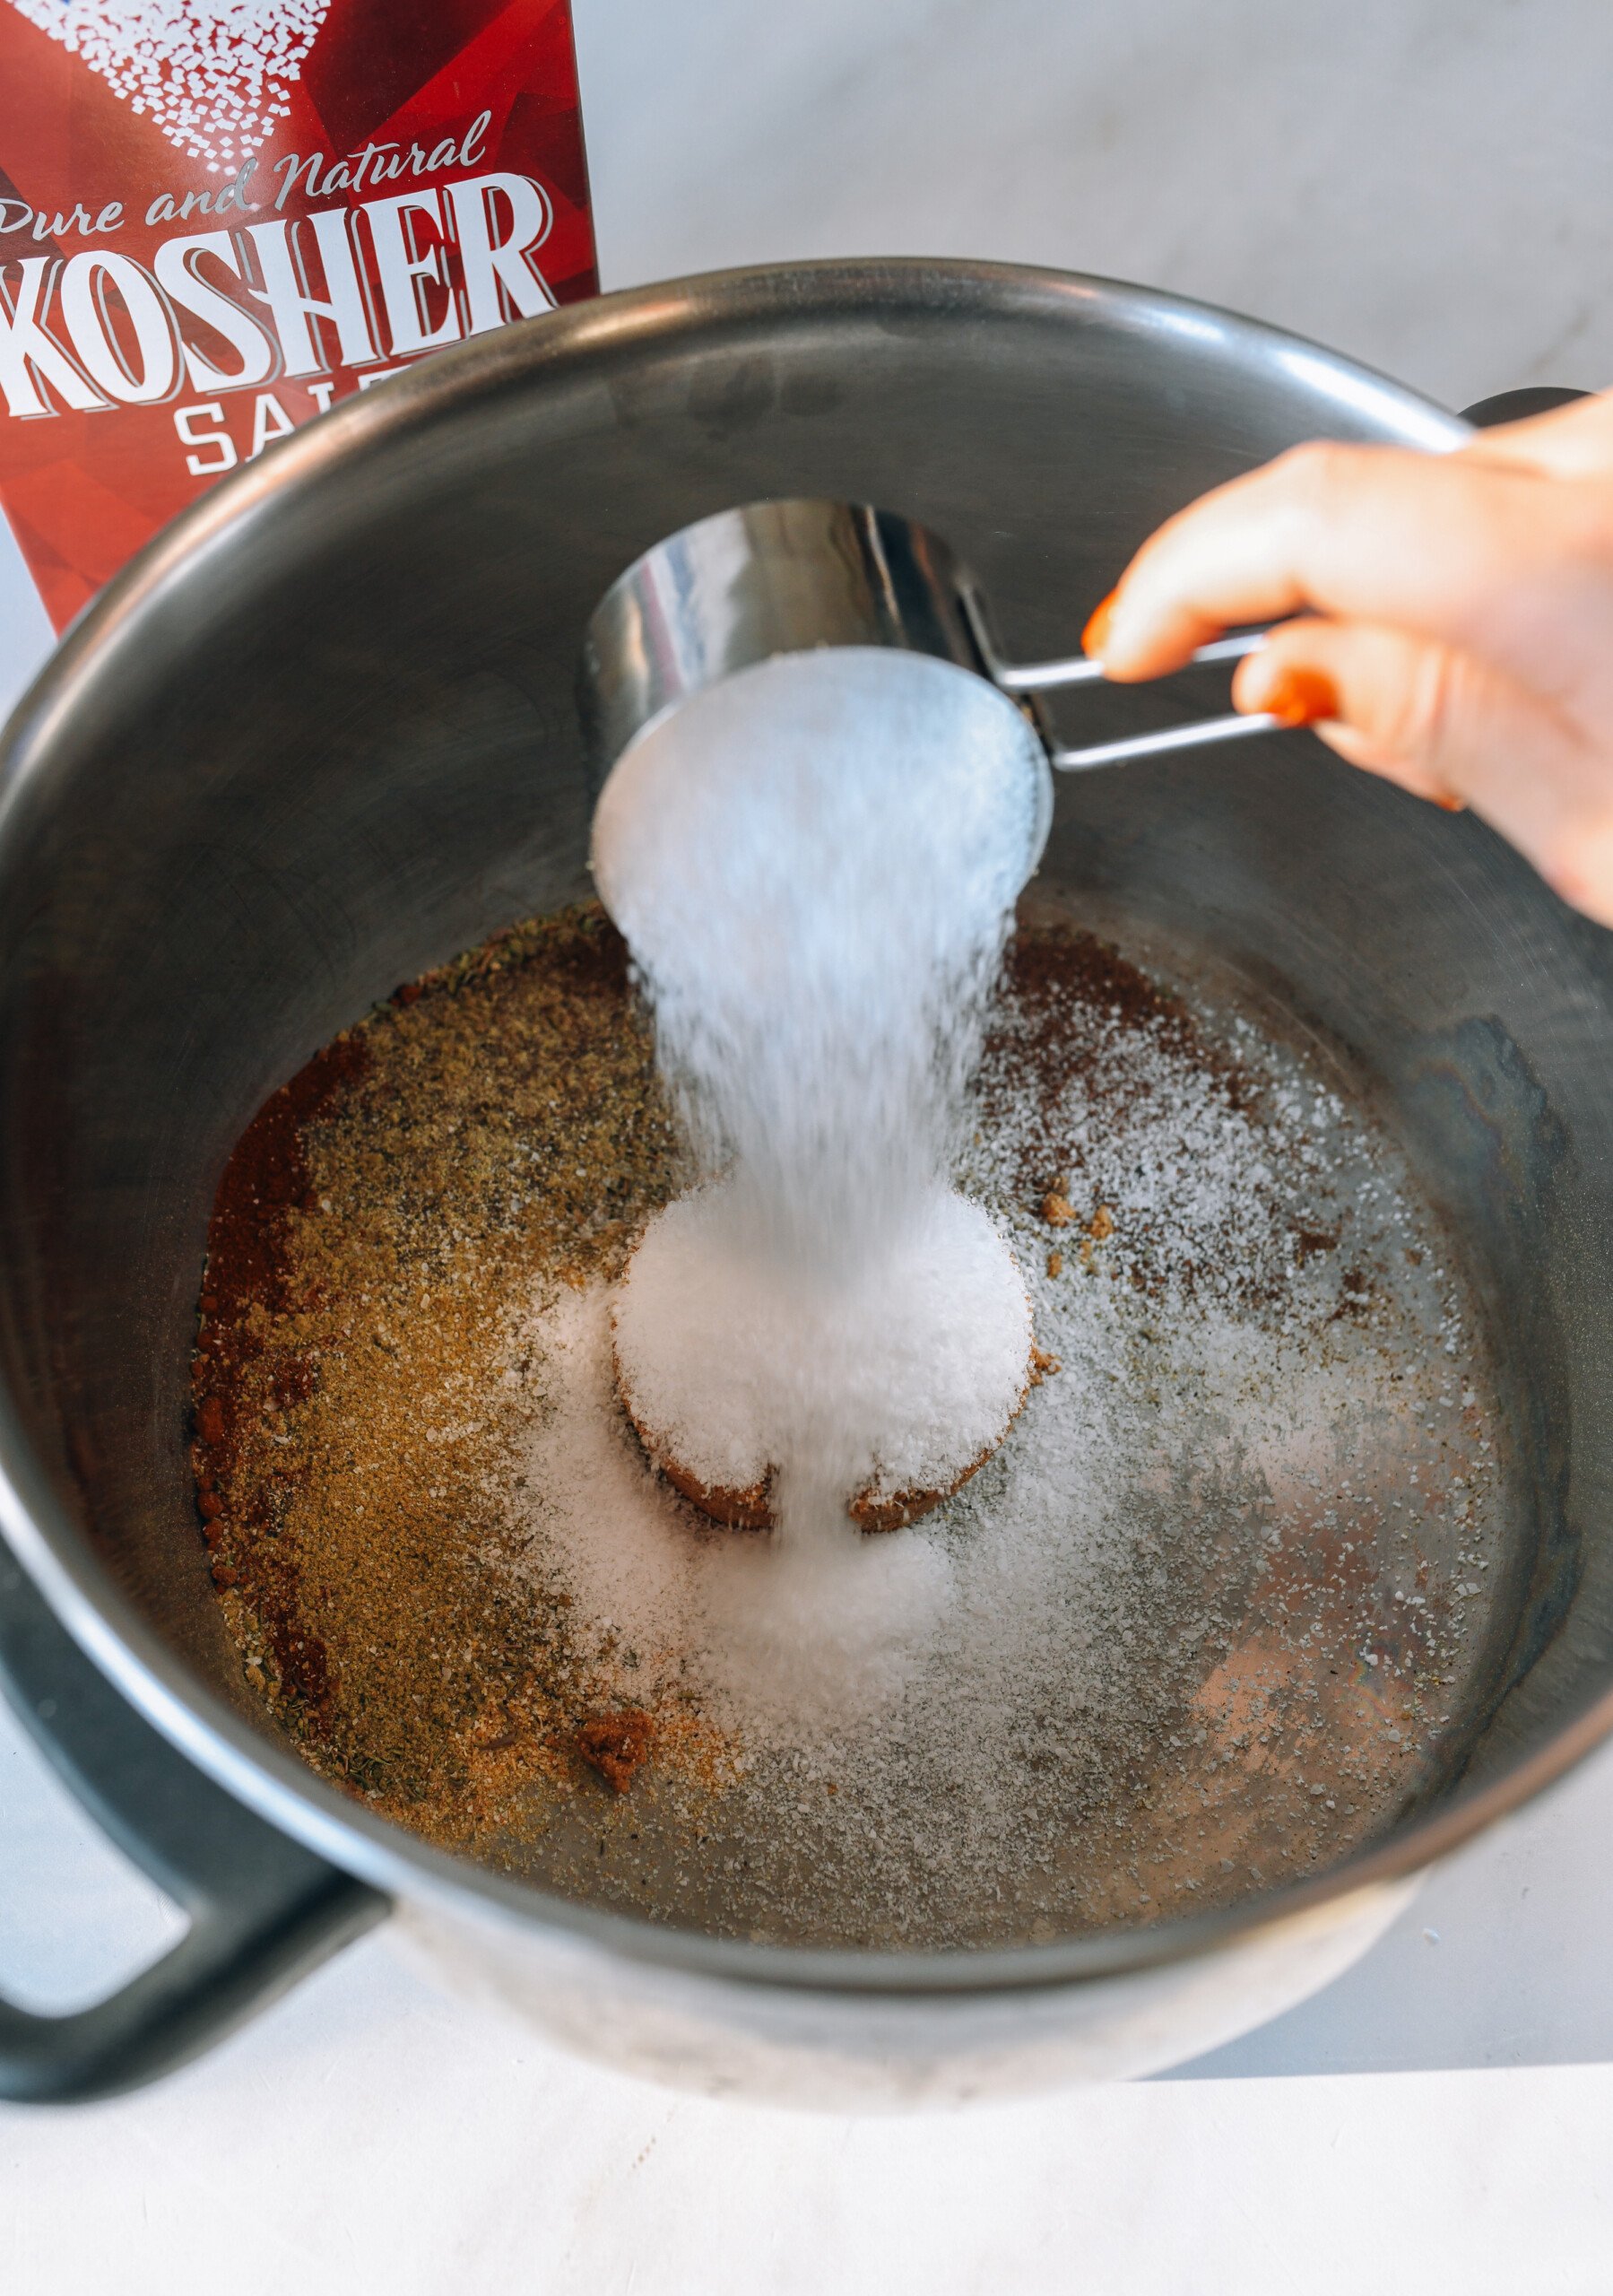
Ok, make sure you use kosher salt. Apologies folks, I should have clarified that from day 1 (the recipe card is updated!). Table salt will be far too salty since it is more dense than Kosher salt. If you only have table salt, reduce it. Some sources say to reduce by 1/2, others say to reduce a 1/4 but it’s best to weigh your salt for accuracy since not all brands weigh the same. We have precise weights for salt in ounces and grams below. It’s up to your preference, but smoked turkey legs should be salty and hammy!
In our recent experimenting we used Diamond Crystal Kosher Salt, which is actually the least dense of kosher salts (relative to Morton Kosher salt, say). So we’ve updated the recipe to include weight measurements.
Everyone’s preference on salt levels is different. The original recipe called for 1 cup of salt. After multiple recent experiments, here’s where we stand:
– 1 cup (144g or 5.08 oz) kosher salt: We stand by the original, for hammy turkey legs. This is what we like! Serve the legs with starchy sides like rice, potato salad, macaroni salad, mashed potatoes, etc. to balance their saltiness.
– 3/4 cup (108 g or 3.81 oz) kosher salt: The sweet spot compromise—if you like your turkey legs less hammy, but still well-seasoned.
– 1/2 cup (72g or 2.54 oz) kosher salt: Not our preference, but if you’re sensitive to salt or need to limit, this is the way to go.
If scaling down the amount of brine, the ratio of salt to water/spices should remain the same as the original. However, your turkey legs must be totally submerged for best results, so it may not be the best idea to scale down the brine even if you do fewer turkey legs.
These turkey legs freeze great! My aunt usually makes the full batch and freezes them in a resealable bag with the air pressed out of it, taking out a few at a time to enjoy. Steaming is actually a great way to reheat them!
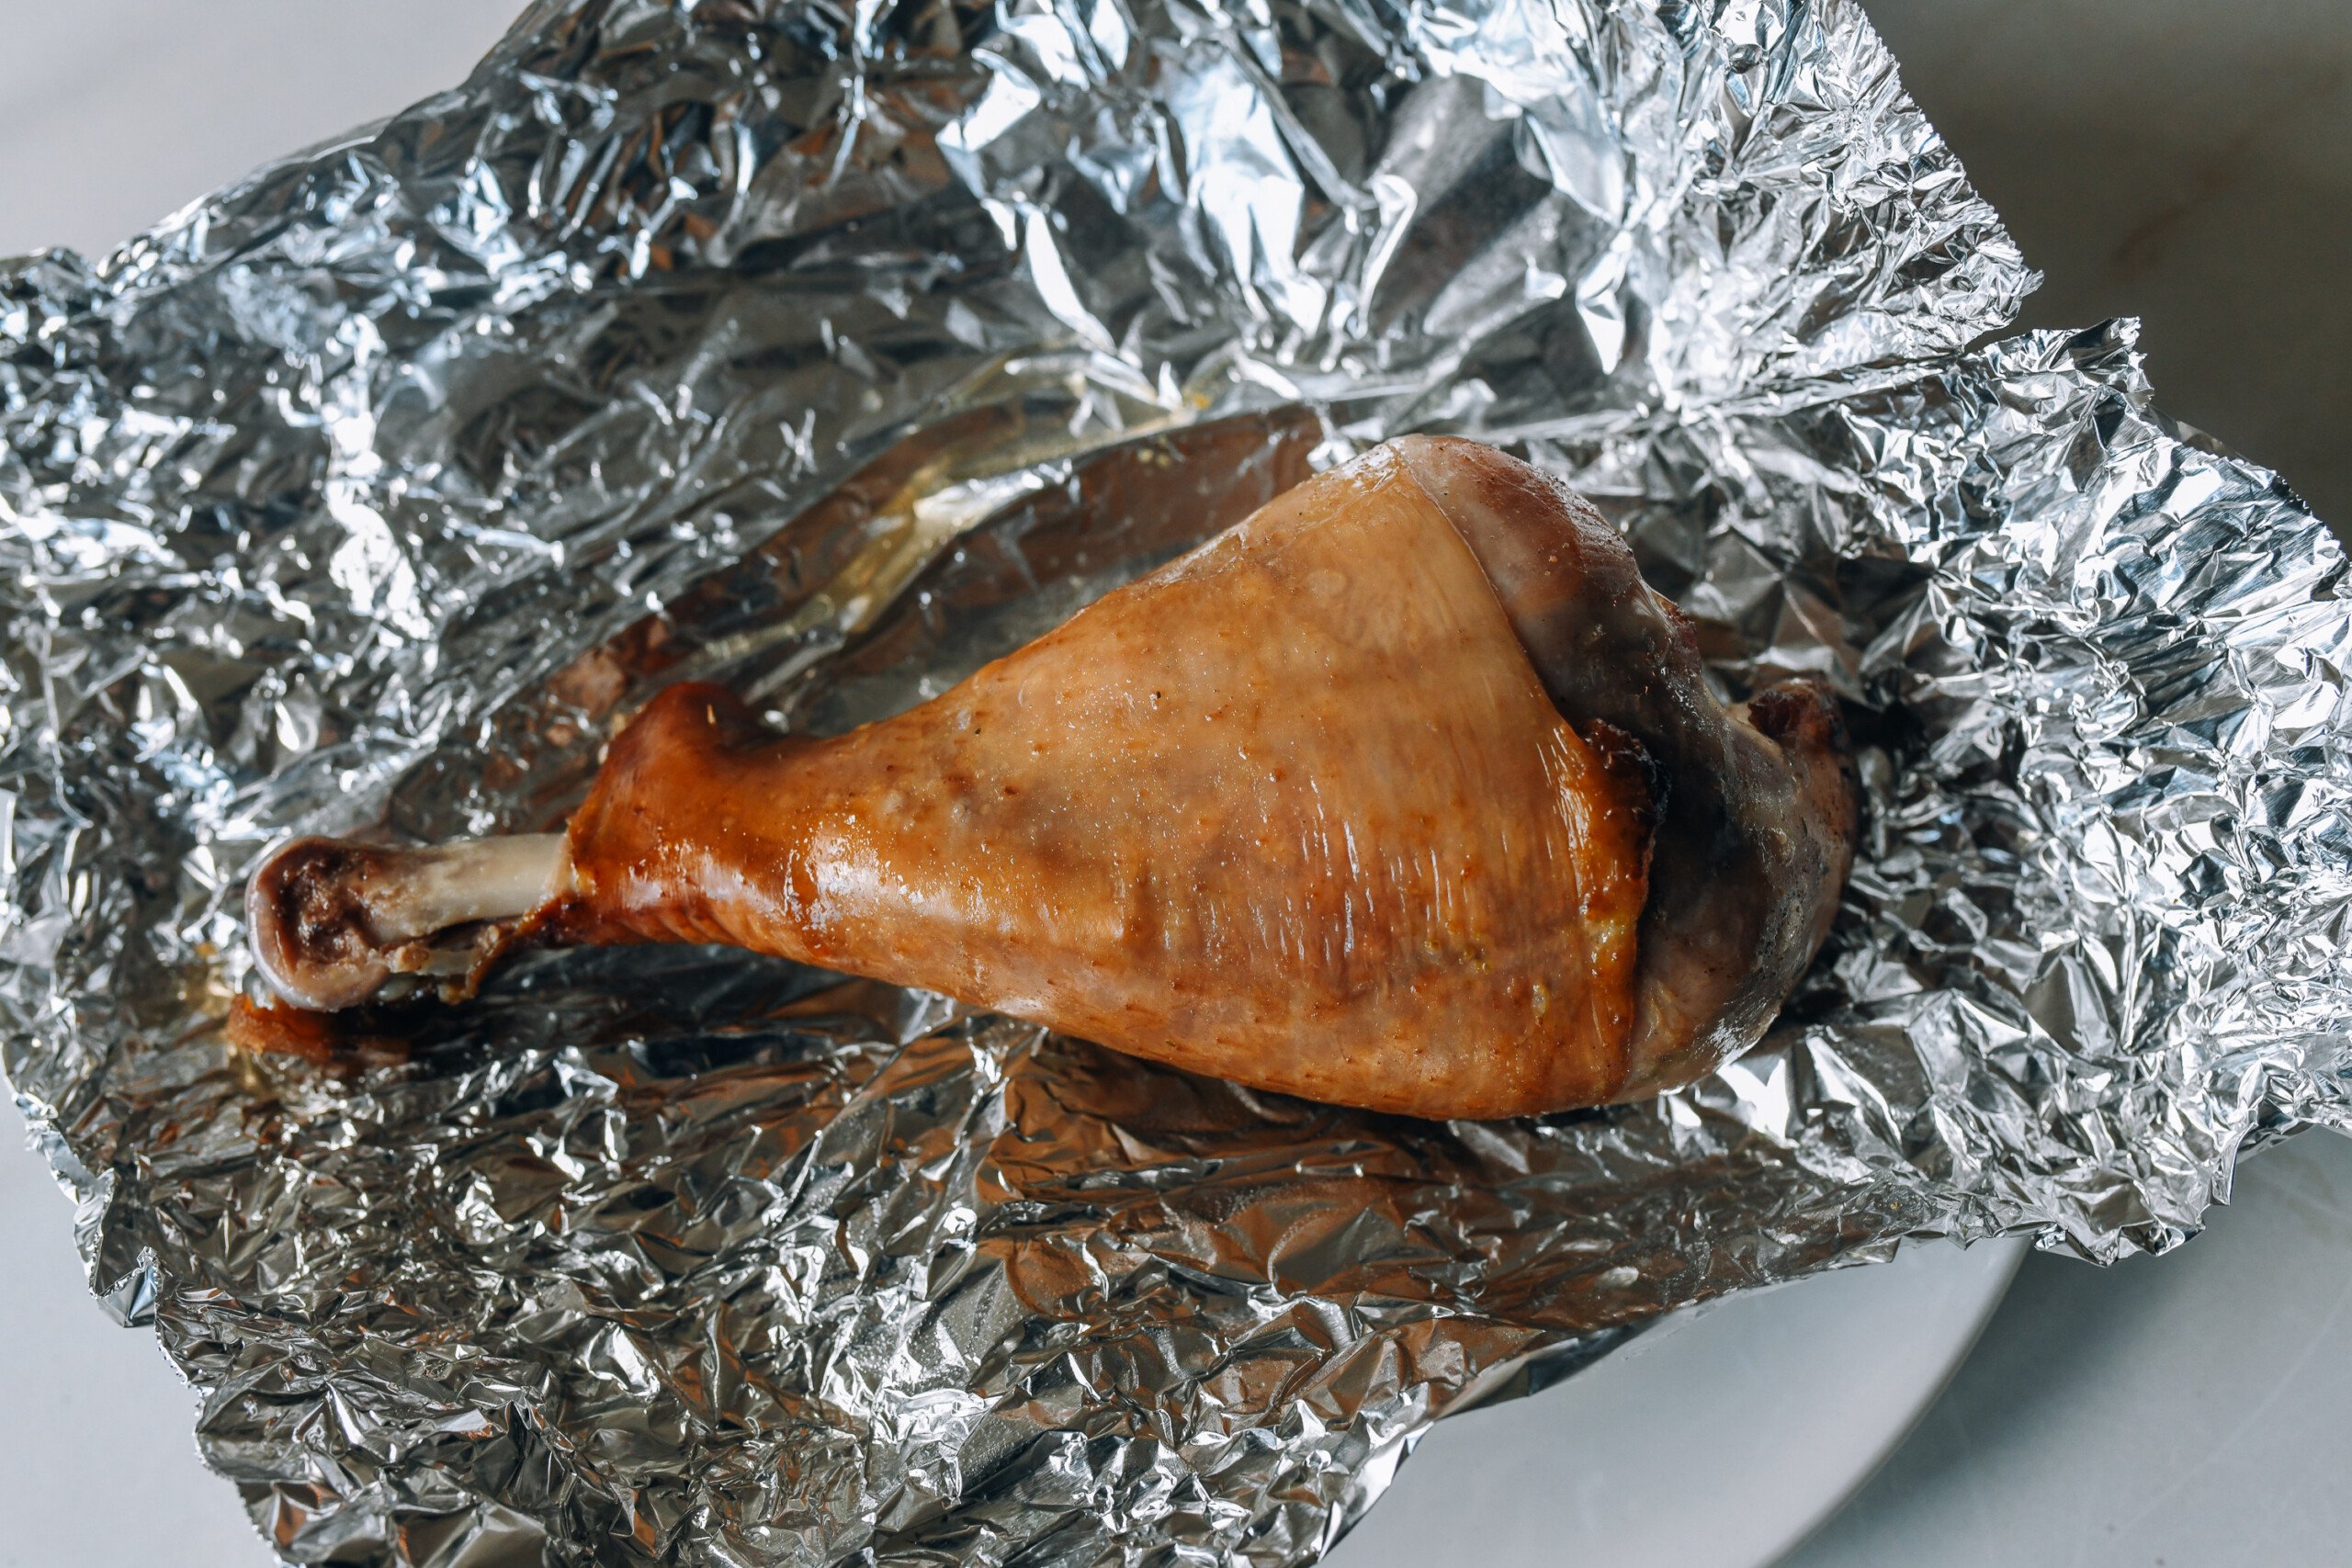
The oven-roasting method we describe later in this post lends itself best to make-ahead needs. You bake them in the oven, wrap them in foil, and then refrigerate until you’re ready to finish them on the grill or under the broiler so they’re hot when you’re ready to serve.
The turkey legs we found at our local Wegmans were small at about 1 pound (450g) each. You can find super big turkey legs out there—they range in size from 1 to 2.5 pounds! If you have extra large turkey legs, brine them for the full 24 hours, and inject the brine directly into the turkey legs before the brining process begins to make sure the salt and seasoning penetrates.
Okay, there are basically 3 kinds of turkey:
1. Regular turkey: Contains a certain percentage of water retained from processing (washing and chilling). On the package, it will say “may contain up to X percent retained water.”
2. Basted or Self-basted turkey: Injected with salt and spices. My aunt avoids this turkey, because she prefers to start with a fresh canvas. Typically, the breast is injected, rather than the legs, given its tendency to dry out. Brining this type of turkey will be very salty, so be careful!
3. Heritage / Pasture-raised turkey: A bit of a wild card. Heritage or pasture-raised turkeys turkeys may also have retained water or be self-basted, depending on processing. Read the label carefully. Moreover, these turkeys can often be leaner and less plump, which can lead to overcooking. My aunt reports that a straight-from-the-farm turkey turned out dry when roasted with her “regular turkey” protocol. That said, we purchased a local pasture-raised Thanksgiving turkey this year that was plump and had the 6% retained water on the label, which turned out juicy and delicious as always. Long story short, these can sometimes turn out dry, especially if they’re a leaner heritage breed or have less or no retained water. A 25°F temperature reduction may be a good idea.
Honestly? We’ve never done it.* My aunt’s sense is you can take a similar oven approach, with the turkey breast down (to avoid drying it out), and roast it slower. You can also do the turkey in parts. She’s tried this recipe with a whole turkey breast in the past. However, he hammy flavor of the legs doesn’t translate as well to white meat.
*I wanted to this year, but my mom nearly keeled over when she caught wind that I was fixing to make a regular Thanksgiving roast turkey this year AND a whole smoked turkey AND turkey legs (for purity of experimentation, of course). Another year!
Nope! In fact, before cooking, my aunt uses a marinade injector to inject more brine into the legs to keep them moist and juicy!
Yes! It’s often easier to hold a steady temperature in these smokers, so by all means, use them if you have them. We provided instructions using a regular charcoal grill, as this is what most people are likely to have on hand (and what my aunt uses).
My aunt makes them in the oven often, especially during the winter, for ease. See the box on oven roasting instructions! Extra liquid smoke provides the signature flavor, but keep in mind they will not have the same hammy taste you get from actual smoke, and no pink smoke ring. But it is a reasonable substitute for when you just don’t feel like it. You can also finish them on a grill for extra flavor and color.
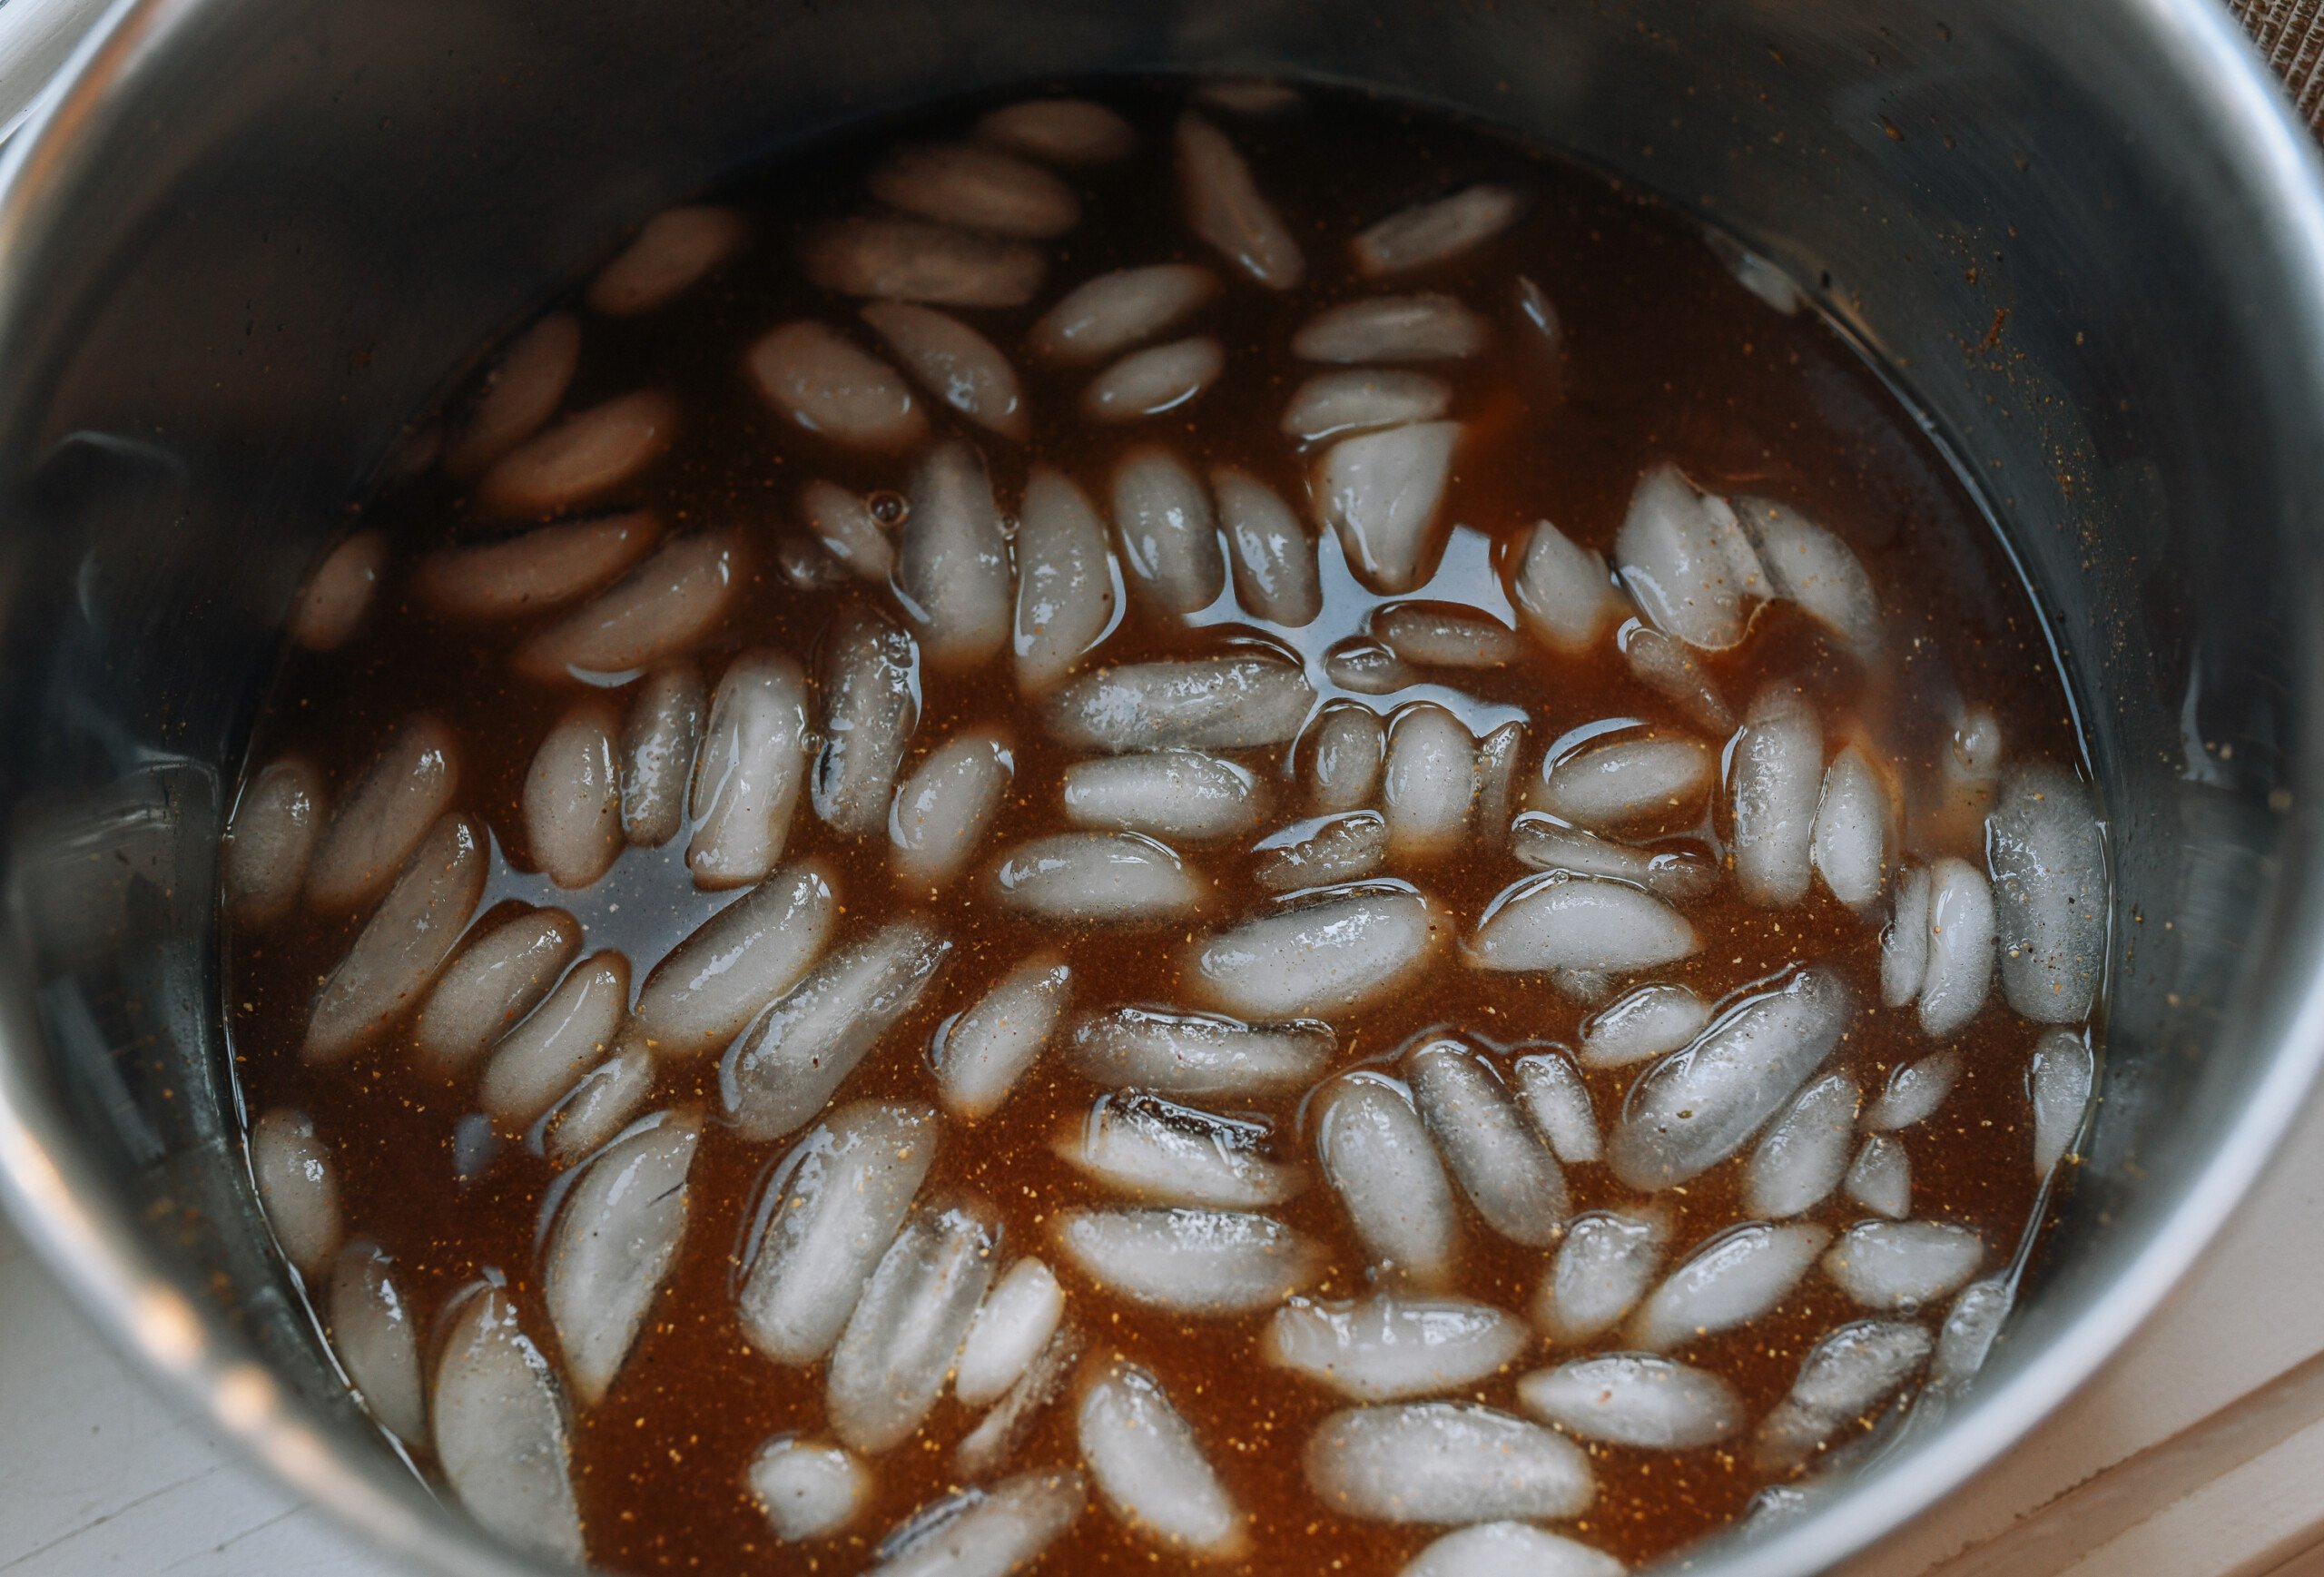
To cook and cool the brine quickly, boil the brine in 2 quarts water, then immediately cool it down with 64 ounces of ice for 1 full gallon of brine. You can also inject the brine into the turkey legs before submerging them in the rest of the liquid, and then brine for 5-6 hours rather than the full 24 hours. For the best flavor, however, 24 hours is optimal.
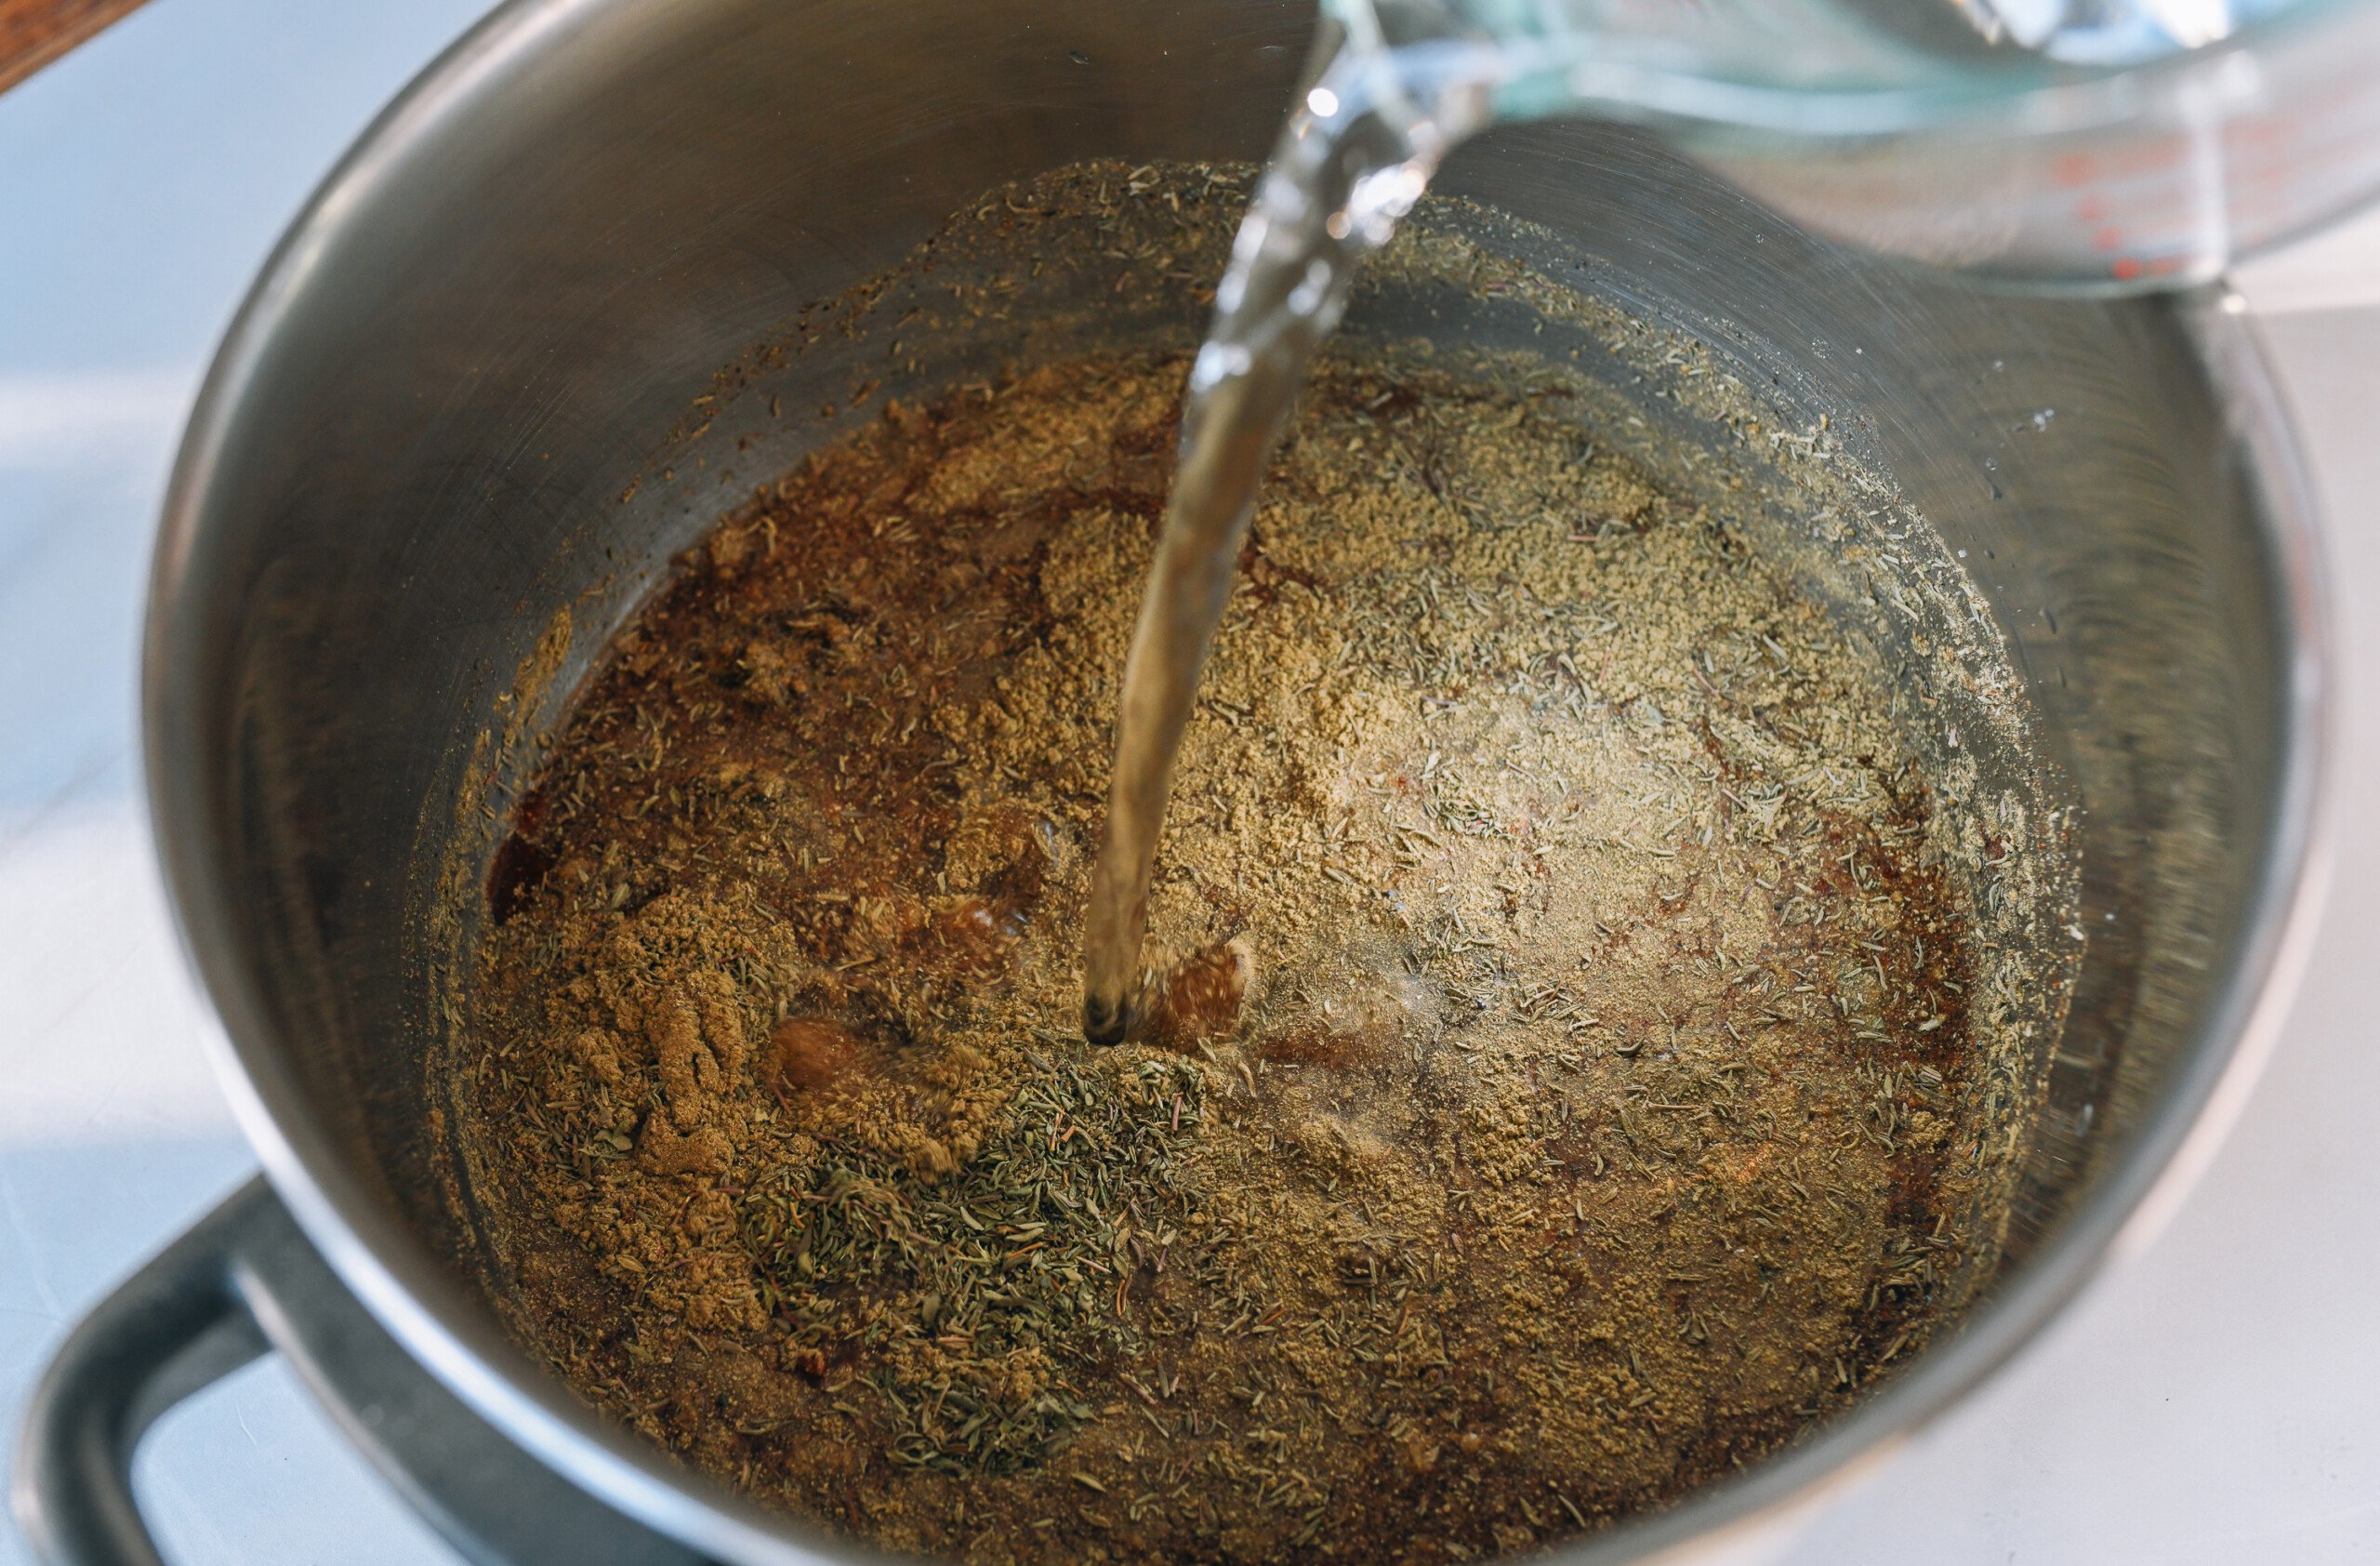
Be sure to simmer the brine for at least 10 minutes to ensure the spices flavor the liquid. This recipe uses powdered spices. If you’re using whole spices, boil the brine a little longer!
Smoked Turkey Legs Recipe Instructions
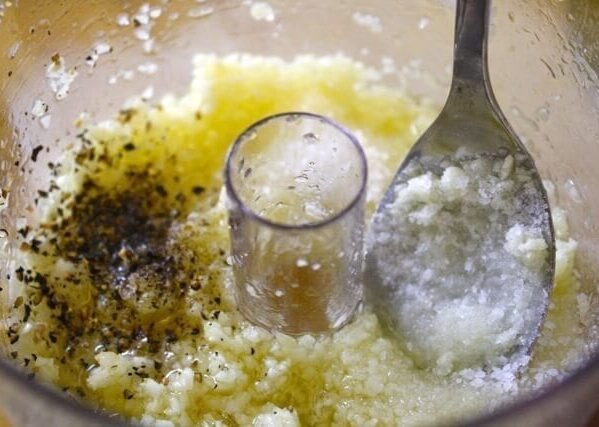
Combine the brine ingredients in a large pot, and bring to a boil. Let cool. If you’re short on time, you can also boil the brine with just 2 quarts of water. Then add 64 ounces of ice to cool to about 1 gallon of brine.
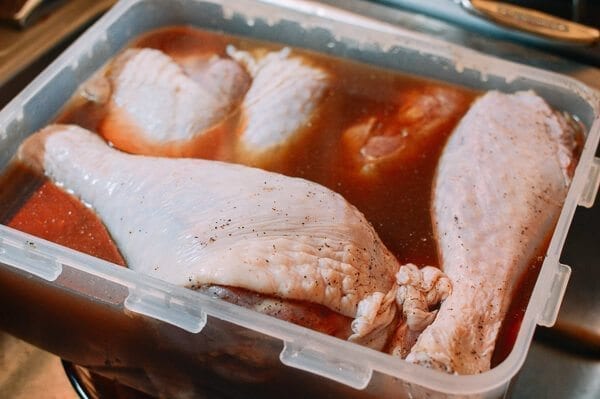
While that’s happening, rinse your turkey legs and set aside in a large container (one that will fit into your refrigerator). You may want to use two separate containers.
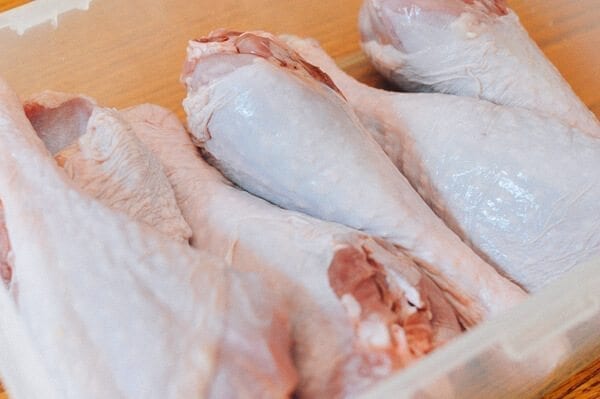
When the brine has cooled, pour the brine over the turkey legs, making sure they are totally submerged. (Our container in the photo below is too small—a large pot works better.) Cover and refrigerate overnight.
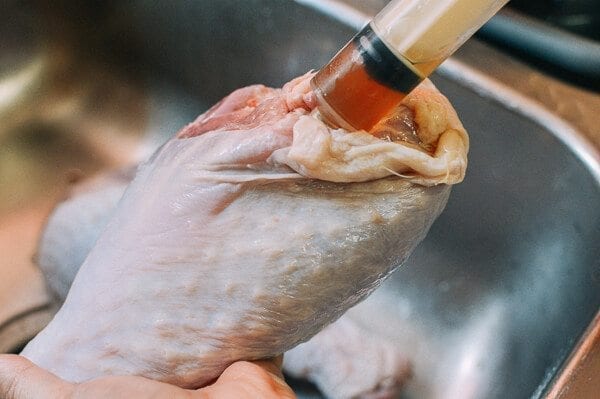
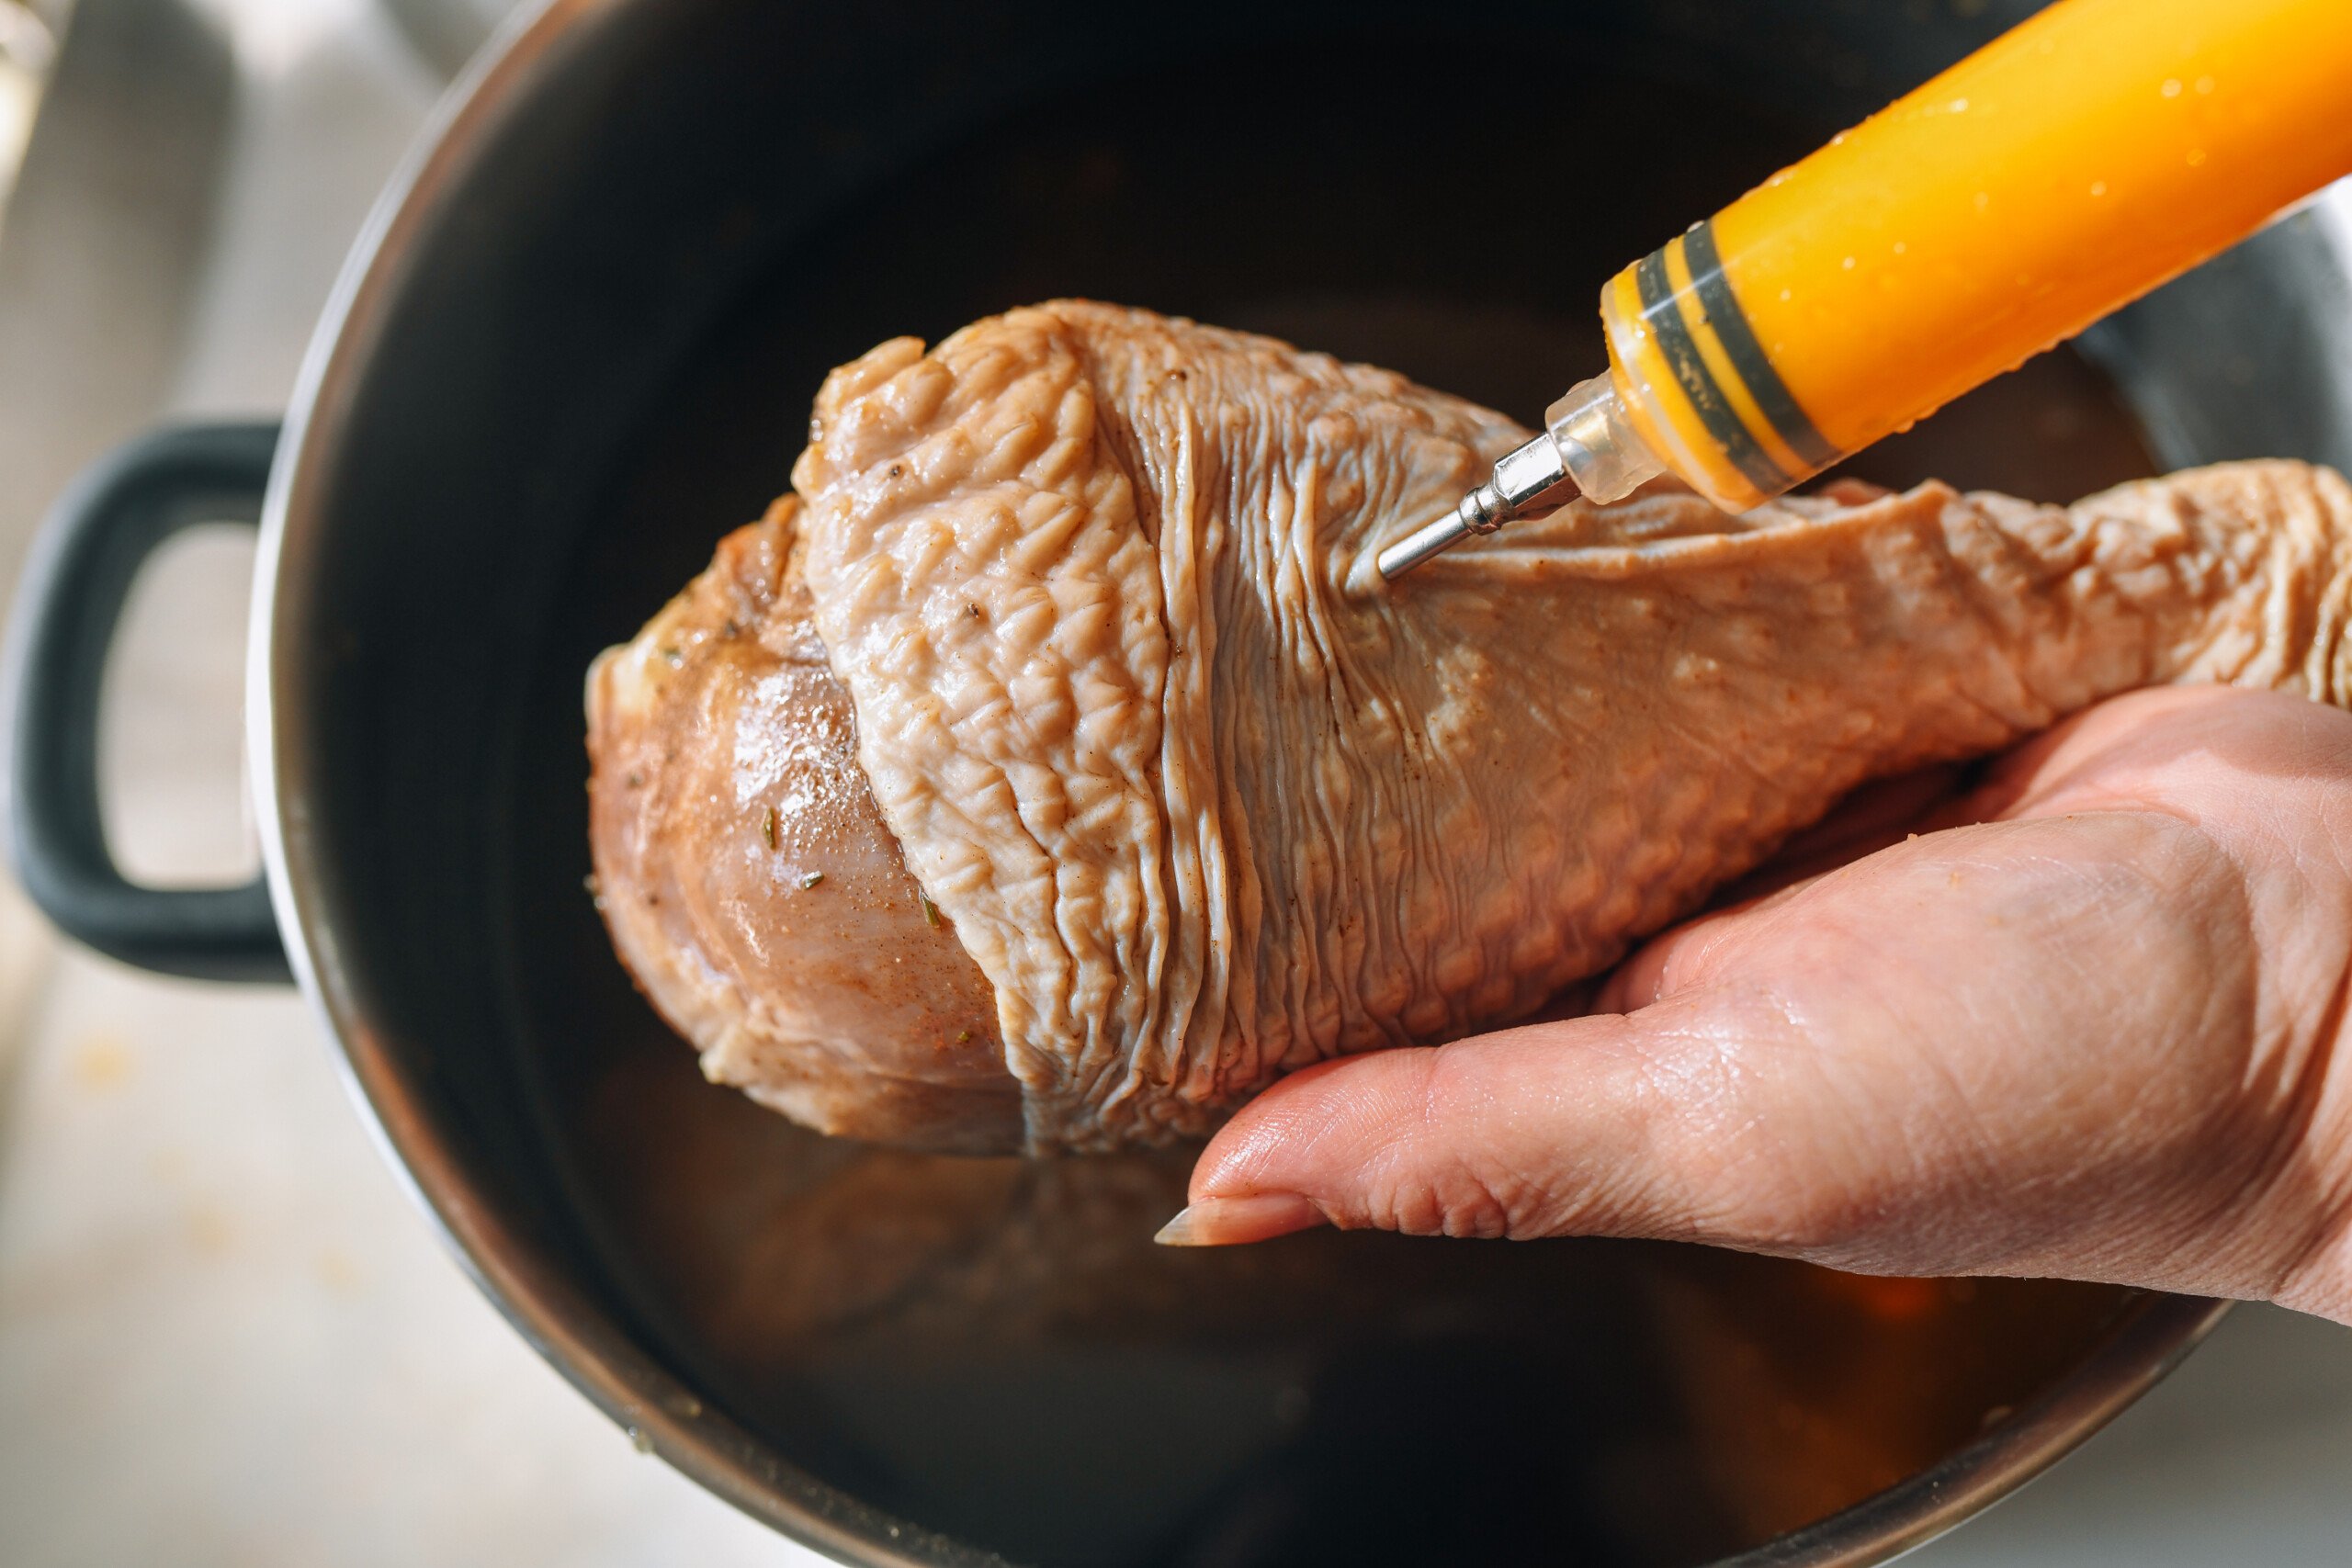
If you want to expedite the process or simply have very large turkey legs, use a marinade injector. Inject 2-5 full syringes of brine into each turkey leg—however much it will take!
(The turkey legs will actually expand as the brine goes in. Sounds a bit gruesome, but it really gets the flavor of the brine into the meat, and marinade injectors are pretty inexpensive!)
If expediting, brine the injected turkey legs for 5-6 hours rather than the full 24 hours.
If you’re just using larger legs and want to make sure they’re flavorful, you can brine for the full 24 hours after injecting.
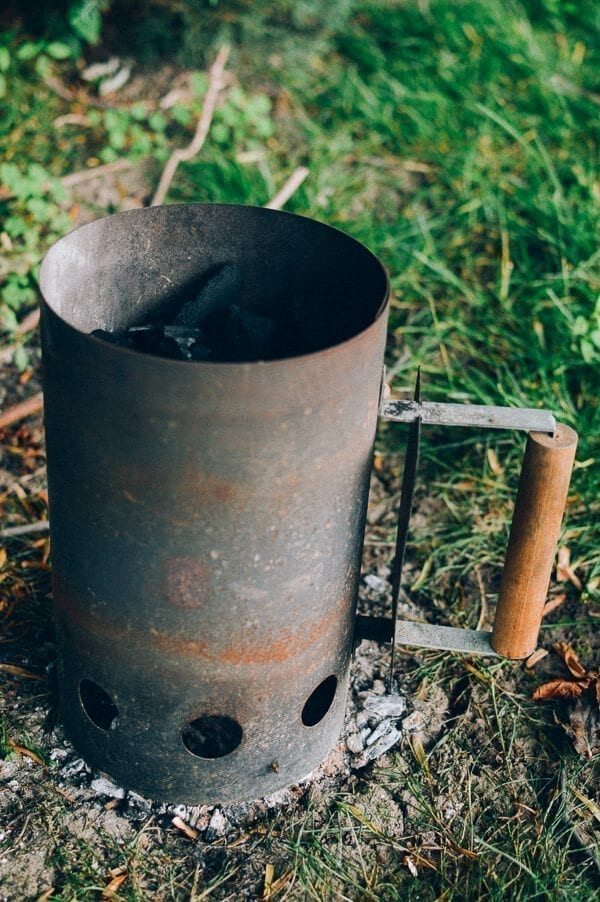
When the turkey legs are ready, heat your charcoal. Your key tools for this recipe are a charcoal grill, a chimney starter, natural hardwood lump charcoal, and wet wood chips, which provides the smoky flavor. Fill your chimney with charcoal and light the coals with a piece of newspaper.
(Note: if using a smoker rather than a charcoal grill, wood chips aren’t necessary.)
Let heat for a solid 15-20 minutes or so, until the coals are slightly white hot.
Also, take 1-2 handfuls of wood chips and soak them in water while the coals are heating.
At this point, if you haven’t already injected your turkey legs with brine, you can do so, injecting them with 4-5 syringes full of brine at various points around each leg, to ensure they’re moist and juicy before cooking.
Pour the coals into the grill and scatter the wood chips around the coals. Lay your grill rack over the coals.
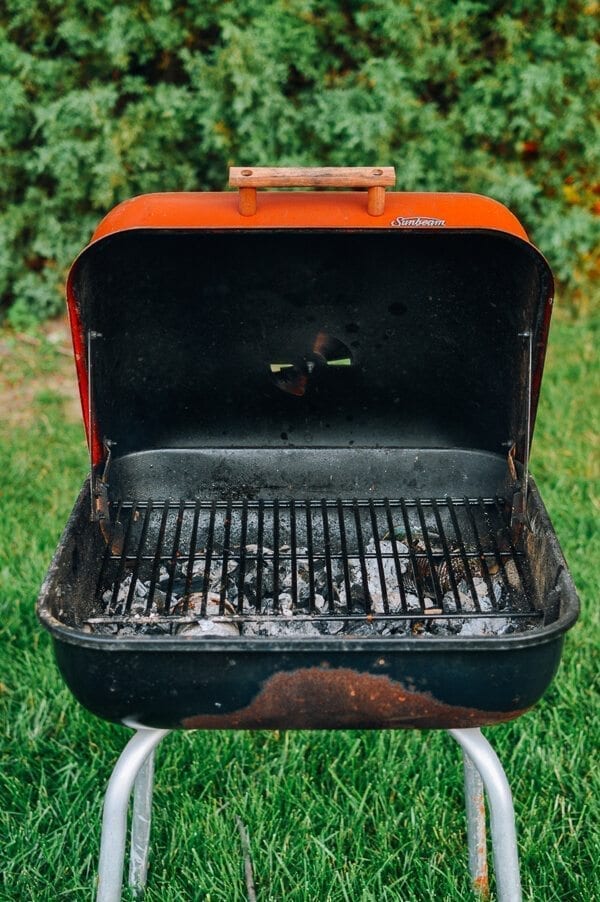
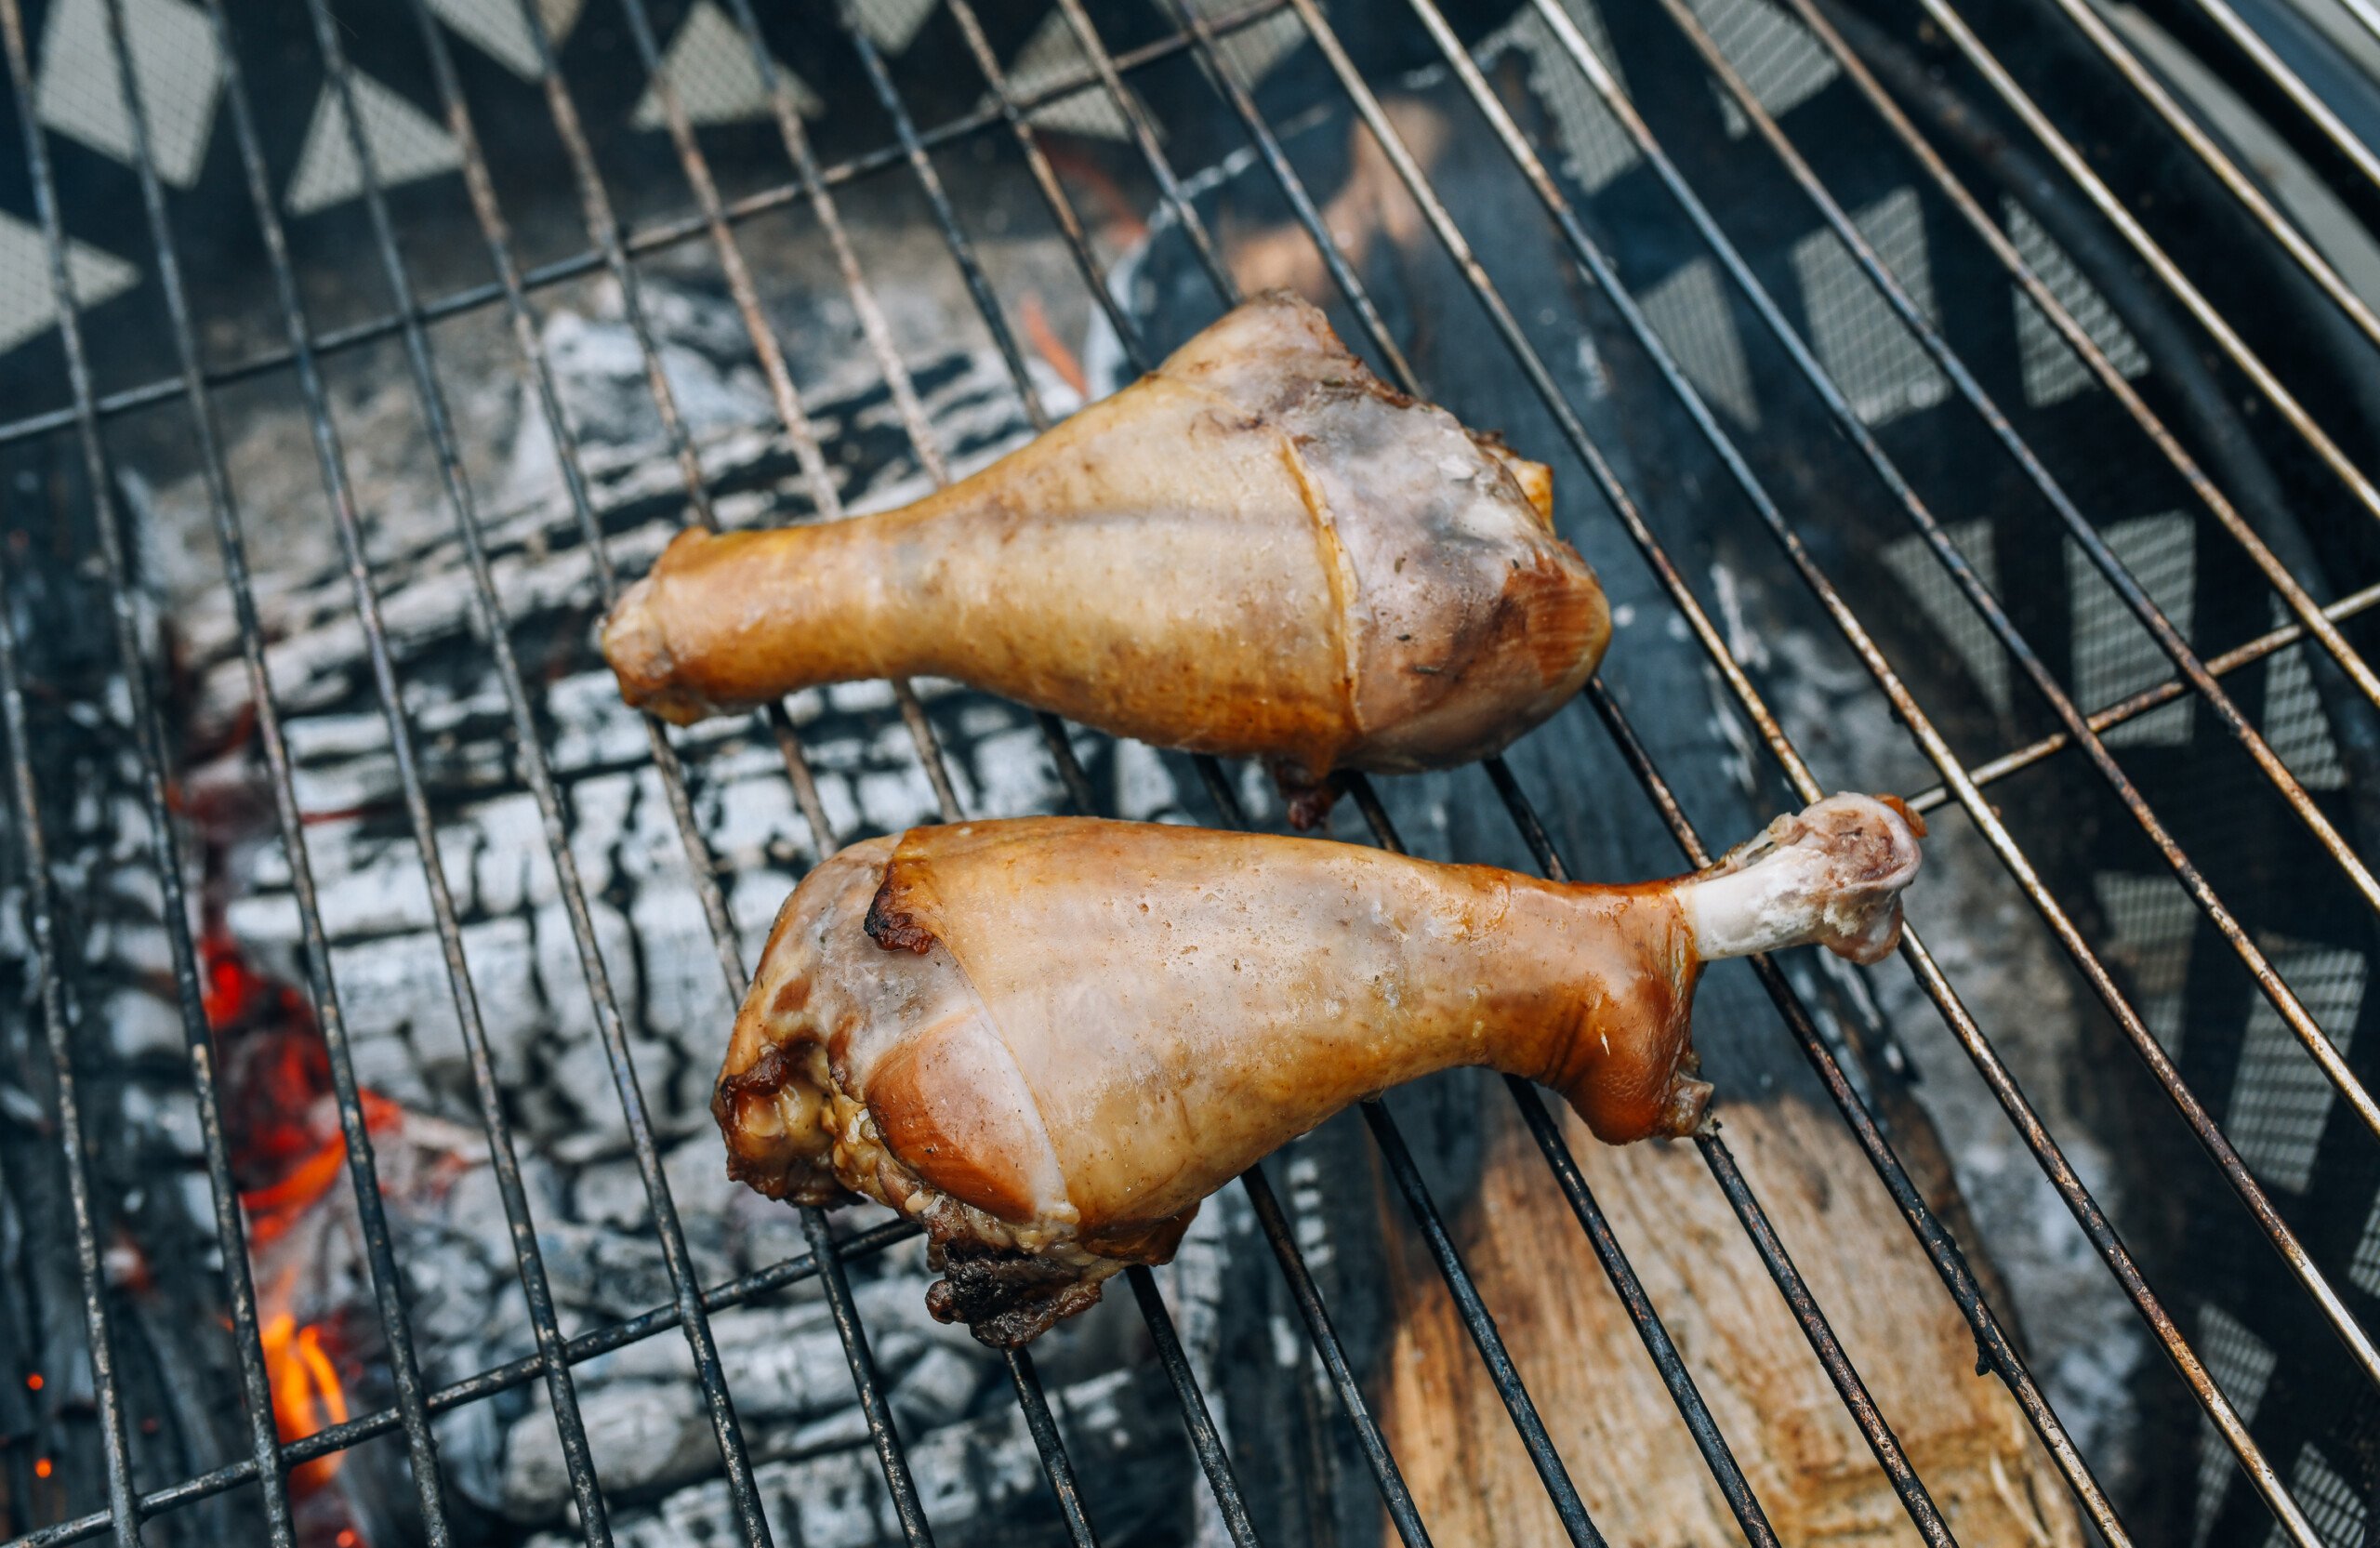
Place the turkey legs on the grill rack and close the grill. 1 chimney-full of coal is enough to start for an average-sized charcoal grill.
Add another chimney of coal every 20-30 minutes, depending on the kind of charcoal you’re using. Periodically add additional wet wood chips to make more smoke as needed. More wood chips makes more smoke, increasing the “hammy” smoked flavor of the turkey legs.
You can cater this to your personal preferences. I like my smoked turkey legs hammy with a good smoke ring. My aunt prefers more of a natural flavor. Take your pick!
The slow-cooking method is key here. Periodically check the smoked turkey legs, turning every once in a while, and make sure the grill maintains a temperature of 300-325°F (150-160°C).
There is some element of trial and error to this if you’re a first-timer. Make observations and adjust amounts of charcoal, wood chips, and heat over the course of the cooking time.
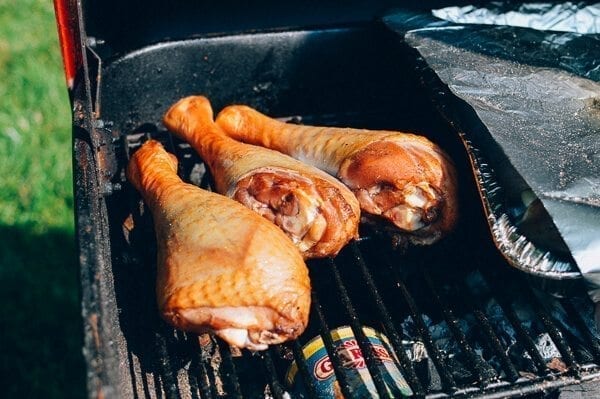
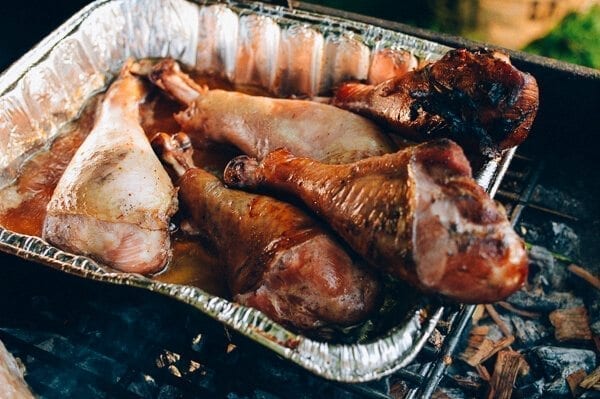
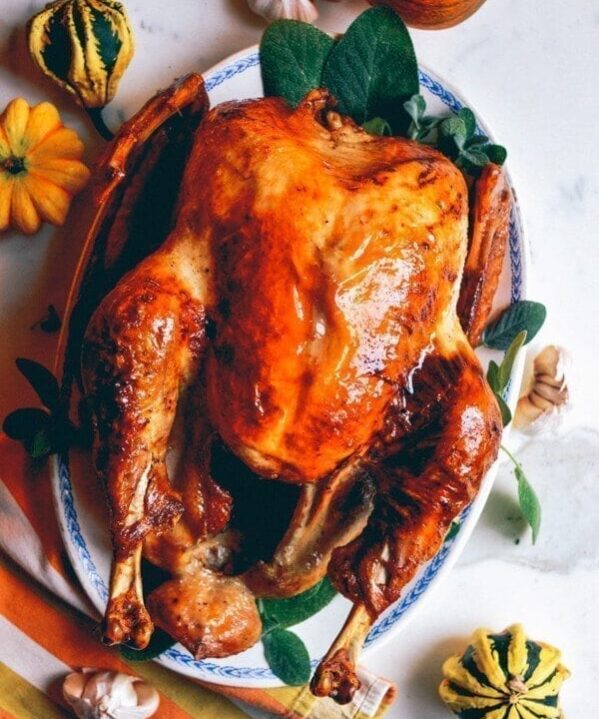
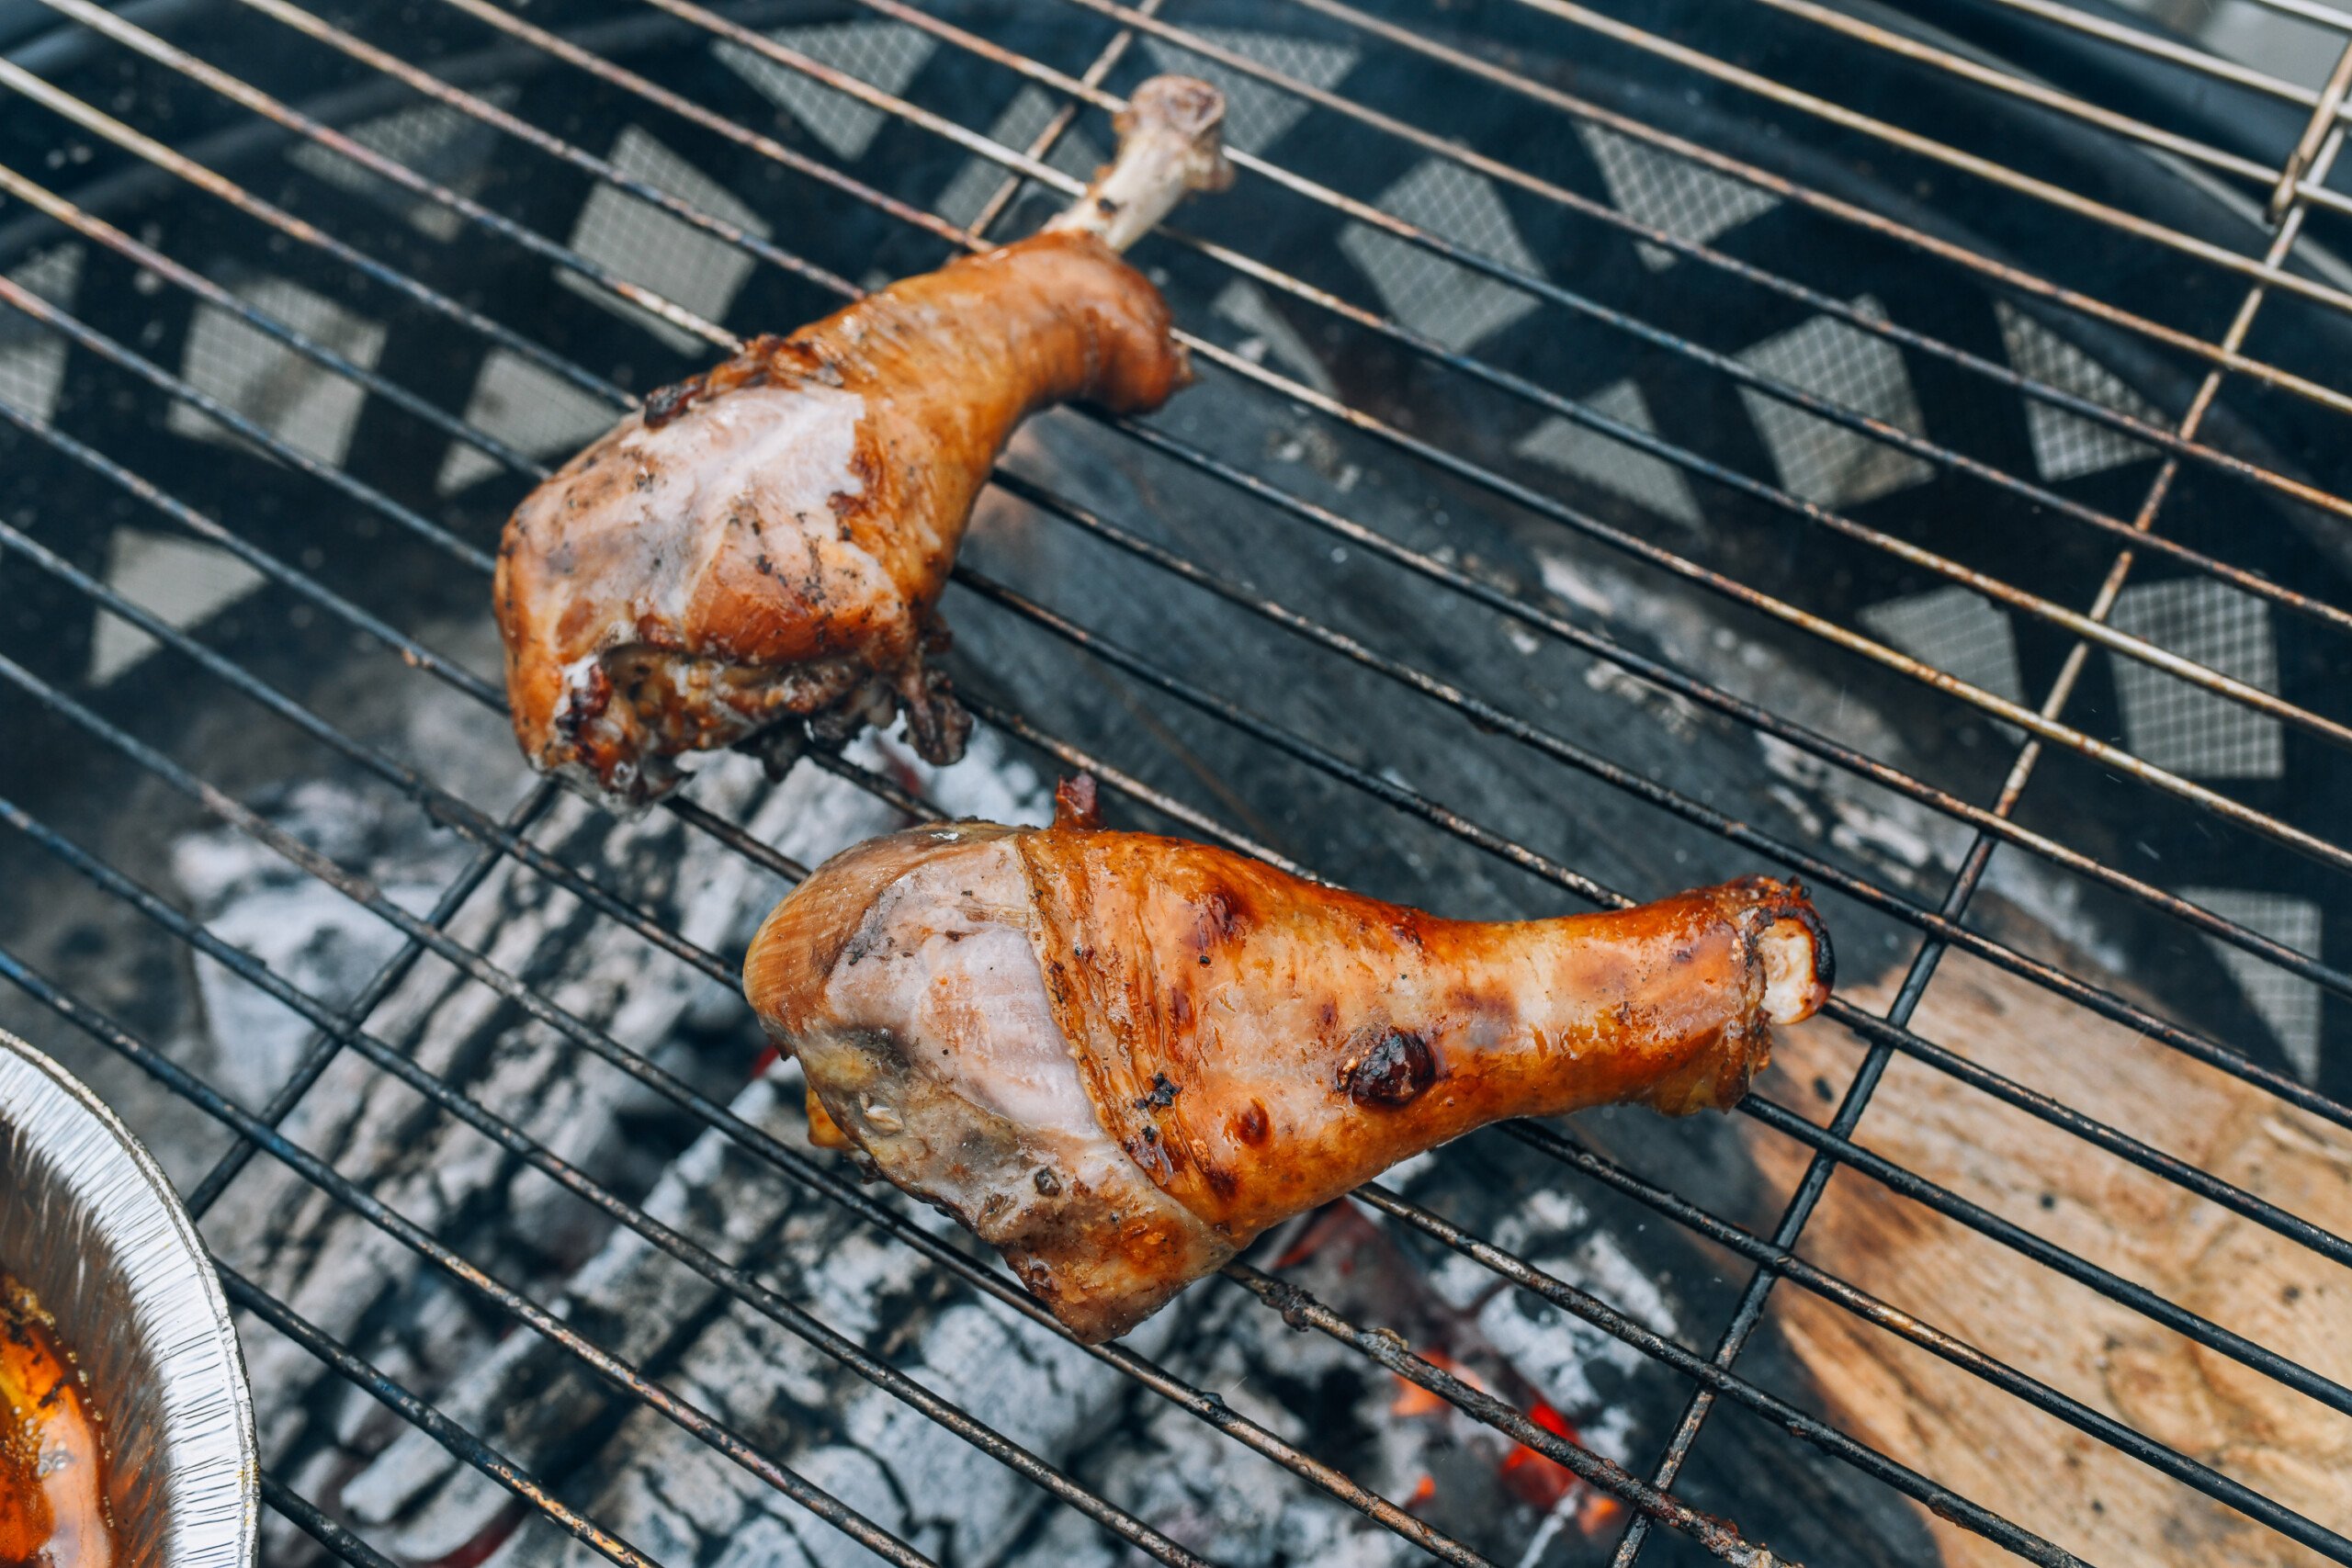
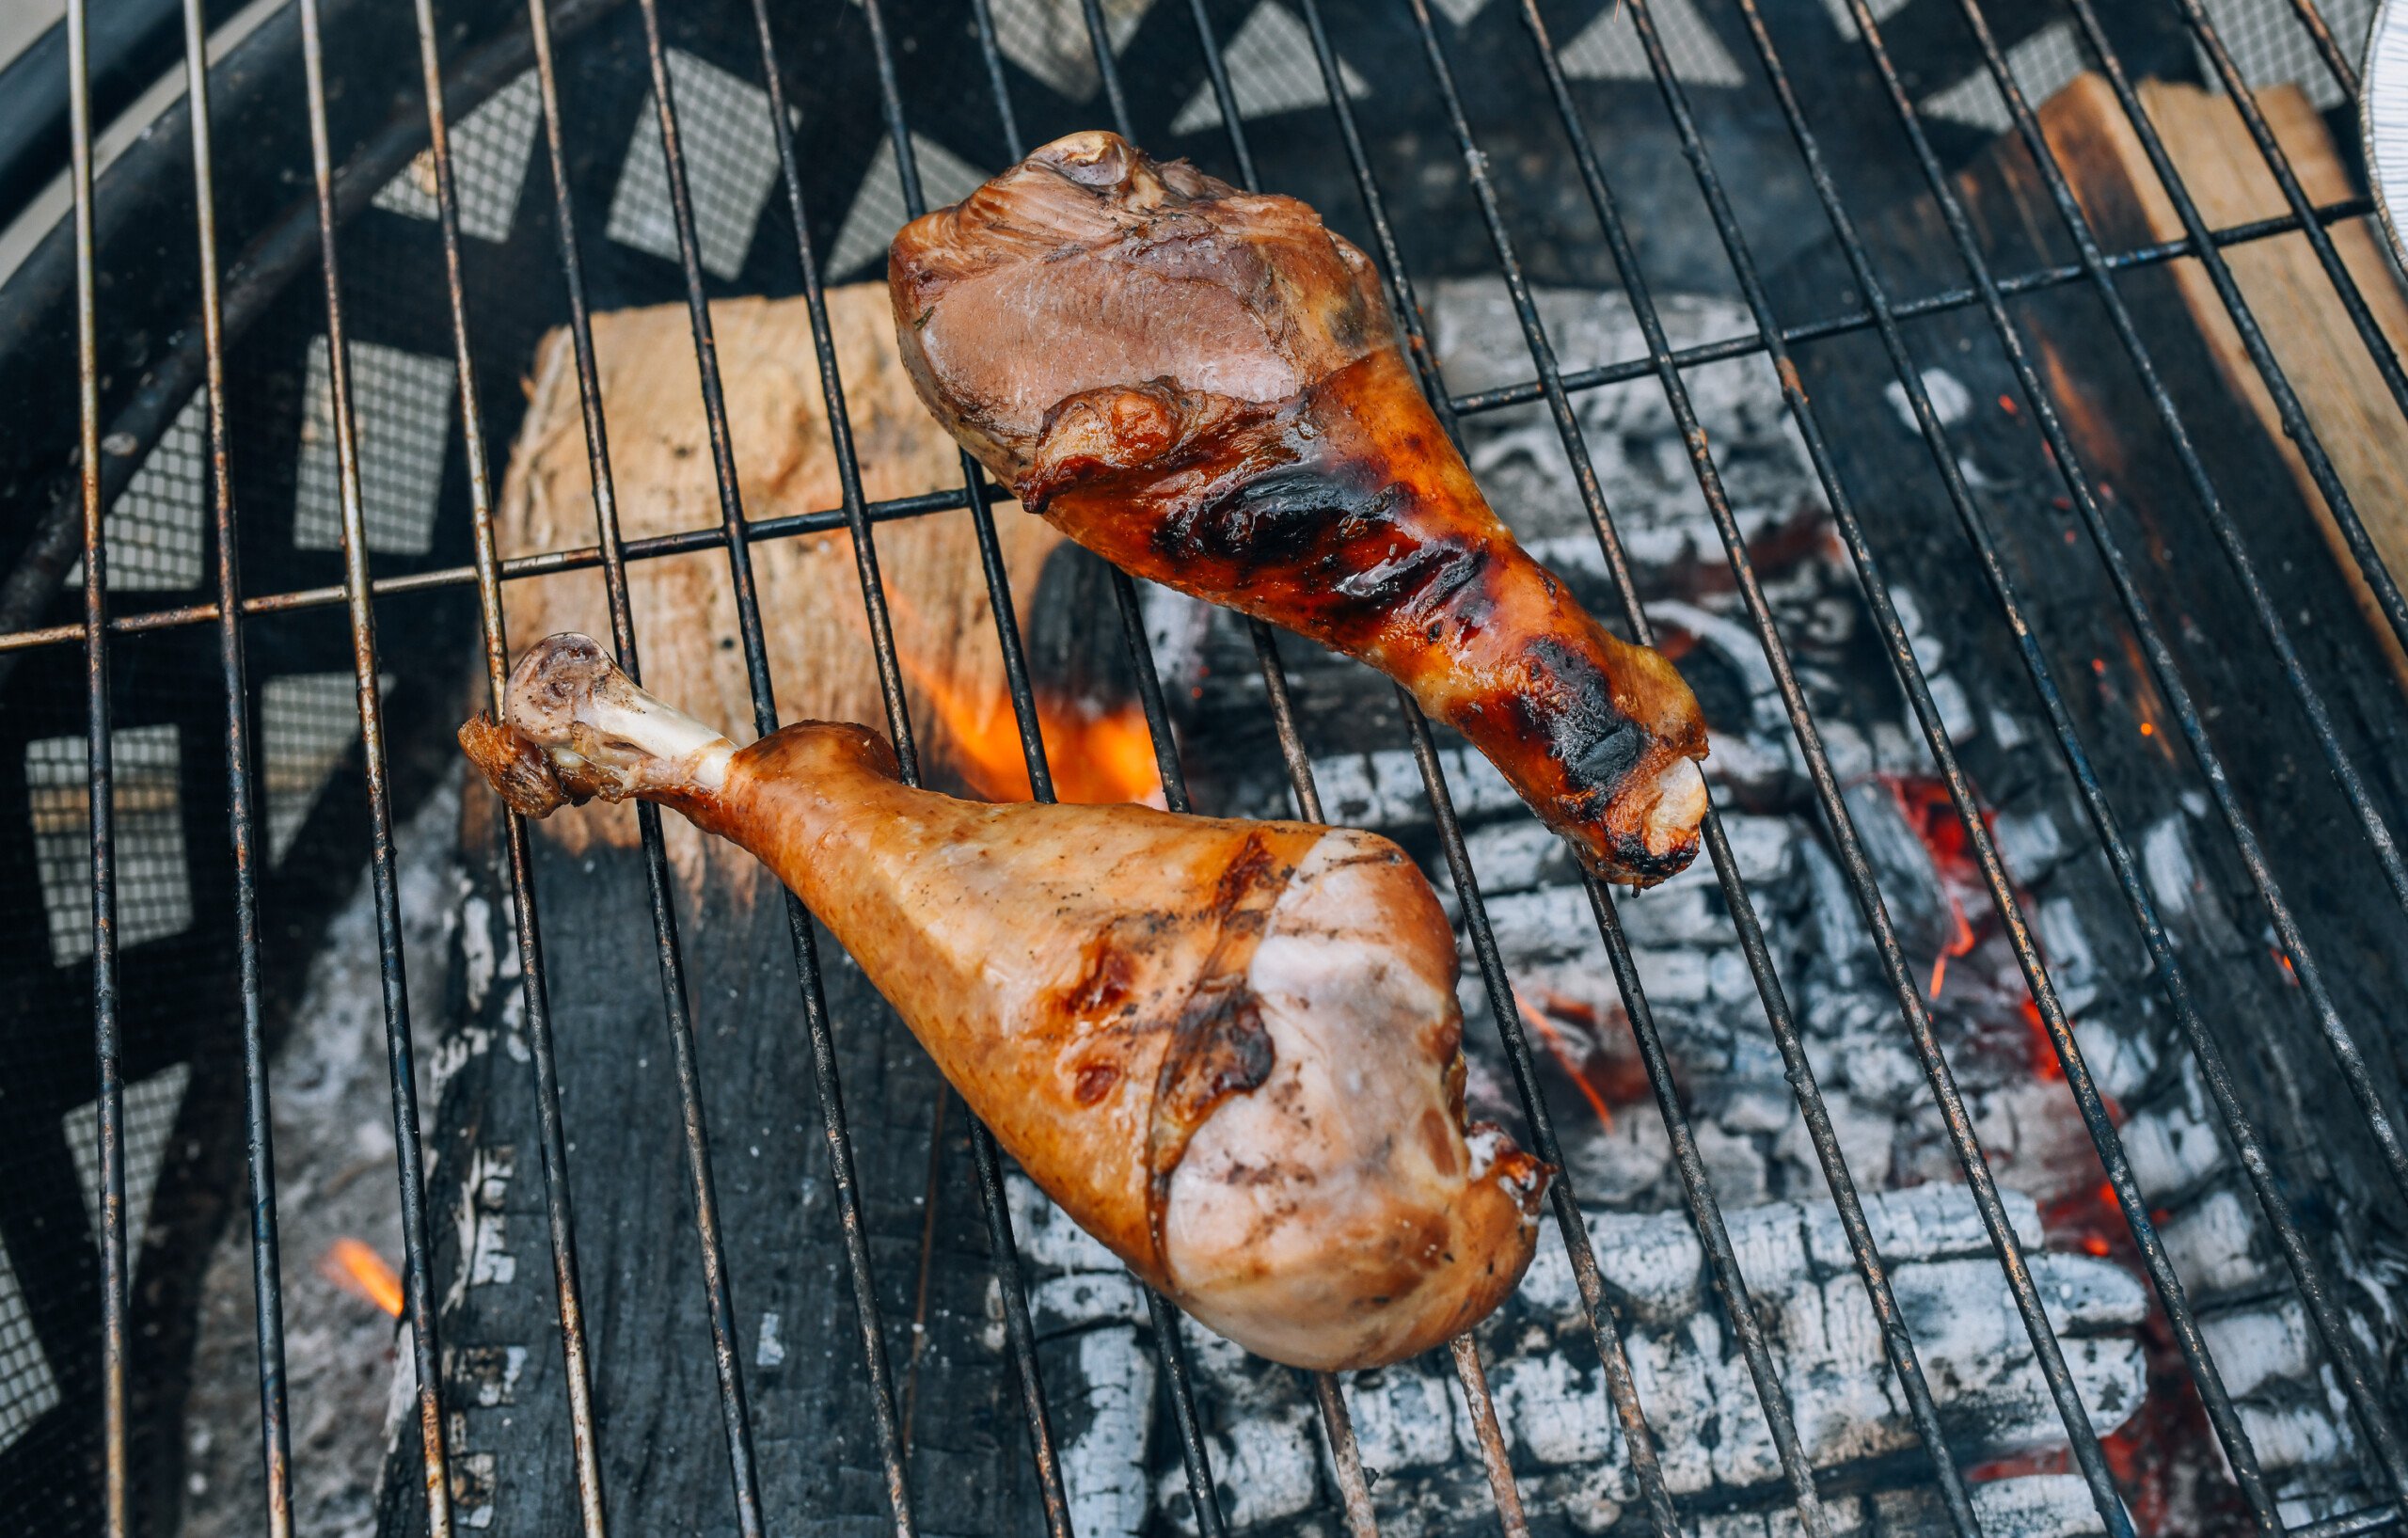
Maintain the grill, charcoal, and wood chips, letting the turkey cook for 3½ to 4 hours, until the smoked turkey legs have a nice, dark smoky color that a young Chinese girl once thought only existed within the walls of Disney World.
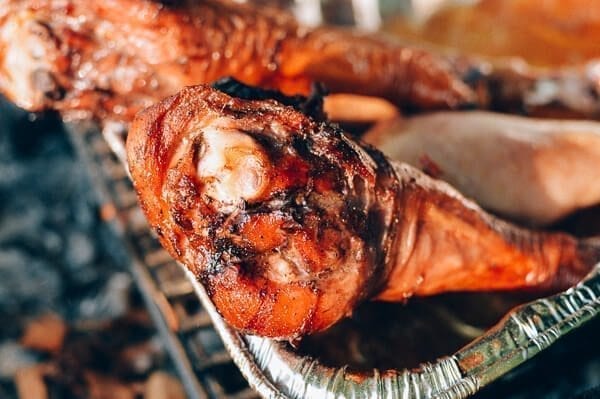
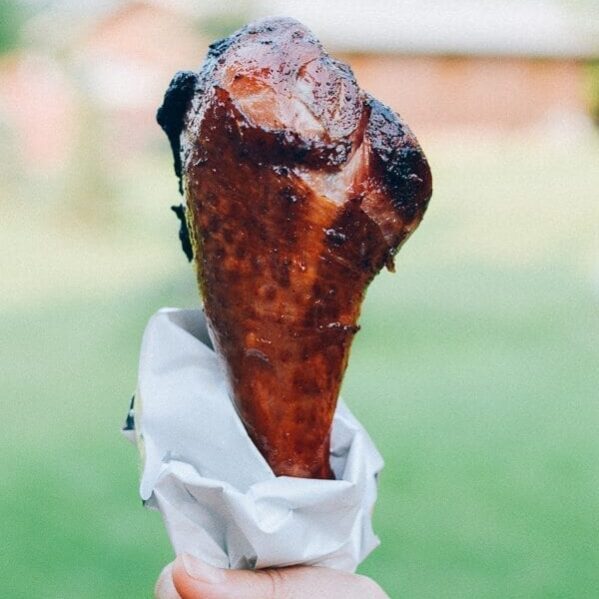
Serve immediately. Wrap your smoked turkey legs with a napkin or butcher paper and get medieval with it! Let your inner caveman / inner Disney World fanatic dig in. :)
How to make smoked turkey legs in the oven
Make the brine as described in the recipe, but this time add 1 tablespoon liquid smoke. (In case you’re wondering, 2 teaspoons isn’t enough and 2 tablespoons was way too much.) Liquid smoke is a must-have ingredient for the oven method.
Brine the turkey legs, fully submerged, for 24 hours. On day 2, use a marinade injector to inject the brine 4-5x in different spots around the turkey leg. The legs will visibly puff up and get bigger.
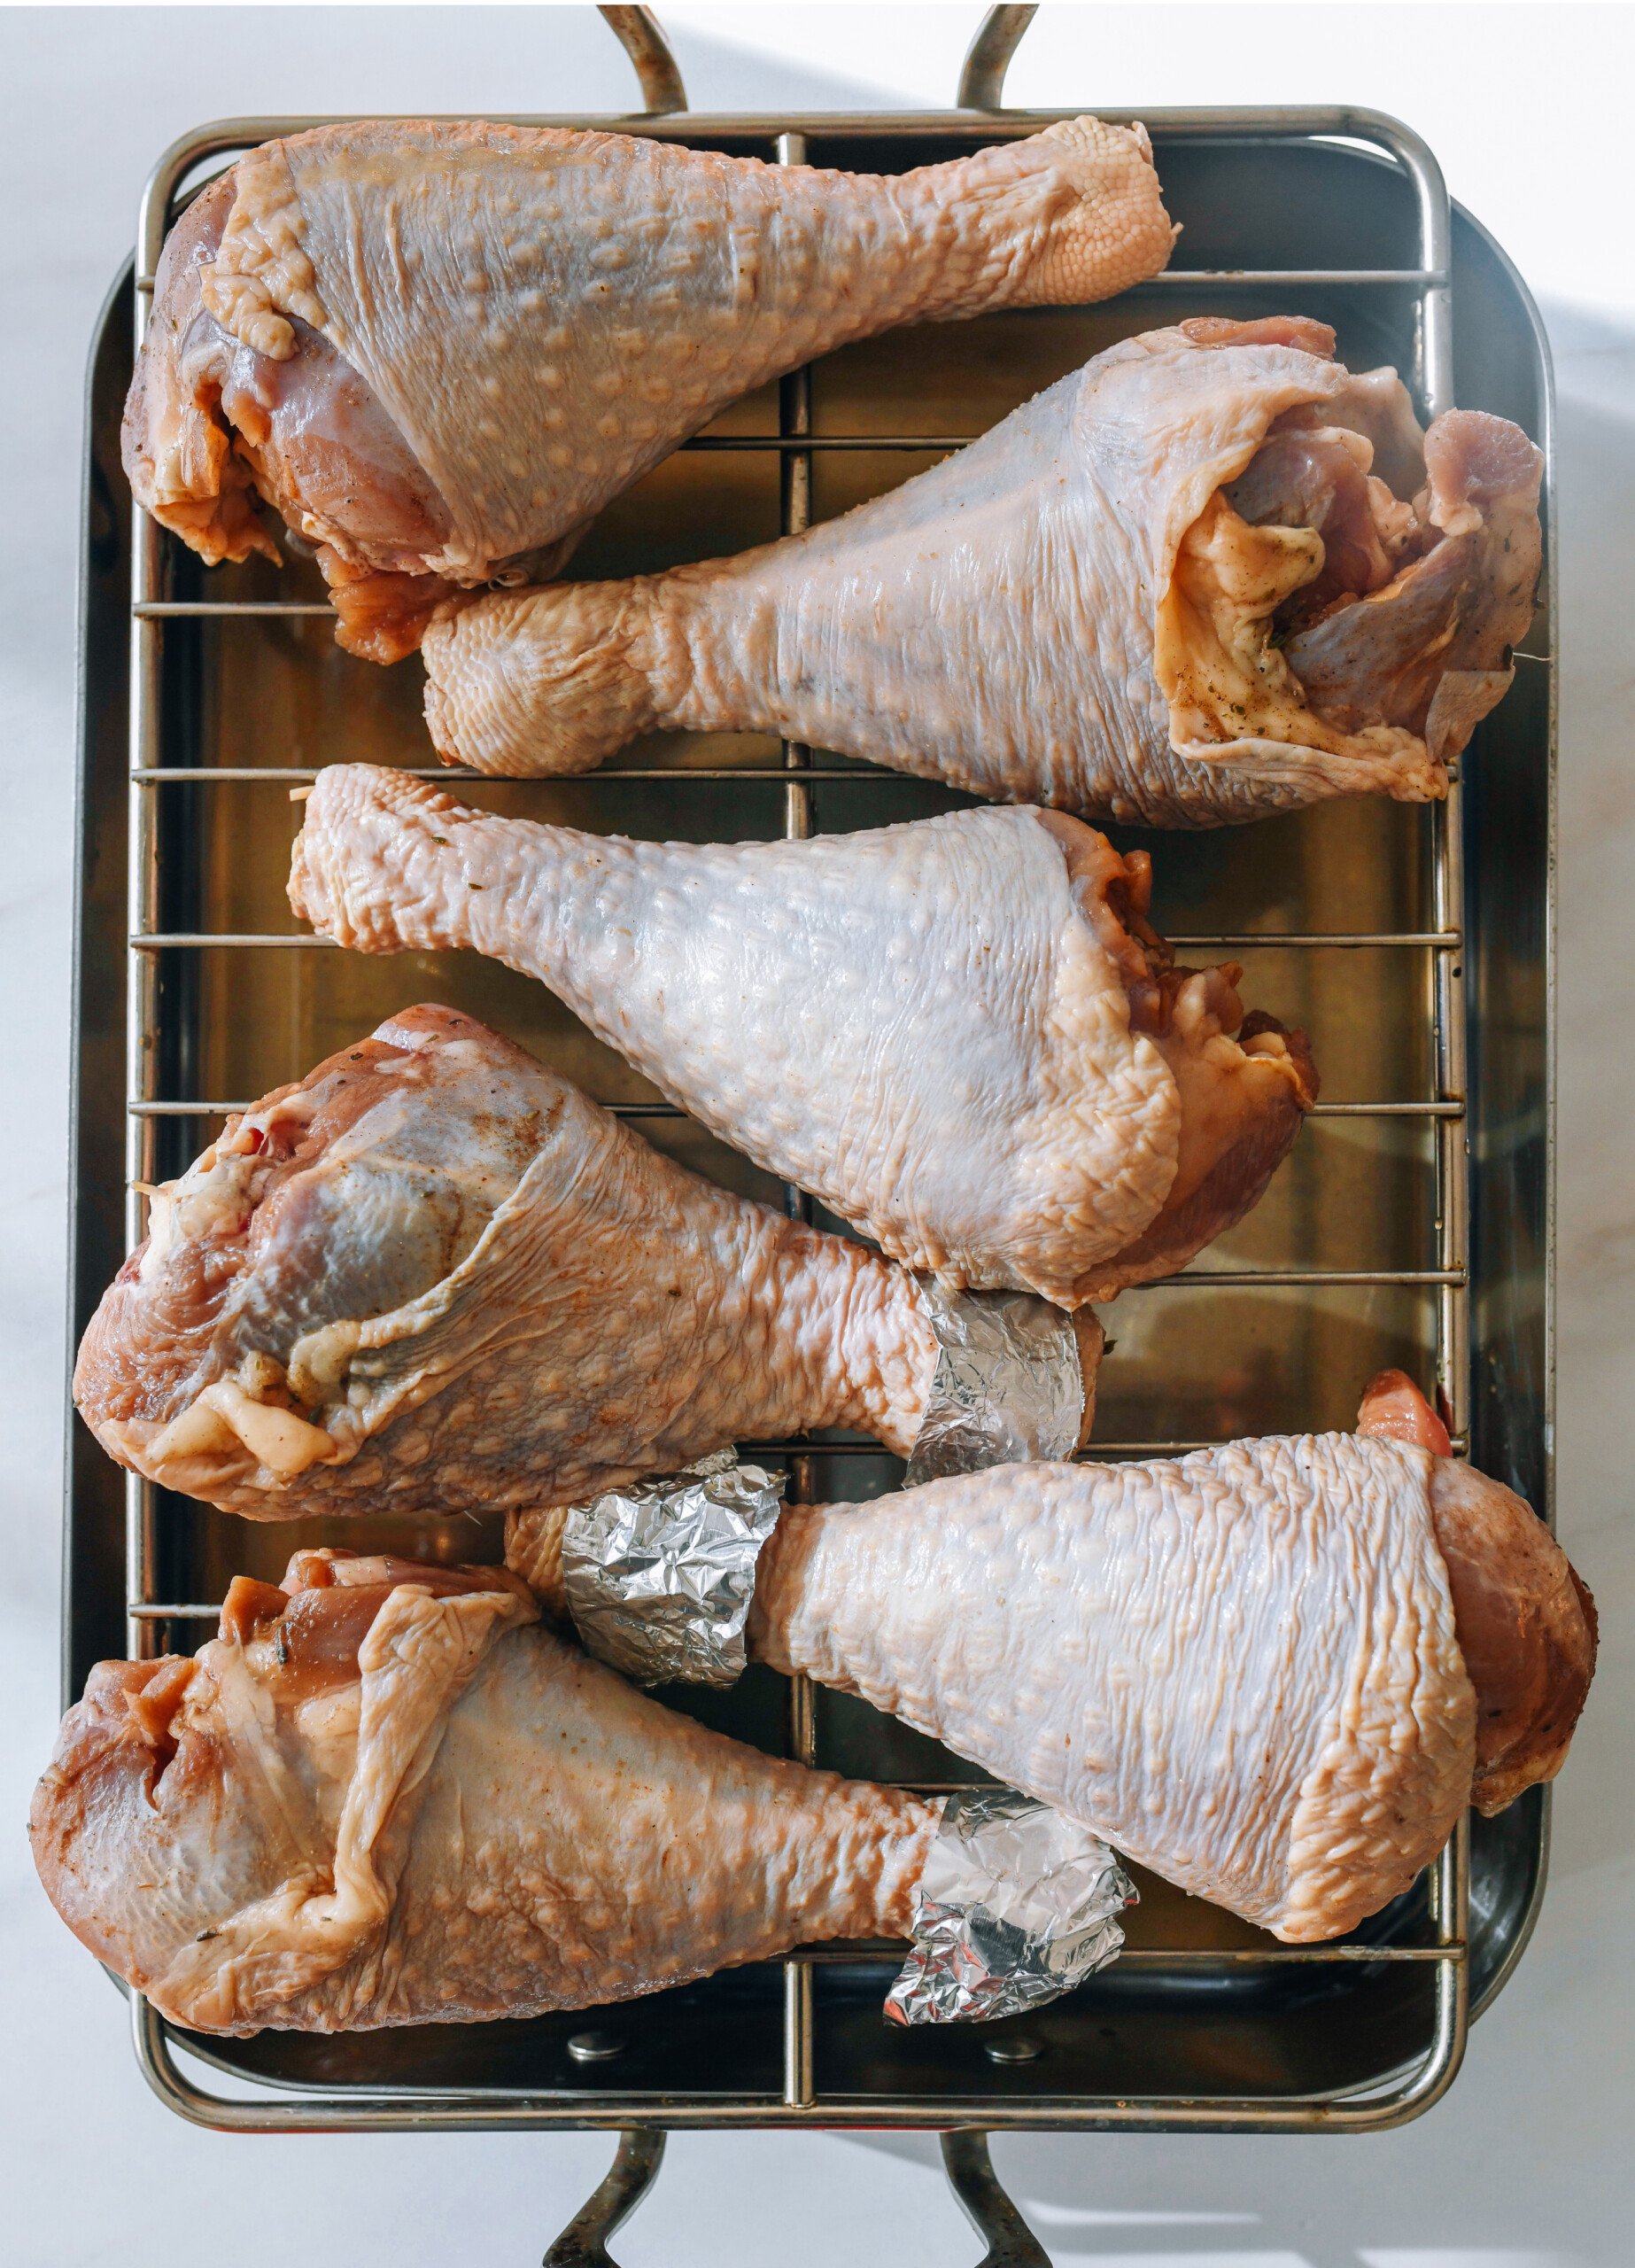
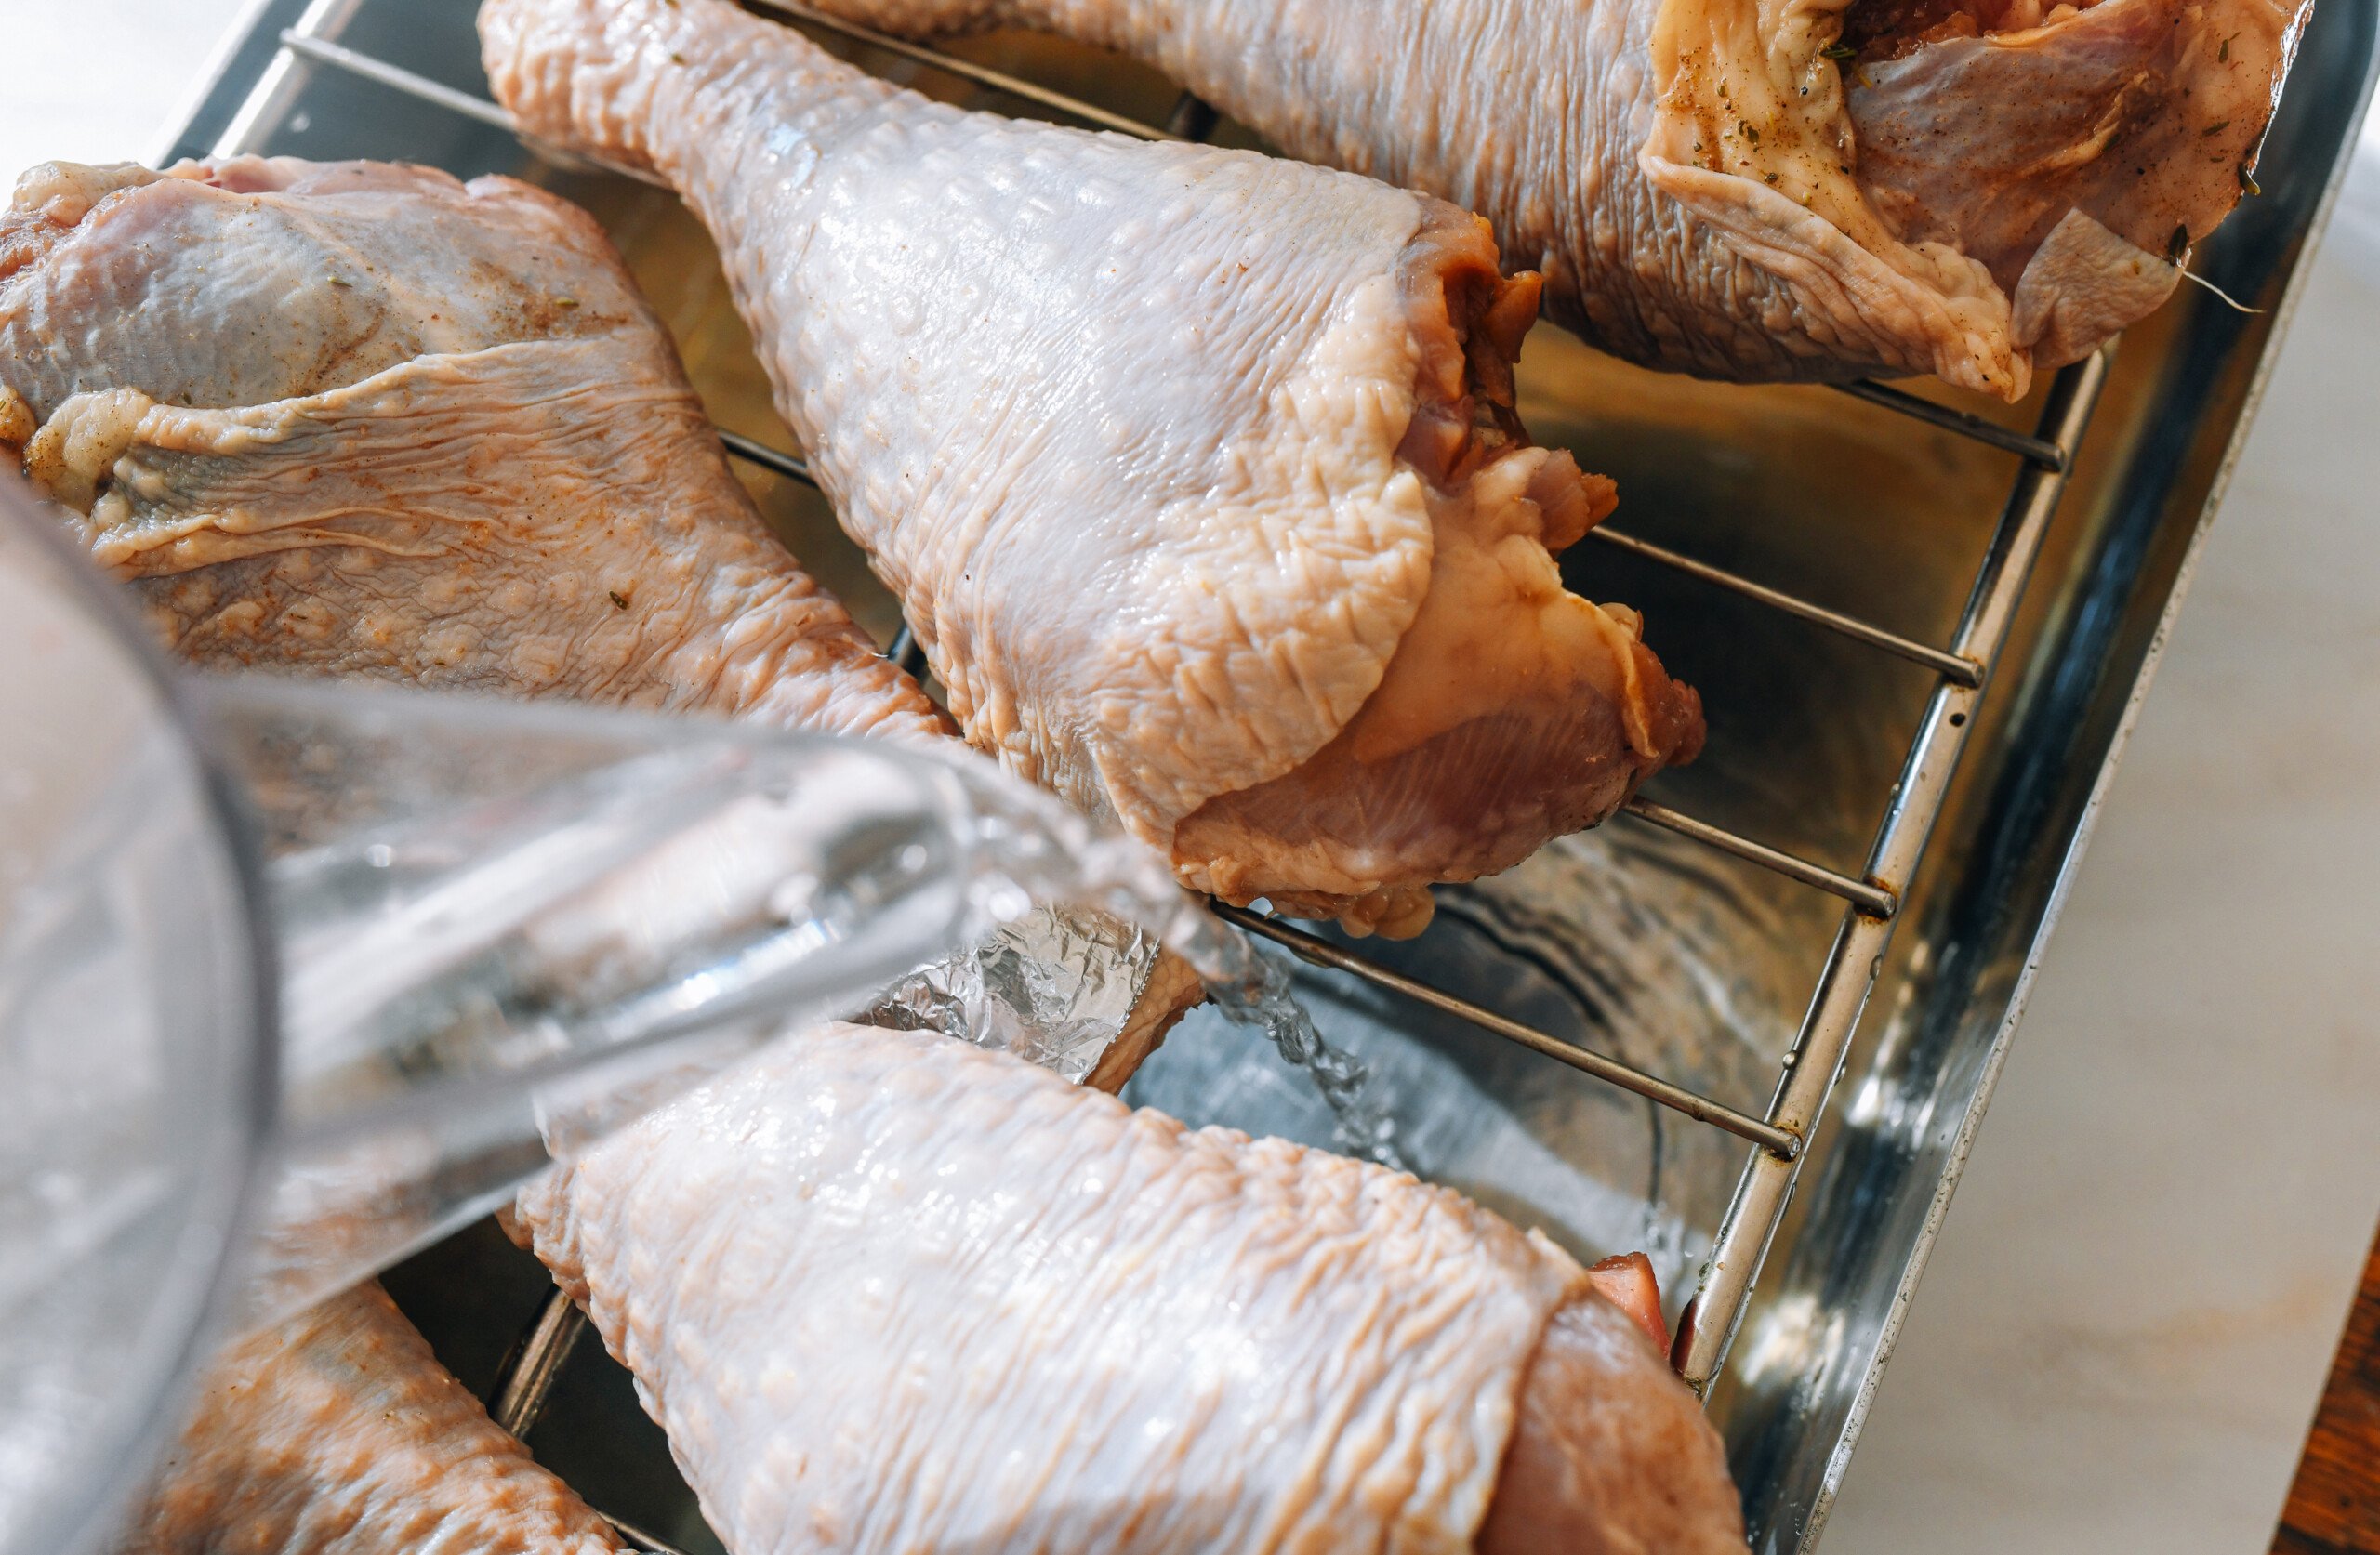
Put the turkey legs on a tall wire rack set in a deep roasting pan. Fill the pan with 1/2 inch (1-2cm) of water. This prevents any drippings from burning. Cover with foil and put in a 325°F (160°C) oven for 1 hour for small 1 pound (450g) turkey legs or 1.5 hours for larger turkey legs.
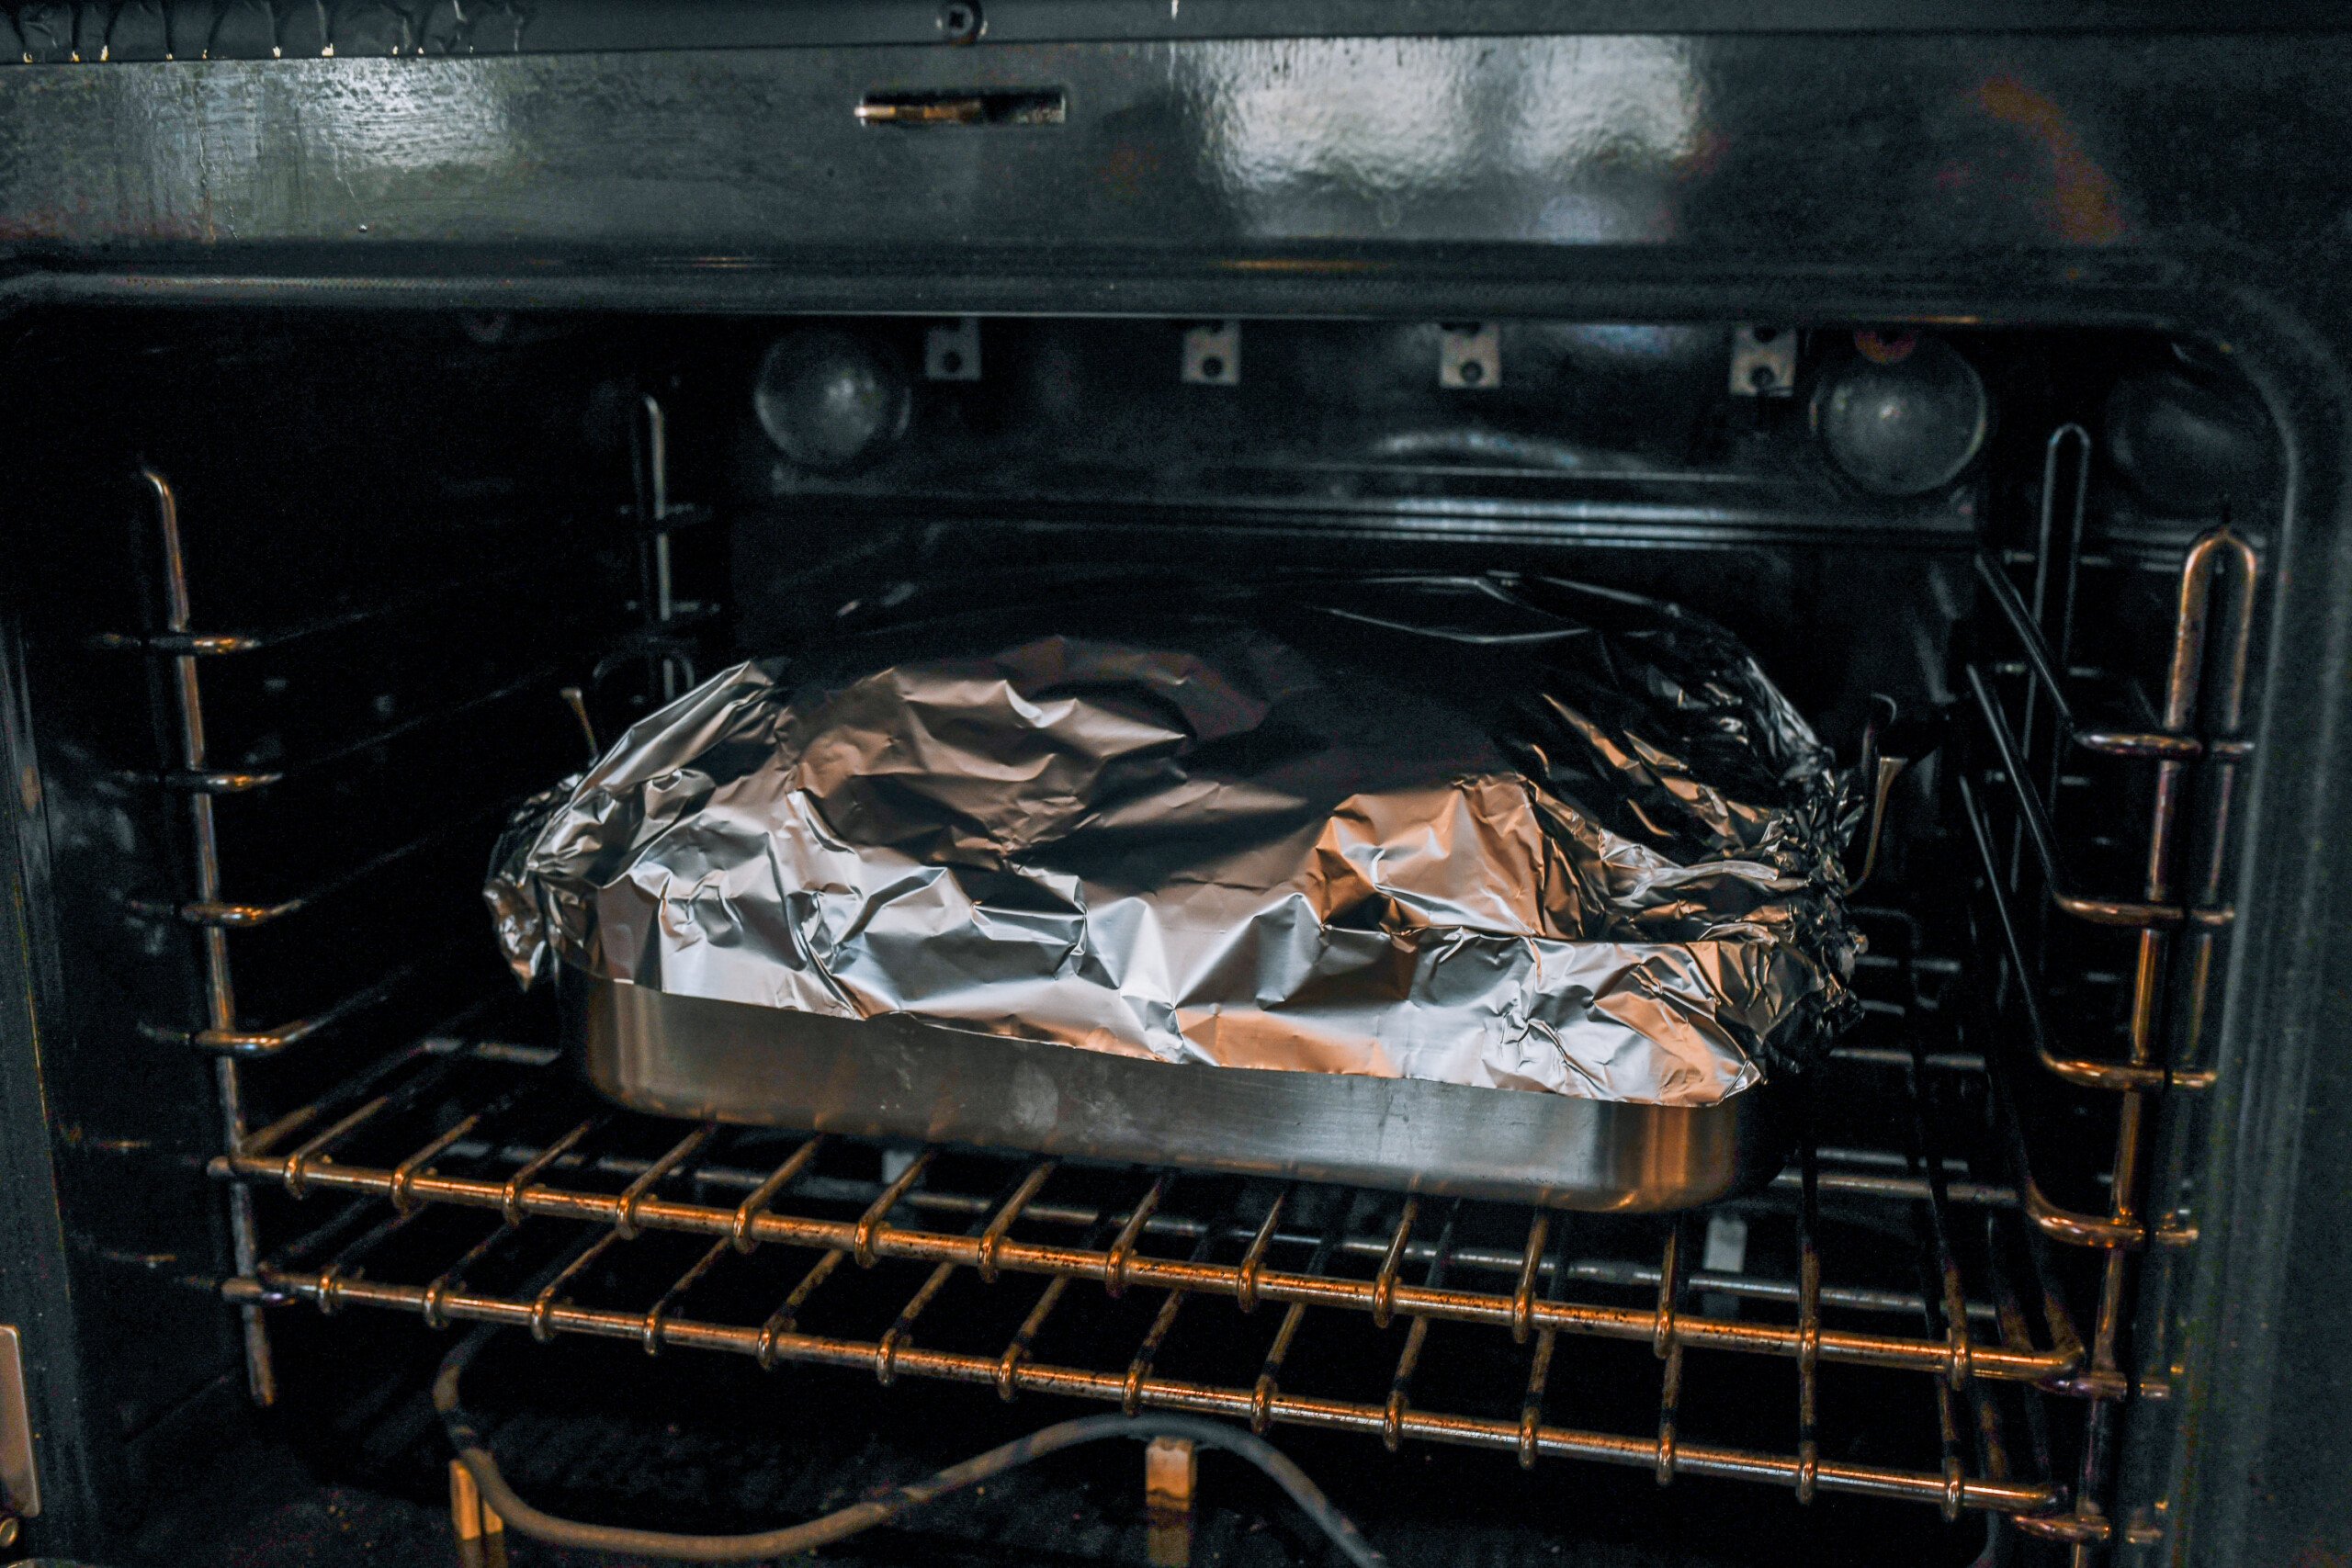
(Previous instructions on this post advised wrapping the turkey legs in foil and cooking for an additional hour, such that they essentially steam and stay moist for a portion of the cooking time, but this is not strictly necessary to cook the turkey through.)
At the end of the roasting time, uncover the turkey legs, and set the oven to a low broil. Brown each side of the turkey legs, turning the legs periodically (every 2-5 minutes, depending on your oven) to ensure that they don’t burn. Best to stick close to the oven.
Instead of using the broiler, you can also finish them over a gas or charcoal grill to impart more color and flavor.
If you want to make these ahead, proceed with the oven instructions, then wrap the turkey legs in foil until you’re ready to finish them in the oven or on the grill for serving.
Smoked Turkey Legs (Disney Copycat Recipe)
Ingredients
For the brine:
- 1 gallon water
- 3/4 cup kosher salt (for less salty and hammy, use 1/2 cup; for saltier and hammier, use 1 cup. We used Diamond Crystal Kosher Salt—3/4 cup weighs 108g or 3.81 oz)
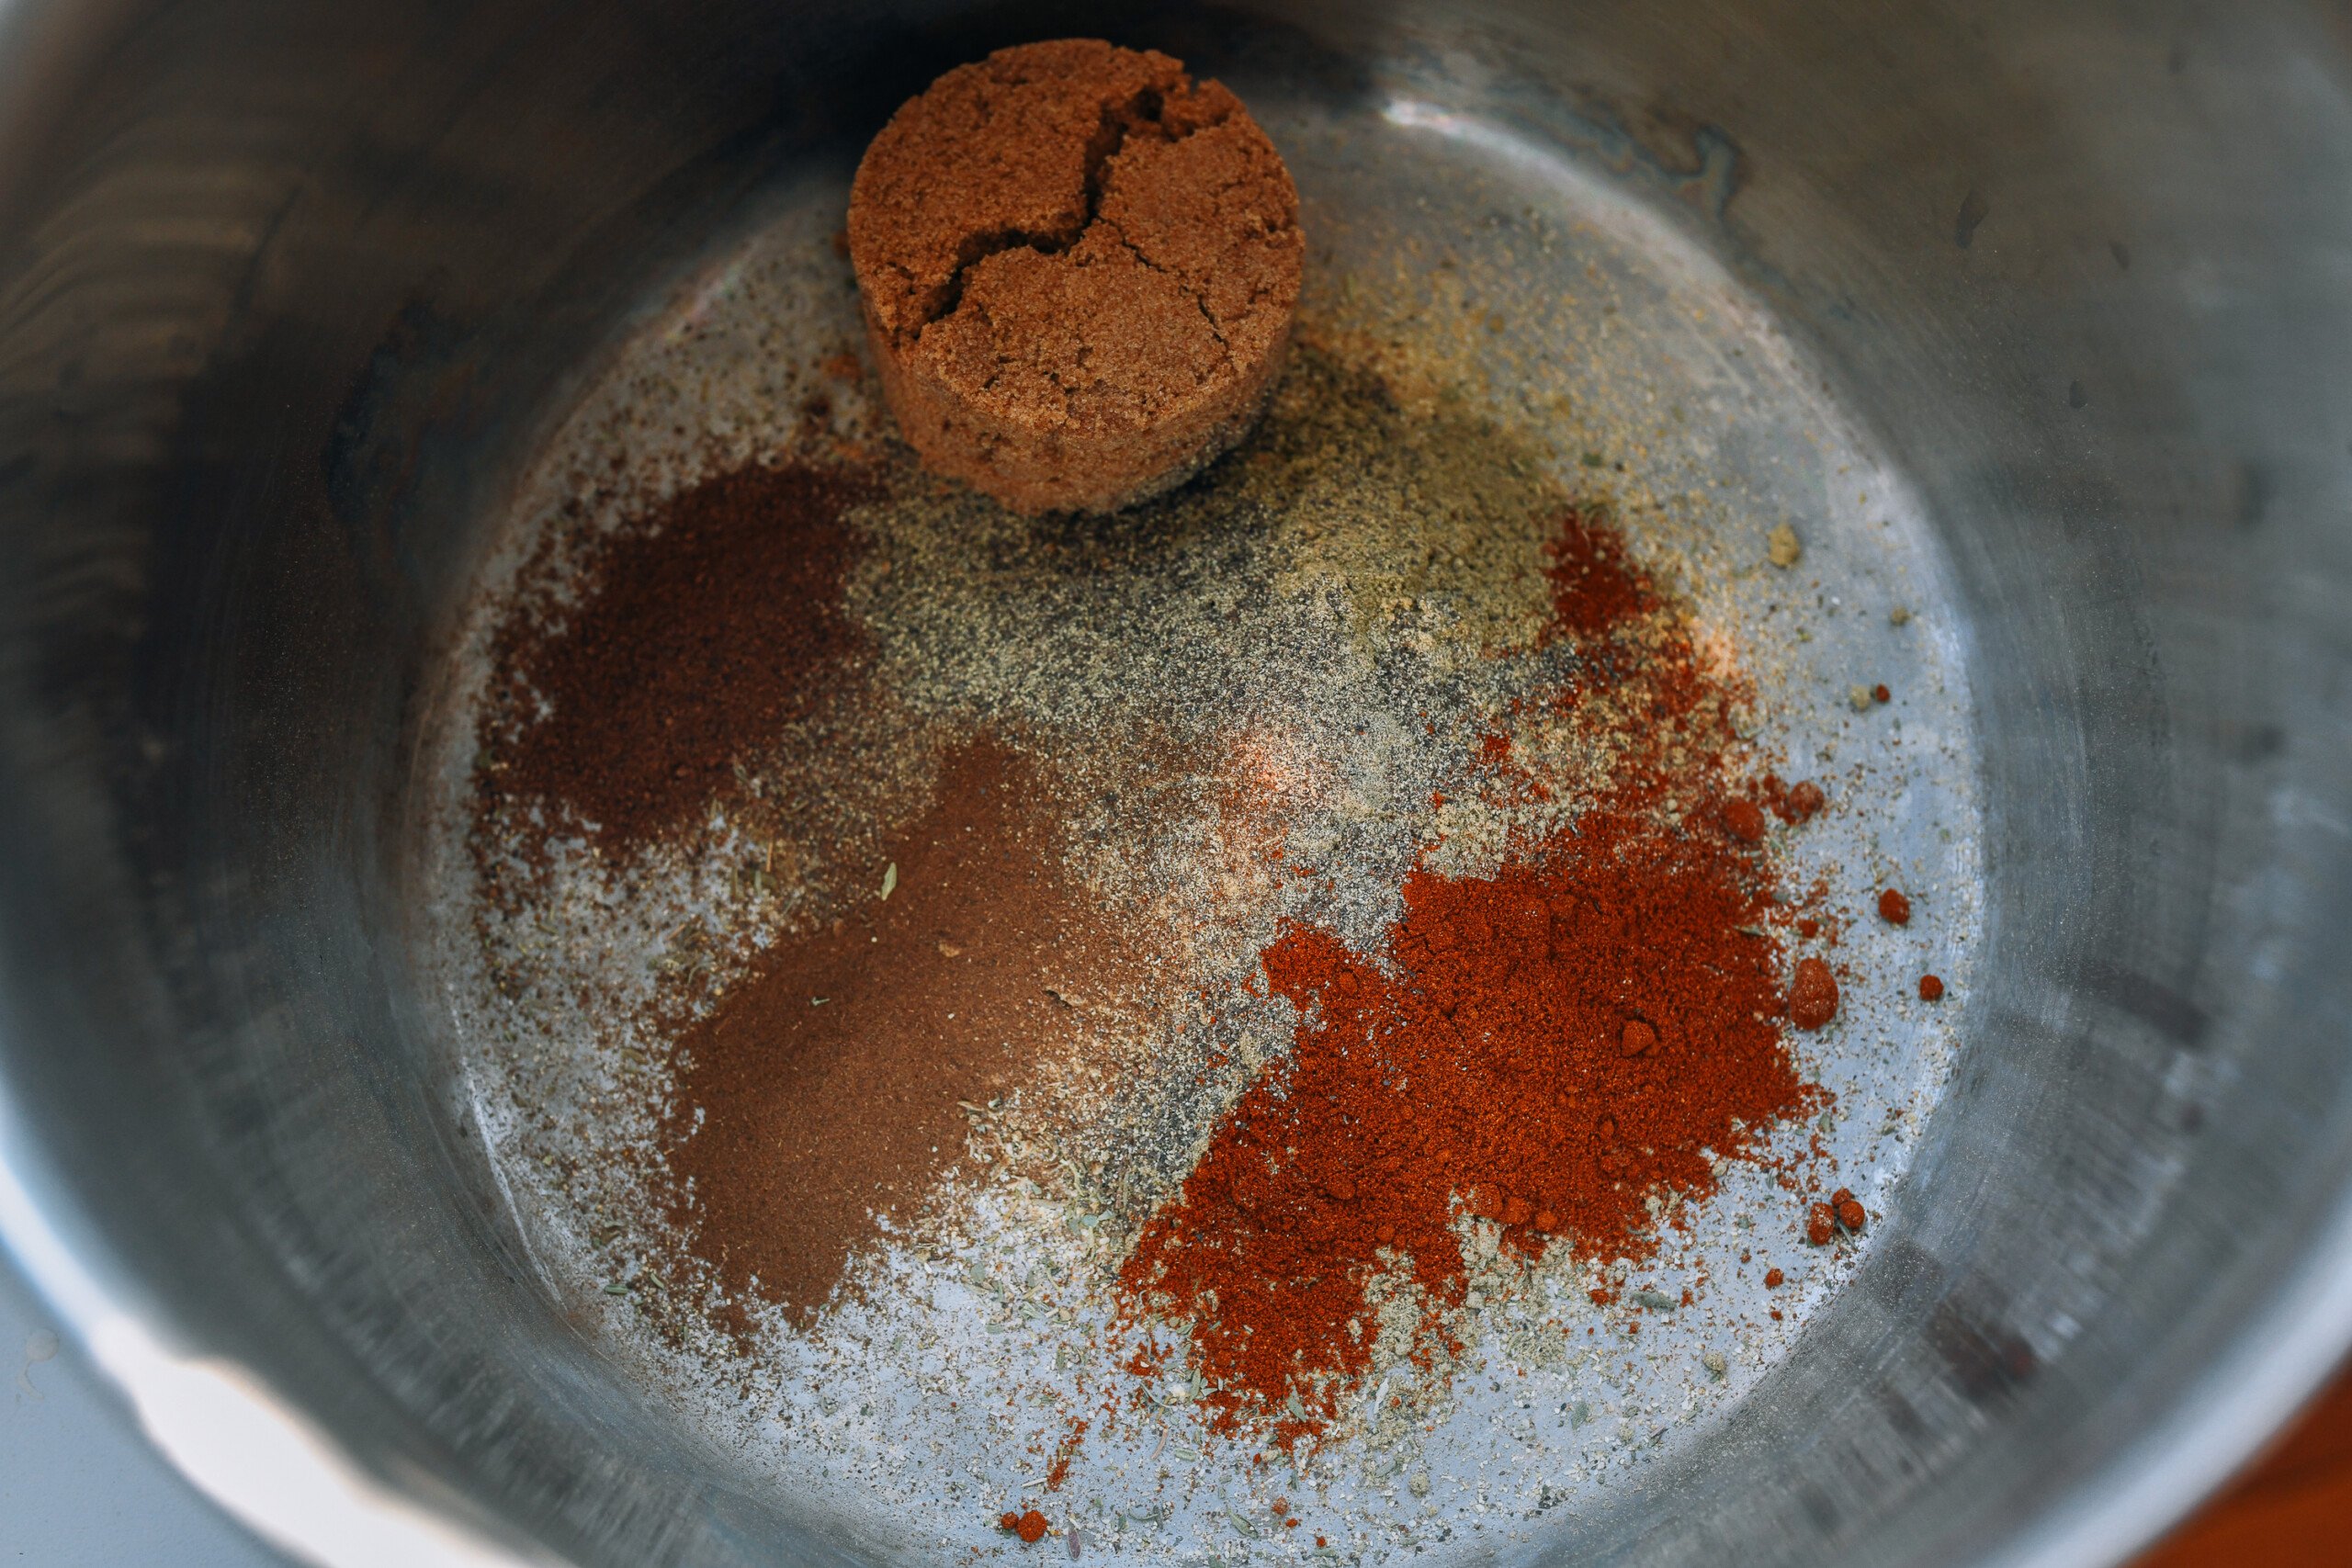
- ½ cup brown sugar
- 3 tablespoons garlic powder
- 3 tablespoons onion powder
- 3 tablespoons dried thyme
- 3 tablespoons dried sage
- 1 1/2 tablespoons black pepper
- 1 teaspoon ground cloves
- 1 teaspoon ground allspice
- 1 tablespoon paprika (Use smoked paprika for oven roasting method)
- 1 teaspoon liquid smoke (shake well before adding; use 1 tablespoon for oven-roasting method)
You’ll also need:
- 10 turkey legs
- natural hardwood lump charcoal
- Smoking wood chips (e.g. apple wood or hickory)
- Charcoal grill
- Charcoal chimney starter
- marinade injector
Instructions
- Combine all of the ingredients for the brine in a large pot and bring to a boil. Let cool. If you're short on time, you can also start by boiling the brine with just 2 quarts of water and then adding 64 ounces of ice to quickly cool down to 1 gallon of brine.
- While that's happening, rinse your turkey legs and set aside in a large container (one that will fit into your refrigerator). You may want to use two separate containers. When the brine has cooled, pour the brine over the turkey legs, making sure they are totally submerged. Cover and refrigerate for 24 hours. (If you want to expedite the process or simply have very large turkey legs, use a marinade injector. Inject 2-5 syringes-full of brine into each turkey leg. If expediting, brine the injected turkey legs for 5-6 hours rather than the full 24 hours. If you're just using larger legs and want to make sure they're flavorful, you can brine for the full 24 hours after injecting.)
- When the turkey legs are ready, heat your charcoal. Your key tools for this recipe are a charcoal grill, a chimney starter, charcoal, and wet wood chips, which provides the smoky flavor. Fill your chimney with charcoal and light the coals with a piece of newspaper. Let heat for a solid 15-20 minutes or so, until the coals are slightly white hot. Also, take 1-2 handfuls of wood chips and soak them in water while the coals are heating.
- At this point, if you haven't already injected your turkey legs with brine, you can do so, injecting them with 4-5 syringes full of brine at various points around each leg, to ensure they're moist and juicy before cooking.
- Pour the coals into the grill and scatter the wood chips around the coals. Lay your grill rack over the coals. Place the turkey legs on the grill rack and close the grill.
- 1 chimney-full of coal is enough to start for an average-sized charcoal grill. Add another chimney of coal every 20-30 minutes, depending on the kind of charcoal you're using. Periodically add additional wet wood chips to make more smoke as needed. More wood chips makes more smoke, increasing the "hammy" smoked flavor of the turkey legs. You can cater this to your personal preferences. I like a very hammy smoked turkey leg; my aunt prefers more of a natural flavor. Take your pick!
- The slow cooking method is key here. Periodically check the turkey legs, turning every once in a while, and make sure the grill maintains a temperature of 300-325°F (150-160°C). There is some element of trial and error to this if you're a first-timer; make observations and adjust amounts of charcoal, wood chips, and heat over the course of the cooking time.
- Maintain the grill, charcoal, and wood chips, letting the turkey cook for 3½ to 4 hours, until the turkey legs have a nice, dark smoky color.